
About Me
Hello Everyone! my name is Laura Mercadal and I live in France. I’ve been a 3D generalist artist for almost 2 years. I started 3D 5 years ago.
I learned to use 3ds Max and Maya with V-Ray and Arnold at the Emile Cohl school in Lyon, France. I received a very general training.
When the Blender version 2.8 trailer came out I was extremely impressed with the EEVEE renderer.
I really wanted to test this new, very promising version of Blender
Inspiration
For my first little project in Blender 2.8, I wanted to make something "simple" but with details.
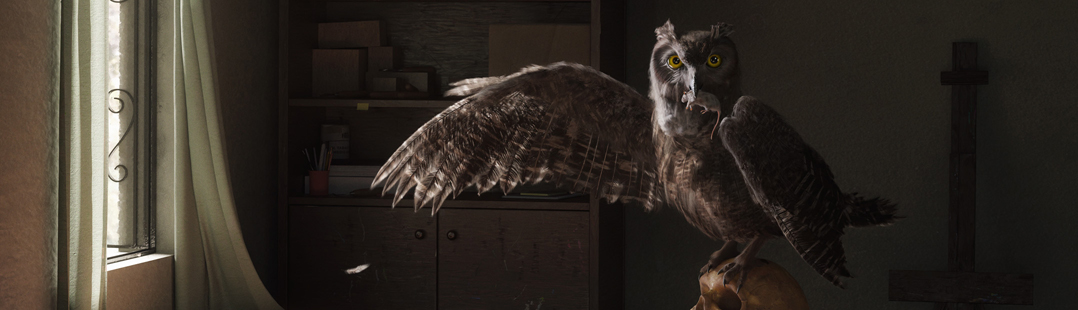
The original concept was made by Rejected Animals: Mozz.
https://www.instagram.com/p/ByLP_b8H4b9/
I found it so adorable that I wanted to make a 3D of it. I have always admired stop motion productions like Aardman Animations. So my little Mozz was going to be in plasticine.
As I didn't know Blender, I watched a lot of tutorials on YouTube.
Tools
For the software, I used Blender and EEVEE for the rendering.
For the hardware, it was just my laptop (i7700 HQ, 16 gigs of RAM, with an Nvidia GTX 1070).
Modeling & Shader
For the modeling, I started with a cylinder where I extruded some parts more than others to make the sheet. Another cylinder for the leg, a mirror modifier and I had a second leg.
For the "antennas" I used a plane that I formed to have the shape. I added the solidify modifier.
Then I broke the symmetry and I had a little Mozz.
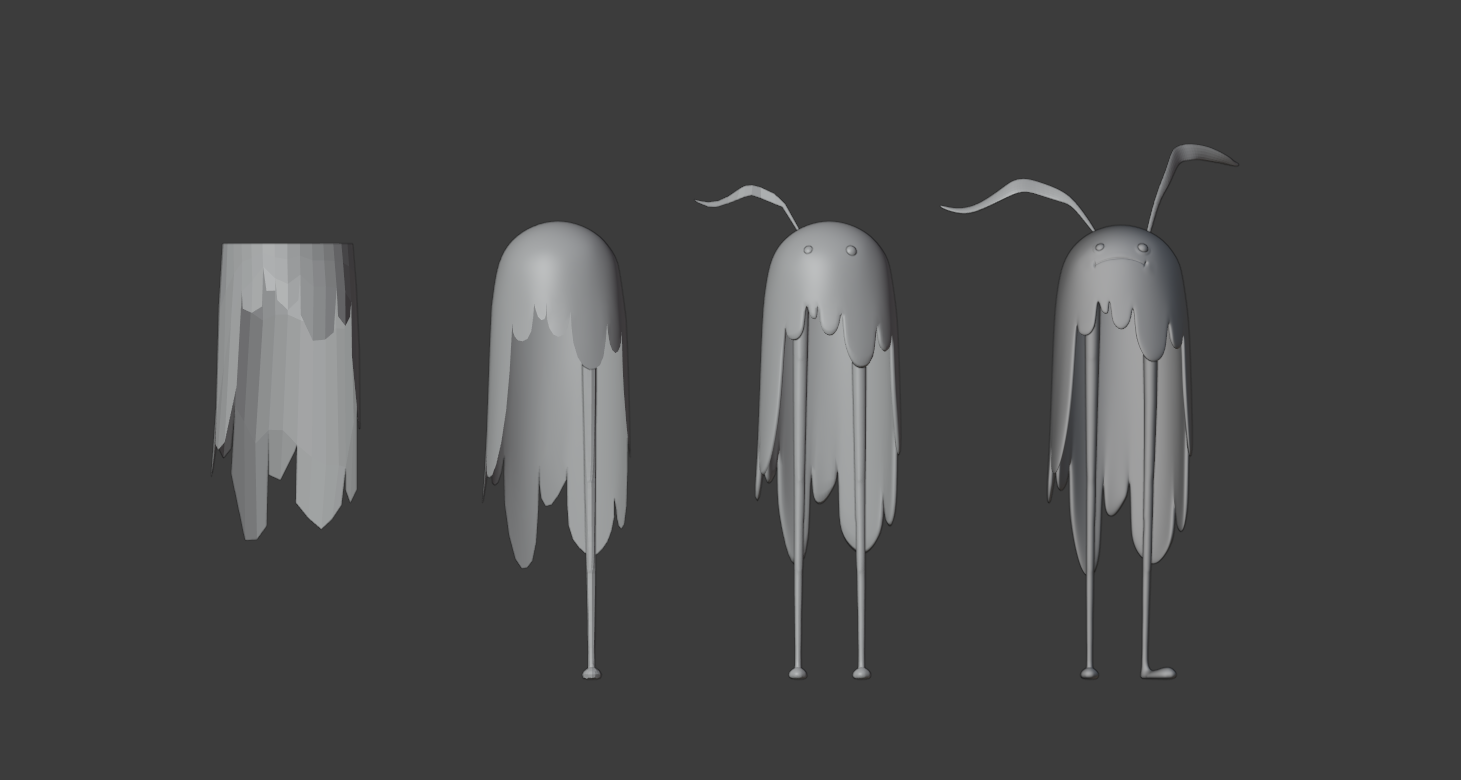
I created the mouth and the eye-catching quickly with the sculpt tool.
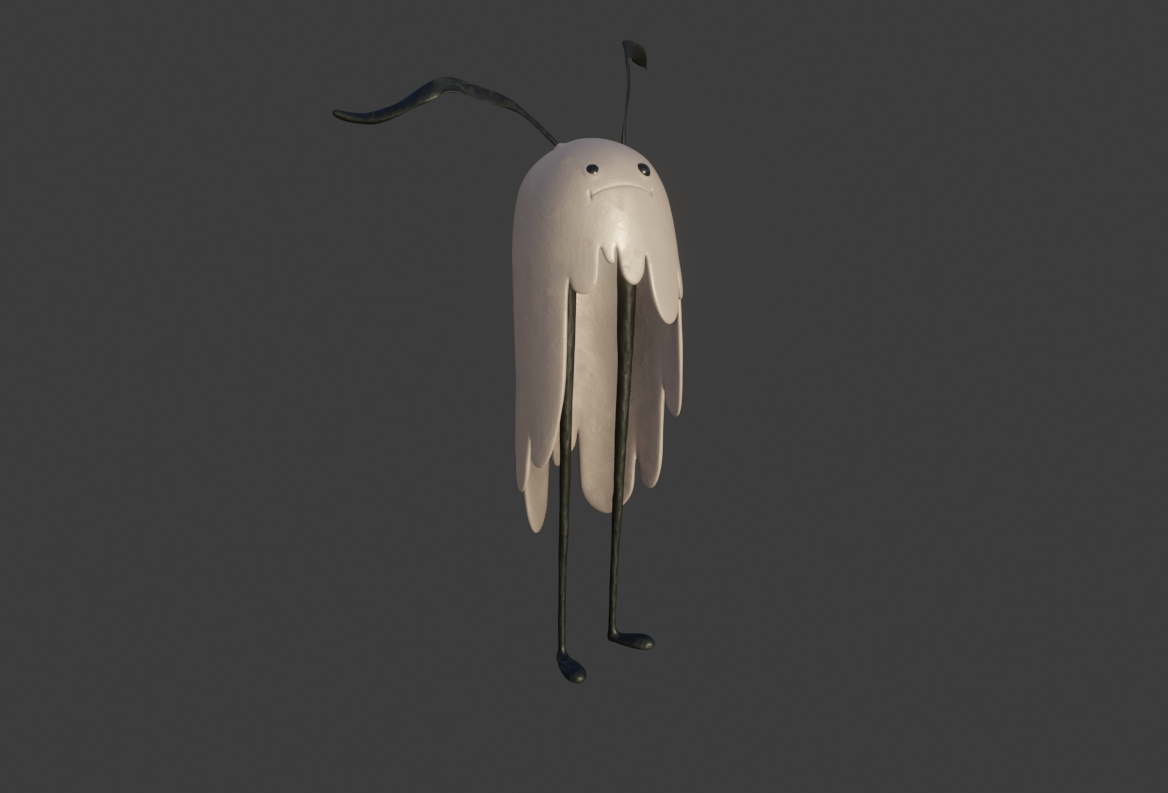
For the shader, I watch SouthernShotty’s clay tutorial. It explains very well how to get a nice clay shader and the animated displace map modifier. I recommend that anyone who is curious take a look.

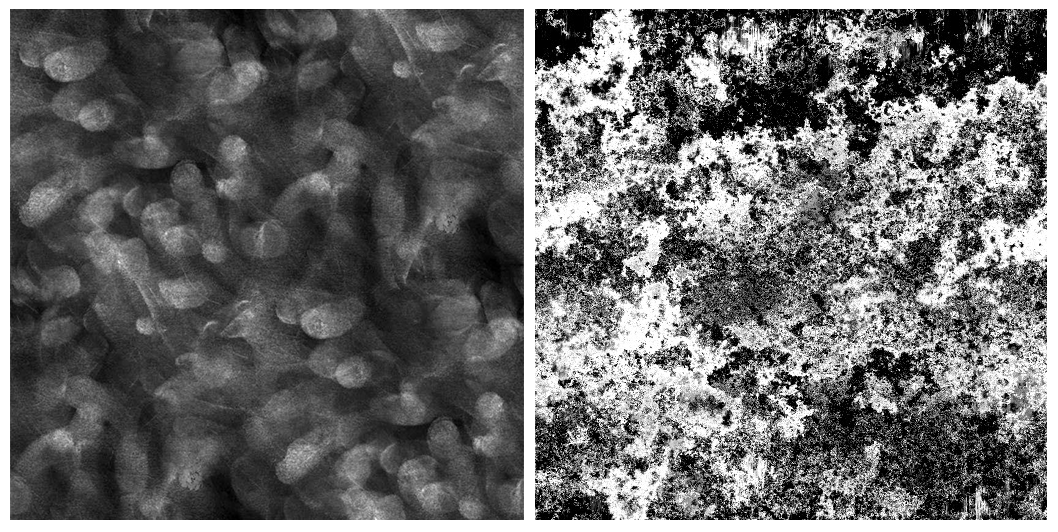
I only used two textures for my modeling clay effect: a fingerprint texture and a dirt texture.
Animation
For animation, I didn't want to spend time on rigging. I wanted to be able to spend only a small day on this EEVEE discovery project. SouthernShotty’s animated shader had already given an animated dimension to my character but I wanted to give it a little movement.
I used a lattice to bring my little Mozz to life. The movement is not very fluid but I find that it fits well with the stop motion effect.
Lights
I love to light my scenes. This is the moment when I have to put my 3D object in value. Lighting can tell a lot of things, and convey a lot of emotion. I love the chiaroscuro.
I have 3 area lights in my scene to light Mozz.
Rendering and Post-Production
In the end, what I appreciated the most with EEVEE is the rendering time.
Rendering 21 frames of 1920x1920 pixel in 3 minutes was just amazing for me—I’m used to waiting several minutes for 1 frame with V-Ray.
I used After Effects to do a quick compositing, adding a bit of contrast and some noise.
Thank you for reading and BlenderNation for the interview!
I hope you found my process useful. For my part, I fell totally in love with EEVEE and I now use it for all my personal projects.
You can keep up with me and my current and future works over on my Instagram, which is linked below.
About the Author
 Laura Mercadal, 3D Artist
2 Comments
I see no images here
is the website broken here?
Hi Sven. There are a few gifs in the article that take a moment to load, but otherwise the images seem to be working fine (for me, at least).