Behind the Scenes: Fabric Farm

My name is Peter Nagy. I work as a motion designer. I’ve been creating and studying 3D projects for 10 years now. Initially, I used 3D Studio Max, then switched to Cinema 4D, but I was always interested in trying Blender. The COVID situation brought me the chance to finally get to know the software.
Inspiration and approach
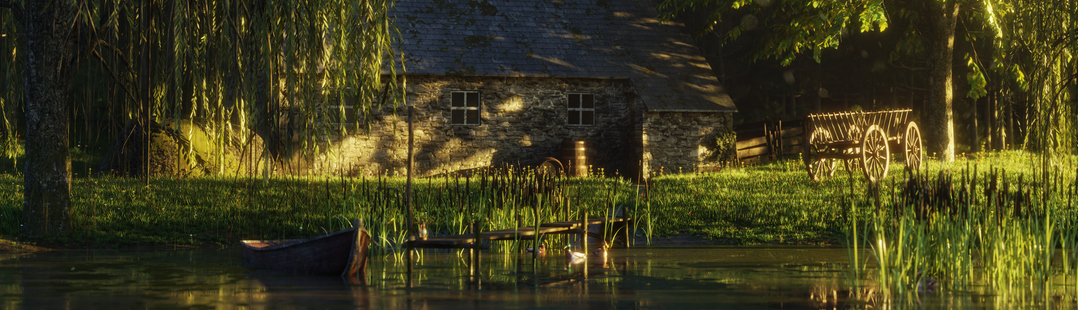
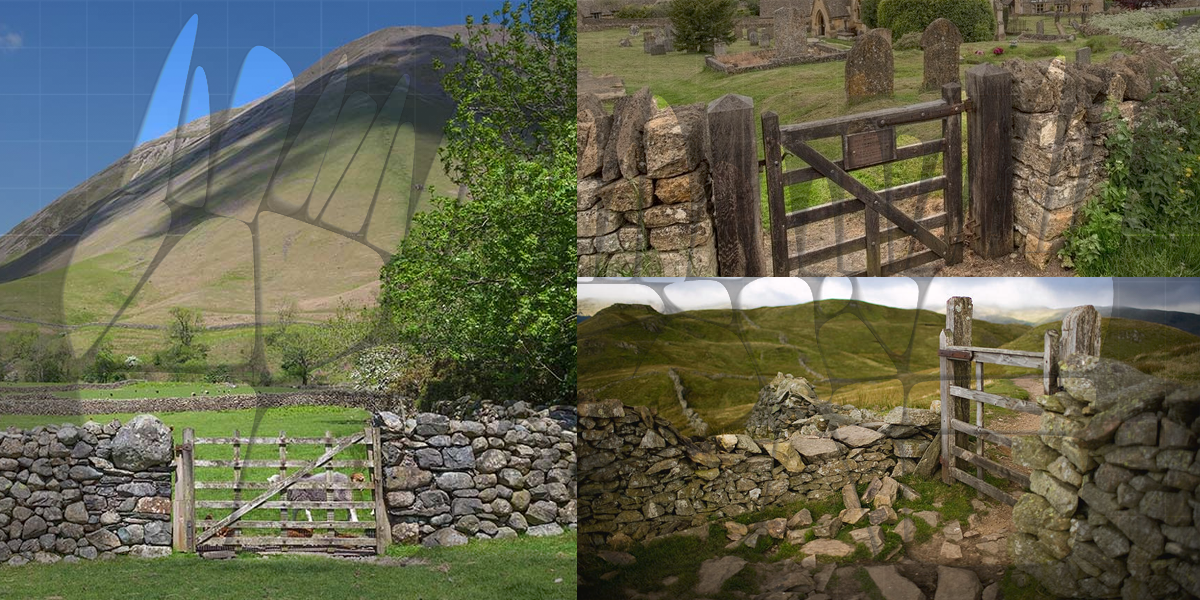
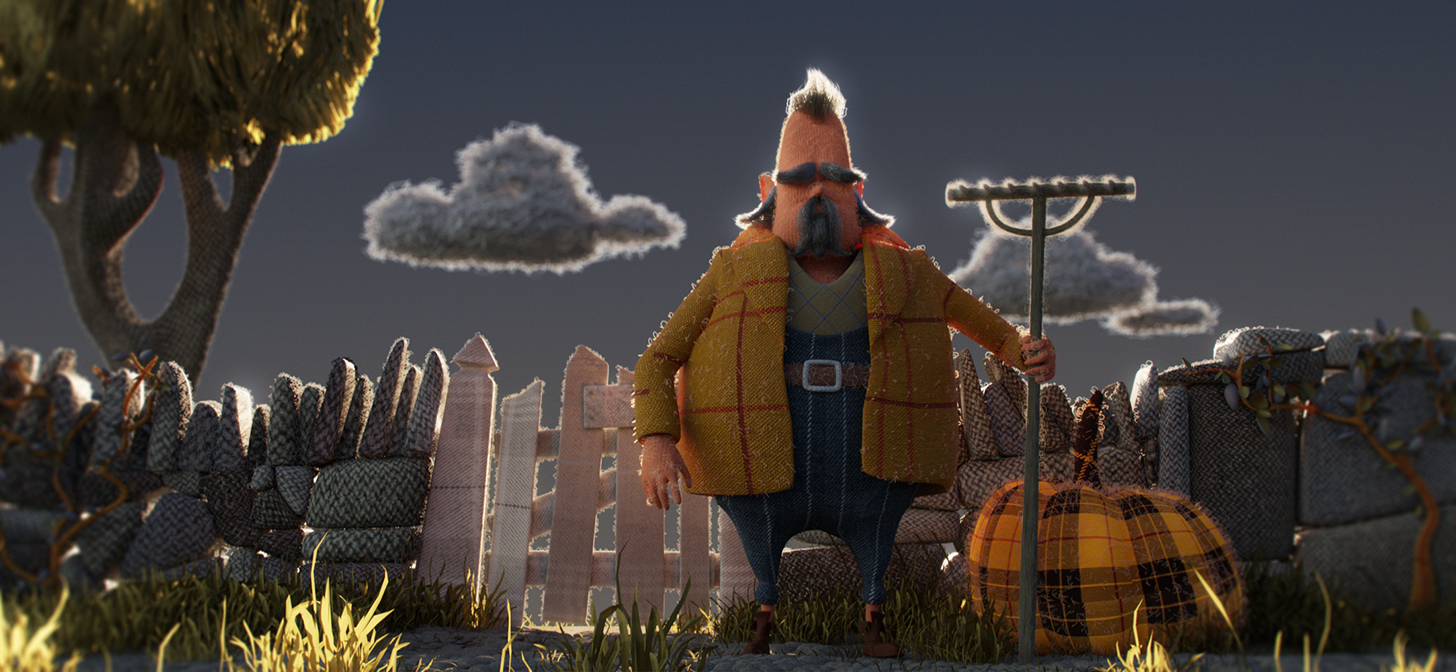
My inspiration for Fabric Farm was the rural British landscape. I’m a big fan of the vibes out there—the weather and the architecture of the houses.
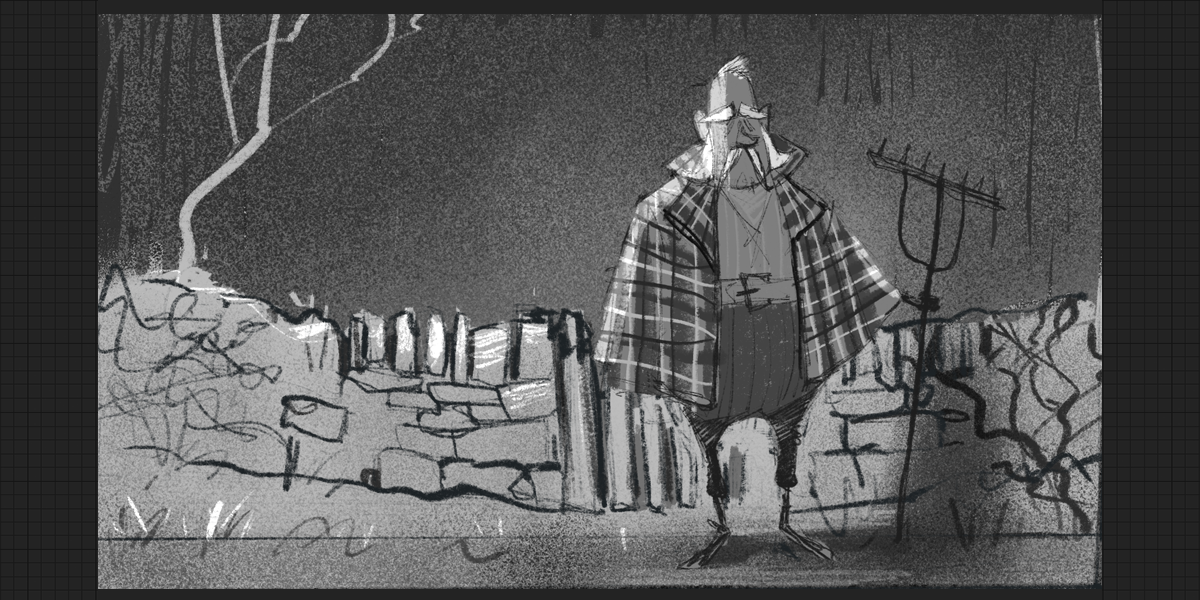
I wanted to create a mood like this, but with a touch of a puppet-like character, showing the small details of the texture and the material that the character is made of.
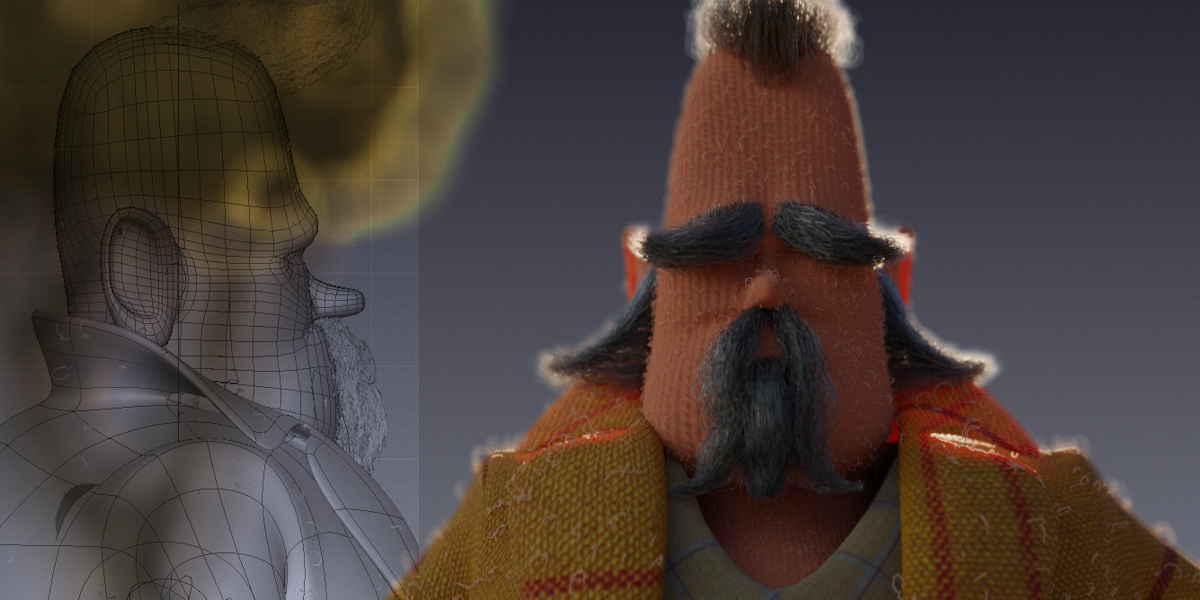
So if you take a closer look you can see the little threads covering the elements and the character. With the rim light effect, I wanted to give extra light to these small pieces to make them more visible in the picture.
Texturing
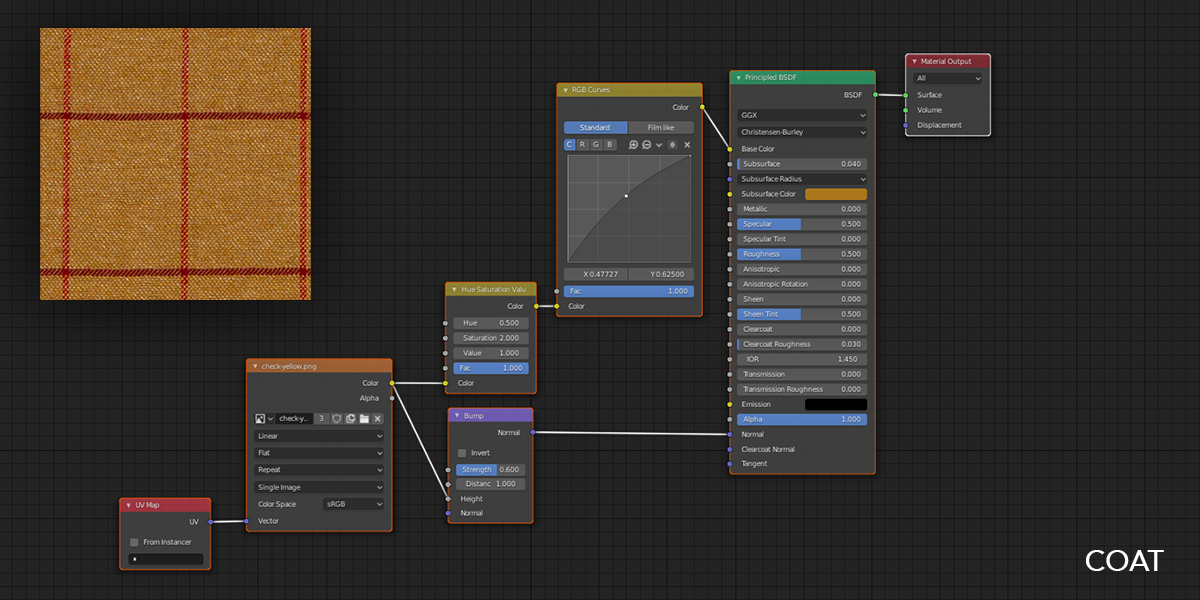
My plan was to build up as many elements in Blender as I could, with minimal post-editing work. I did a huge amount of research in order to get the results that I imagined. Not only did I have to pick up the software knowledge, but I also had to get familiar with the fabrics and the garments that I planned to use in the artwork. Besides the modeling part, the second most interesting task was to choose the textures and create the outfit for the farmer. I found a website that sells materials for suits, so I picked a tweed one and used that as a reference for the work.

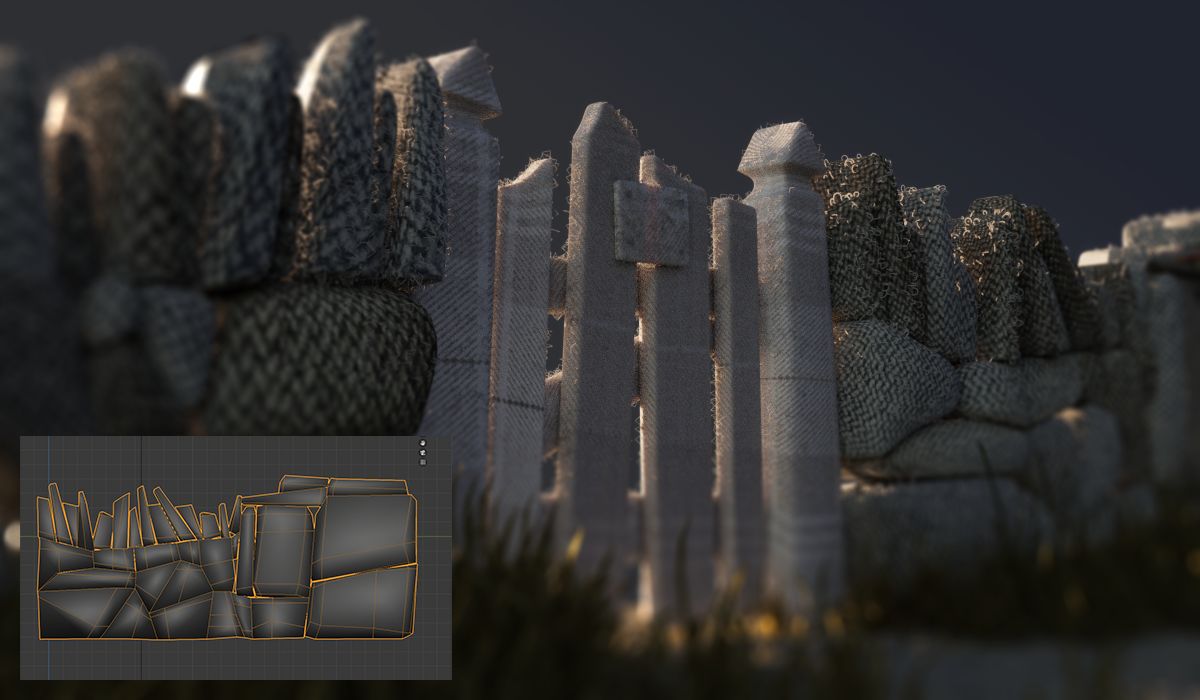
Another challenge was to create the little threads pointing out from the surface of the items. I used hair simulation for every object except the rocks and the grass.
Lighting
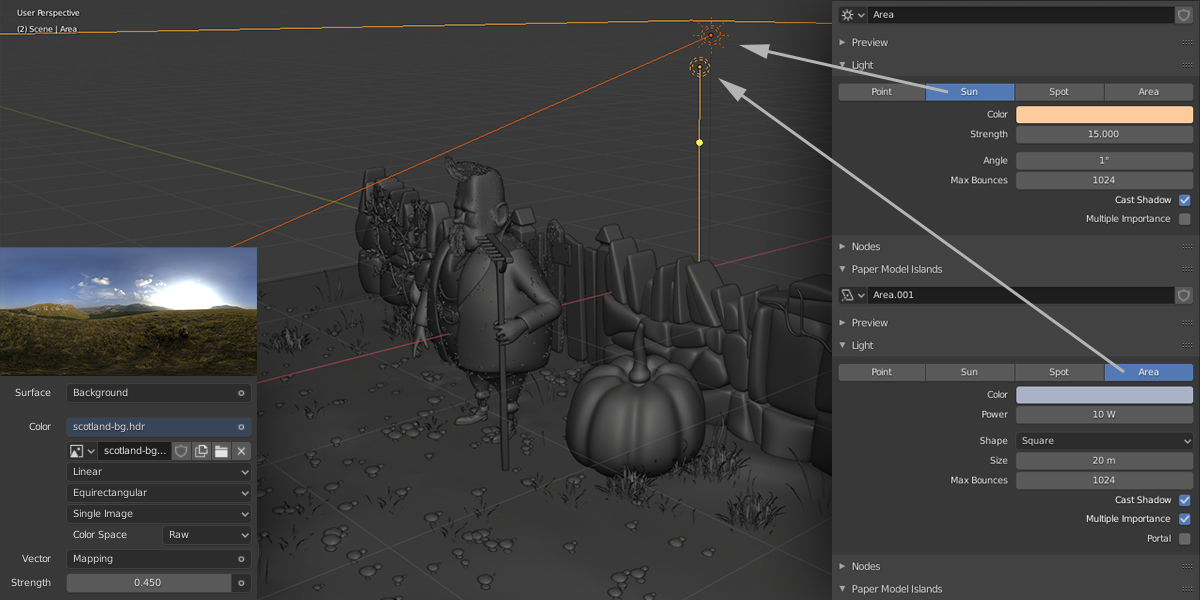
The core element of the artwork is the lighting. As a background, I used a Scottish HDRI. I placed a purplish-blue area light above, and a Sun positioned in front of the camera, which showed the contours of the objects and lit the environment.
Rendering
I used Cycles to render the project and made renders separately of the trees, the clouds, and the farmer. The final touch of the sky’s gradient look was made in After Effects. I rendered a mist pass. Finally, I defined the depth of field with my favorite plugin, frischluft.
About the Author
 Peter Nagy, Motion designer


Peter nagy you are great