Behind the Scenes: The Radio Telescope
Hi! I hope everyone is doing well. My name is Min Jae Jeong, a 3D artist and also a music video artist from South Korea.
I was originally working in the Korean music industry. After years of work, I started studying 3D tools to become an animated filmmaker. I’ve been studying 3D for about 10 months now, and I’ve been studying Blender for about 2 months. Cinema 4D was my first 3D tool, but now I am using Blender for all my work.
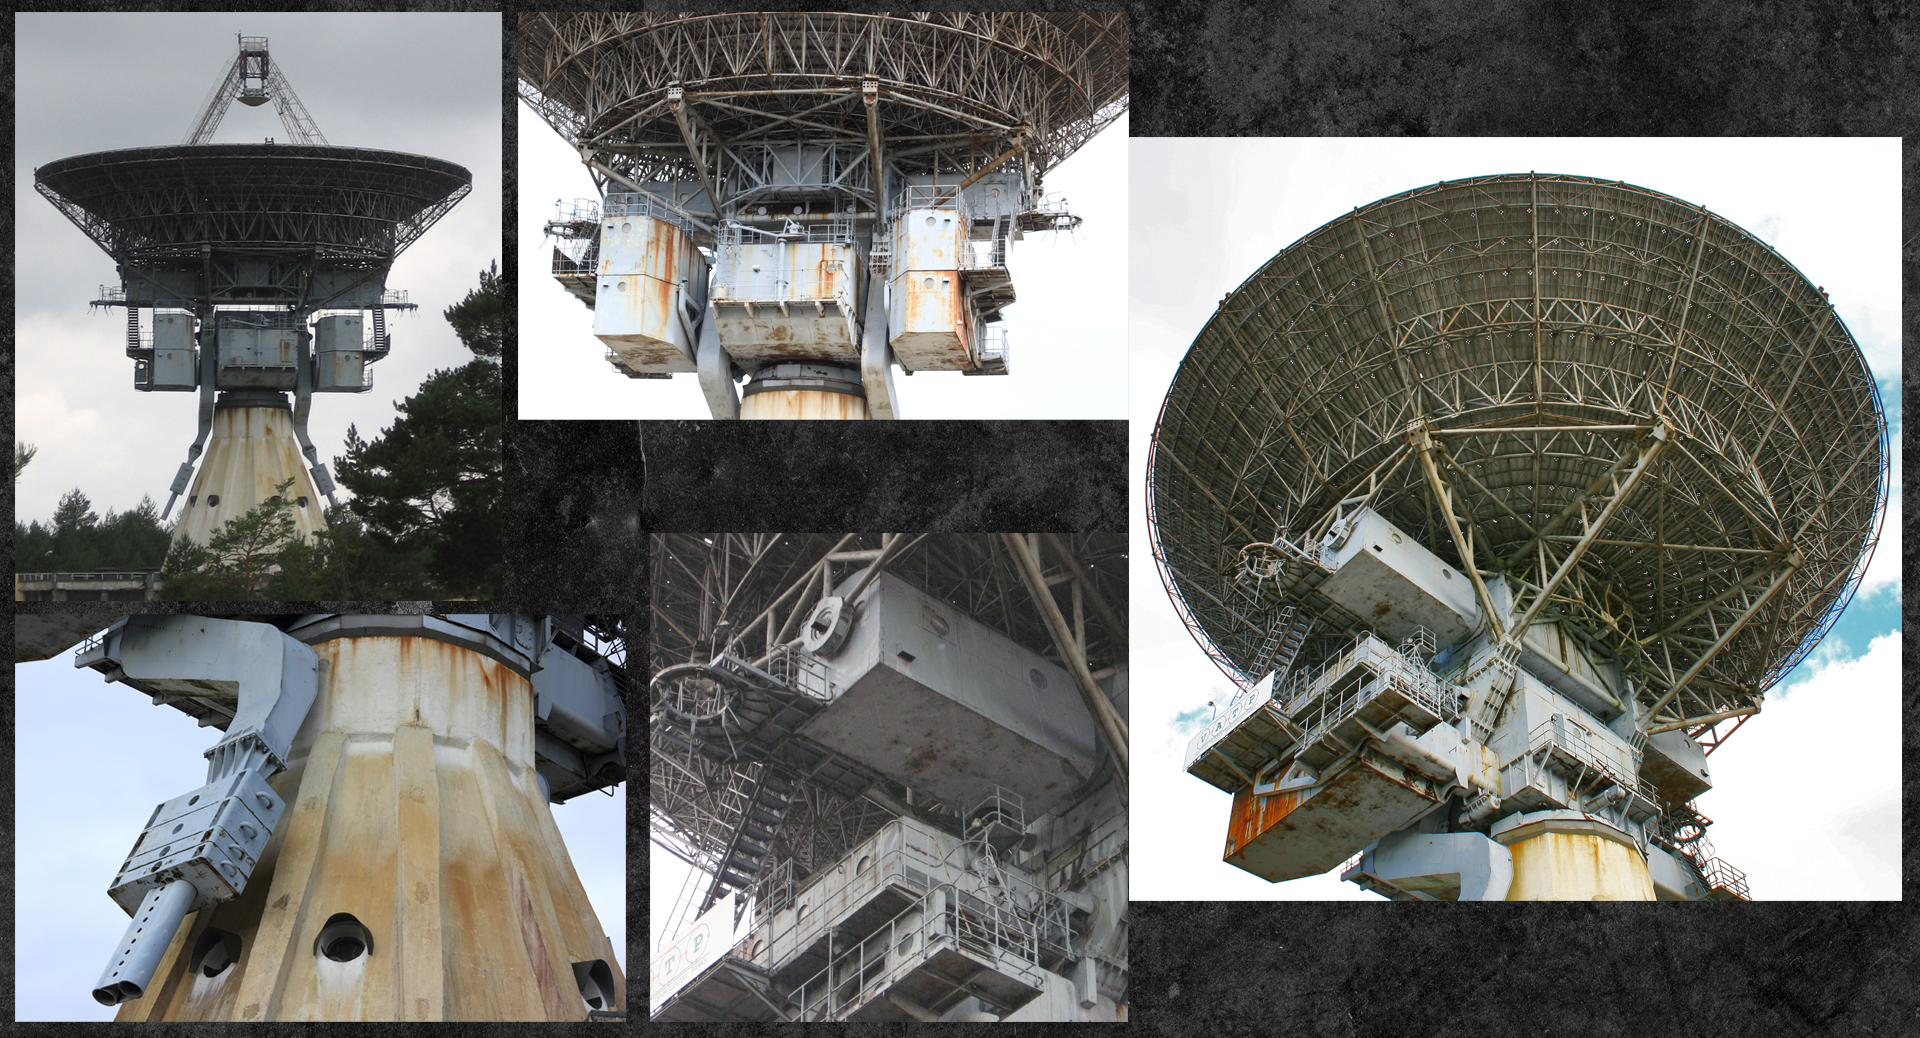
Inspiration
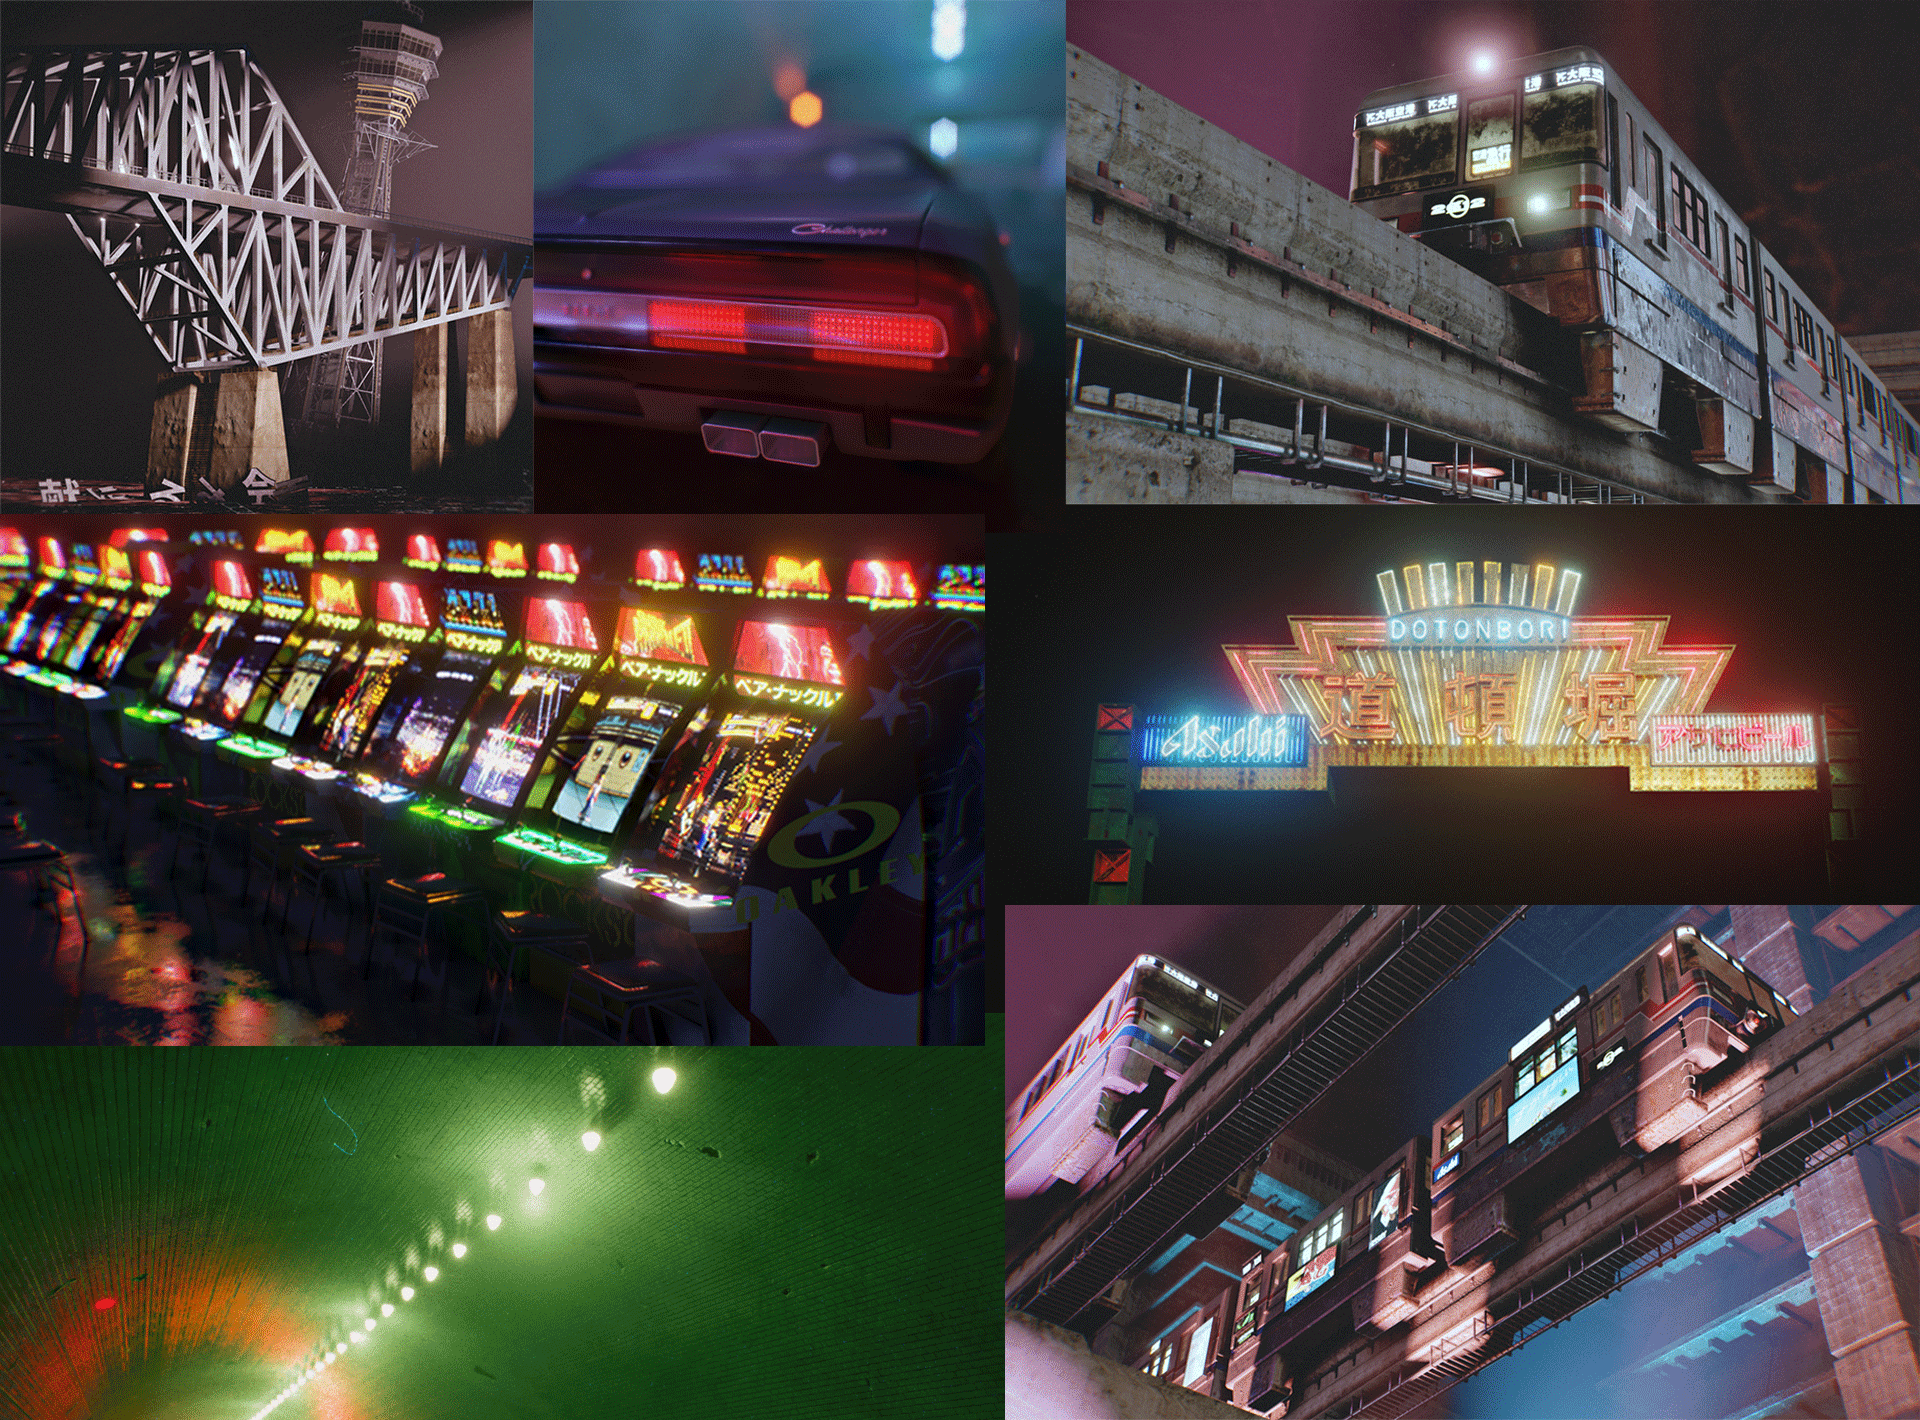
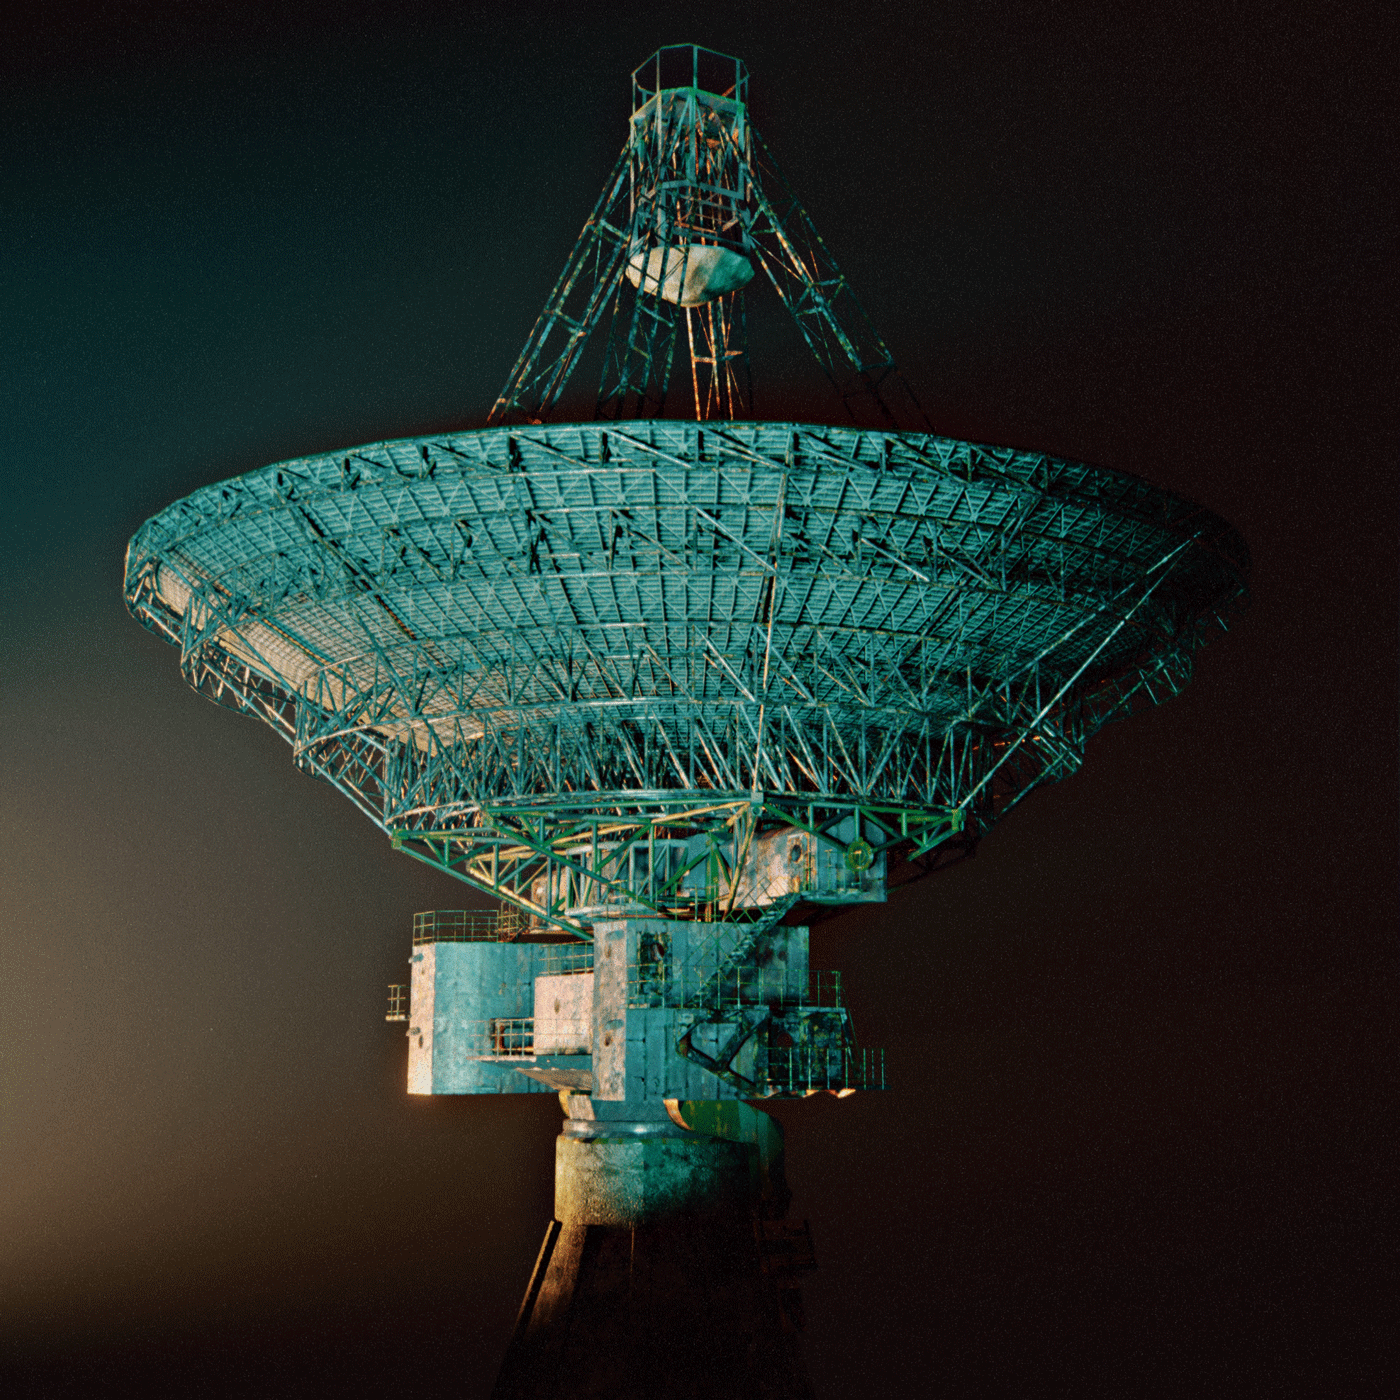
I love landmarks and abandoned places in the world. And this was one of the places in my reference archive. To create my fictional universe and use it as an asset for my project, I decided to make it.
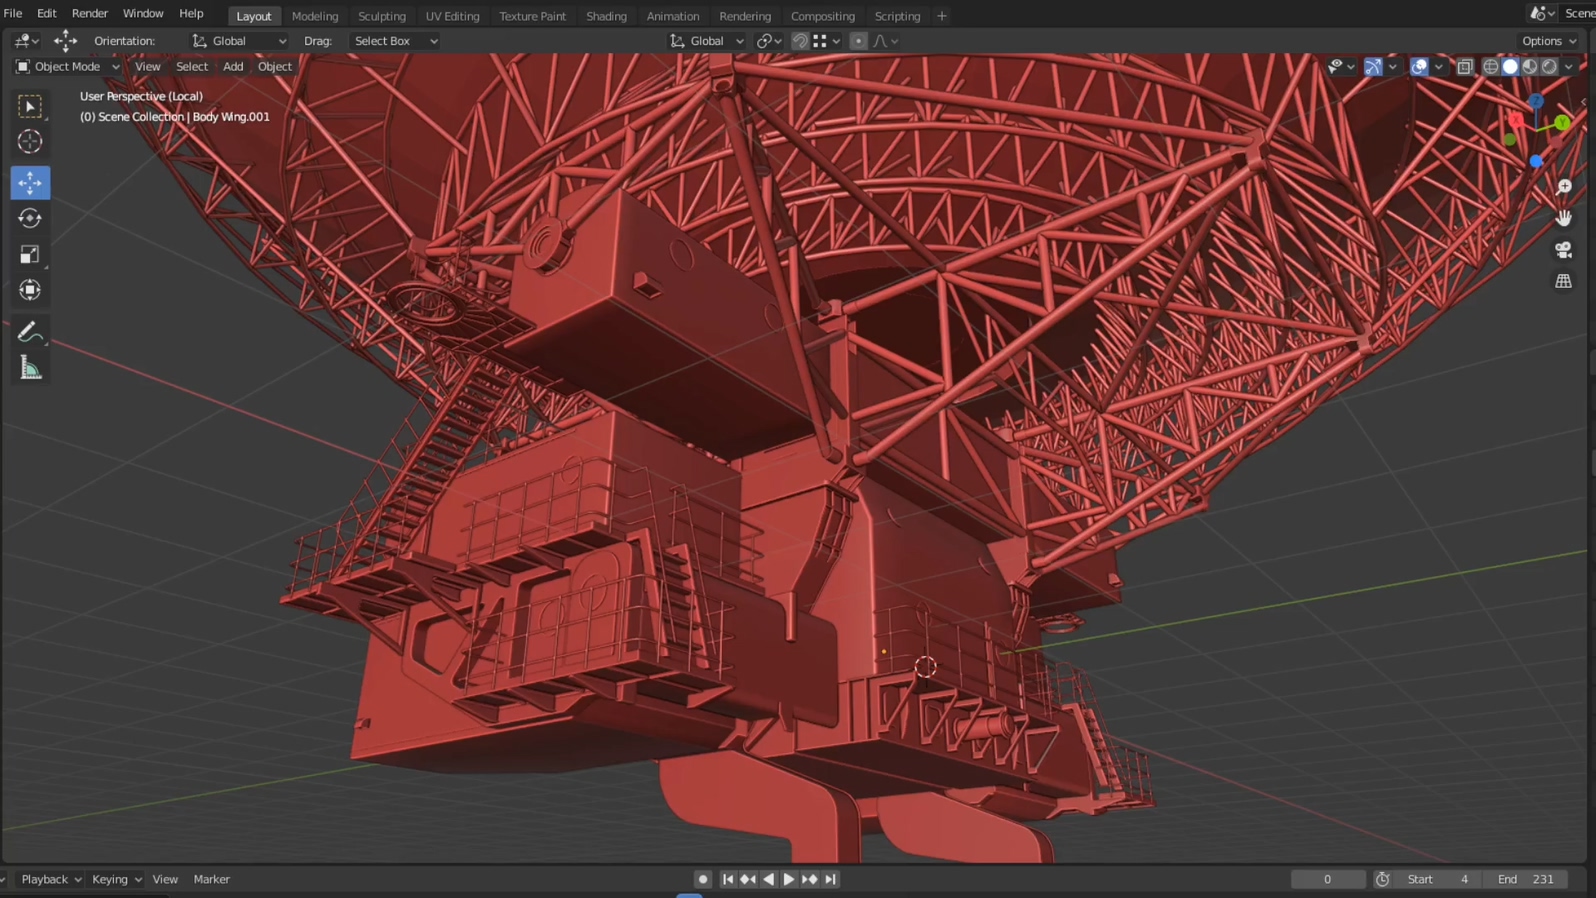
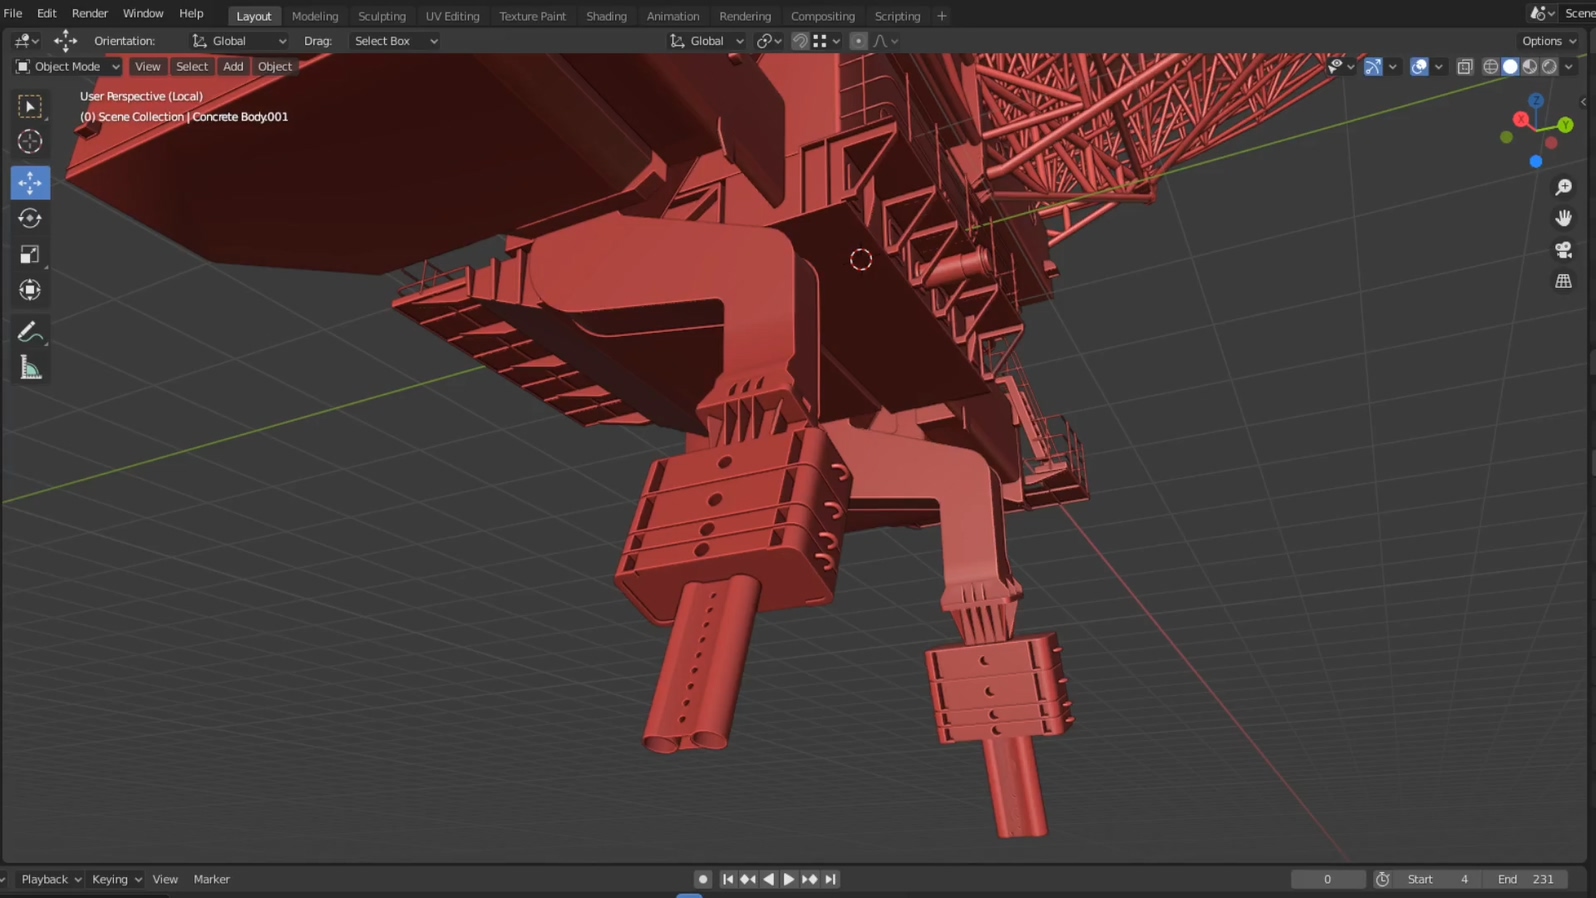
Modeling
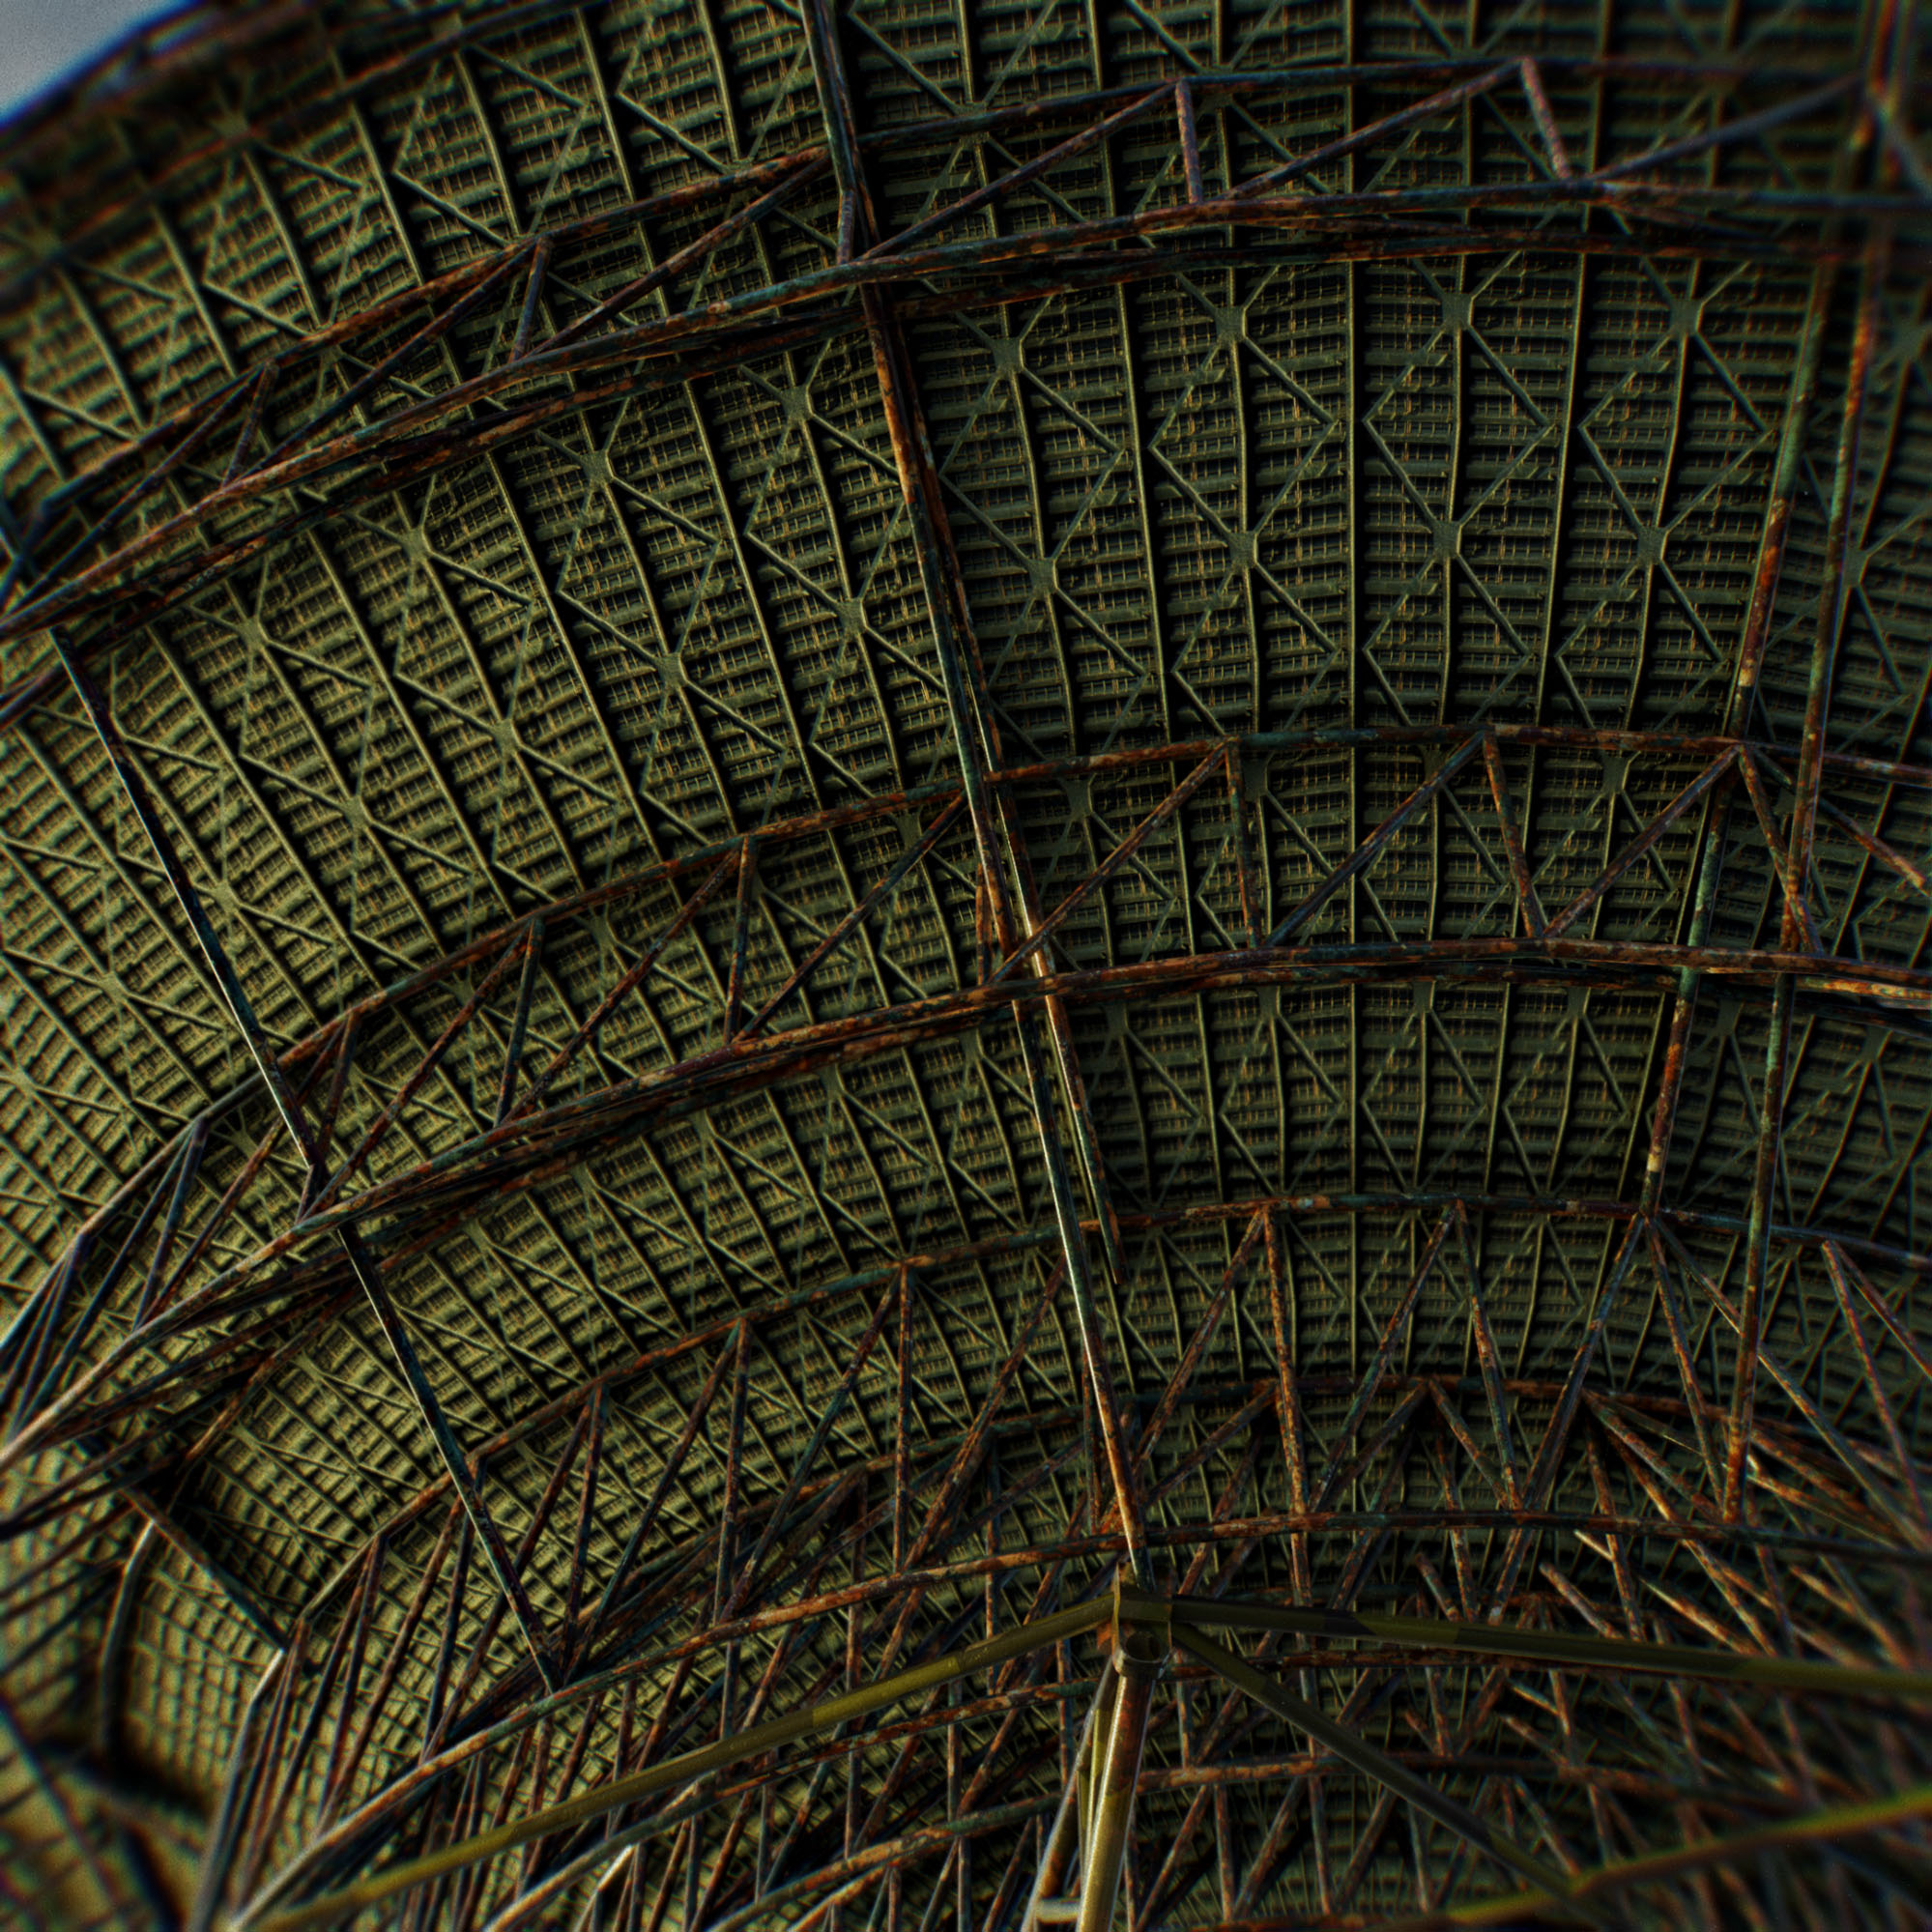
Basically, I’m focusing on making low-poly models to be used efficiently in animated films or real-time render projects. So I modeled it as simple as possible and I skipped some small details. As you might expect, I used curves, array, and mirror modifiers, etc. Then I added simple rigging and finished modeling.
Texturing
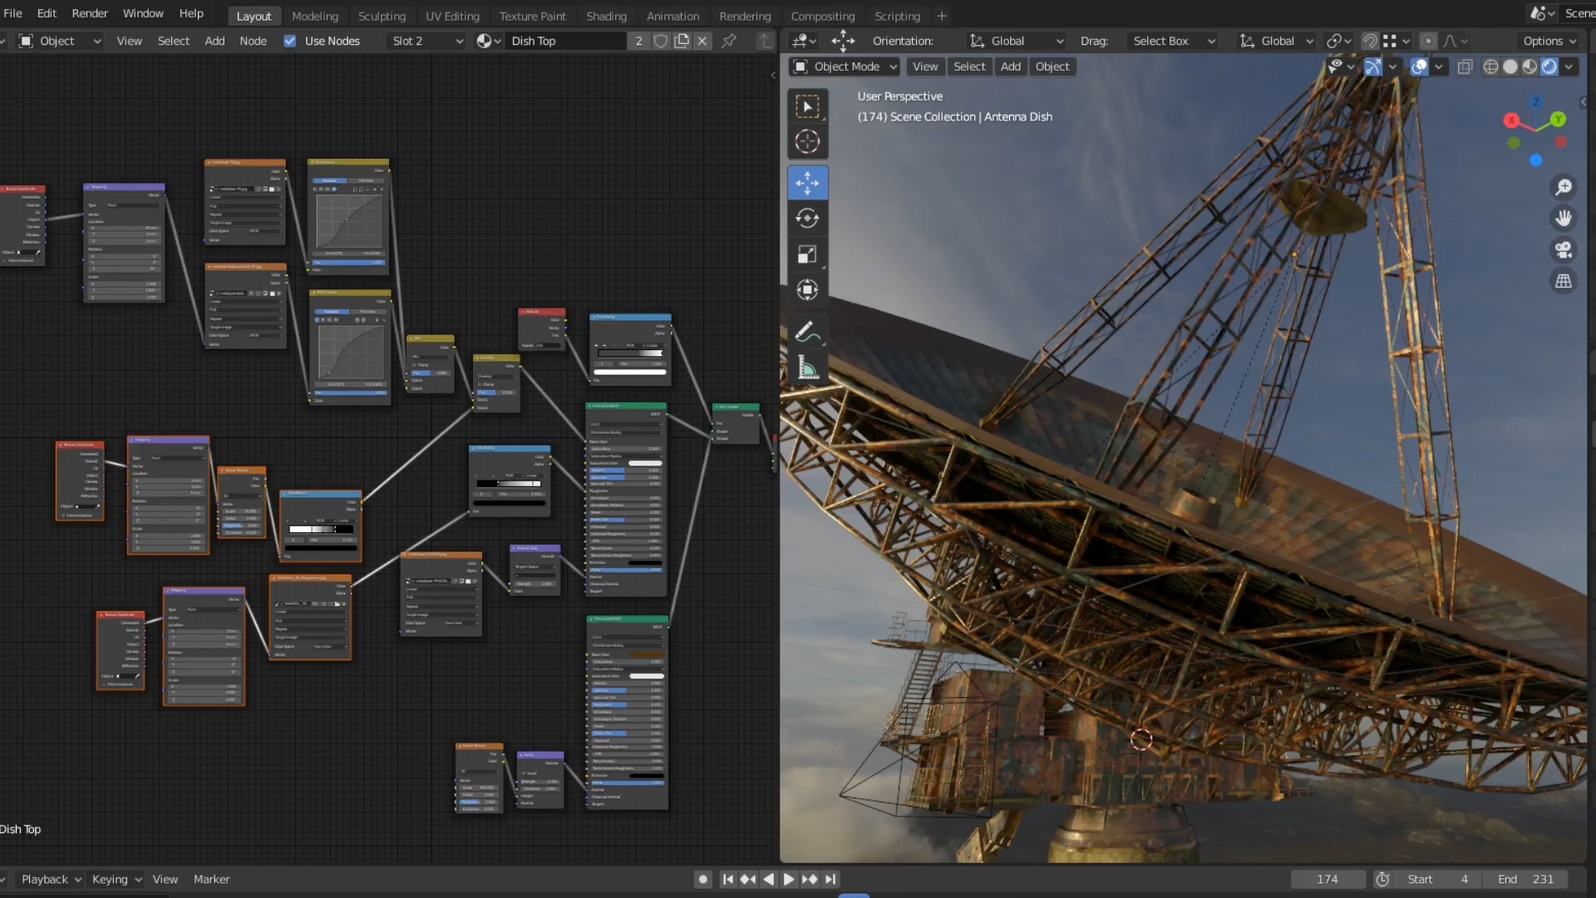
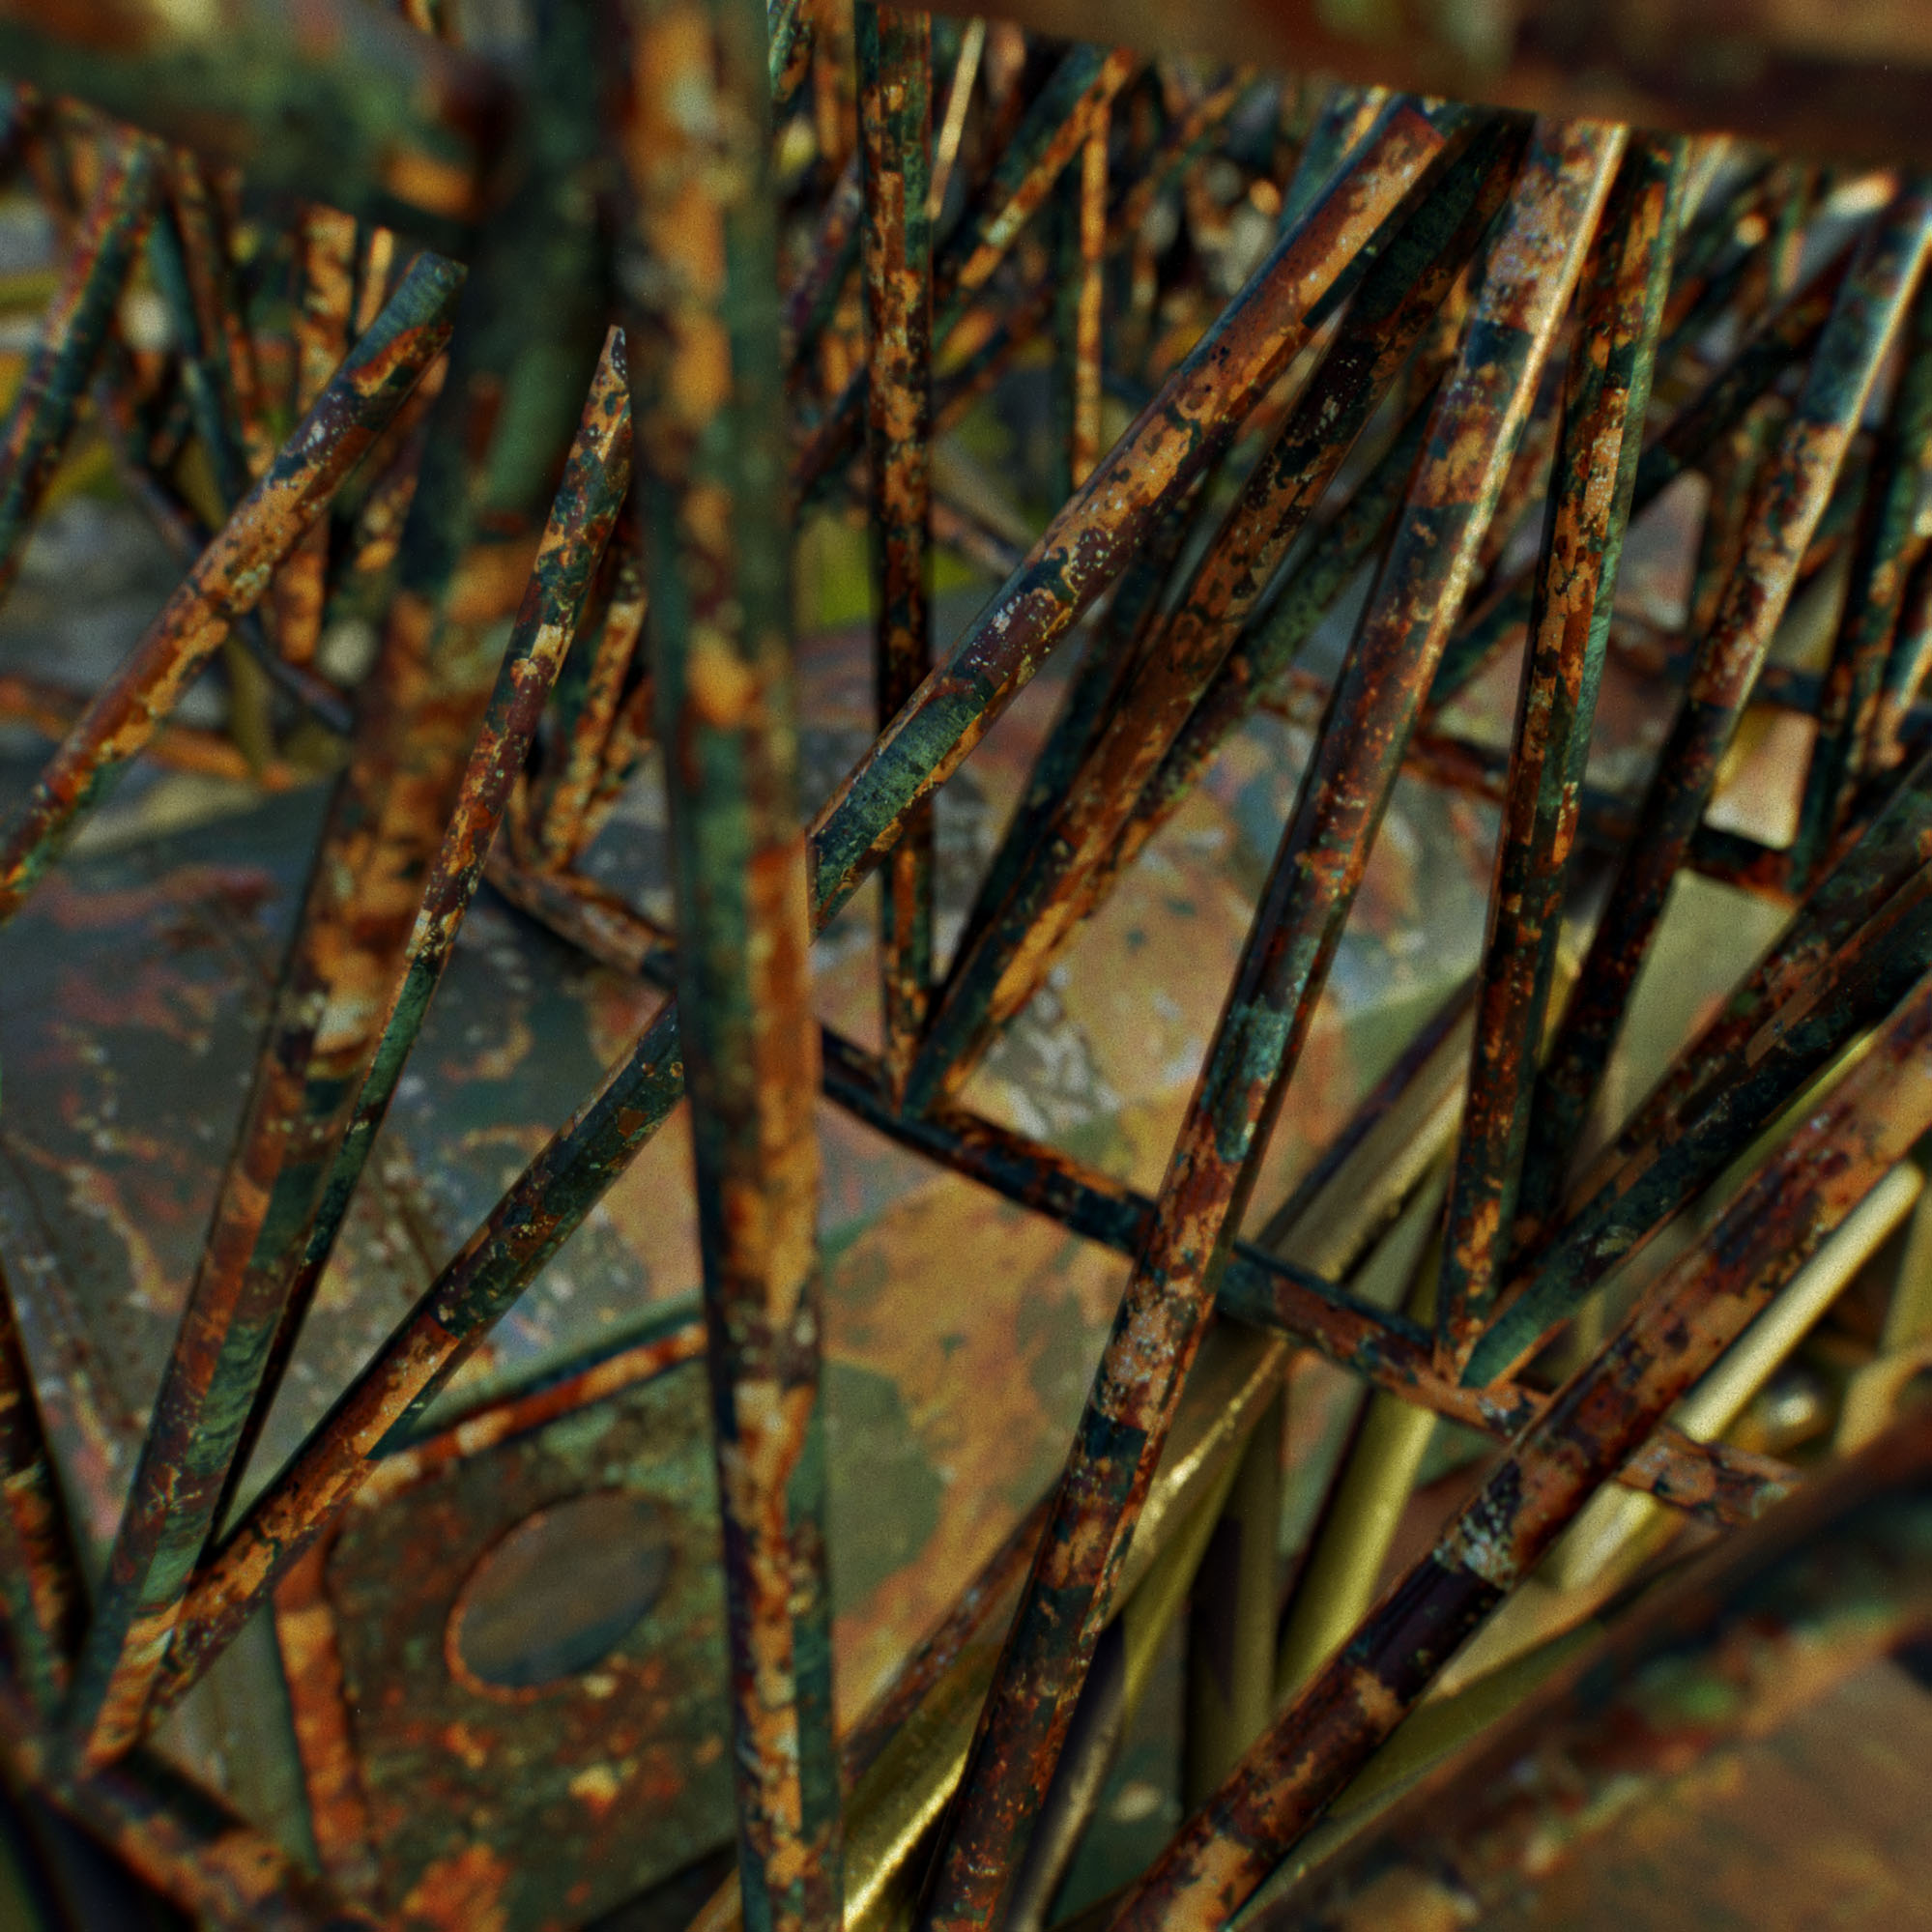
I didn’t use a complicated texturing method, but in order to make this model leave a strong impression in the scene, I made it look badly damaged and post-apocalyptic. I used photos of riveted metal or rusty metal, Swedish army m90 camo patterns, metal textures, and surface imperfection textures provided by textures.com, poliigon.com, and Quixel. I also used the normal maps that I generated with Photoshop.
The dense bottom part is finished by mapping a photo of a metal beam and emphasizing it with a generated normal map. Kinda cheating?:)
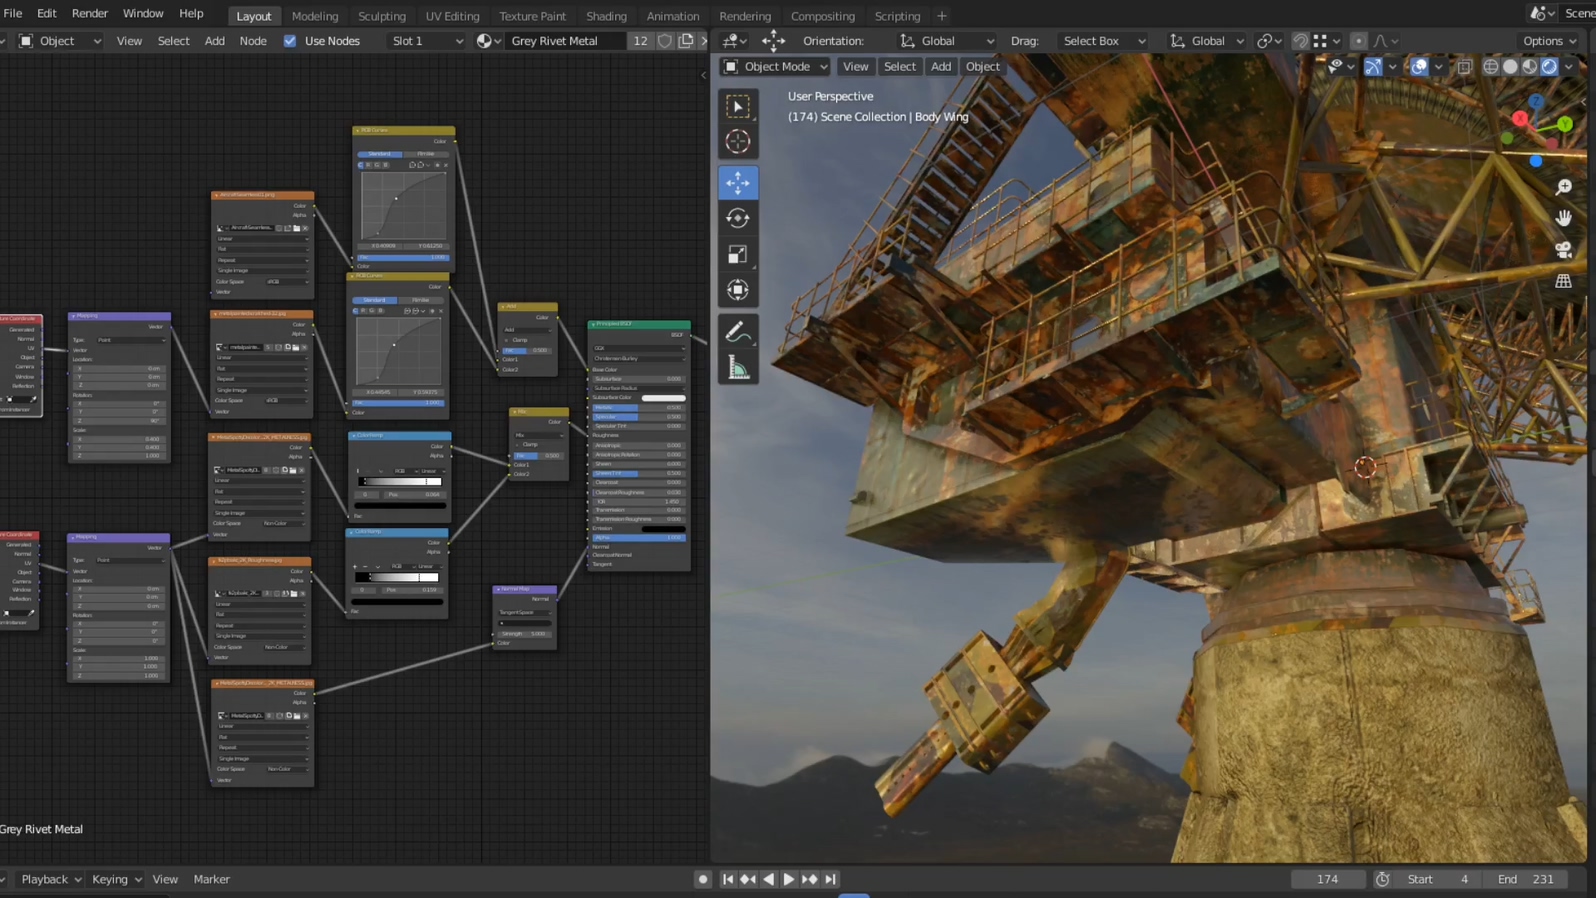
EEVEE
I am using Eevee for all my work. With a little more attention to texturing and lighting, and adding post-processing like color grading and sharpening, this renderer produces very efficient and powerful results. Especially since I’m focusing on sequences that require a lot of frames, a real-time renderer is essential for me.
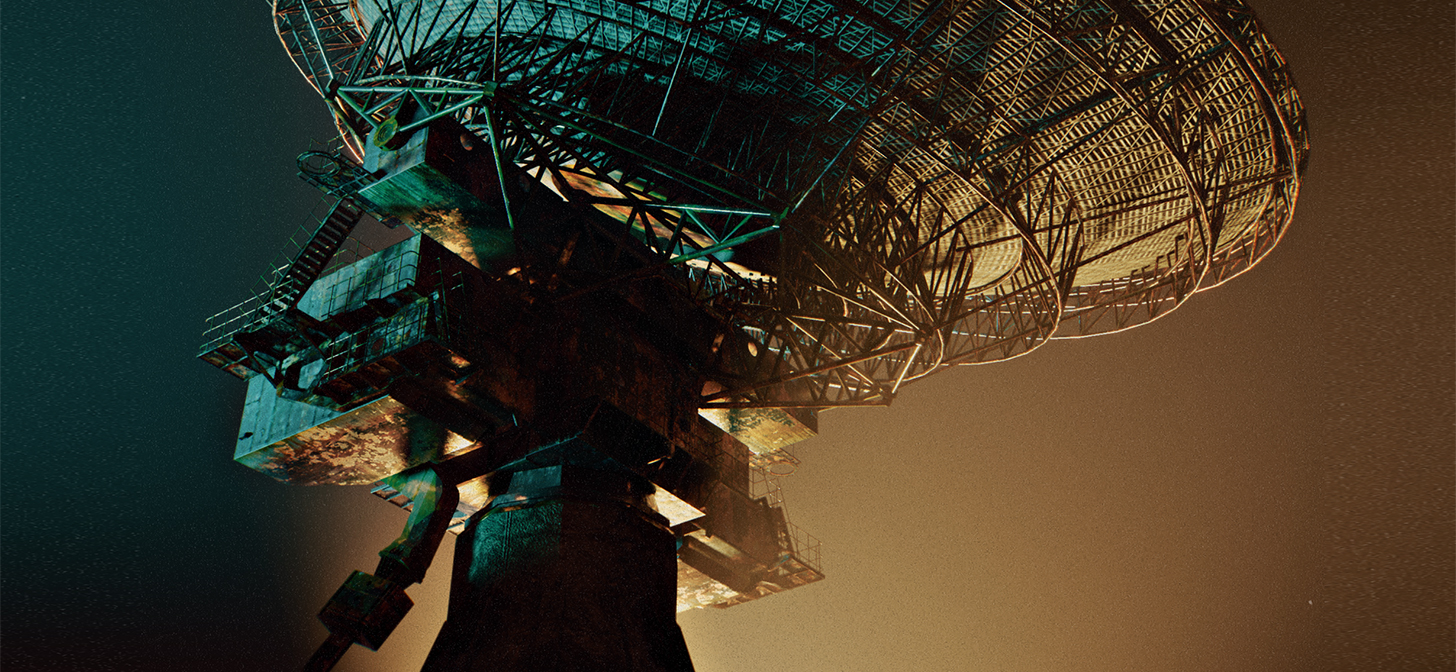
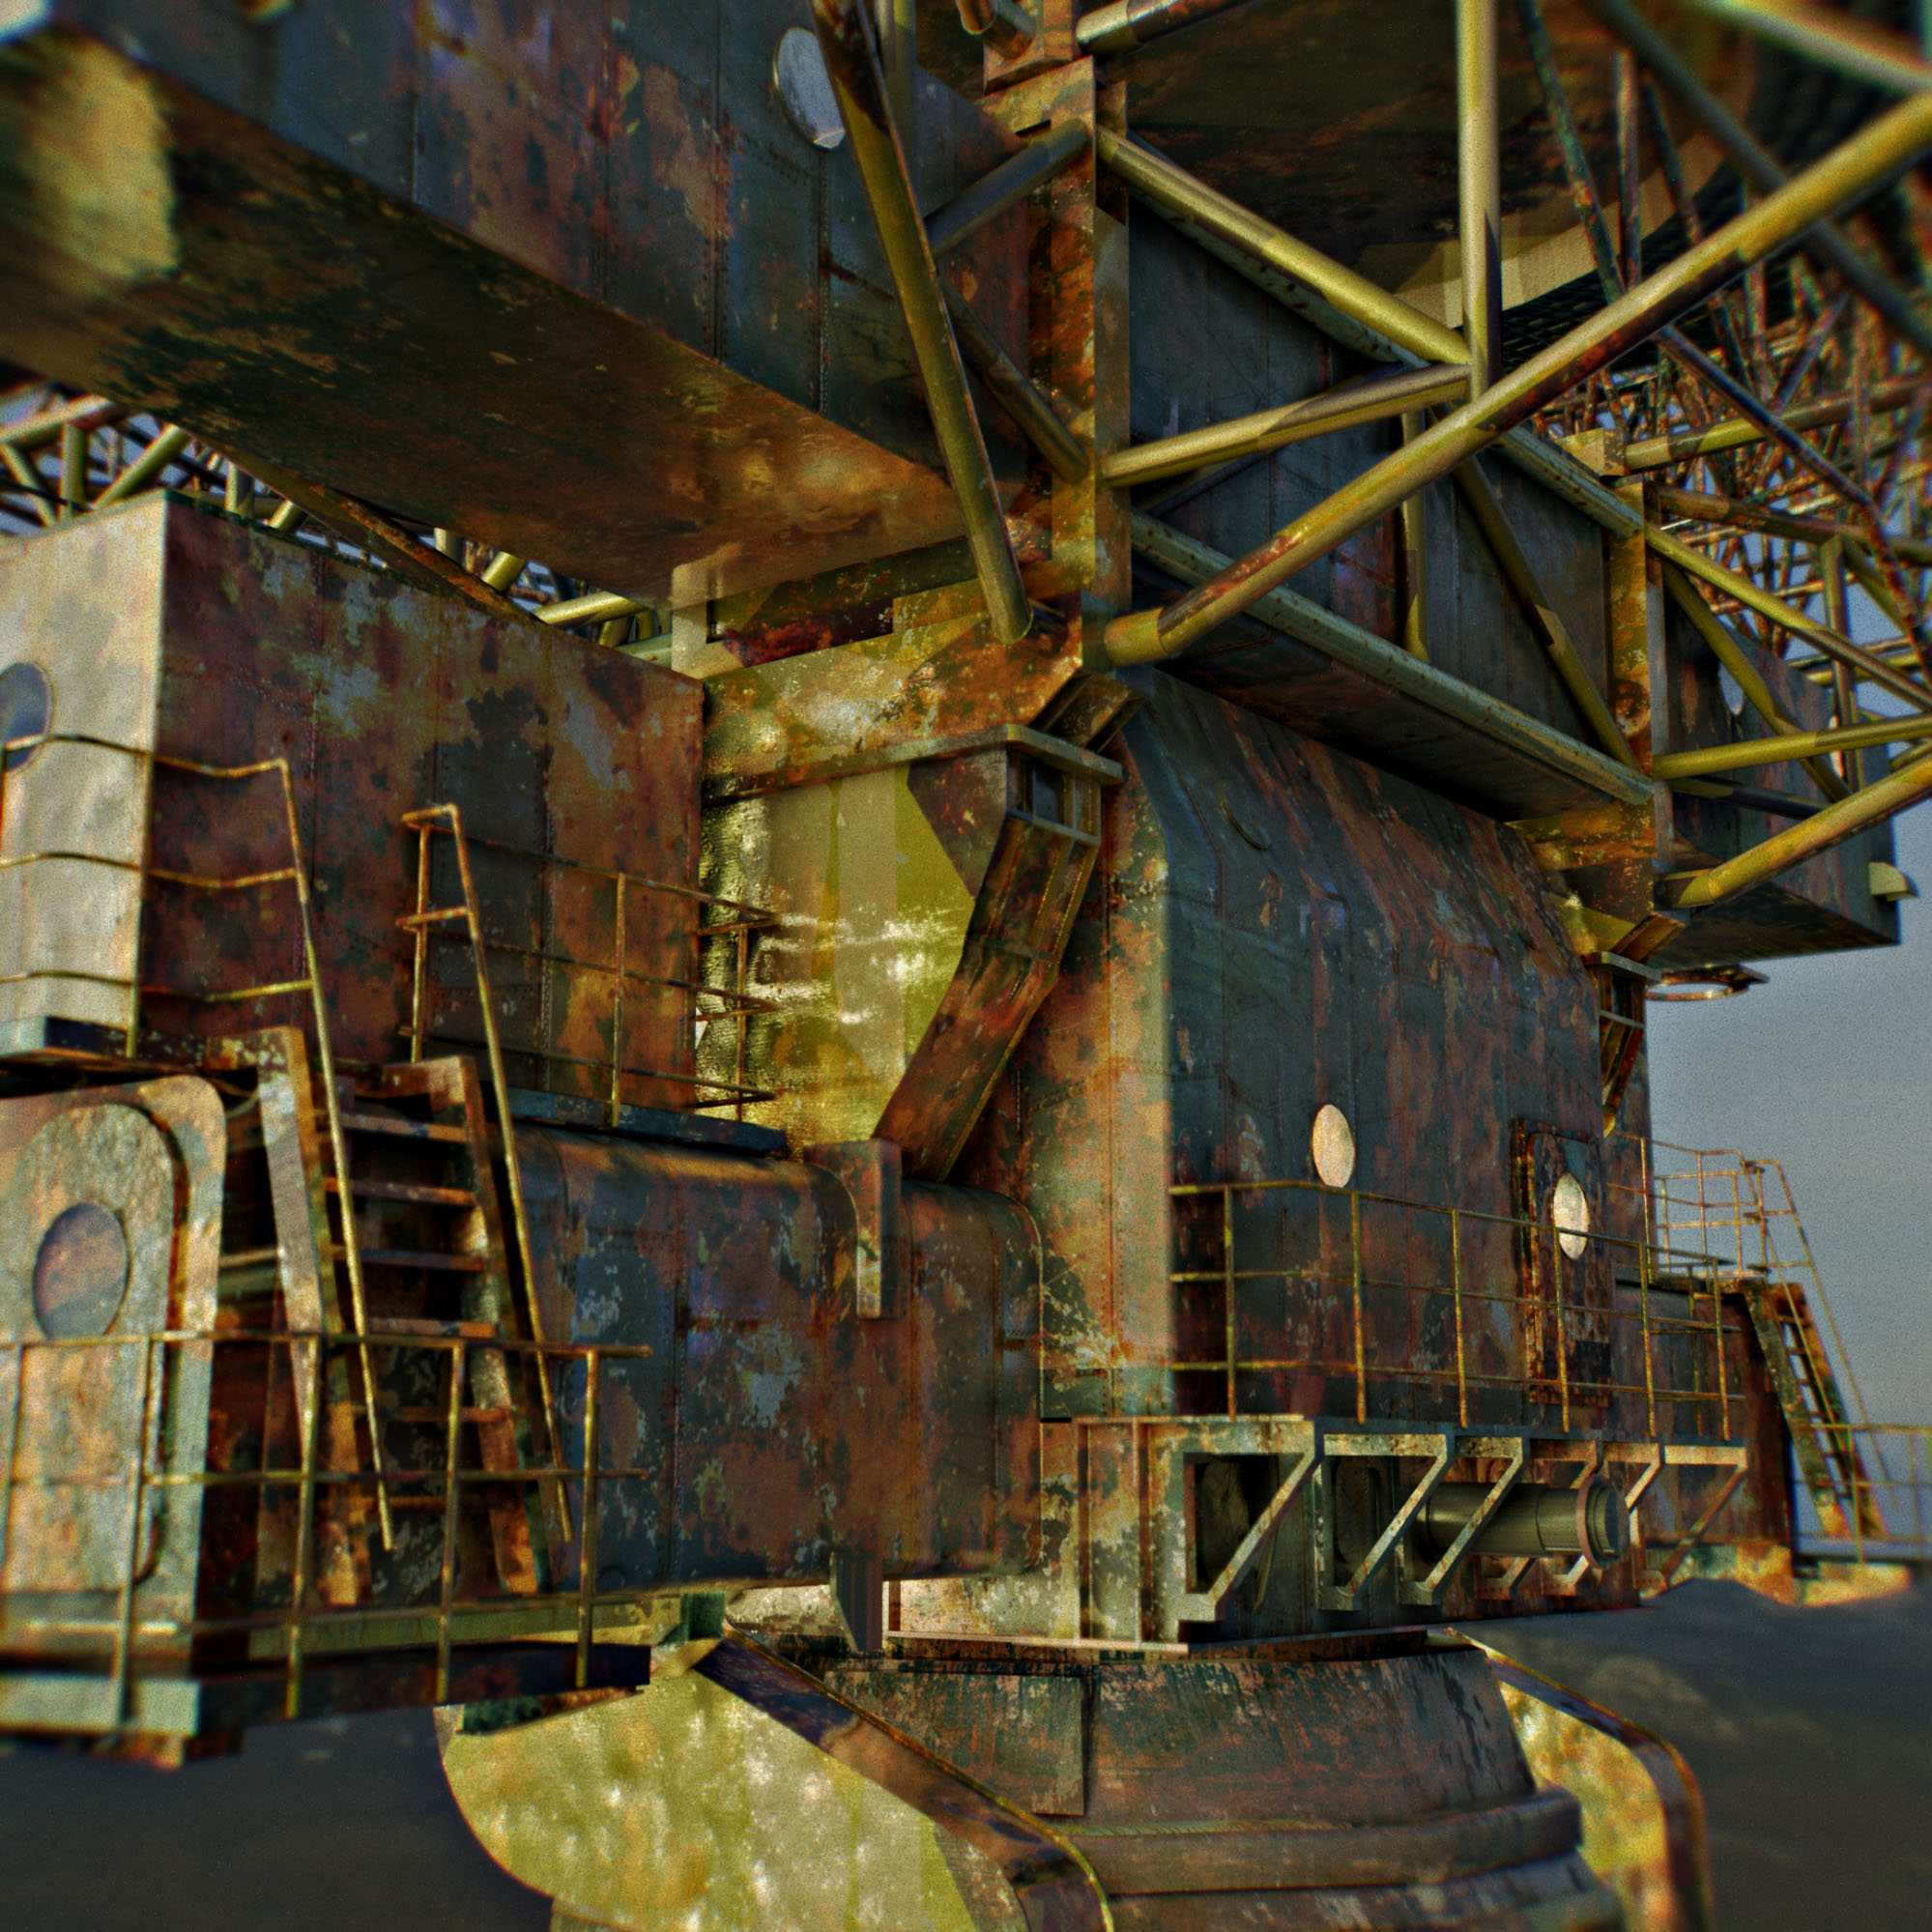
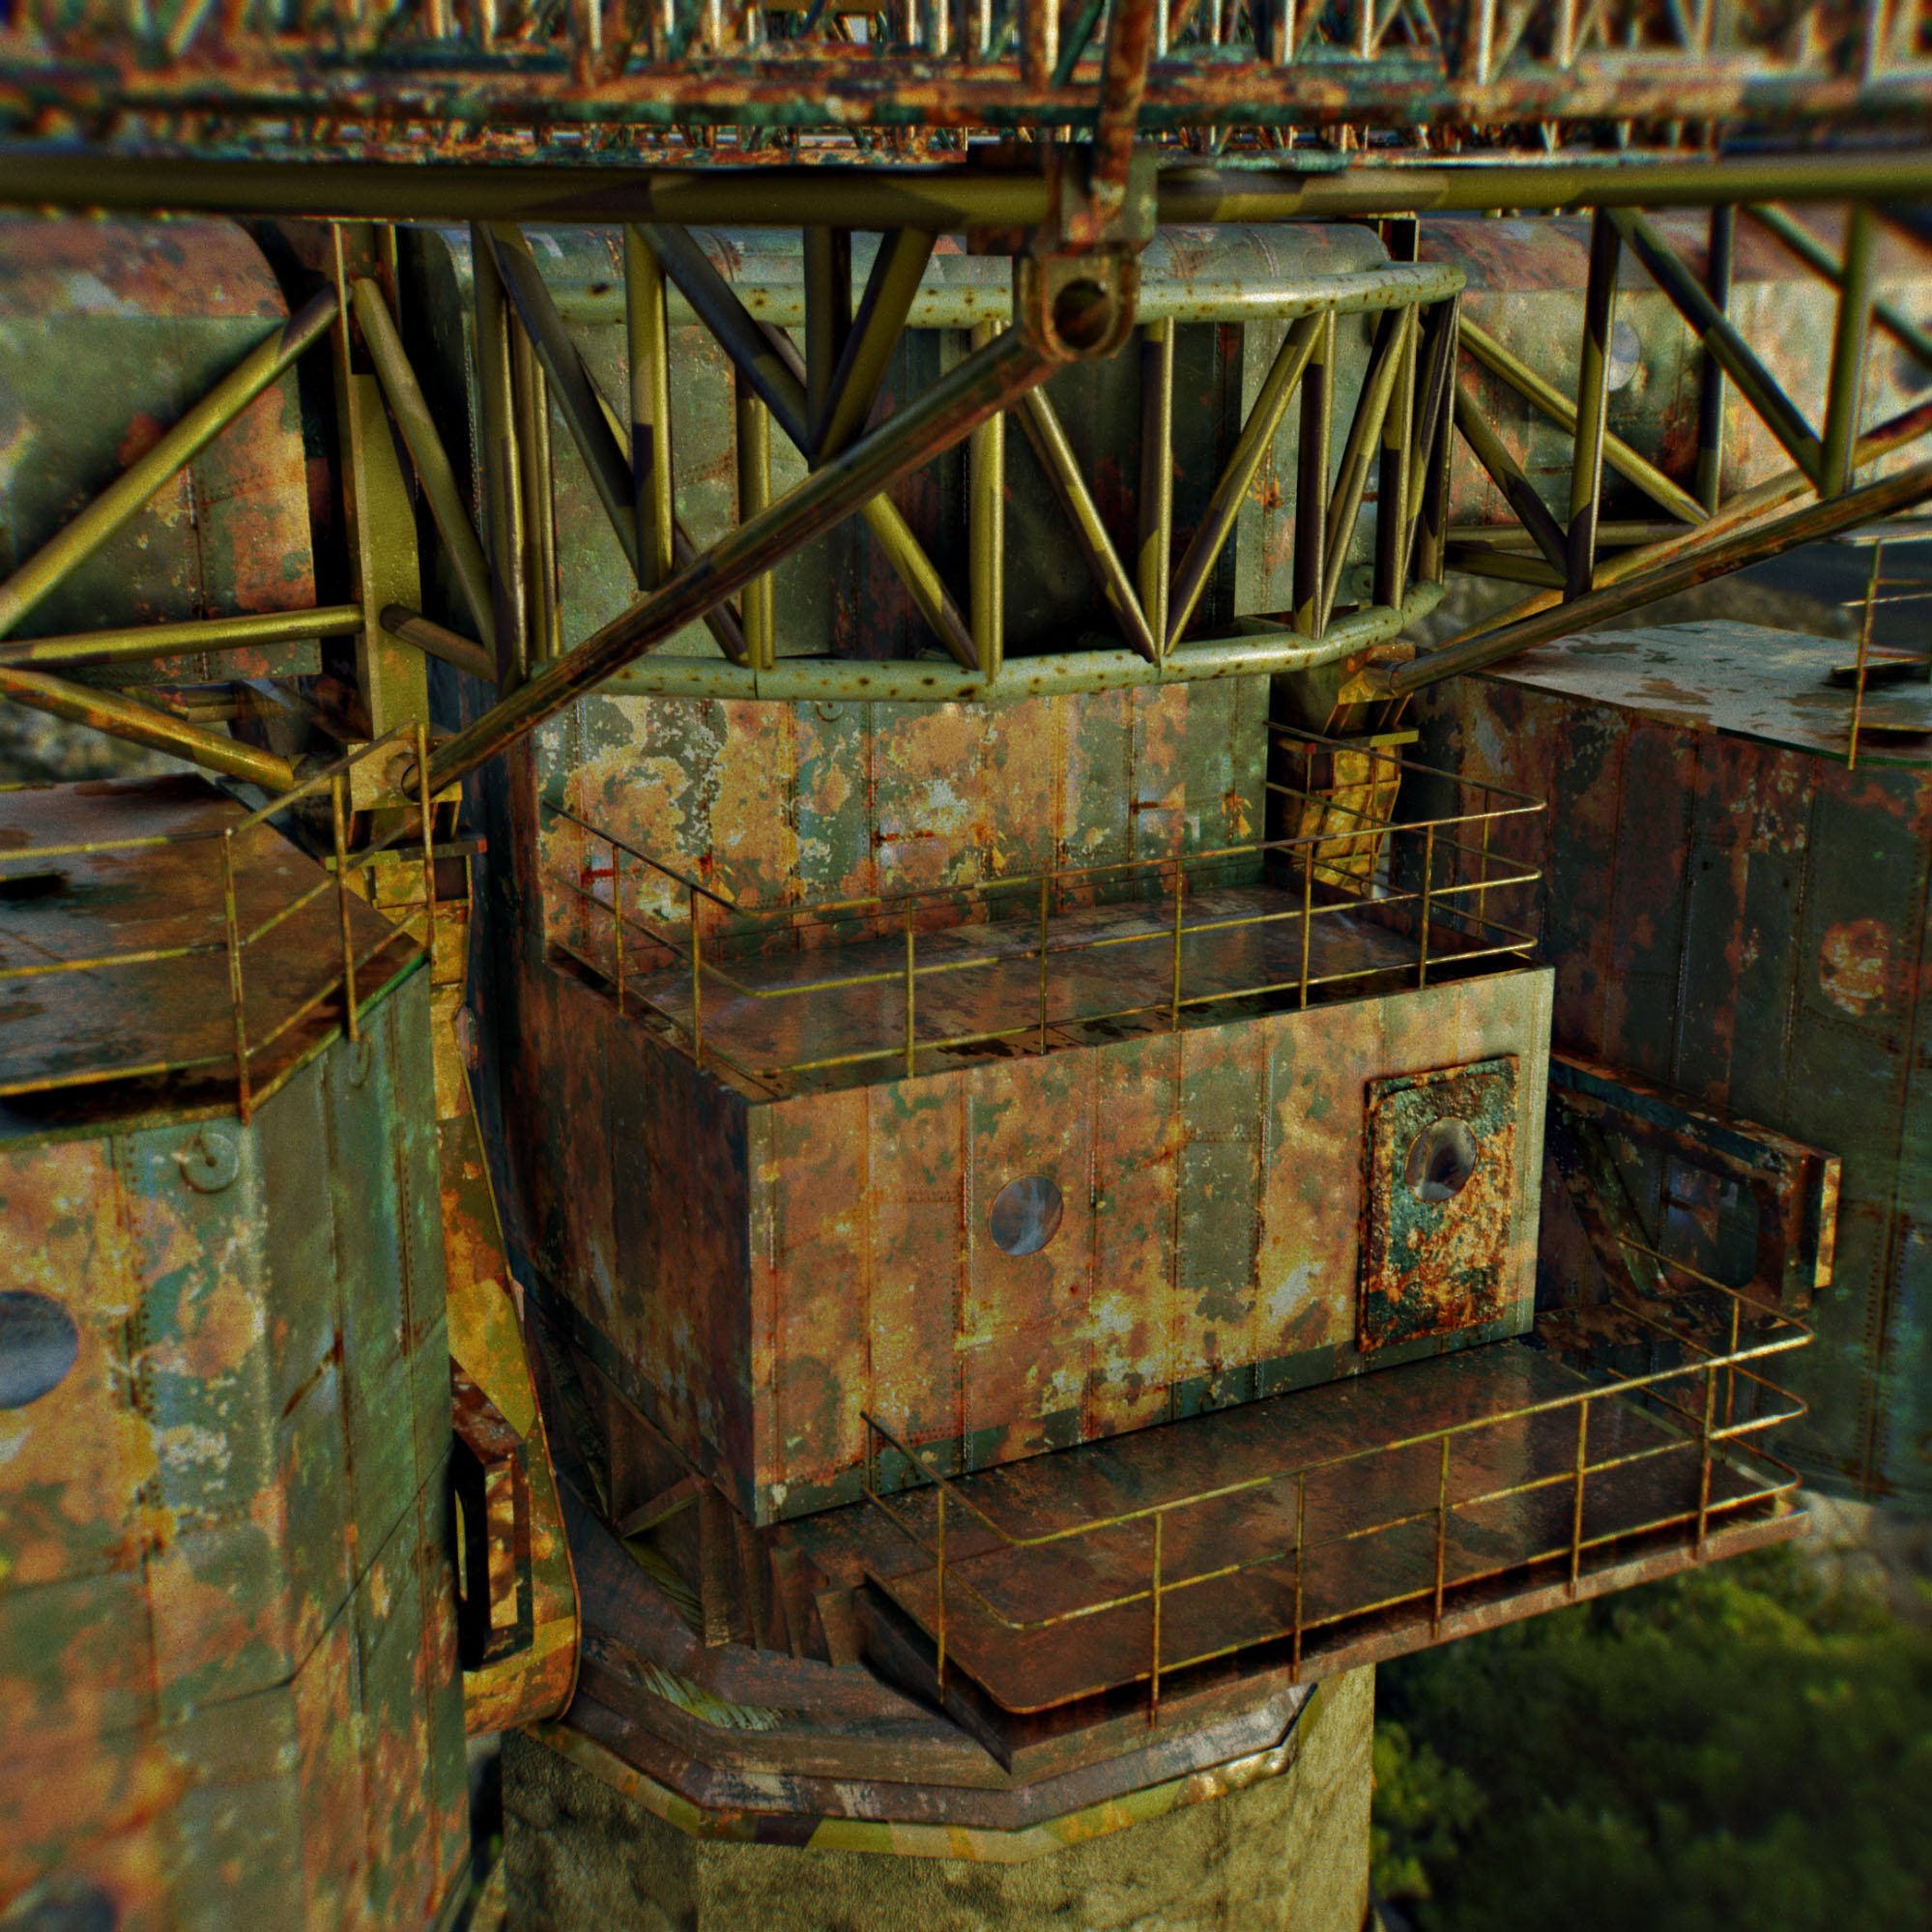
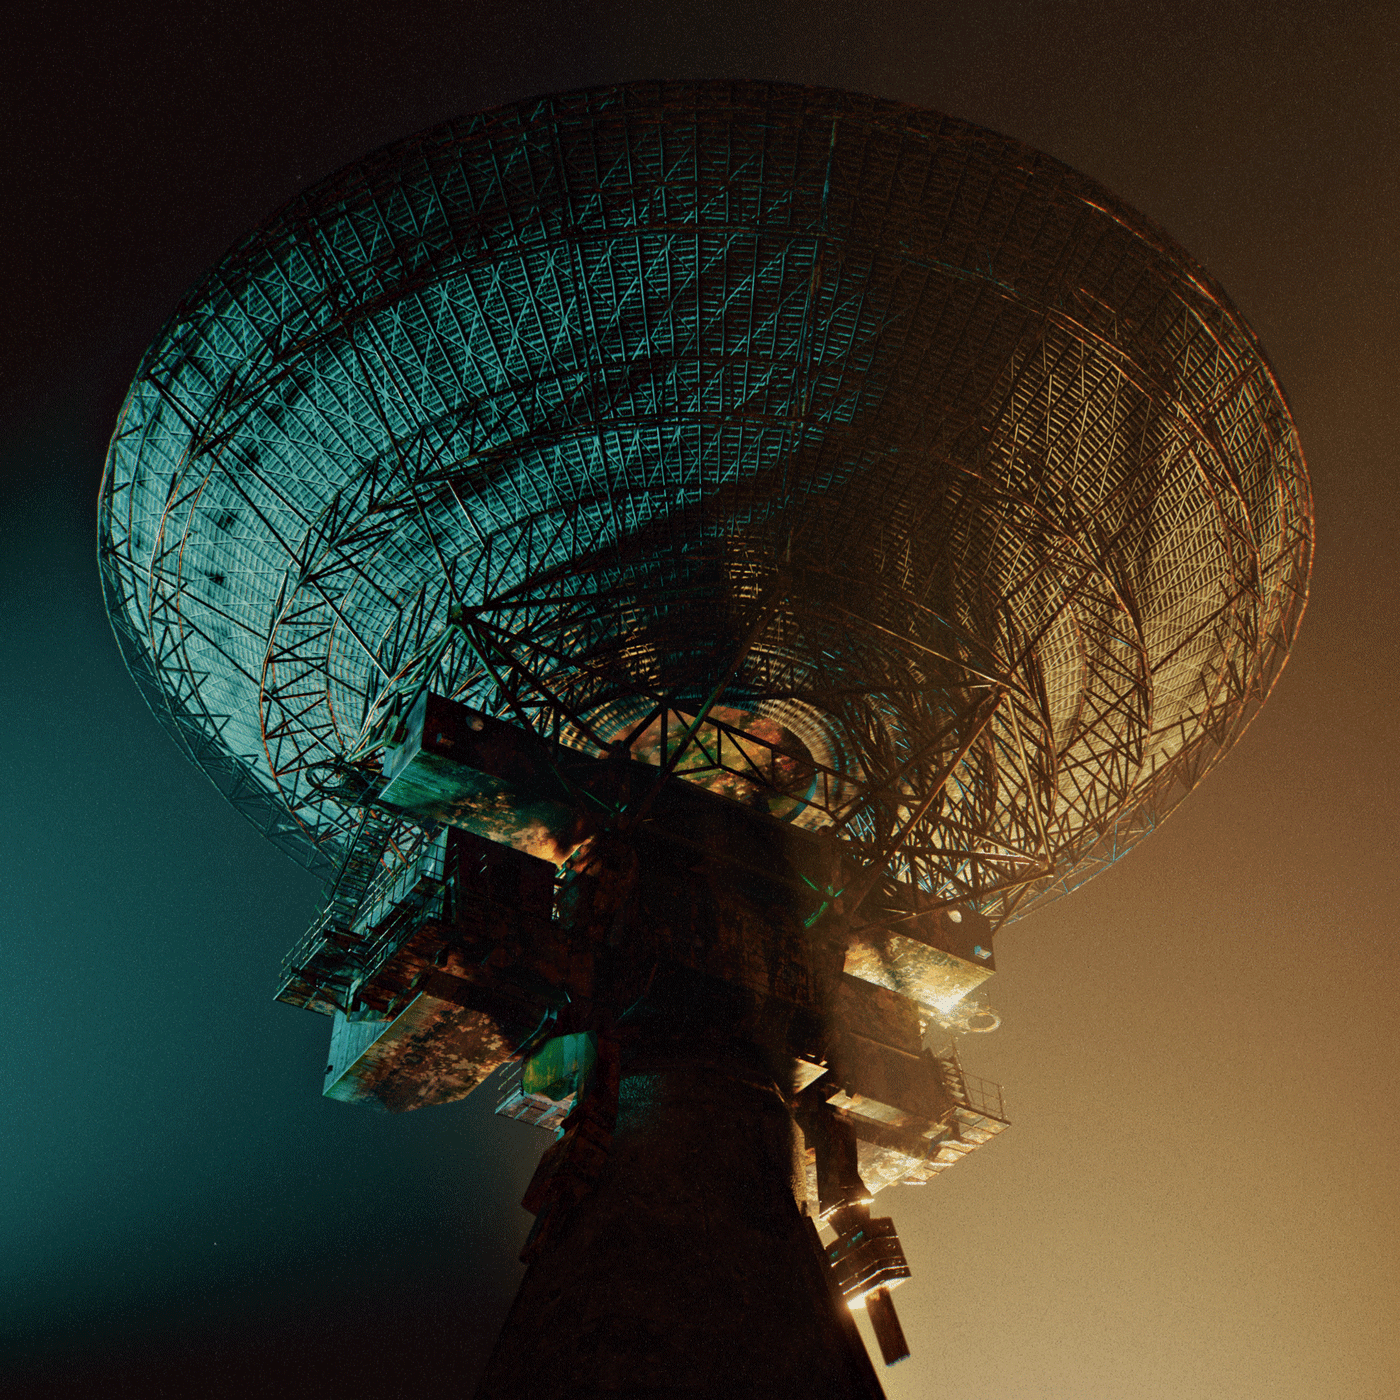
Lighting
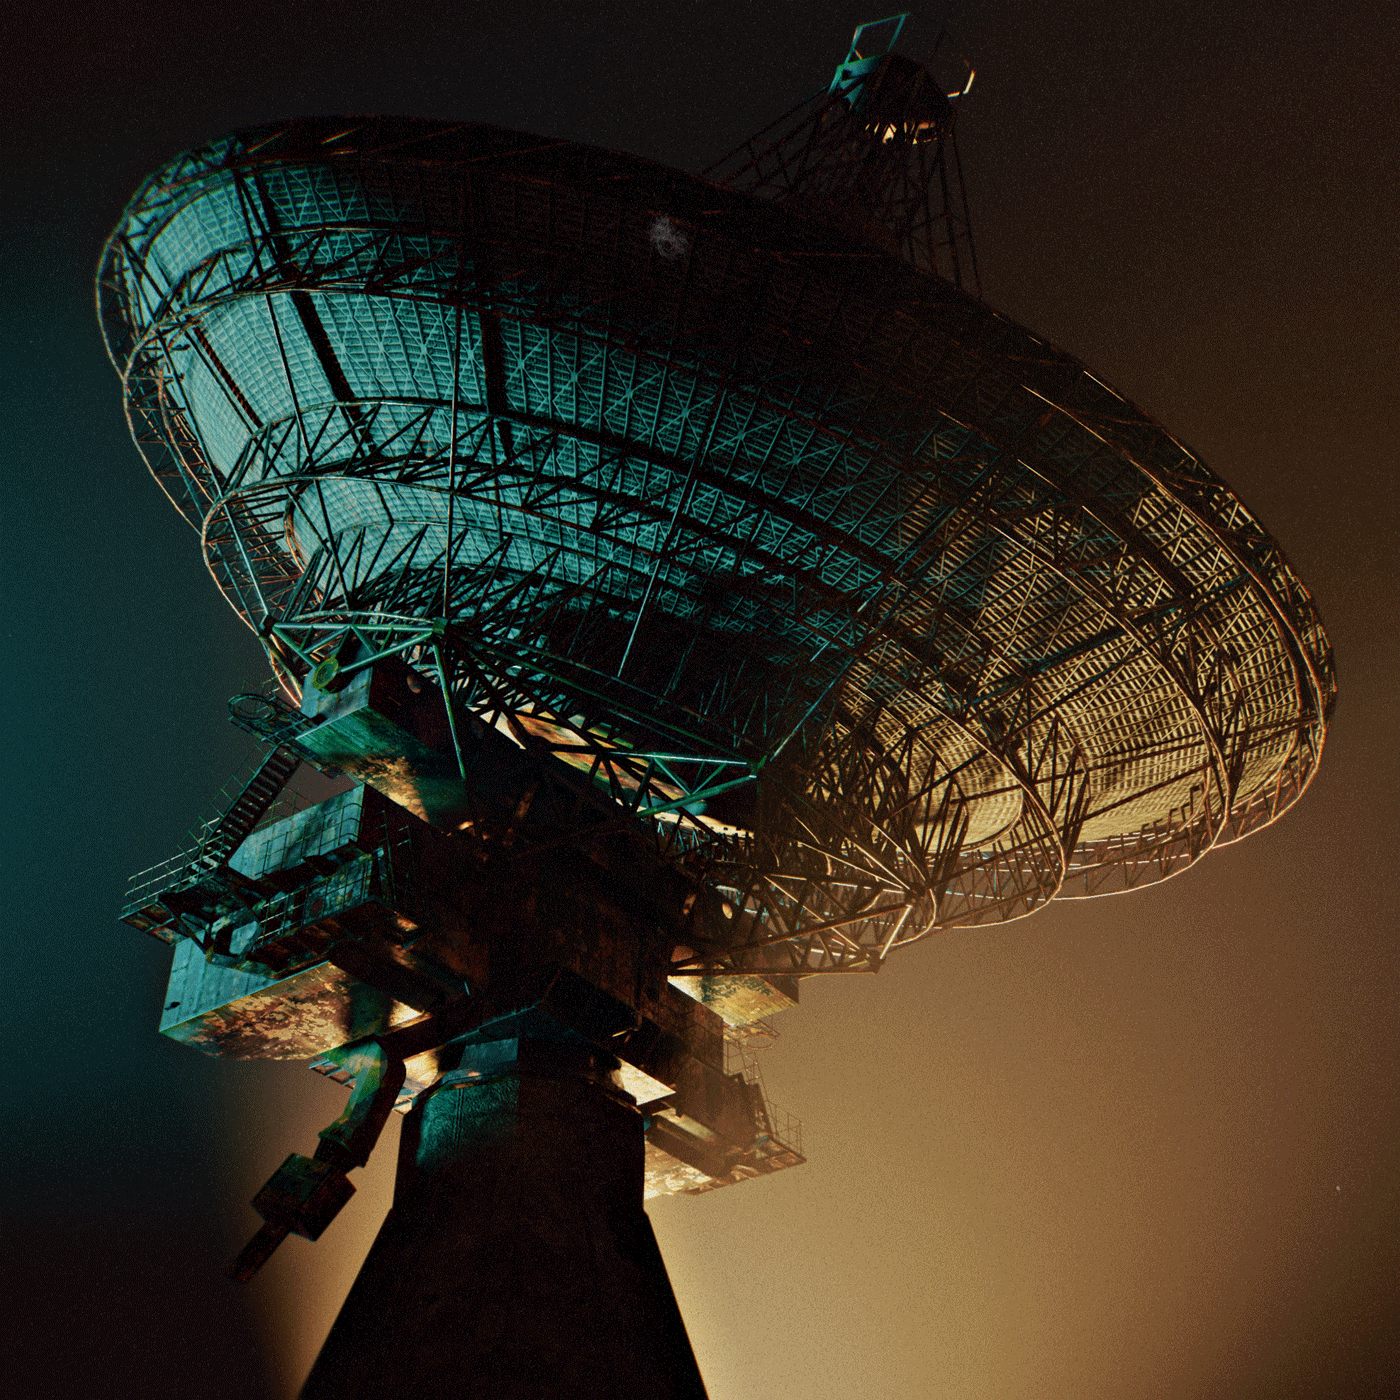
As you all know, lighting is so important. This time I was inspired by the lighting of the movie Ad Astra, and I tried orange and green lighting. Then I added an atmosphere like film photography using After Effects.
Tools
- Blender 2.83
- Adobe Photoshop
- Adobe After Effects
Final Render
Thank you for your kind attention. I am currently working on various projects, and I will keep uploading them. Good luck to you and me all the time. Thank you!
About the Author
 Kiev 88 (Min-Jae Jeong), Video artist, Studying Blender and VFX for filmmaking:)


You are very talented!
Very well done, keep on! Cheers Karl (ueka)
Thank you so much everyone! And also to Abby and Bart!