
Hello, my name is Gabriela Fuentes, I'm originally from Monterrey, Mexico. I've been working for 5 years in the wonderful world of 3D and Blender has always been my best ally.
I'm an art, cinema, animation, and, of course, 3D enthusiast. My background as an artist is limited so far; I am taking small steps, trying to learn as much as I can at every opportunity, looking for my voice as an artist, keeping positive, being persistent and patient but above all being passionate and striking a balance.
Next, I will tell you about this project:
The Idea
Honestly, the idea of this project was born as a personal reminder that there are different ways of dealing with a bad situation and that it is possible to choose to see something as a victory rather than a defeat. Because I believe that with effort, passion, and time you can get everything you want, and with enthusiasm and positivism you will never feel defeat no matter what.
Moodboard and Sketches
Olivia
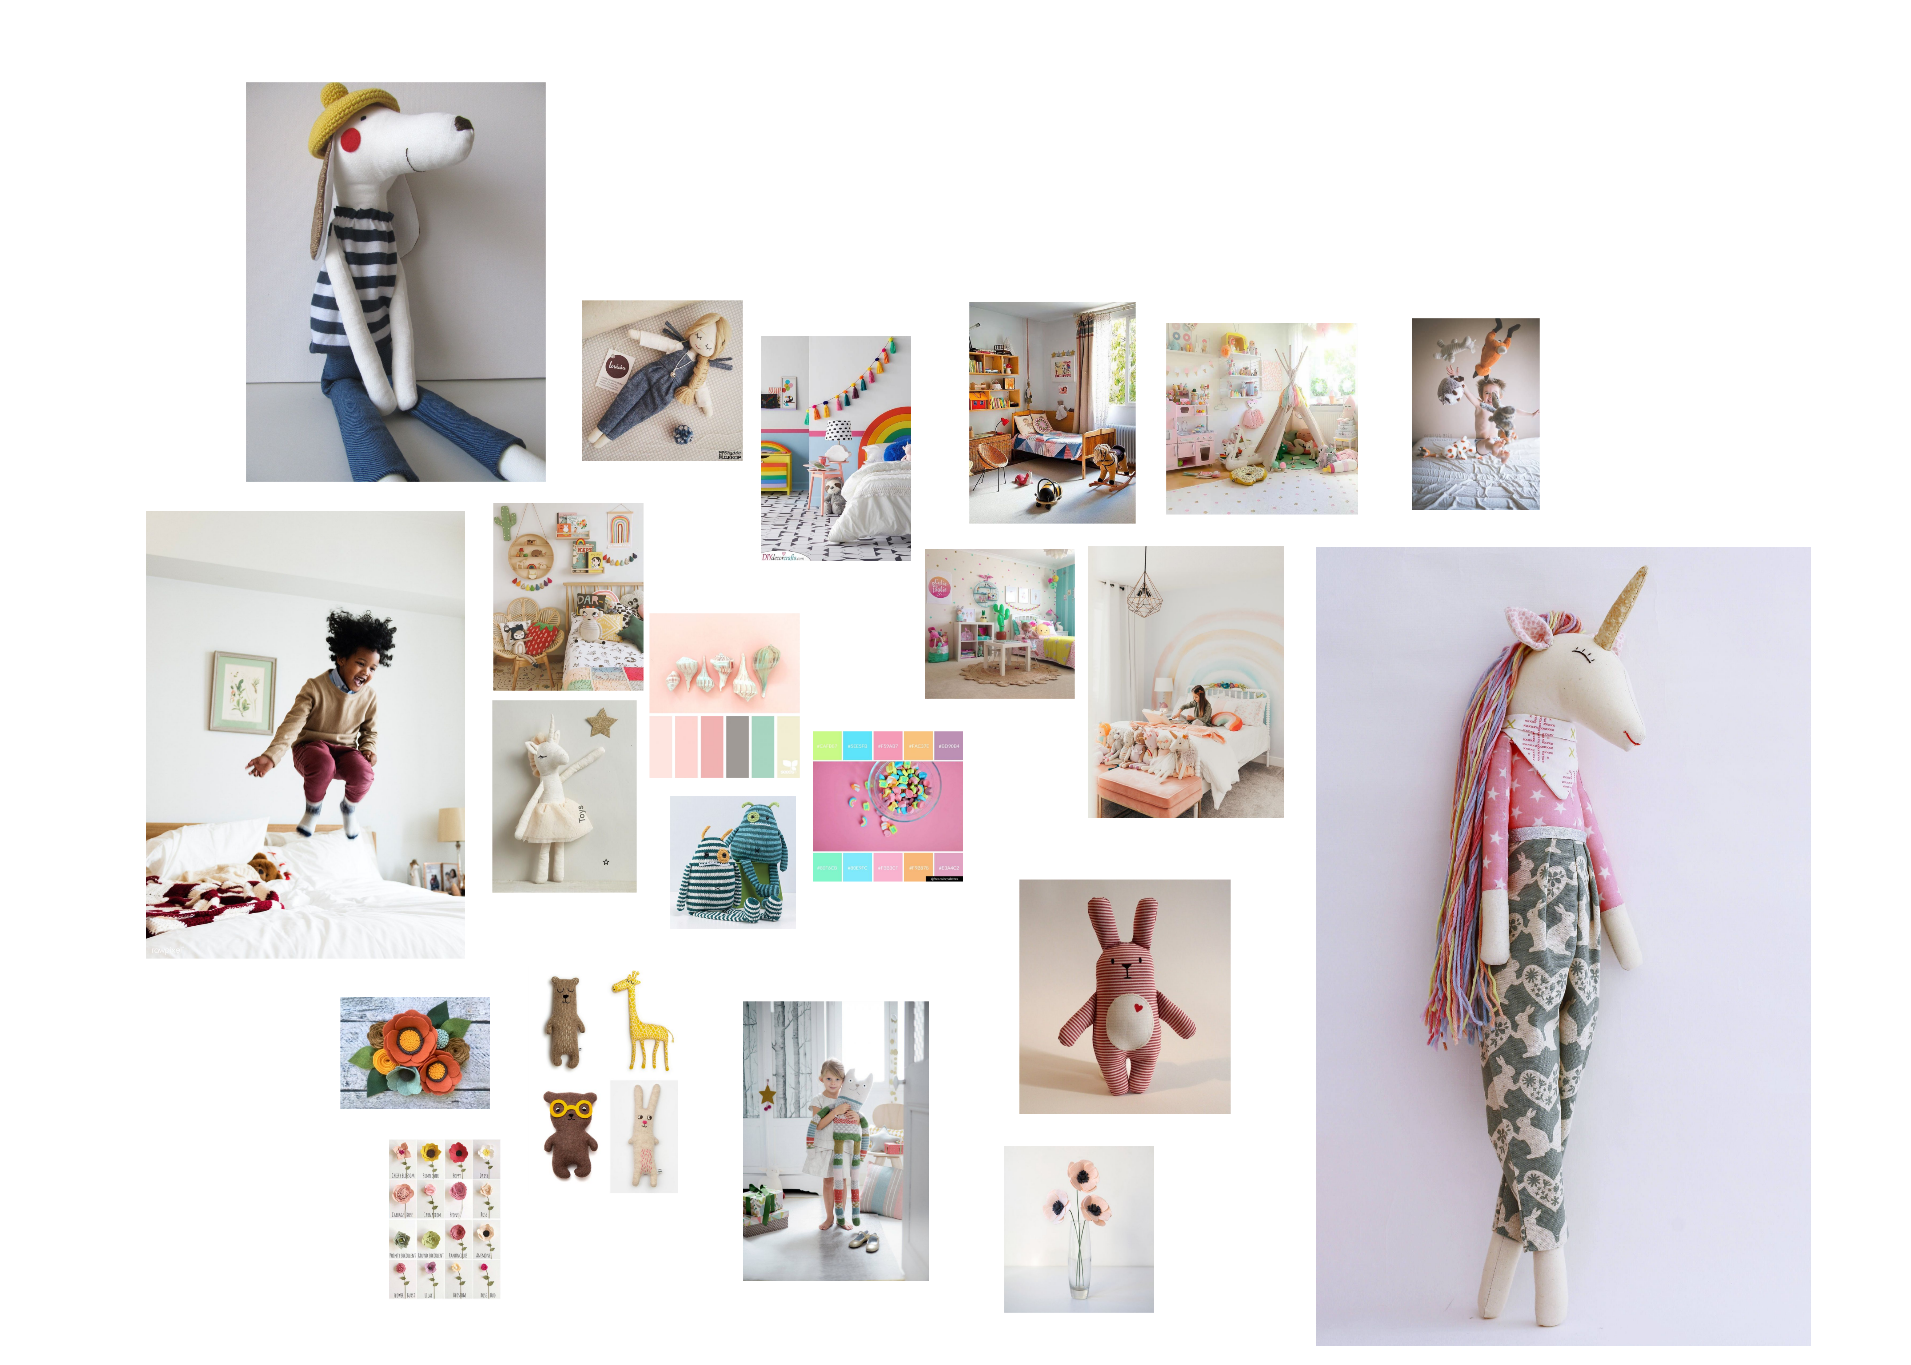
I wanted my character to be made of basic shapes, so I chose mood board references of several styles of character with big square heads, big bright round eyes, and pronounced ears. I chose some render finishes that I wanted to achieve and color palettes that I wanted to work with. I also found some references for hairstyles and bright gymnastic outfits.
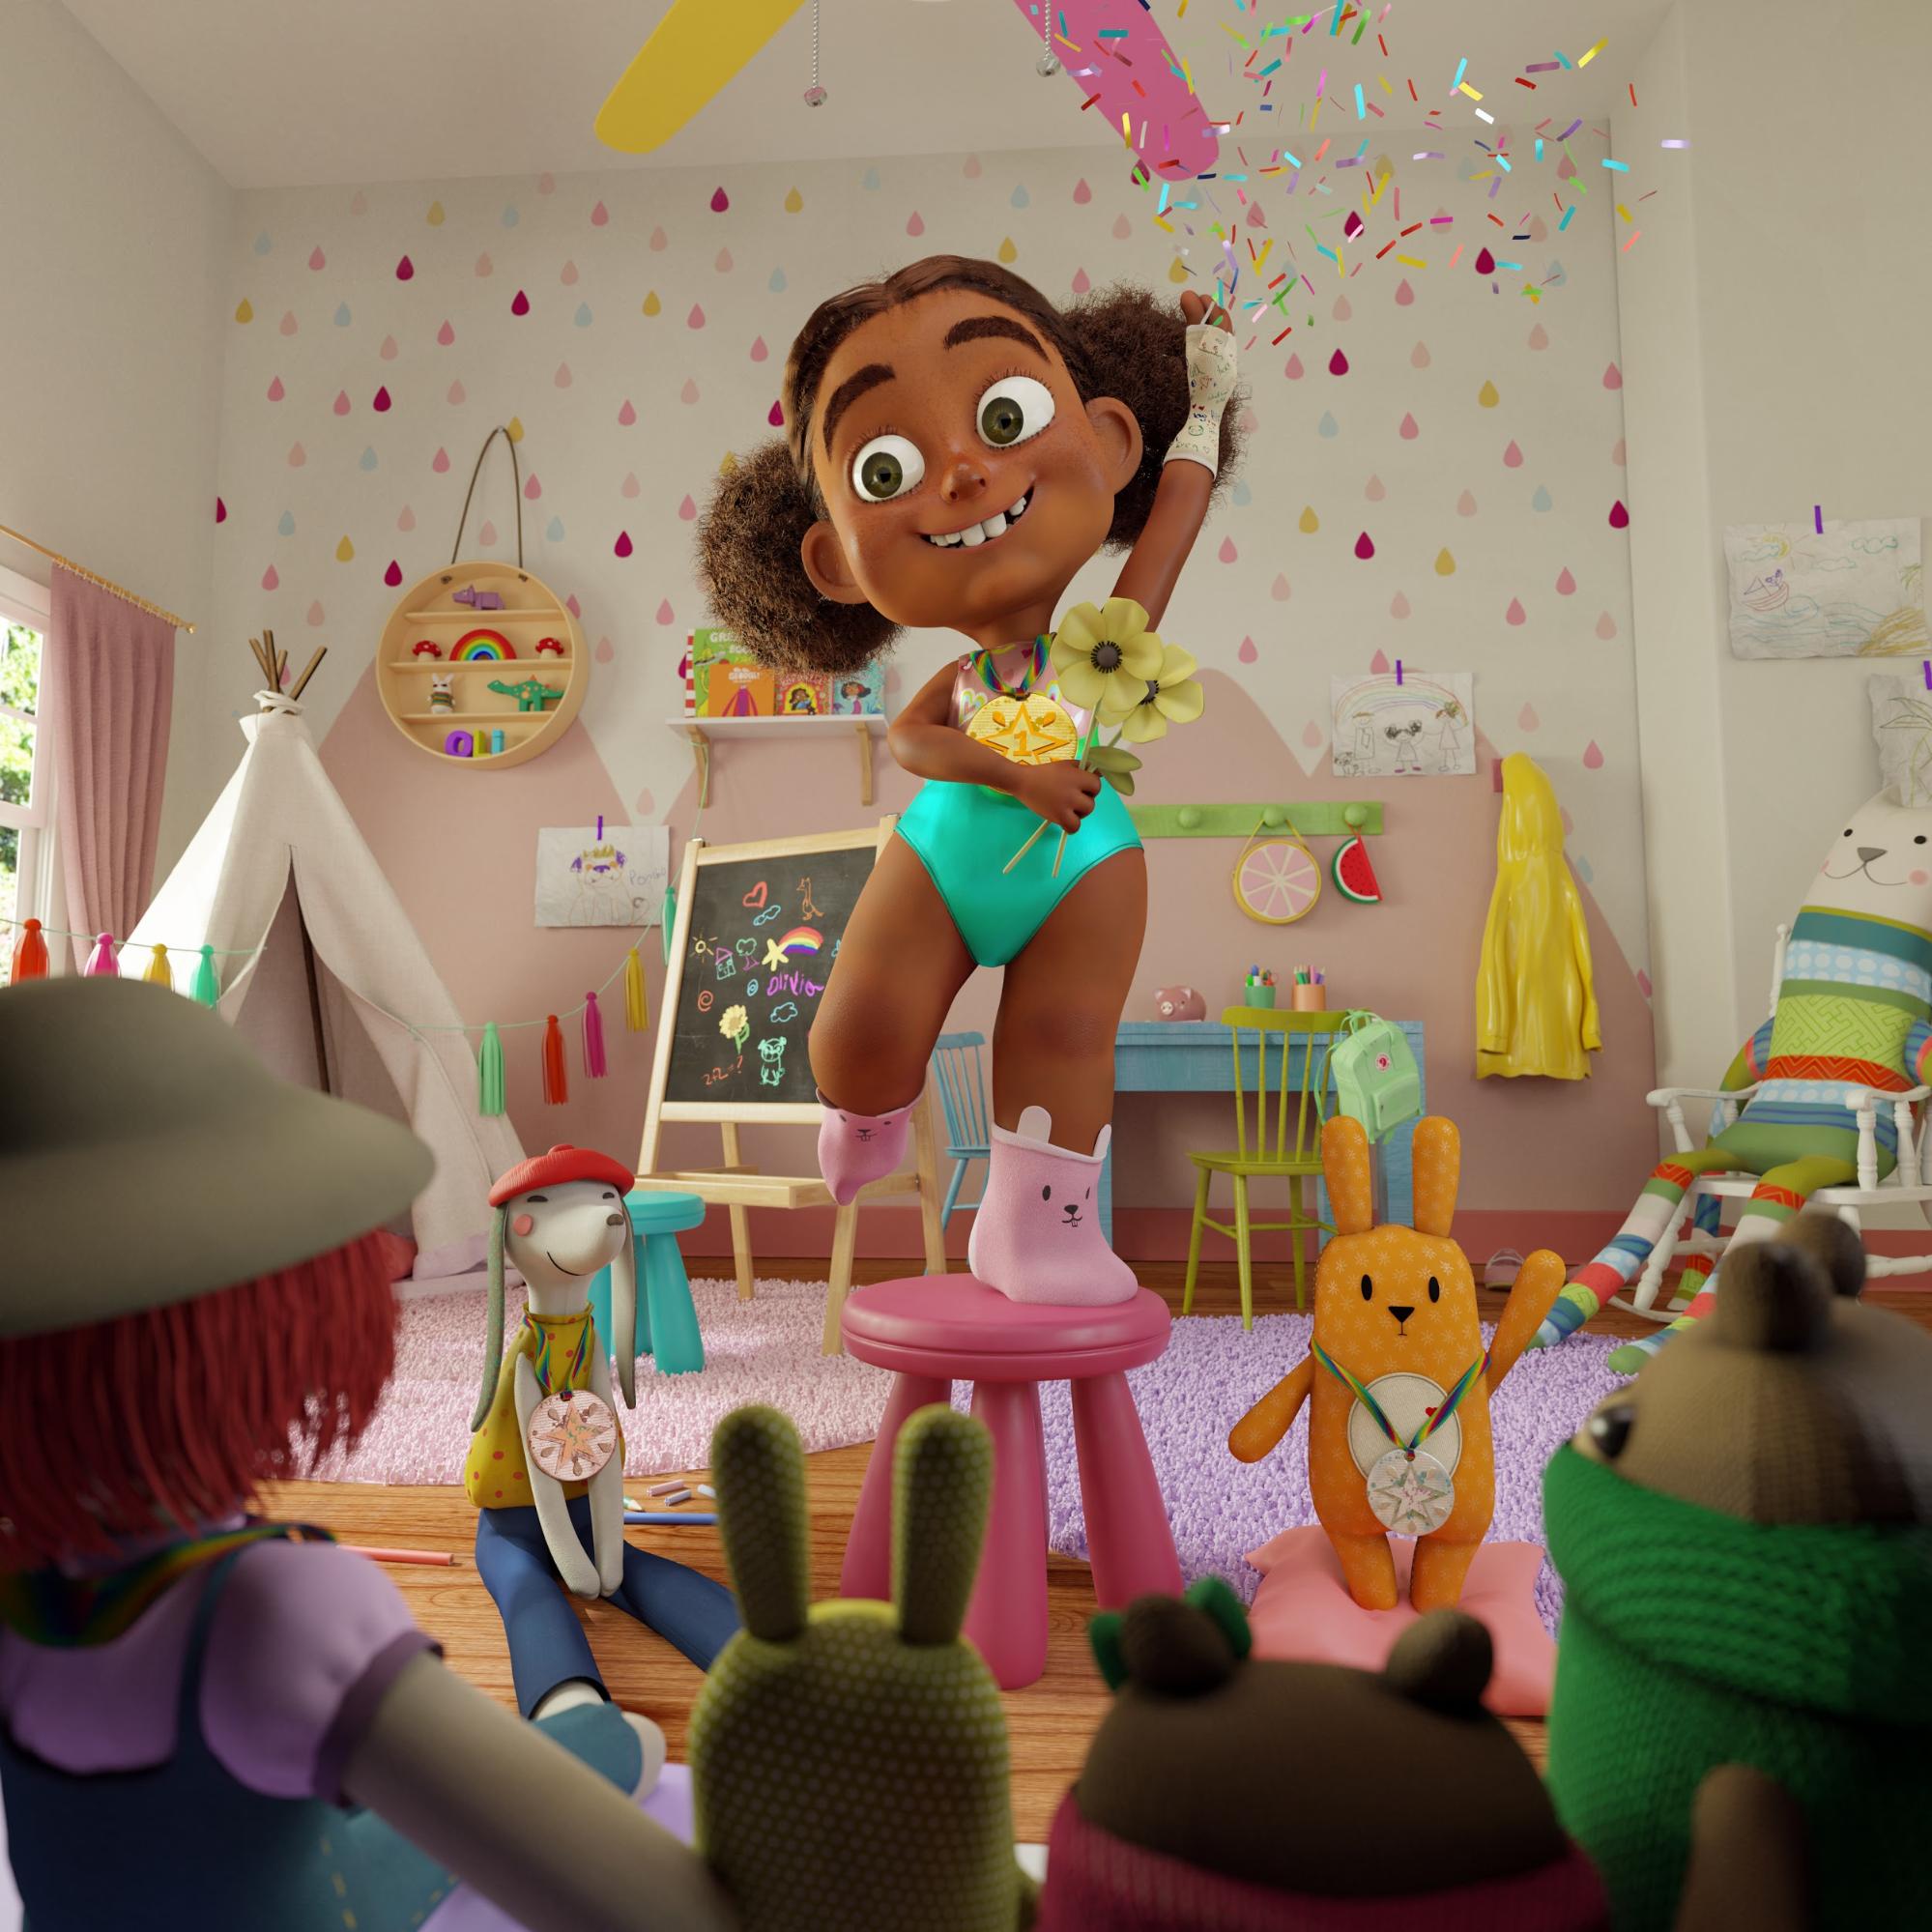
That is how Olivia was born, a little girl with brown curly hair, big and bright green eyes, full of imagination who likes to play in her room with her best friends, the stuffed animals. Olivia is a fearless girl who likes sports a lot and is a little bit competitive; her favorite colors are pink and green. She practices gymnastics after school and one of her favorite things is to casually brag to her friends about how adept she is at gymnastics and fantasize about the idea of winning a gold medal.


Olivia’s Room
For Olivia's room, the mood board is a different story. I spent many hours looking for children's bedrooms—Olivia's room needed to have many stuffed animals, it had to be a colorful room with a lot of pink because Olivia is super girly too. It had to be full of light and colors that express her creative personality.
Olivia
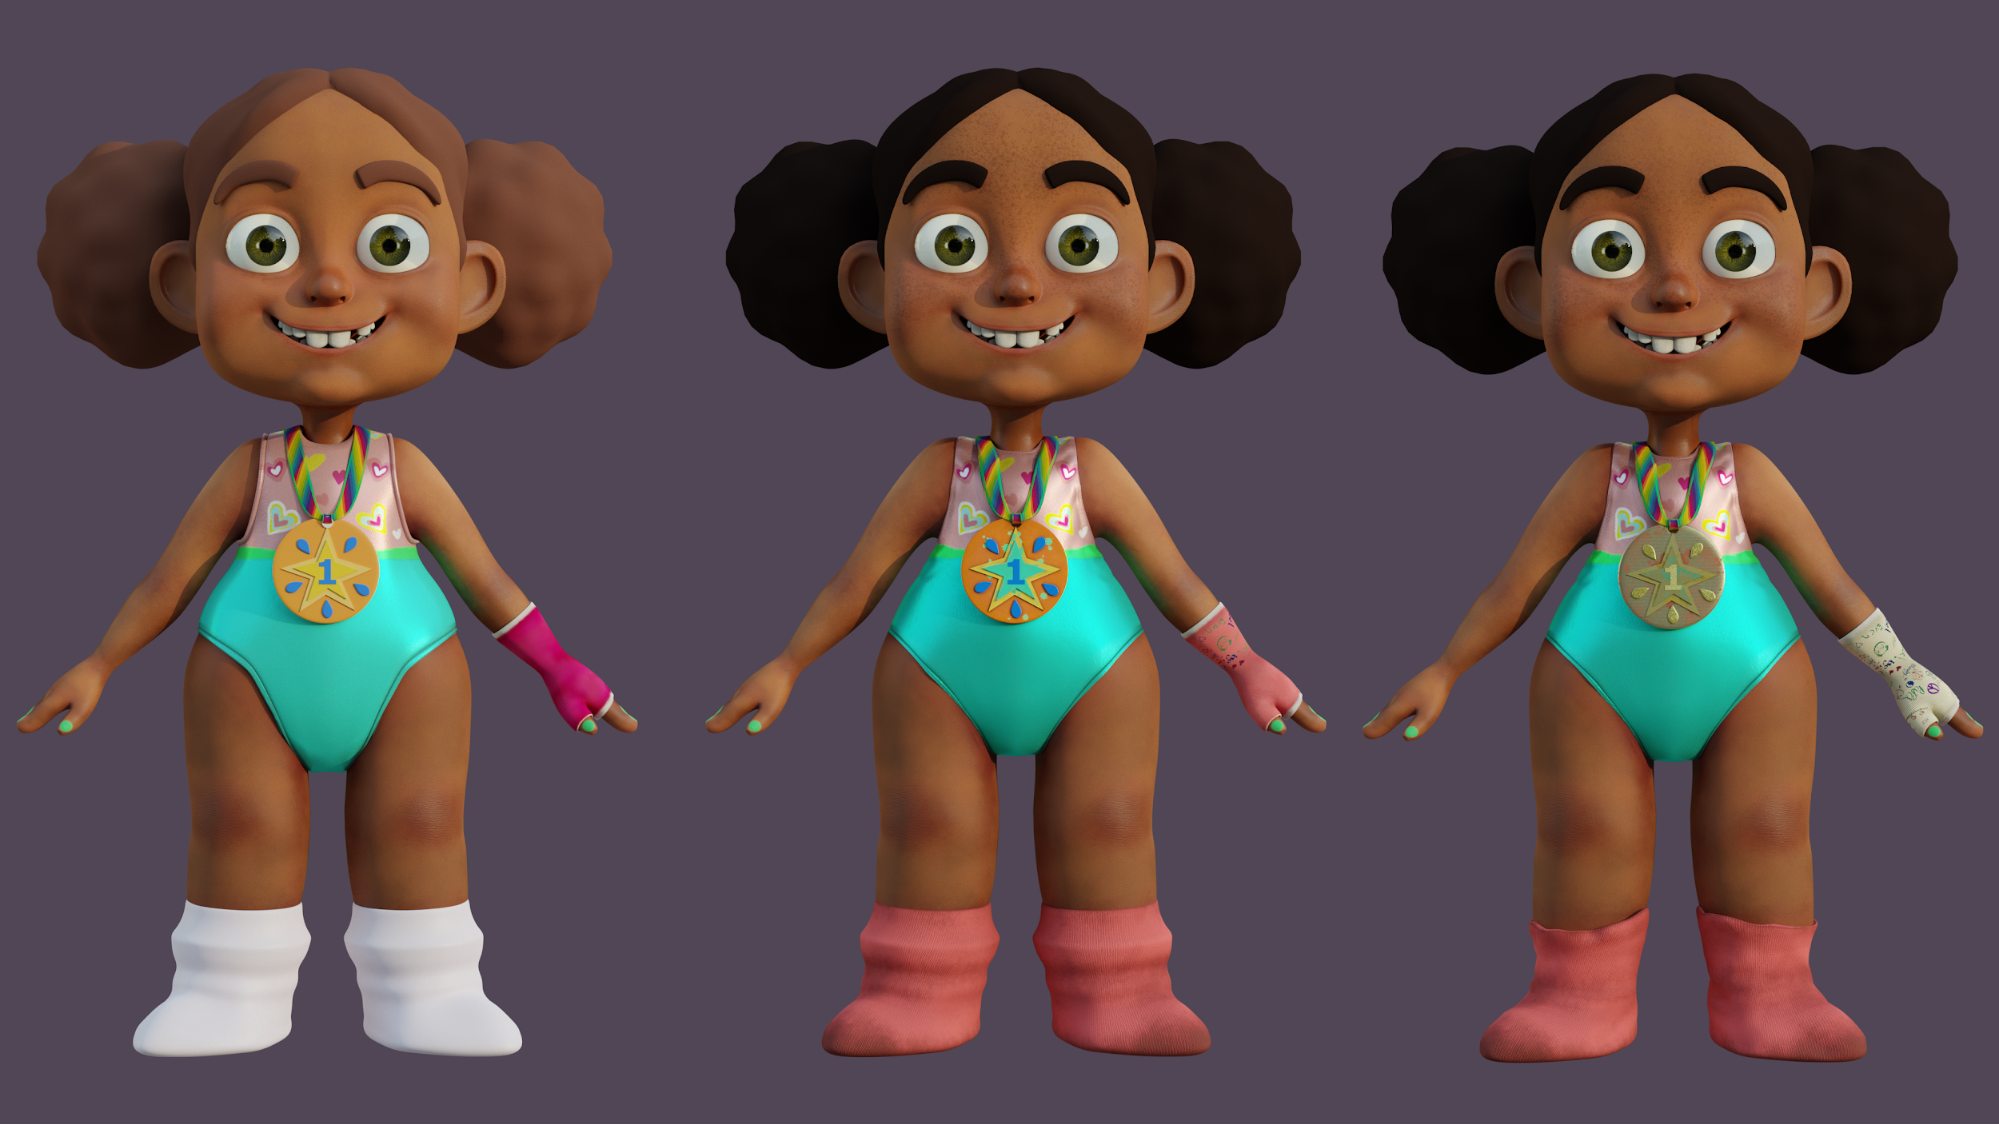
To create Olivia, I followed the workflow that I like the most and I believe is the most common, too. Using my sketch of her and a few references as support, I started making the head using the Blender sculpt tool. I started to shape it using a sphere and a few more basic shapes for the eyes, ears, brows, teeth, nose, and neck until the face shape was complete.


After that, I worked on the high poly model. I did a quick retopology to get the cleanest geometry so that it would be easier to work with her.


Now she was ready for texturing. I used Substance Painter for all of her texturing, except for the eyes—for those I used another texture I had made for another project.
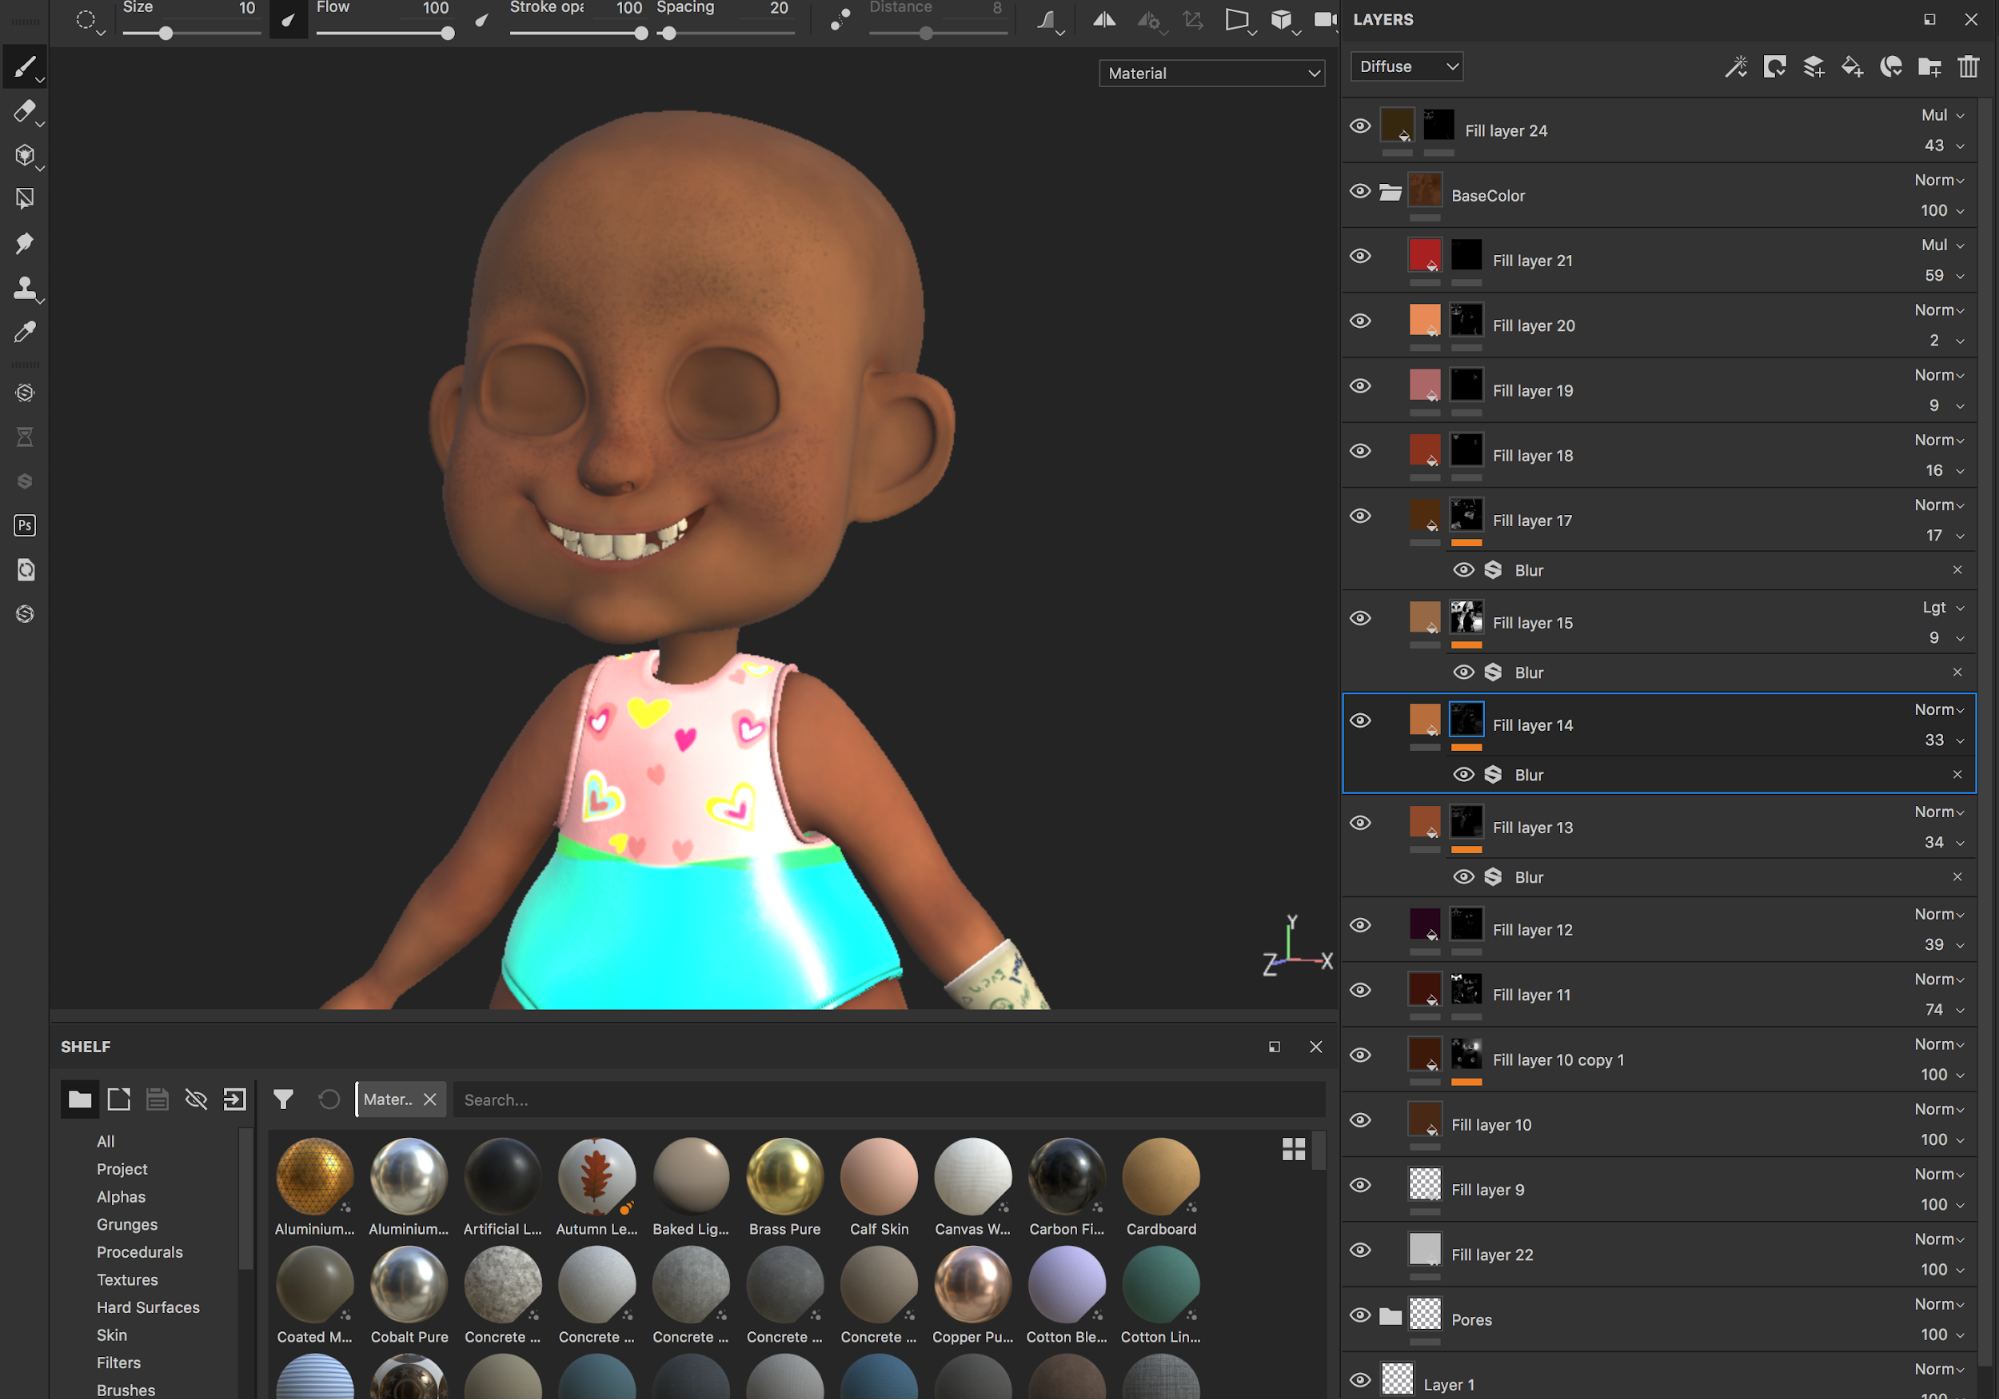
My favorite part of this stage was undoubtedly texturing Olivia's hand plaster. I signed it several times pretending to be her loved ones; it was so much fun to imagine what a little girl would have on her hand plaster.
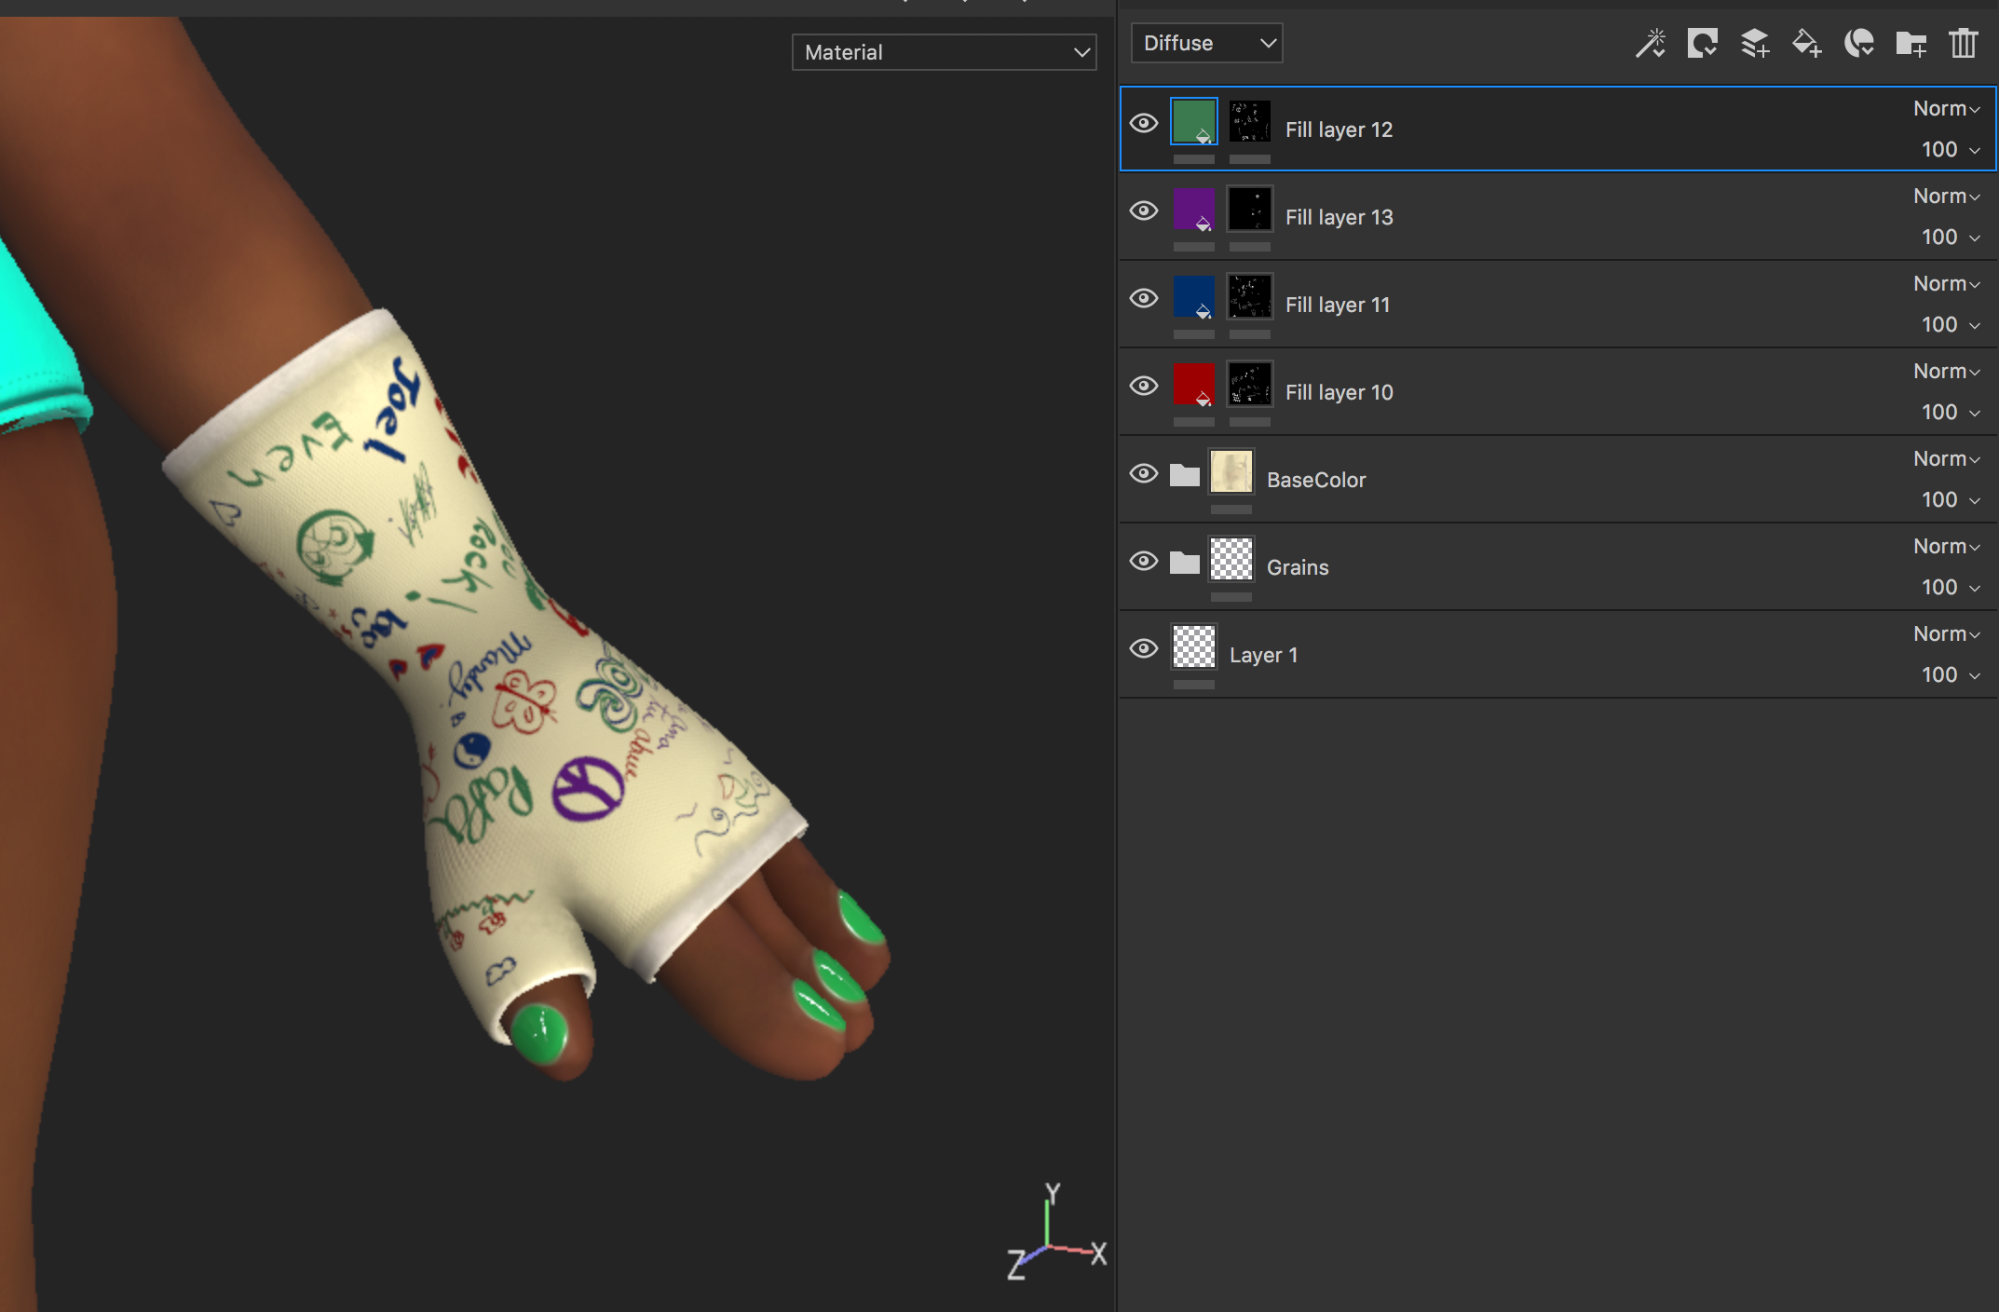
When I texture in Substance, occasionally I like to export my texture to see how it looks in Blender.
Some texture progress:
Olivia’s Hair
For Oli's hairstyle, I wanted to get 2 curly space buns. To make them, I used 4 different particle systems, one for the roots, another for the buns, and the other two for the bangs and wispy baby hairs.
I used vertex groups as a support to separate each part, then combed them and placed them on the position I wanted.


Building the Scene
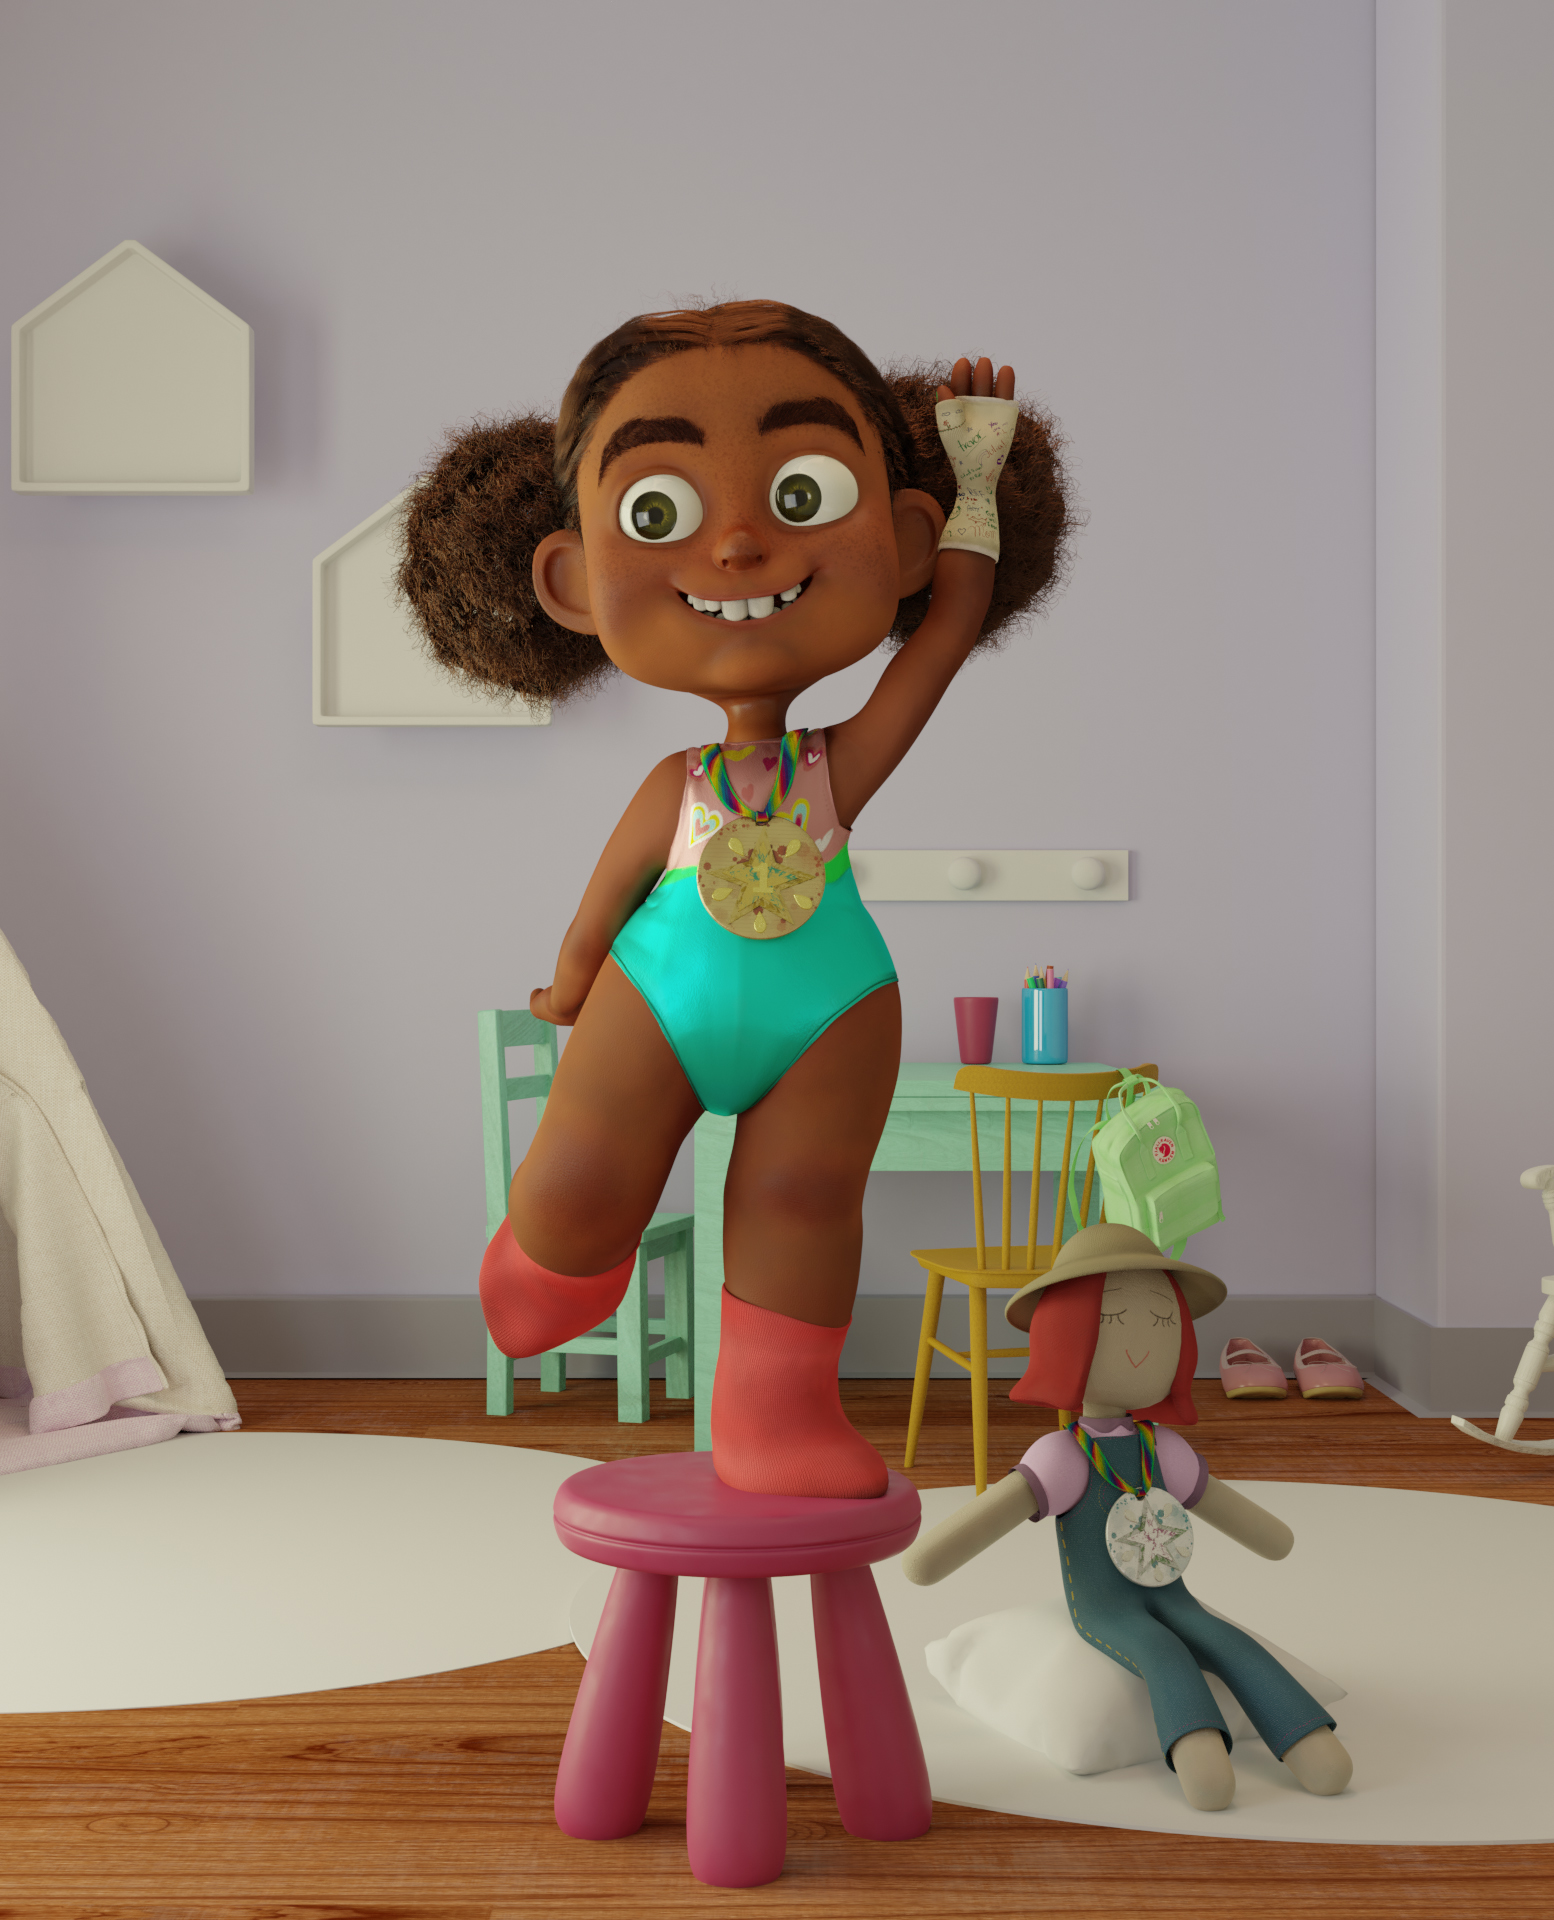
Building the scene is always my favorite part. I really enjoy seeing how things begin to take shape. I started building the scene without concept art, beginning with the idea of Olivia on top of an imaginary podium with her stuffed animals as the audience.
I positioned Olivia in her victory pose and took her to the center of my scene on top of a pink plastic bench. Then I started to model a few objects for the background, such as a pair of shoes, a table, chairs, colored pencils, and a few wall hangings. I took an old backpack I had made for another scene and gradually filled the room with things I liked.


Here is an early preview of the scene:
To accentuate the audience's view, I played with the camera perspective. Also, I wanted to try a different wall color—I was looking for a bright room and I felt the need to find the perfect balance that wouldn't take away from the lighting but would still be a colorful room to showcase her personality.
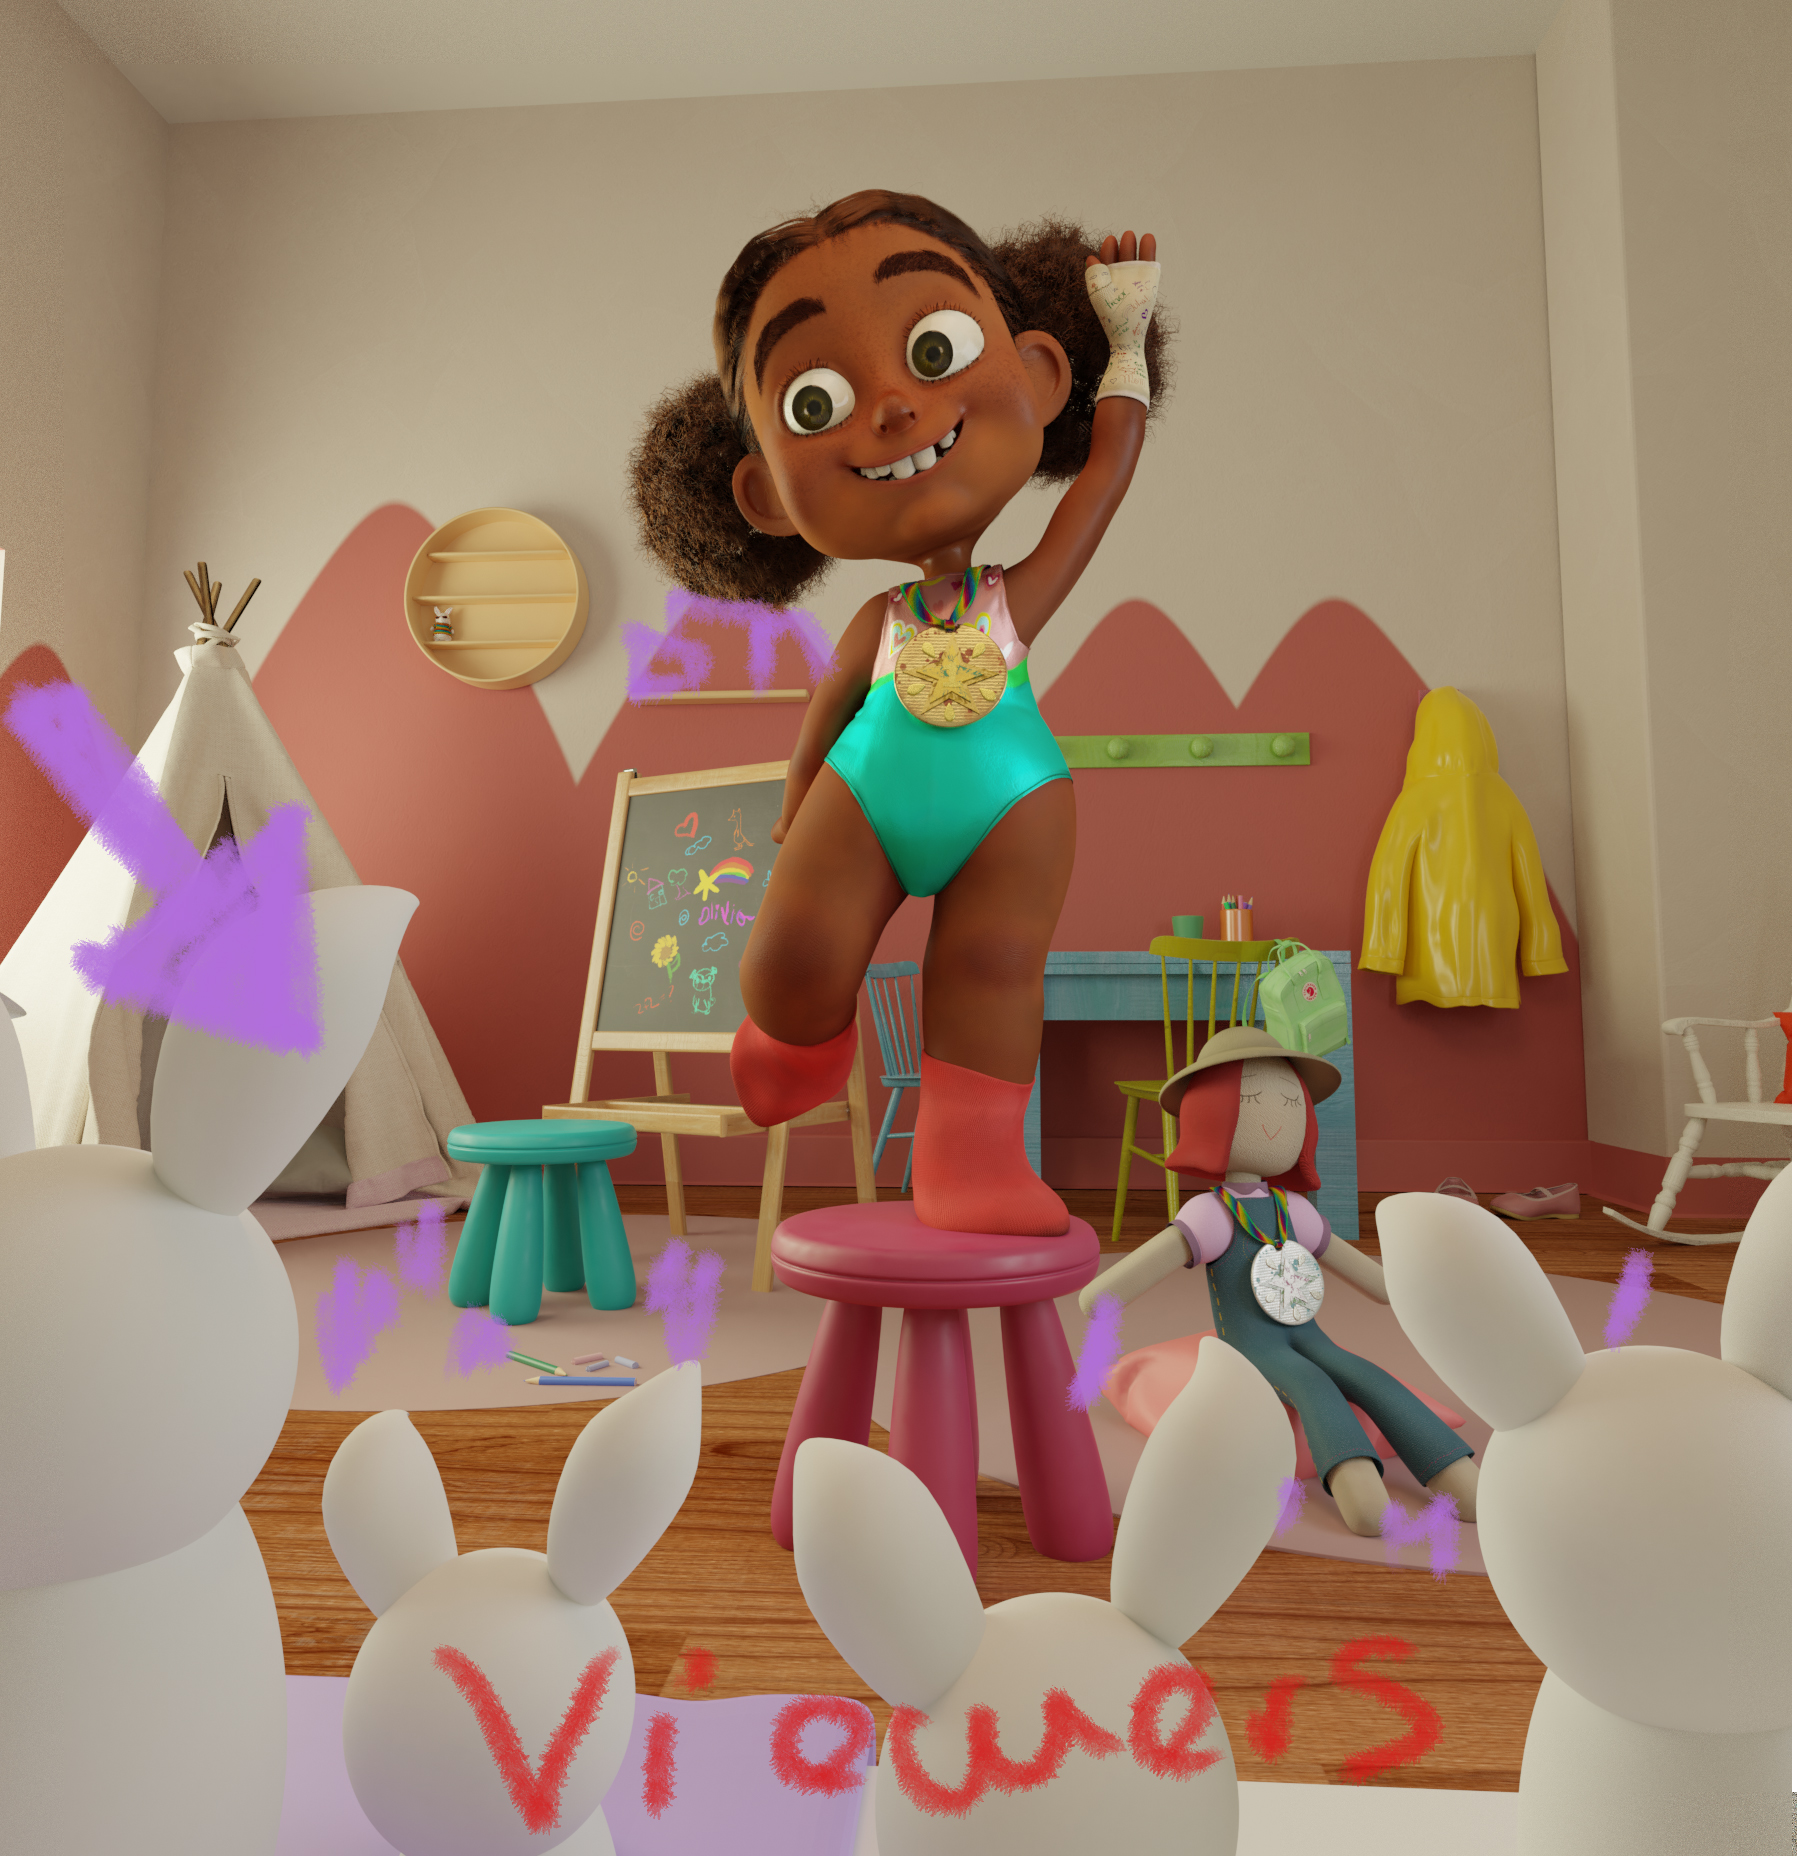
In order to get a clearer idea of where I’m going, I like to make some annotations between renders. I also usually use some basic objects to give me a better idea when I'm composing a scene.


After I added the stuffed animals, the scene began to come alive. I chose to add a window, too, so that the lighting could be as natural as I wanted it to be. I was looking for a yellowish morning lighting.
I made a few personal notes for things I'd like to add to it. Mainly I wanted to change the lighting at this point because it was too cool and blueish, the walls still looked very empty, and the characters’ poses looked very odd.
I was not working with a strict concept art direction so I don't feel the need to stick 100% of the original idea. Instead, I like to experiment, remove, add, change, and redo until I like the final result. Basically, I like to work by trial and error.
That is how I eventually decided to make some changes to Olivia's character. First, I didn't like her socks—I think it was the lack of detail and the color choice was not the best. Second, her pose didn't communicate what I was looking for.
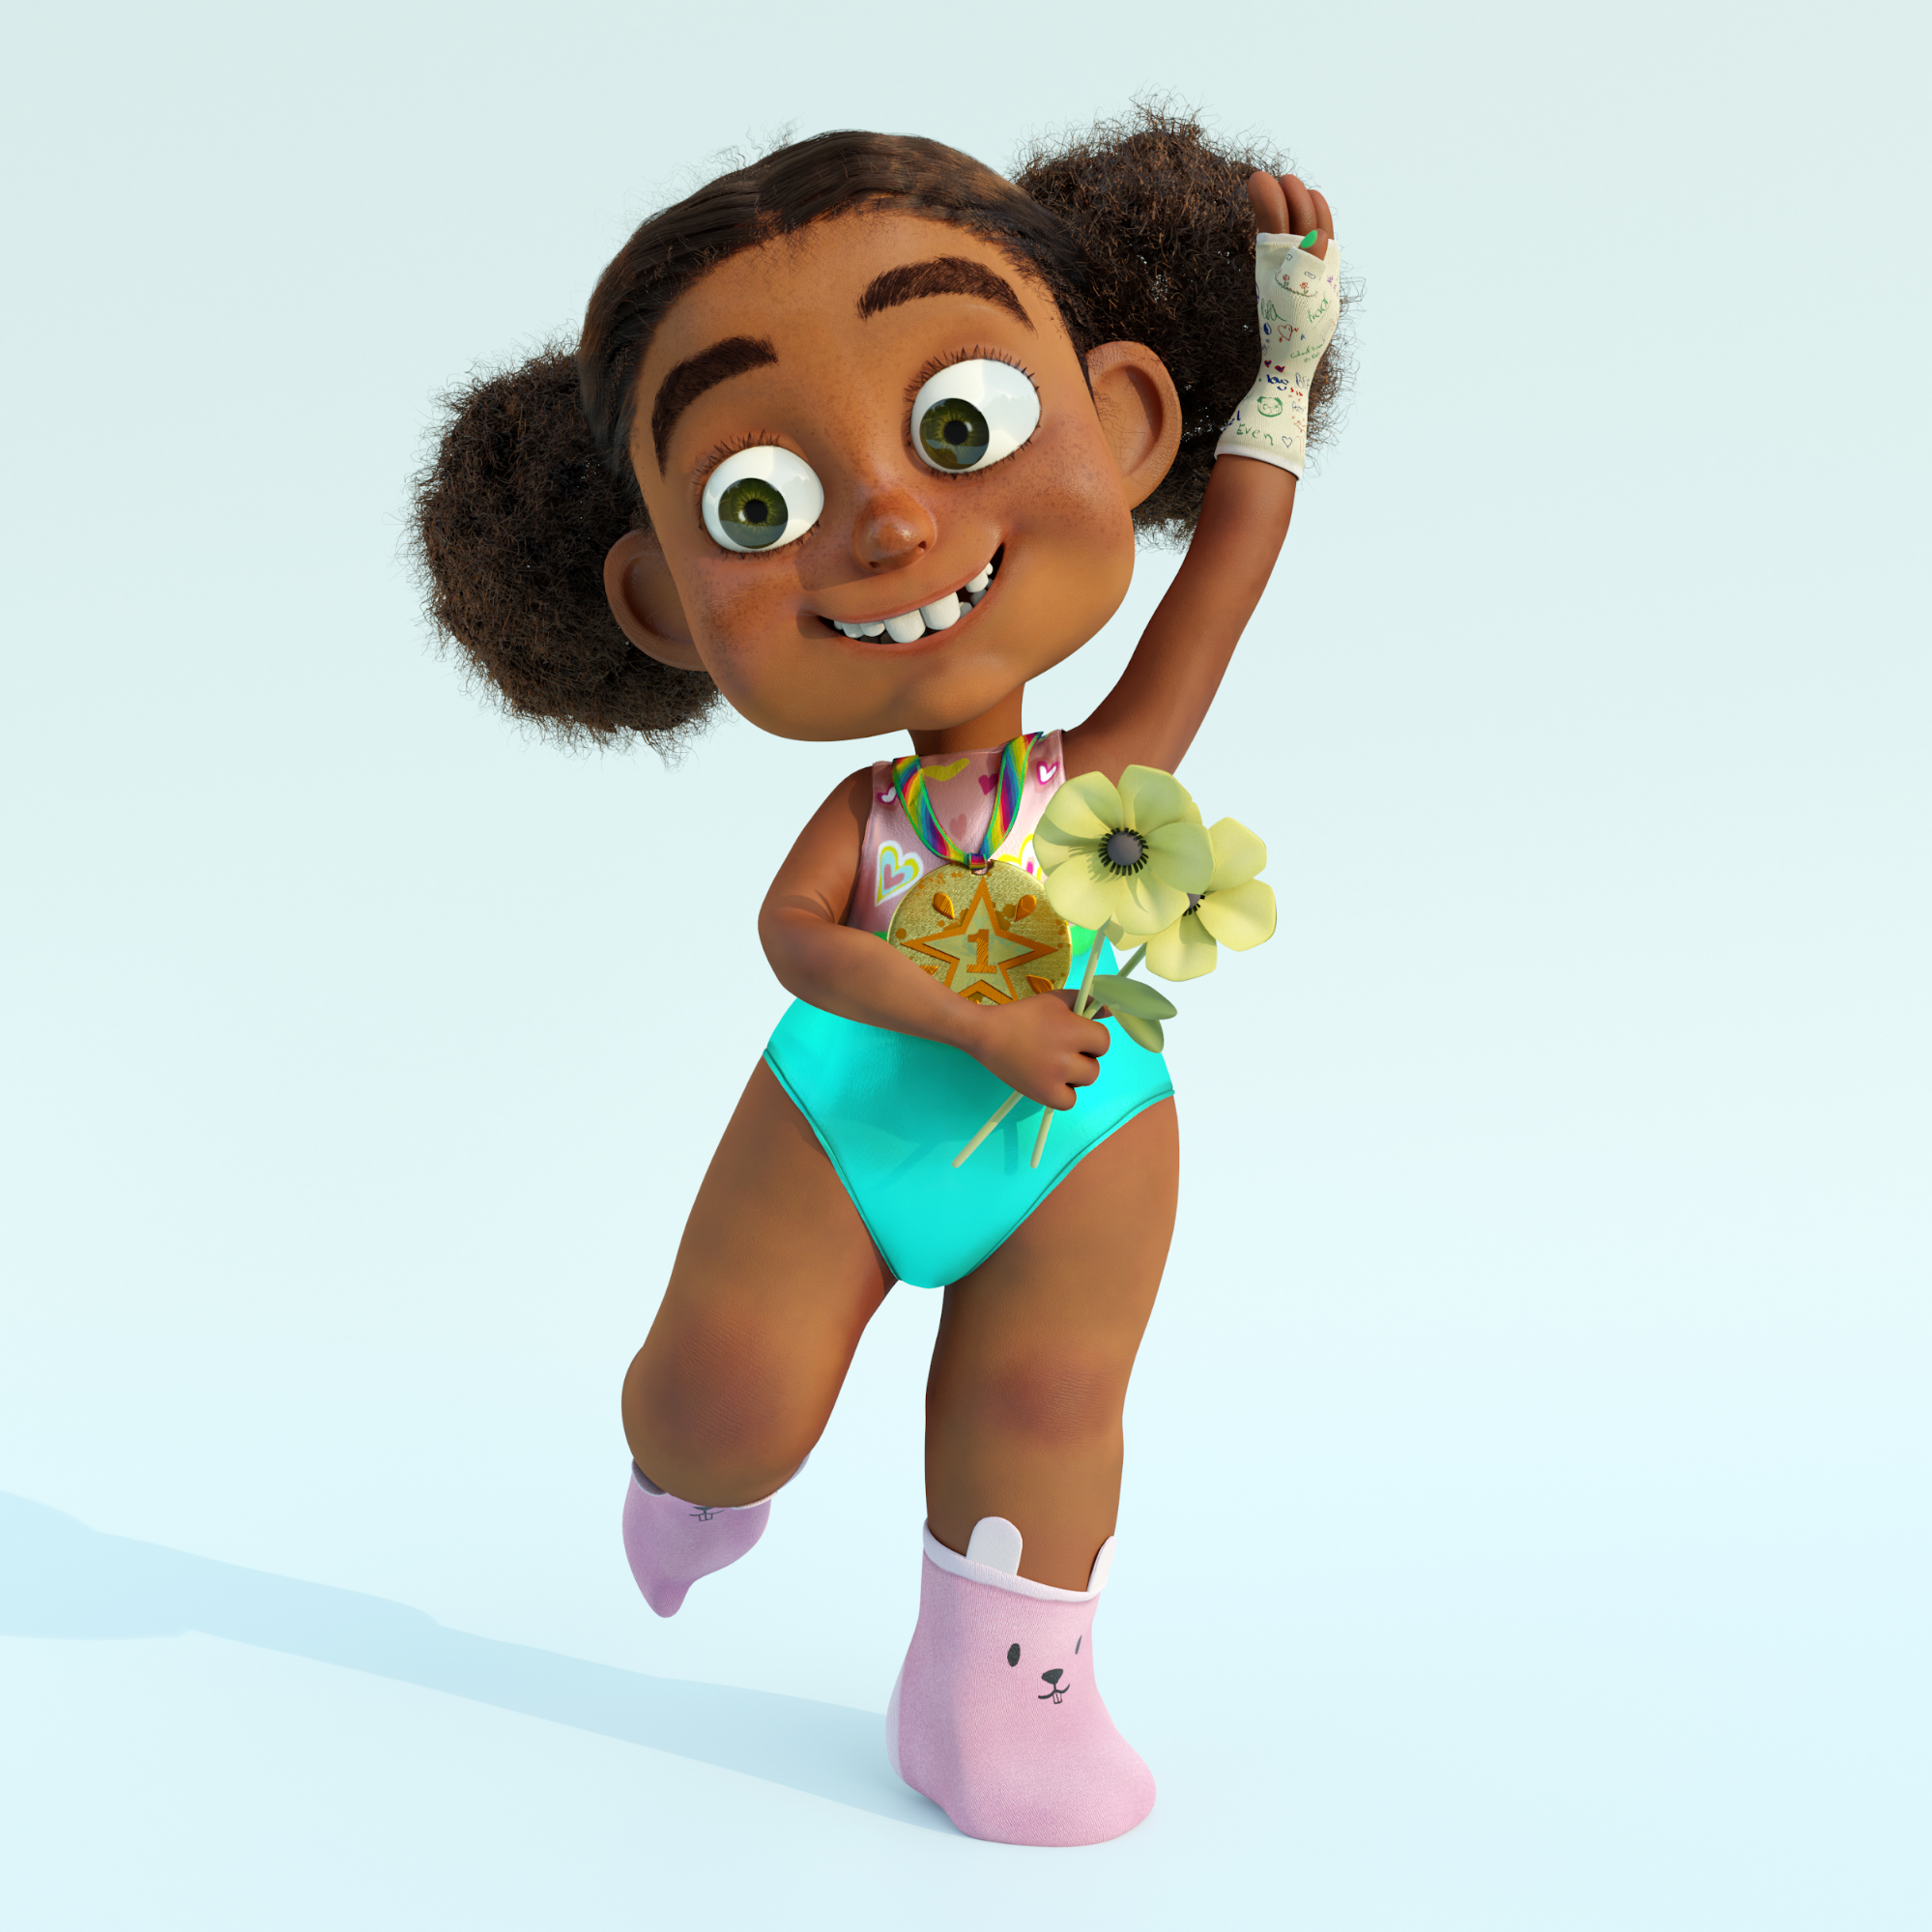
Initially, I had wanted her to throw the confetti down the back of her body as if someone else was throwing it for her, but then I realized it would be better if she actually did it as an expression of joy for her victory.
To cover the gaps in the walls, I decided to add some drawings made by her. I didn't think it was appropriate to take any children's drawings from the Internet and I have no children, brothers or small nephews to ask for any, so I found myself in the fun task of drawing them myself.


Morning light
To get the lighting I used 2 area lights that came from the window in yellowish tones, one towards the floor to accentuate the shadows of the objects and the other towards the back of the room.
I added a white sun light and a pinkish area light in front of the character to illuminate it and give it more life.


And voila! The scene was ready. I didn't feel the need to post-produce it—I loved the final result just like it was. Here is the final result:
That's it, thank you very much for your time, dear readers of BlenderNation. I hope you like this article. I enjoyed writing it and sharing my process with you all. Until next time!
Gaby.
About the Author
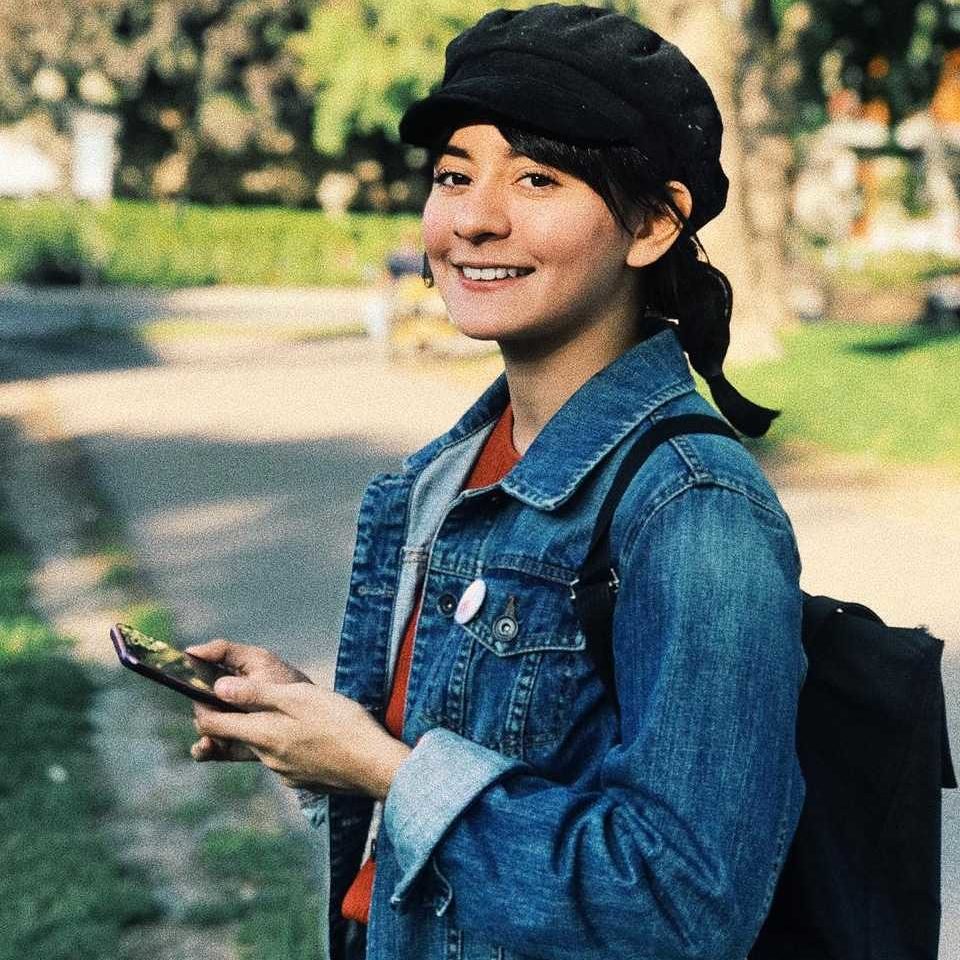 Gabriela Fuentes, 3D artist
2 Comments
Good job Gaby!!! Great results!
Very elaborate process. Thank you Gabby!