Getting Started with Blender Nodes
Erindale Woodford writes:
If there’s one thing that Nodevember showed us, it’s the immense power of Blender’s shader nodes. With the Everything Nodes project in the pipeline, it’s a better time than ever to get into working with nodes and learning about proceduralism!
In this tutorial series I’m covering everything you need to get up and running with making your own procedural texturing. As much as I can, I’m being thorough and explaining what I’m using and why so hopefully you’ll be able to take these techniques into your own projects!
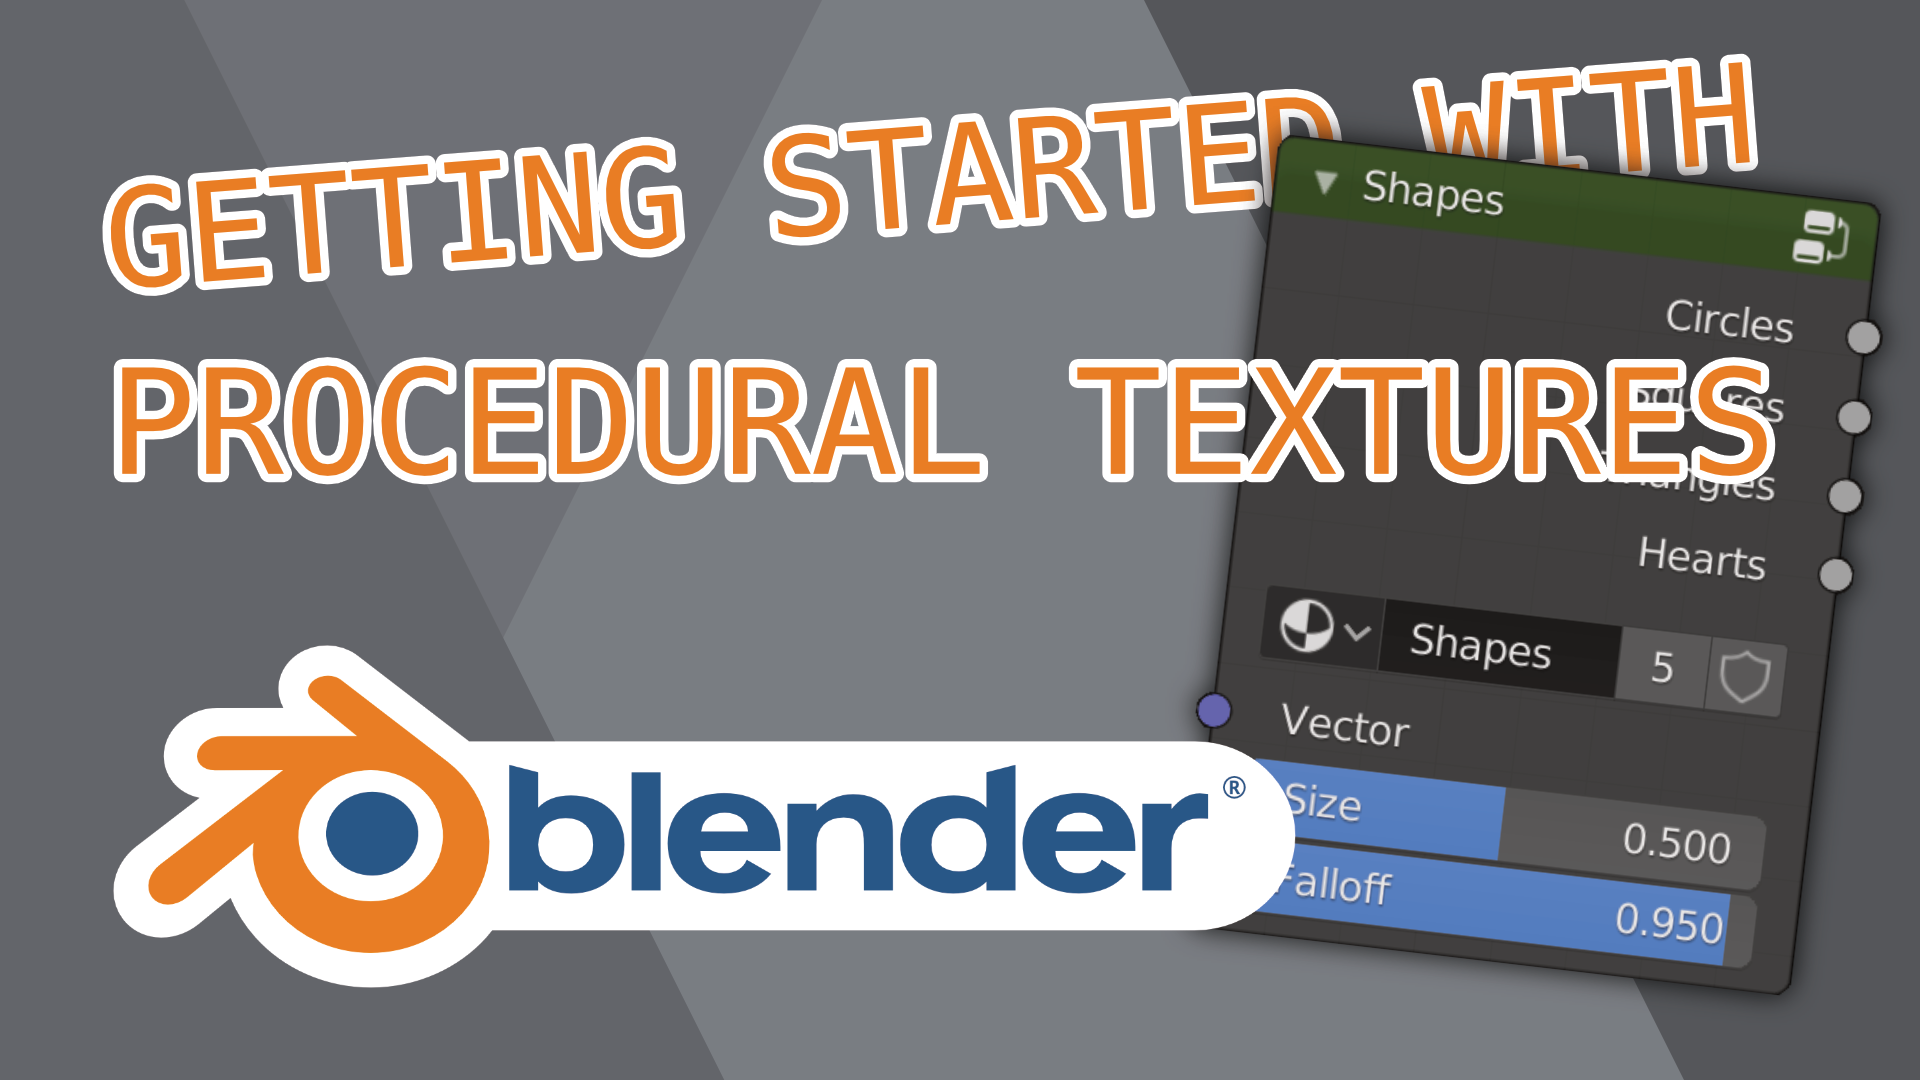
In the first lesson we create a group node that can output 4 shapes (circles, squares, triangles and hearts) just from a basic Object Coordinate input. This is a good introduction to manipulating UVs with maths to produce specific shapes and then creating a group node that let’s us keep it all clean and have practical controls on the front.
In the second lesson we build on top of the first lesson, this time creating a tiled texture and introducing randomness to affect scale, rotation, colour and the distribution of the shapes made in part 1. Again, we’ll be making a group node to contain it all!
In future lessons we’ll be gradually getting more advanced and covering more nodes to provide a broad foundation in working with Blender’s nodes! Expect radial arrays; explaining blend modes; creating fabrics; procedural PBR workflows; displacement and vector displacement; parallax occlusion mapping and much more!