
Blender 2.83 Sculpt Mode features update: Face Sets
Since the release of Blender 2.8, the Spanish developer Pablo Dobarro has been busy improving Blender’s Sculpt Mode with an impressive productivity rate. BlenderNation gladly keeps you posted about exciting new Sculpt Mode developments. Recently, Face Sets were added to the Blender 2.83 alpha builds.
💡 If you want to try the new features right away, you can do so by downloading and installing the latest daily Blender alpha build (link at the bottom).
Face Sets: the new surface area management system
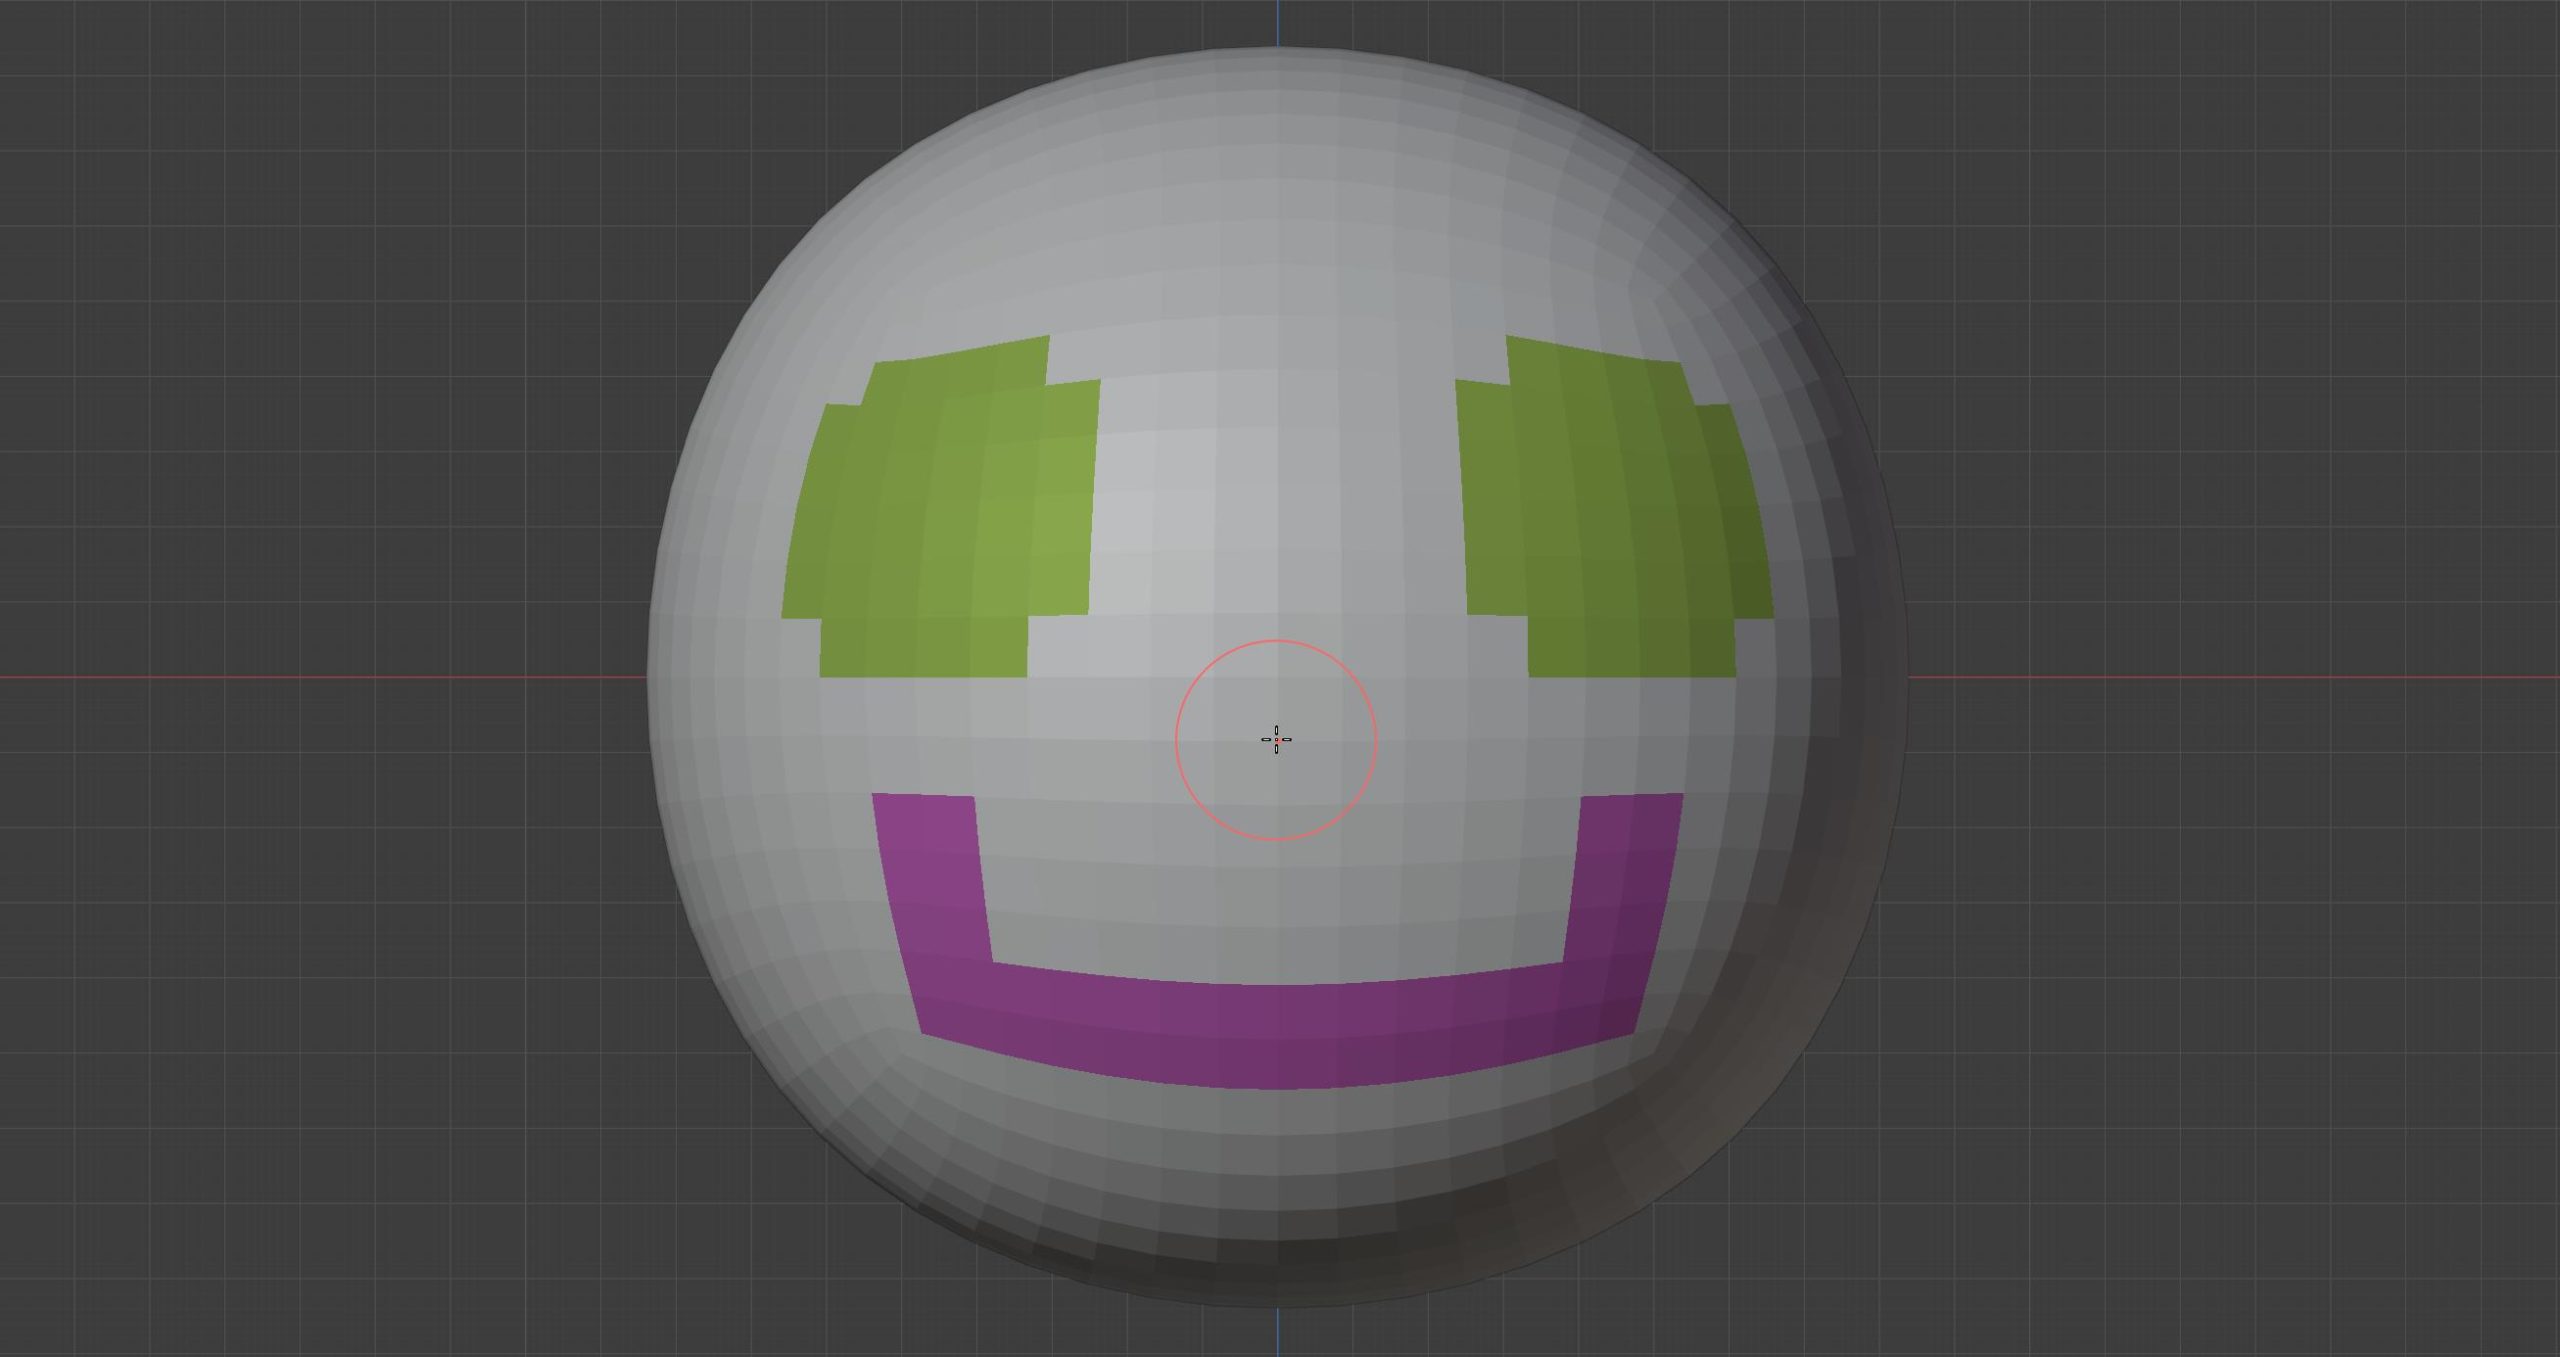
Face Sets allow you to assign unique IDs to different areas of polygons. Once assigned, each Face Set gets its own distinctive color and can be hidden and/or manipulated individually. Face Sets can not overlap each other.
The main purpose of Face Sets is to divide your sculpture into designated areas which you can hide or isolate to focus on the area without being distracted by other parts. Face Sets can also be used as an alternative to masks, although Face Sets are defined by absolute polygons and don’t have the option of smoothly fading influence, like a mask offers.
How to paint and view Face Sets
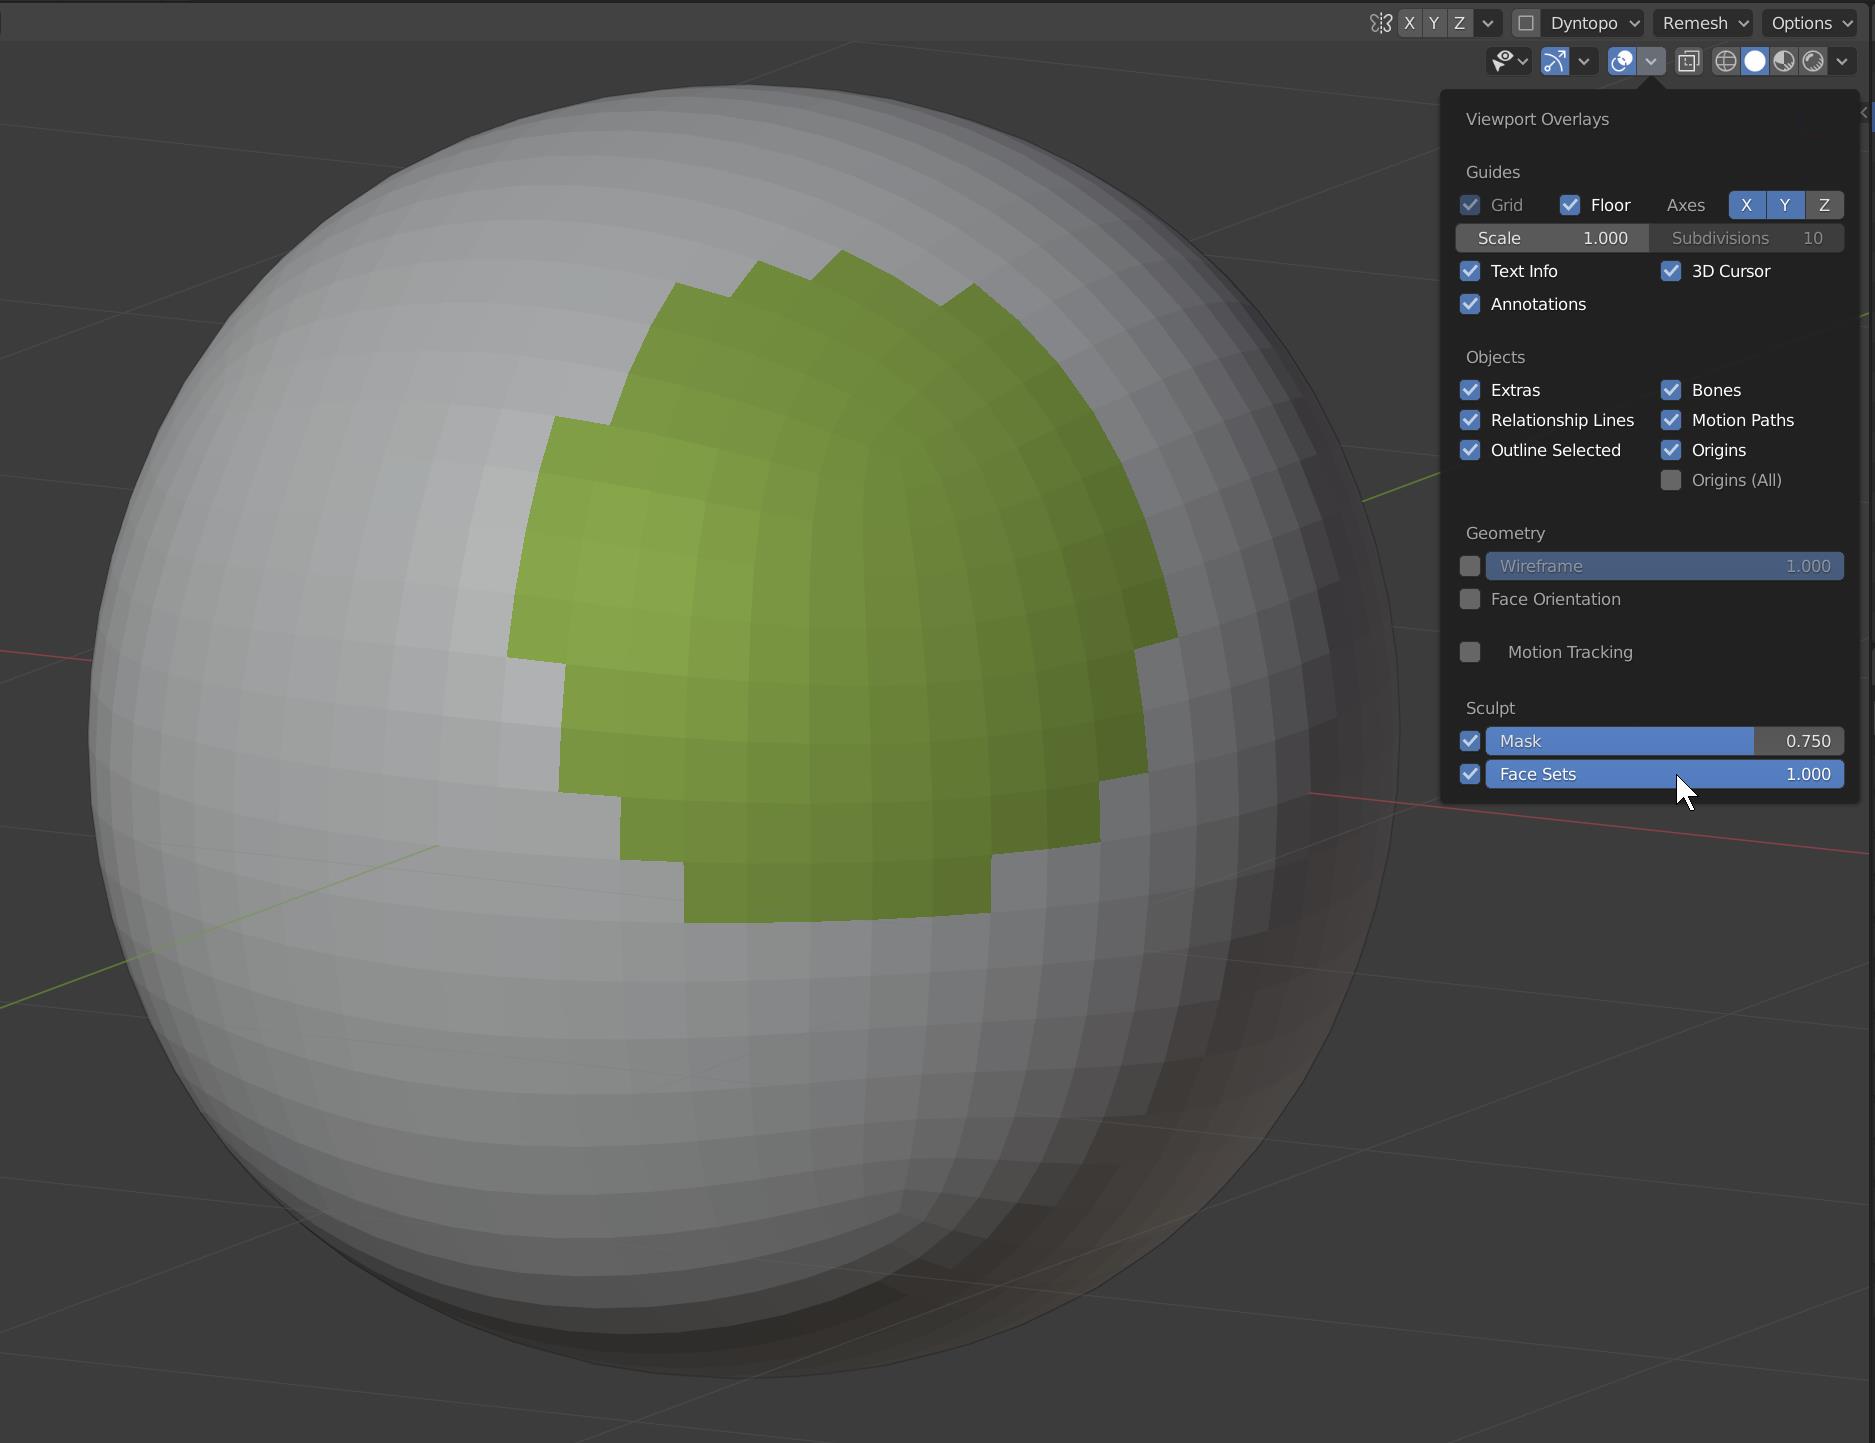
To start establishing Face Sets, activate the new Draw Face Sets tool in the toolbar of Sculpt Mode. At the time of writing, you first have to set the Face Sets slider to 1 in the Overlays drop-down menu in the upper right corner of the 3D viewport. Hopefully this slider will be set to 1 by default, as it can be confusing to not see any result when using the Draw Face Sets tool.
Once you’ve painted Face Sets, the Face Set beneath your pointer can be hidden by pressing the ‘H’ key, while Shift + H hides all Face Sets but the one behind your pointer. Further manipulations, such as inverting the currently visible Face Sets, can be realized using the ‘W’ key menu or the Face Sets drop-down menu.
Relaxing Face Set borders
The jagged border edges of Face Sets can be smoothed by brushing across a border while holding the Shift key, or by using the dedicated Relax Face Sets mode of the Mesh Filter tool.
Generating Face Sets from different Blender properties
In the final release of Blender 2.83, you will be able to generate Face Sets from several mesh properties: mesh connectivity, material slots, face normals, UV seams, creases, sharp edges, bevel weights, Edit Mode selections and face maps. Face Maps are comparable to Face Sets, but were developed to work with Blender’s Edit Mode. The similarity between Face Sets and Face Maps is a bit confusing. Hopefully they will be unified.
Happy sculpting, and keep watching BlenderNation for new posts about Blender development progress!