
Behind the Scenes: Interior Kitchen
About Me
Hi, My name is Jesus Alberto. I’m from Mexico and I have been a 3D artist since 2015. I was interested to learn 3D because I liked the 3D effects from the movies when I was a child, so in 2015 I started to make 3D things like small objects or abstract things for modeling practice, just for fun. I never went to a 3D school; in fact, at the moment of this post I’m studying software engineering at the university. Maybe you are asking yourself, Why did you decide to study software engineering and not 3D in school? The reason is that I love software, too, and in the future I want to make tools and things for my 3D pipeline.
I didn’t start working in 3D using Blender—I started with Cinema 4D. I first tried using Blender two years ago because I’m a curious person and people had said that Blender was a difficult and different 3D software, so I decided to test Blender and see for myself if that was true. After that first experience with Blender, I started to transition from Cinema 4D to Blender because I realized that my general workflow was faster in Blender. Now I actually use Blender as my principal 3D software, along with other tools like Substance Painter, Substance Designer, Affinity Photo, and Marvelous designer.
Now I’m 21 years old and I dedicate my free time to make 3D projects like the Interior Kitchen Scene, which is what I will talk about in this post.
Inspiration
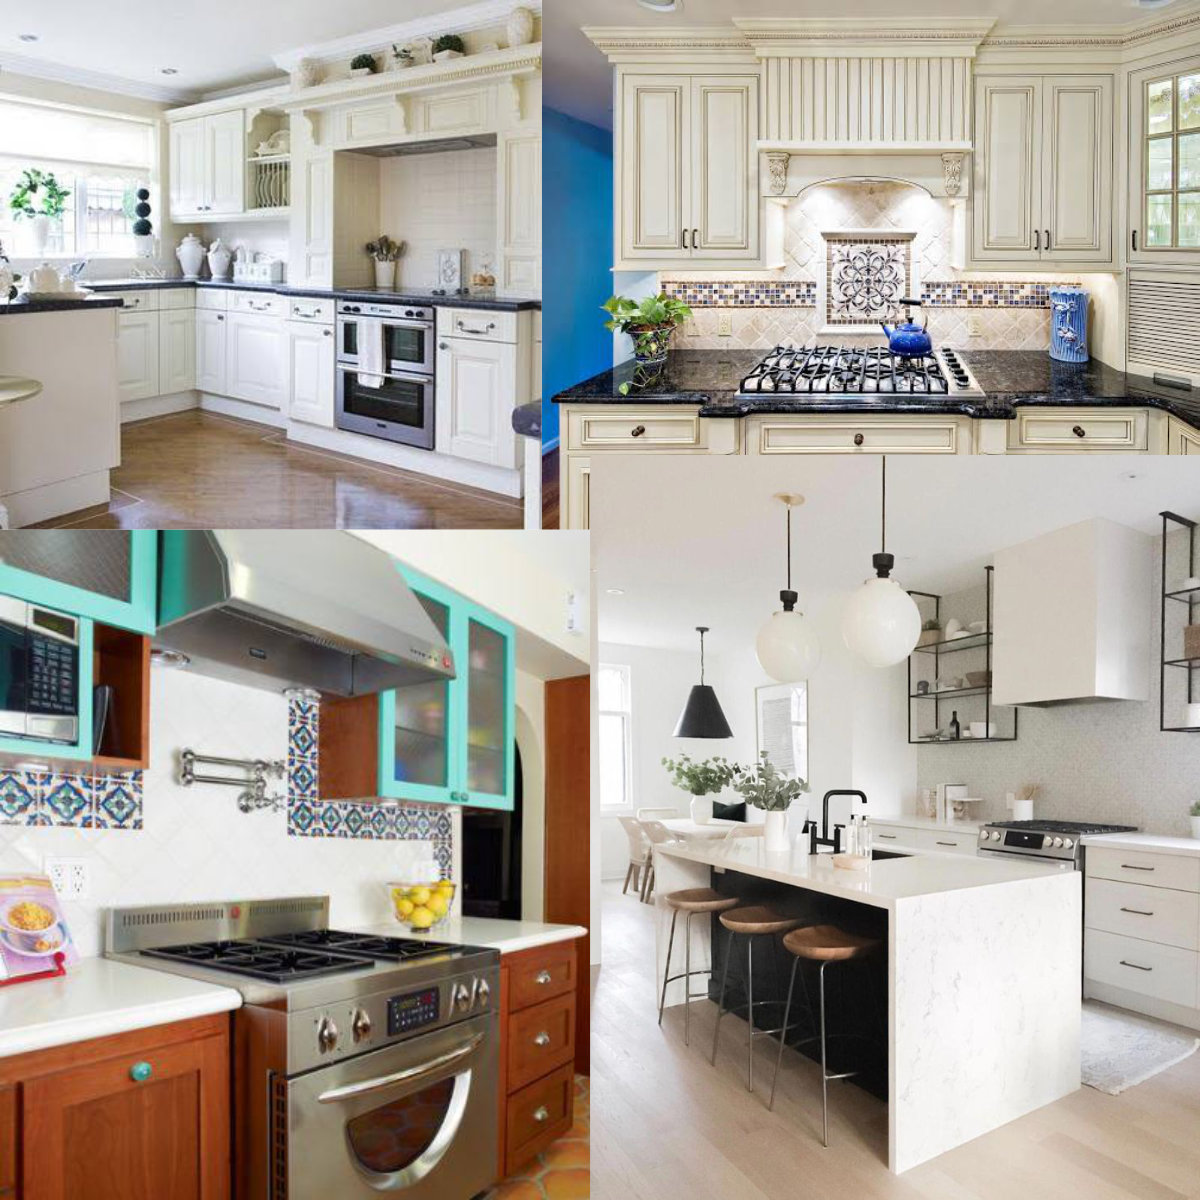
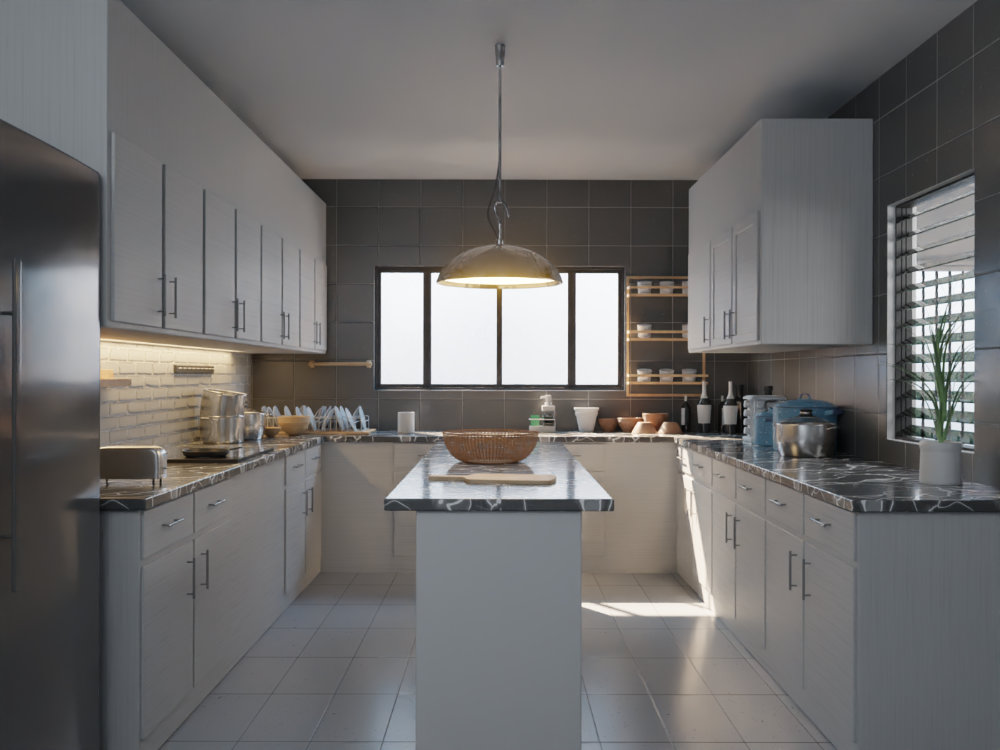
Ok, the first thing you need to know about this scene is that originally this was made using Cinema 4D and Corona renderer. I was inspired by a Mexican kitchen combined with a modern simple kitchen (I like food a lot, so I think the kitchen is one of the most important places in a house).
So I decided to recreate this old Scene but in Blender and Cycles because I wanted to push my skills with Cycles and compare the workflows for lighting and texturing between Cycles and Corona.
Tools
I used Blender and Cycles for rendering and modeling. I also used Substance Designer for a lot of the textures in the scene and Marvelous Designer for the towel simulation.
My PC hardware is a GTX 1060 6GB, 16 GB of RAM and an i7 4790 Processor.
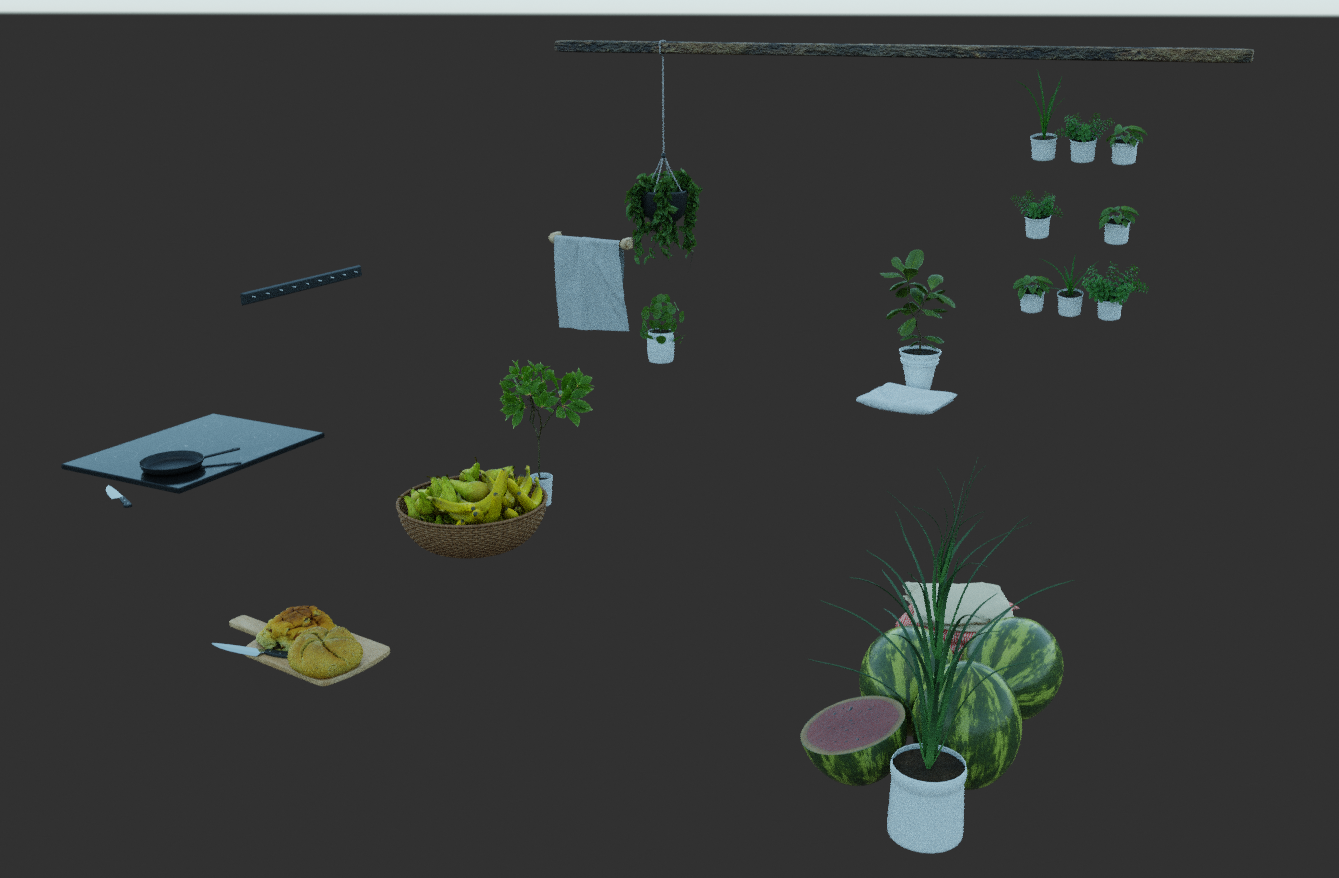
I used a few scanned models from Mantissa (the bread and the fruits). Everything else in the scene was made by me.
I think the use of different tools for creating projects is important for better and faster work; we can use only Blender for all the work, but that may take us more time than if we use tools for specific tasks.
Work Process
I used fSpy to make the camera match that of my old kitchen render and recreate it in Blender.
After I made the cameras match, I started to do the blocking of the objects, after which I added details on the cabinets and the windows. When I had a good position of the objects and a good camera view I decided to add and position the lighting.
I made the textures I needed in Substance Designer.
Textures
This is the screenshot of the wood texture I made for all the models that needed a wood material.
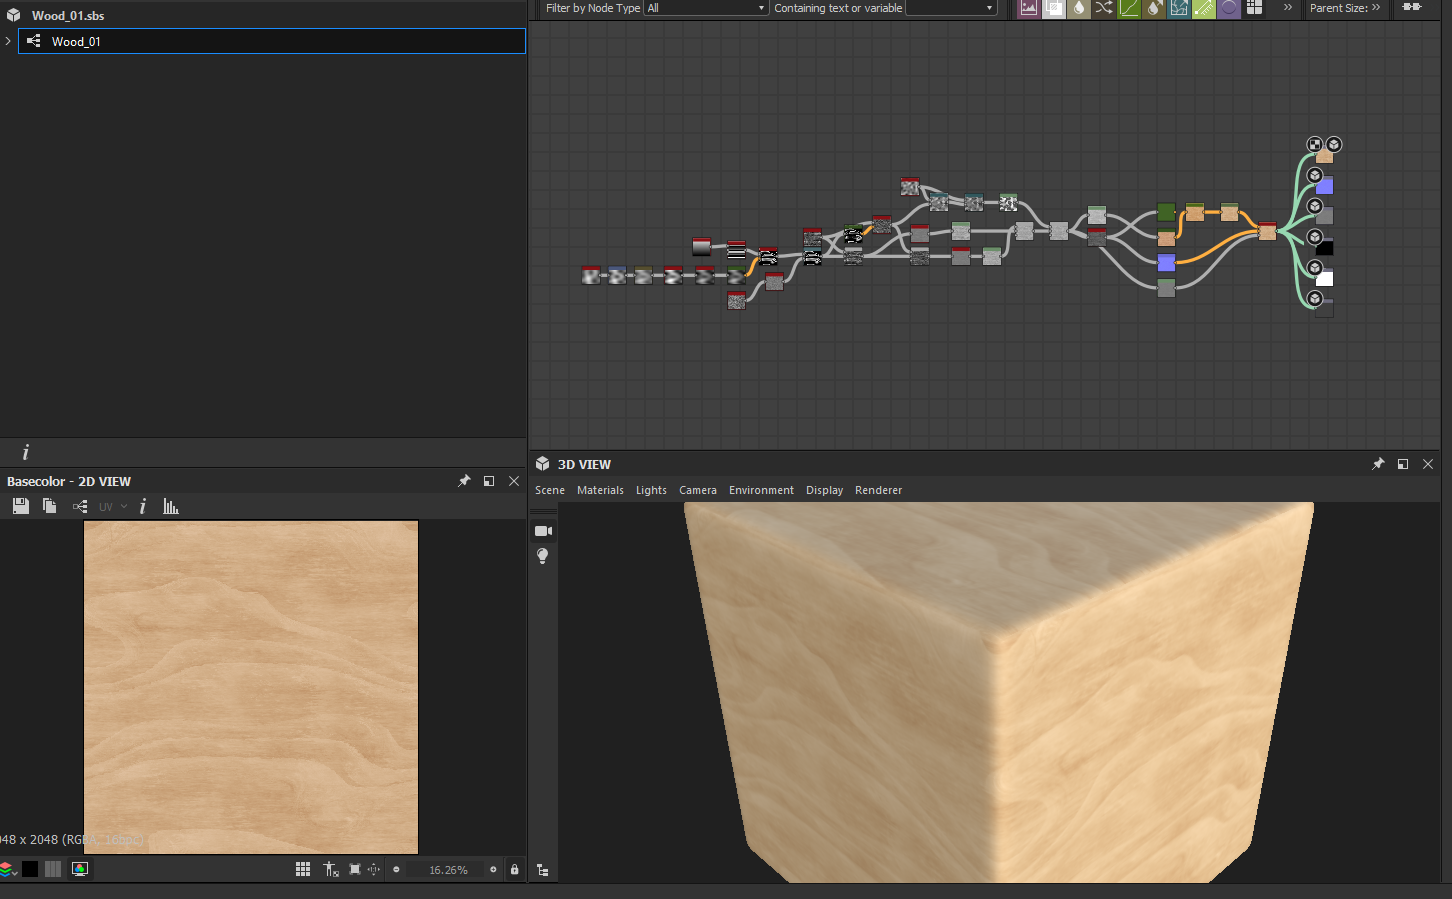
As you can see, this graph doesn’t have a lot of nodes like others Substance materials and I achieved a good result.
I think it is necessary to make materials with a good quality but without using a lot of unnecessary nodes; we must evaluate if we really need textures with lots of detail for our projects. For example, we need textures with a lot of detail if we want to add close-up shots of our project, but if we’re not rendering close-ups and shots are more general, maybe we can successfully use textures with less detail. But, in the same way, if we want to produce renders with a high resolution (maybe more than 4k renders) the use of textures with a lot of detail can be the better option.
Here are more screenshots from other materials I made in Substance Designer.

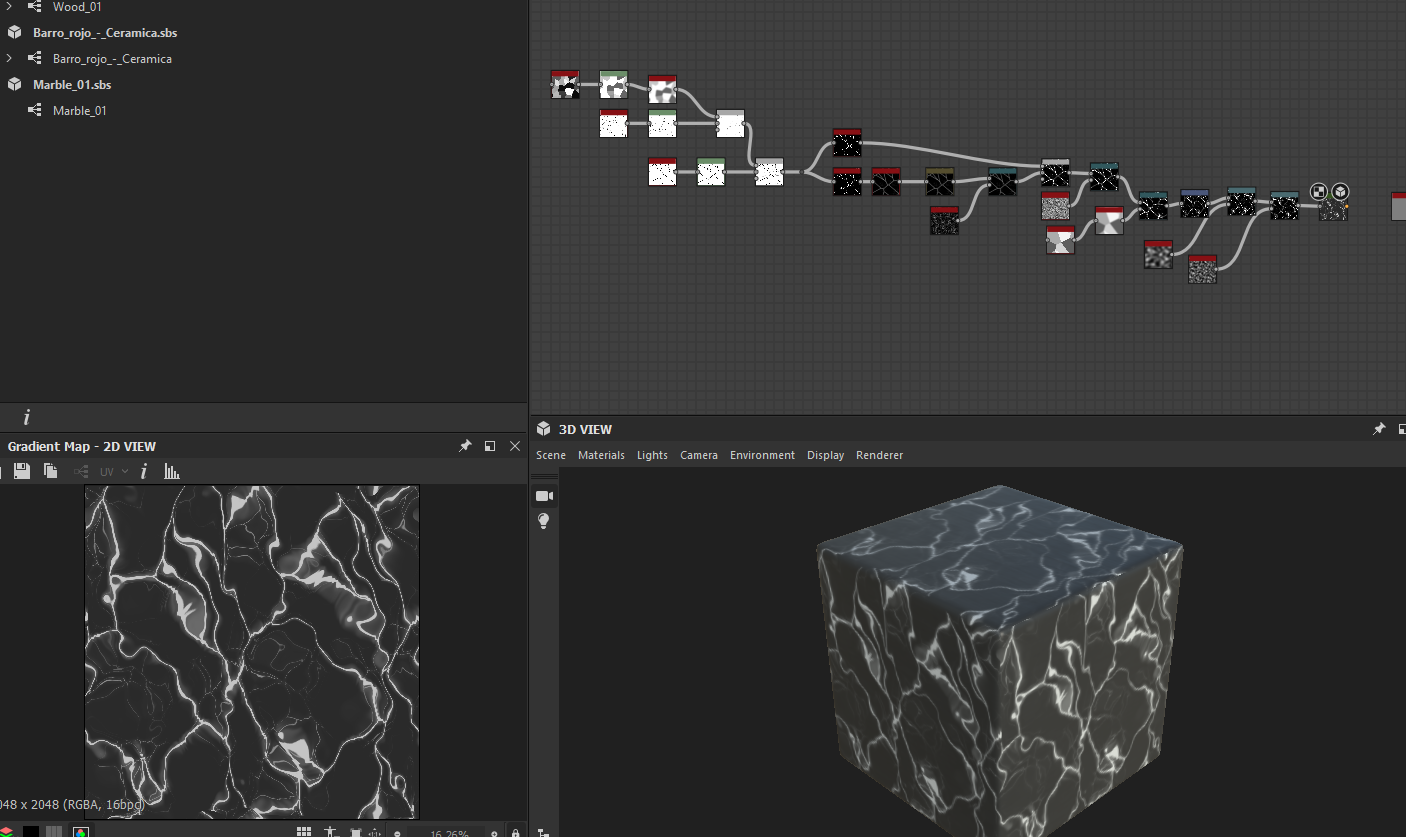
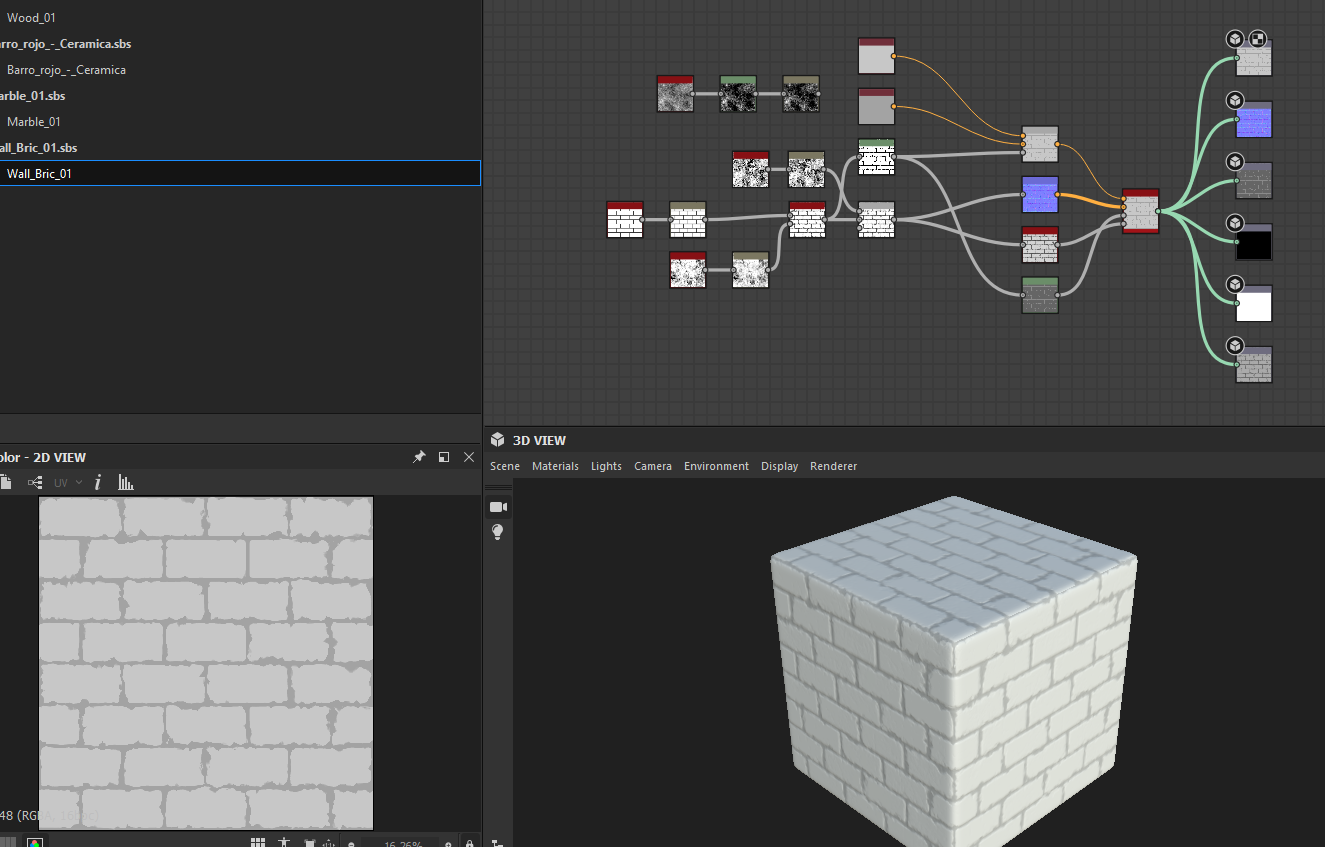
Also, to ensure consistent color, I added a color correction in Blender to all the color textures I made in Substance Designer.
I modeled the rest of the objects that I thought would be easier to do in Blender and, of course, I added the materials, too.
Modeling
After I finished adding the basic models, I started to create the complex models like plants and watermelons in Blender. In the case of the watermelons, I used a sphere mesh and textures from Substance Designer. I used Marvelous Designer for making the towels, and the fruits and the bread are from a page called Mantissa, where it’s possible to find good models with CC0 licenses.
Lighting
For the lighting I used the sky texture from Blender and a sun light for the exterior lighting. This was a bit of complex task to do because I wanted good interaction between sun light and sky light.
I developed a good balance between these lights by using a simple plane and sphere to achieve a shadow with good contrast.
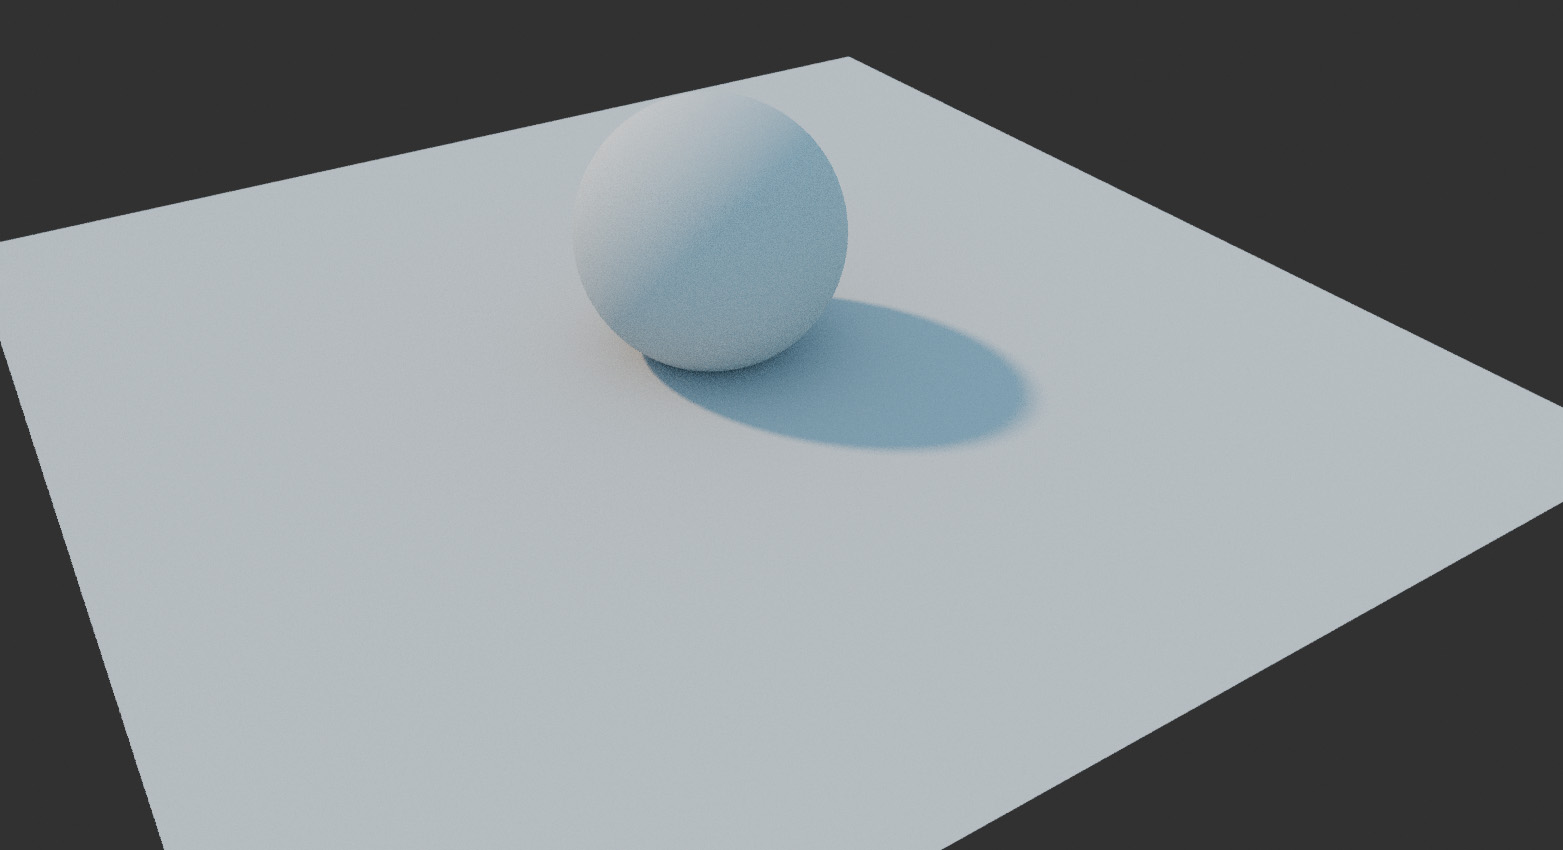
Maybe it isn’t the best way to do this, but in this case it works for me.

For the kitchen LED light, I used a simple rectangular light with a warm color, and for the ceiling lamp, I used a disk area light with a bit warmer color.
Also, I added a back light using a mesh sphere with emission for a more natural feeling.
And the last light I added to my scene was an exterior artificial light in the right window to add a more interesting feeling.
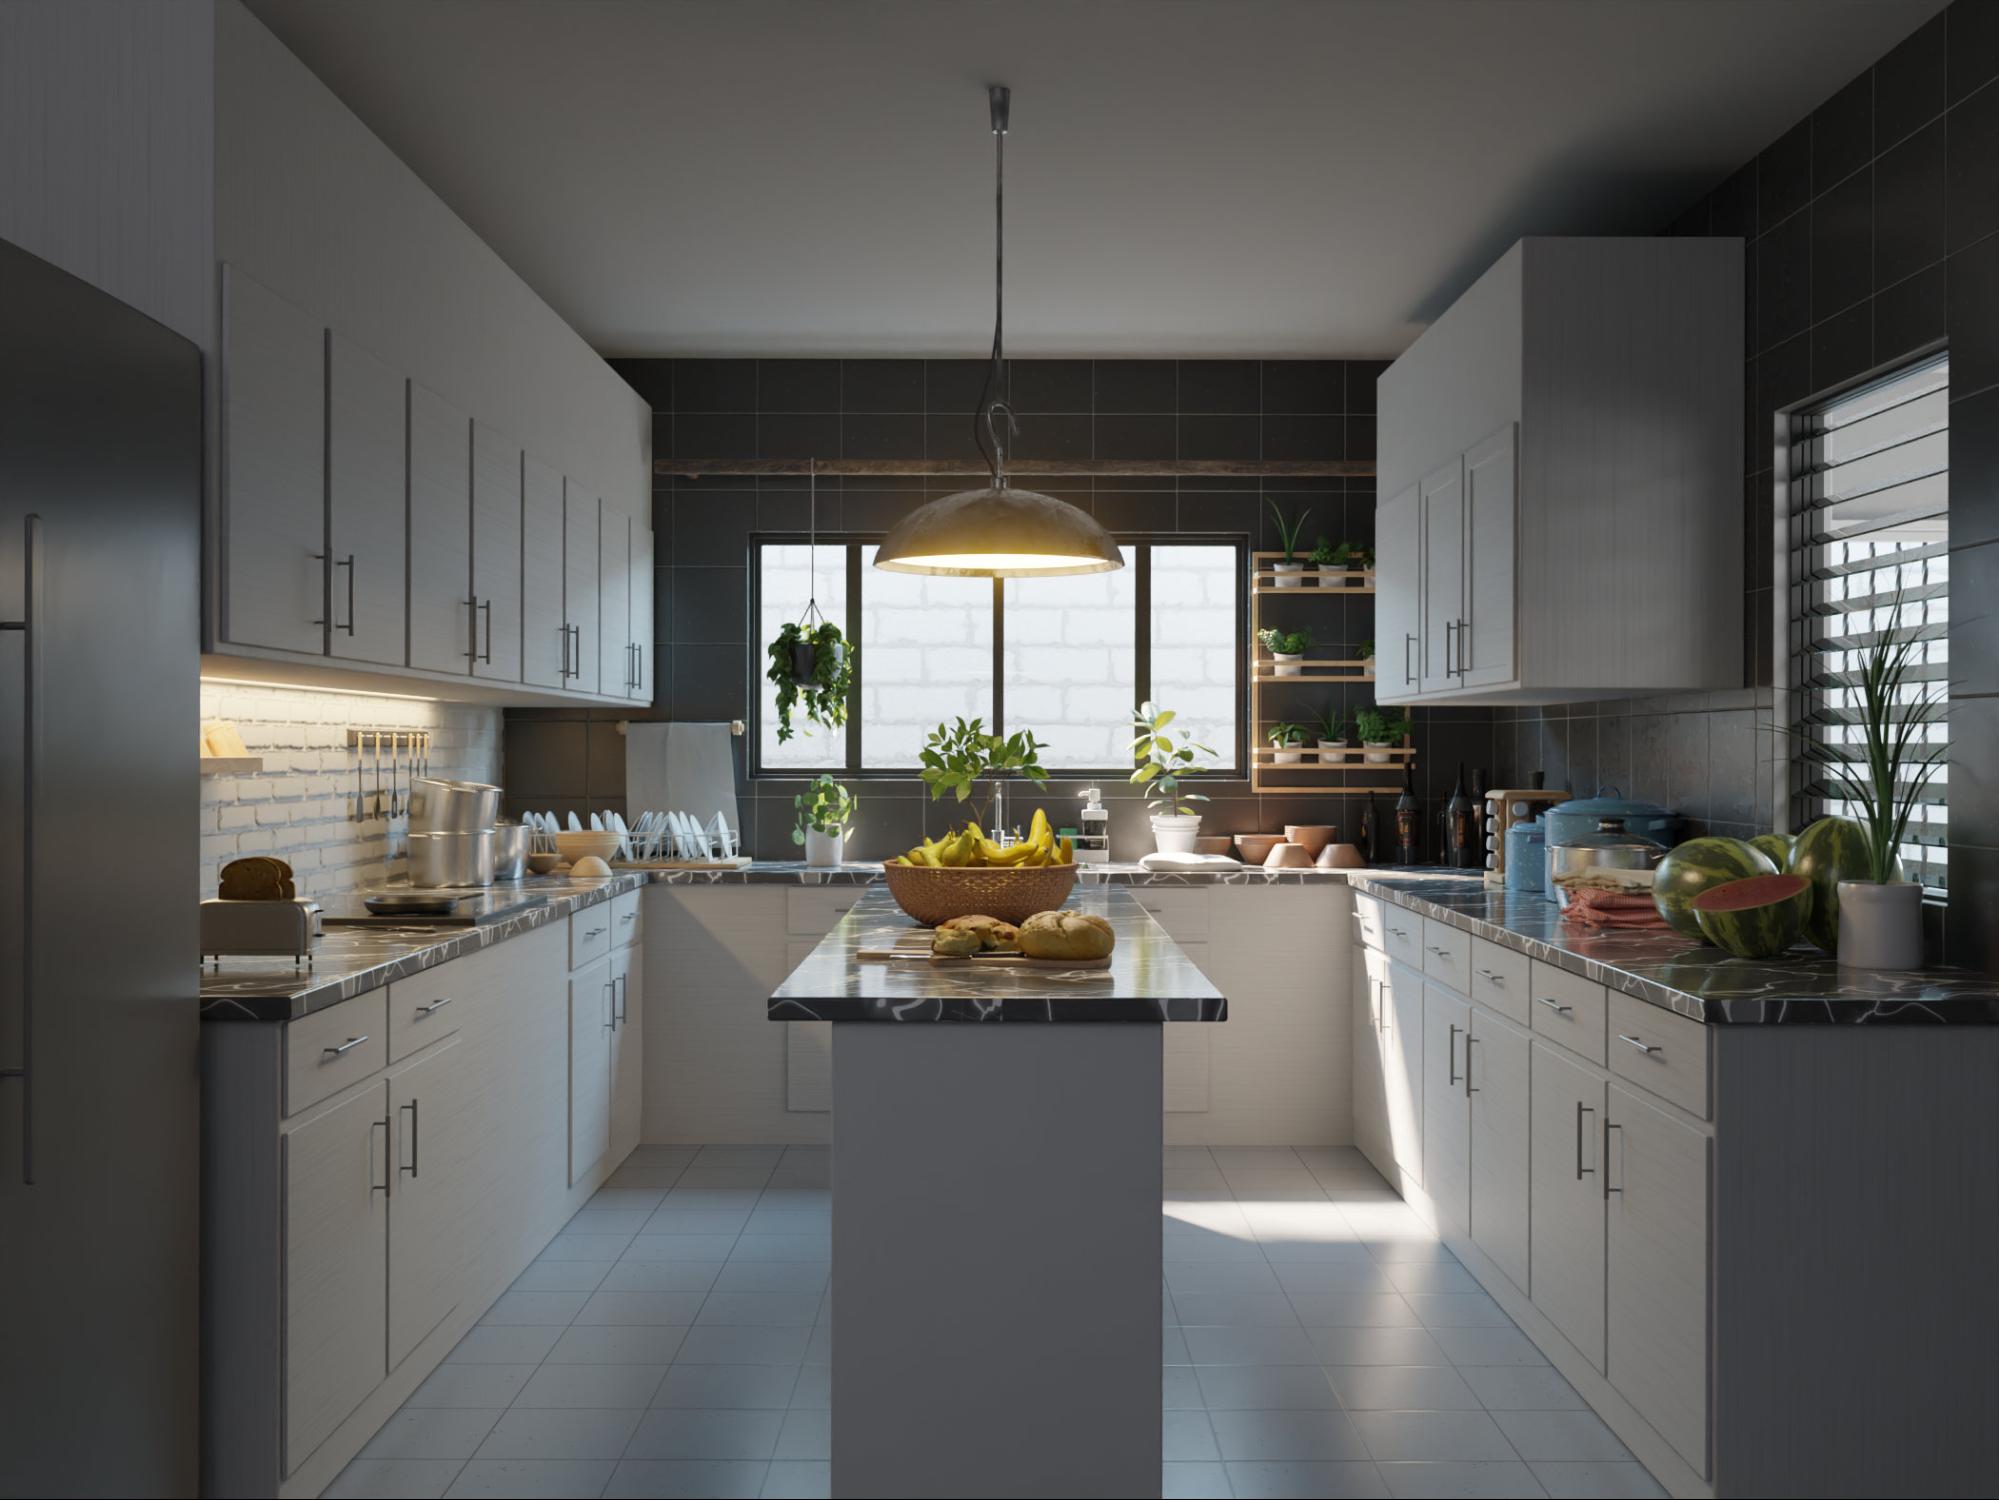
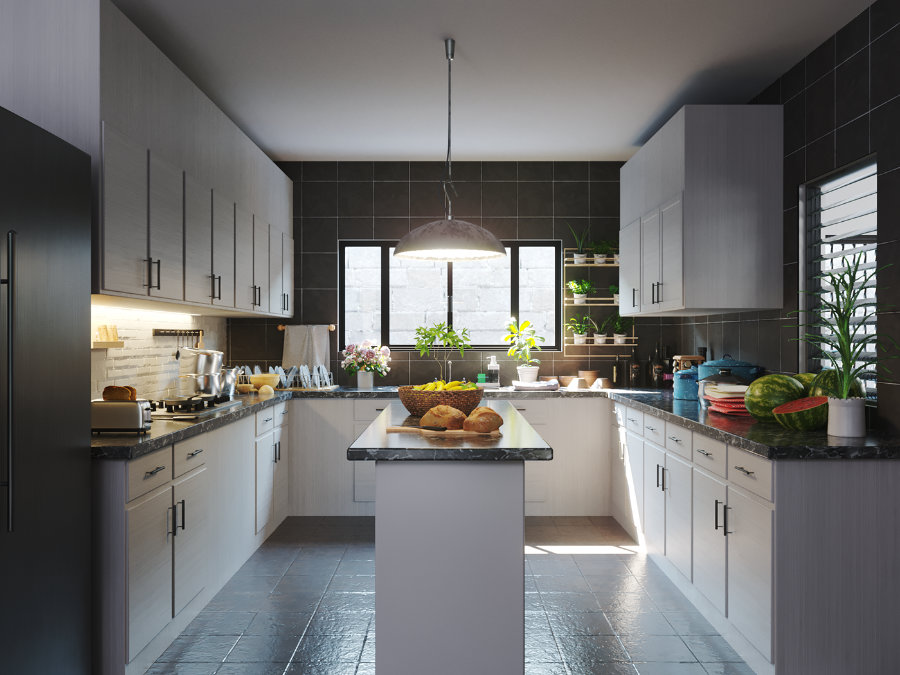
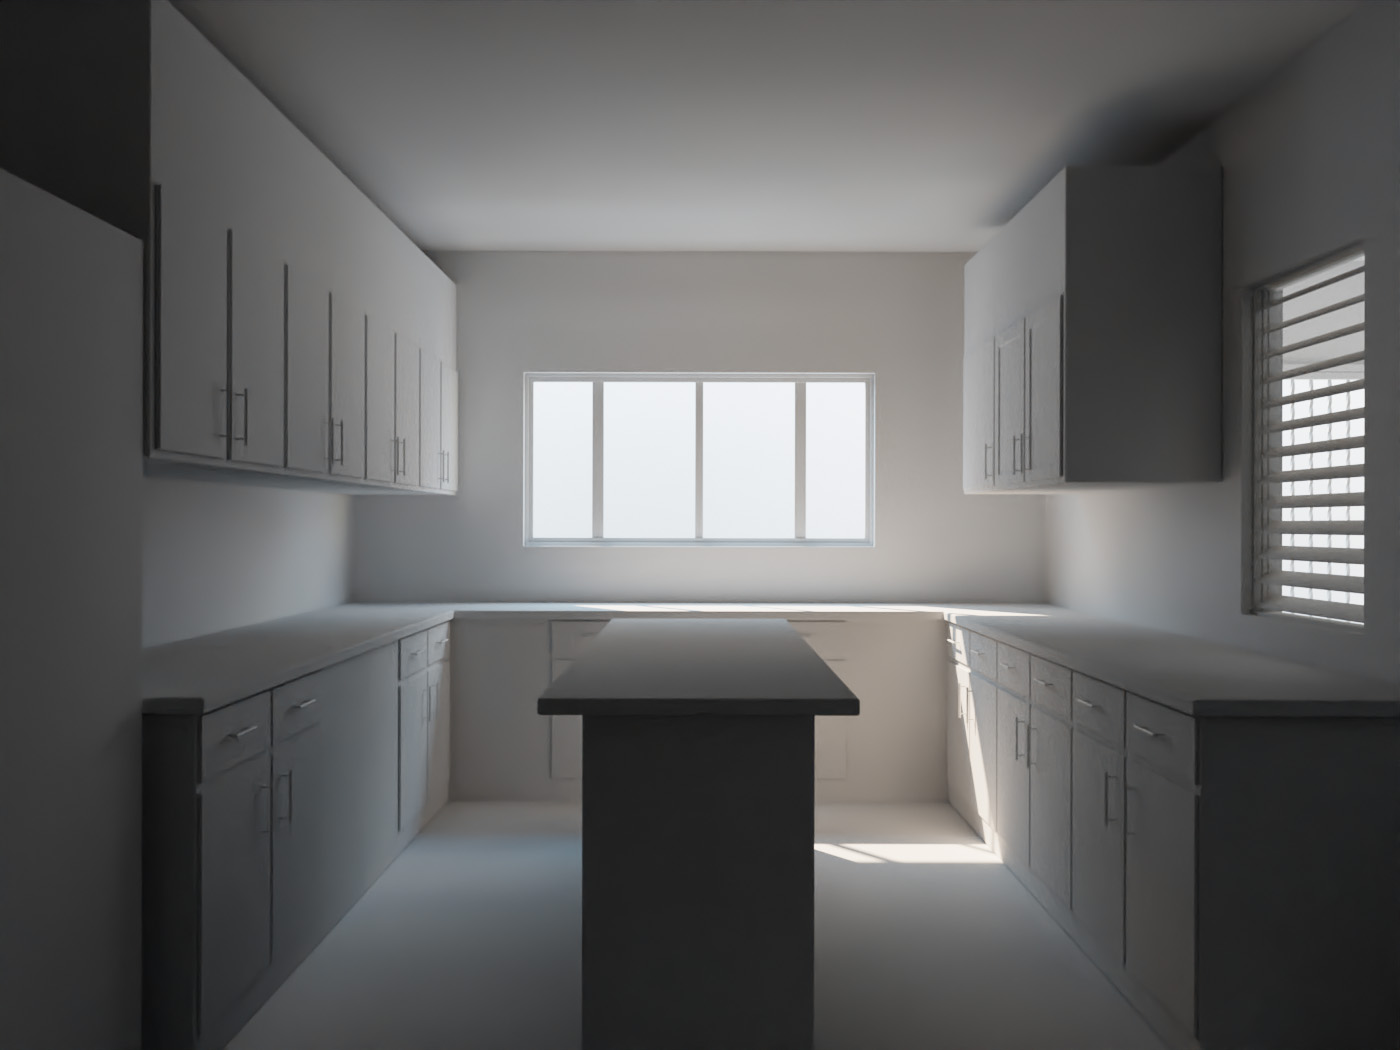
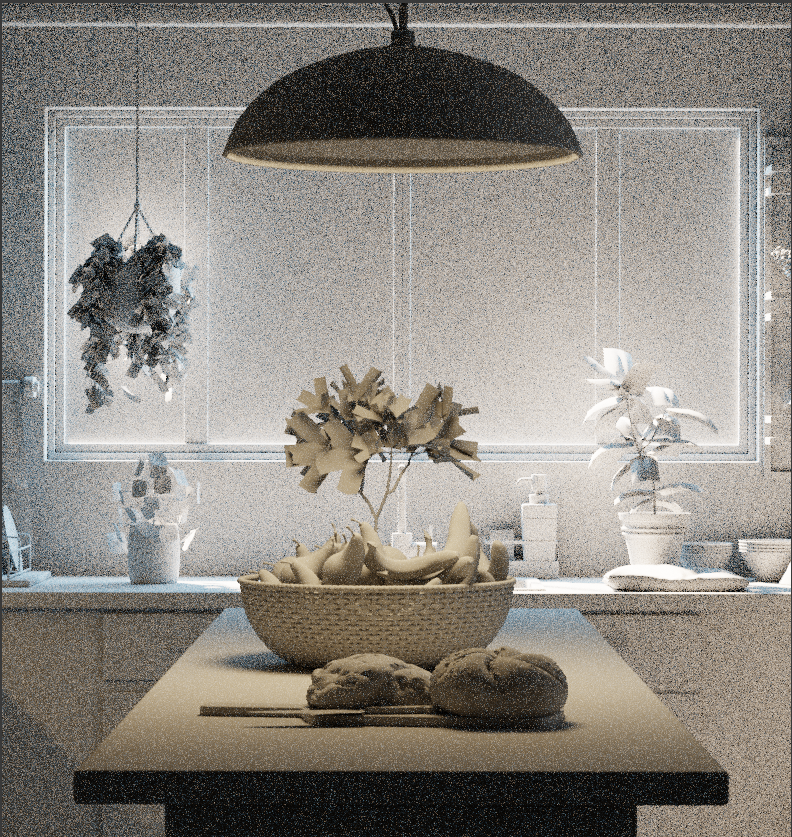
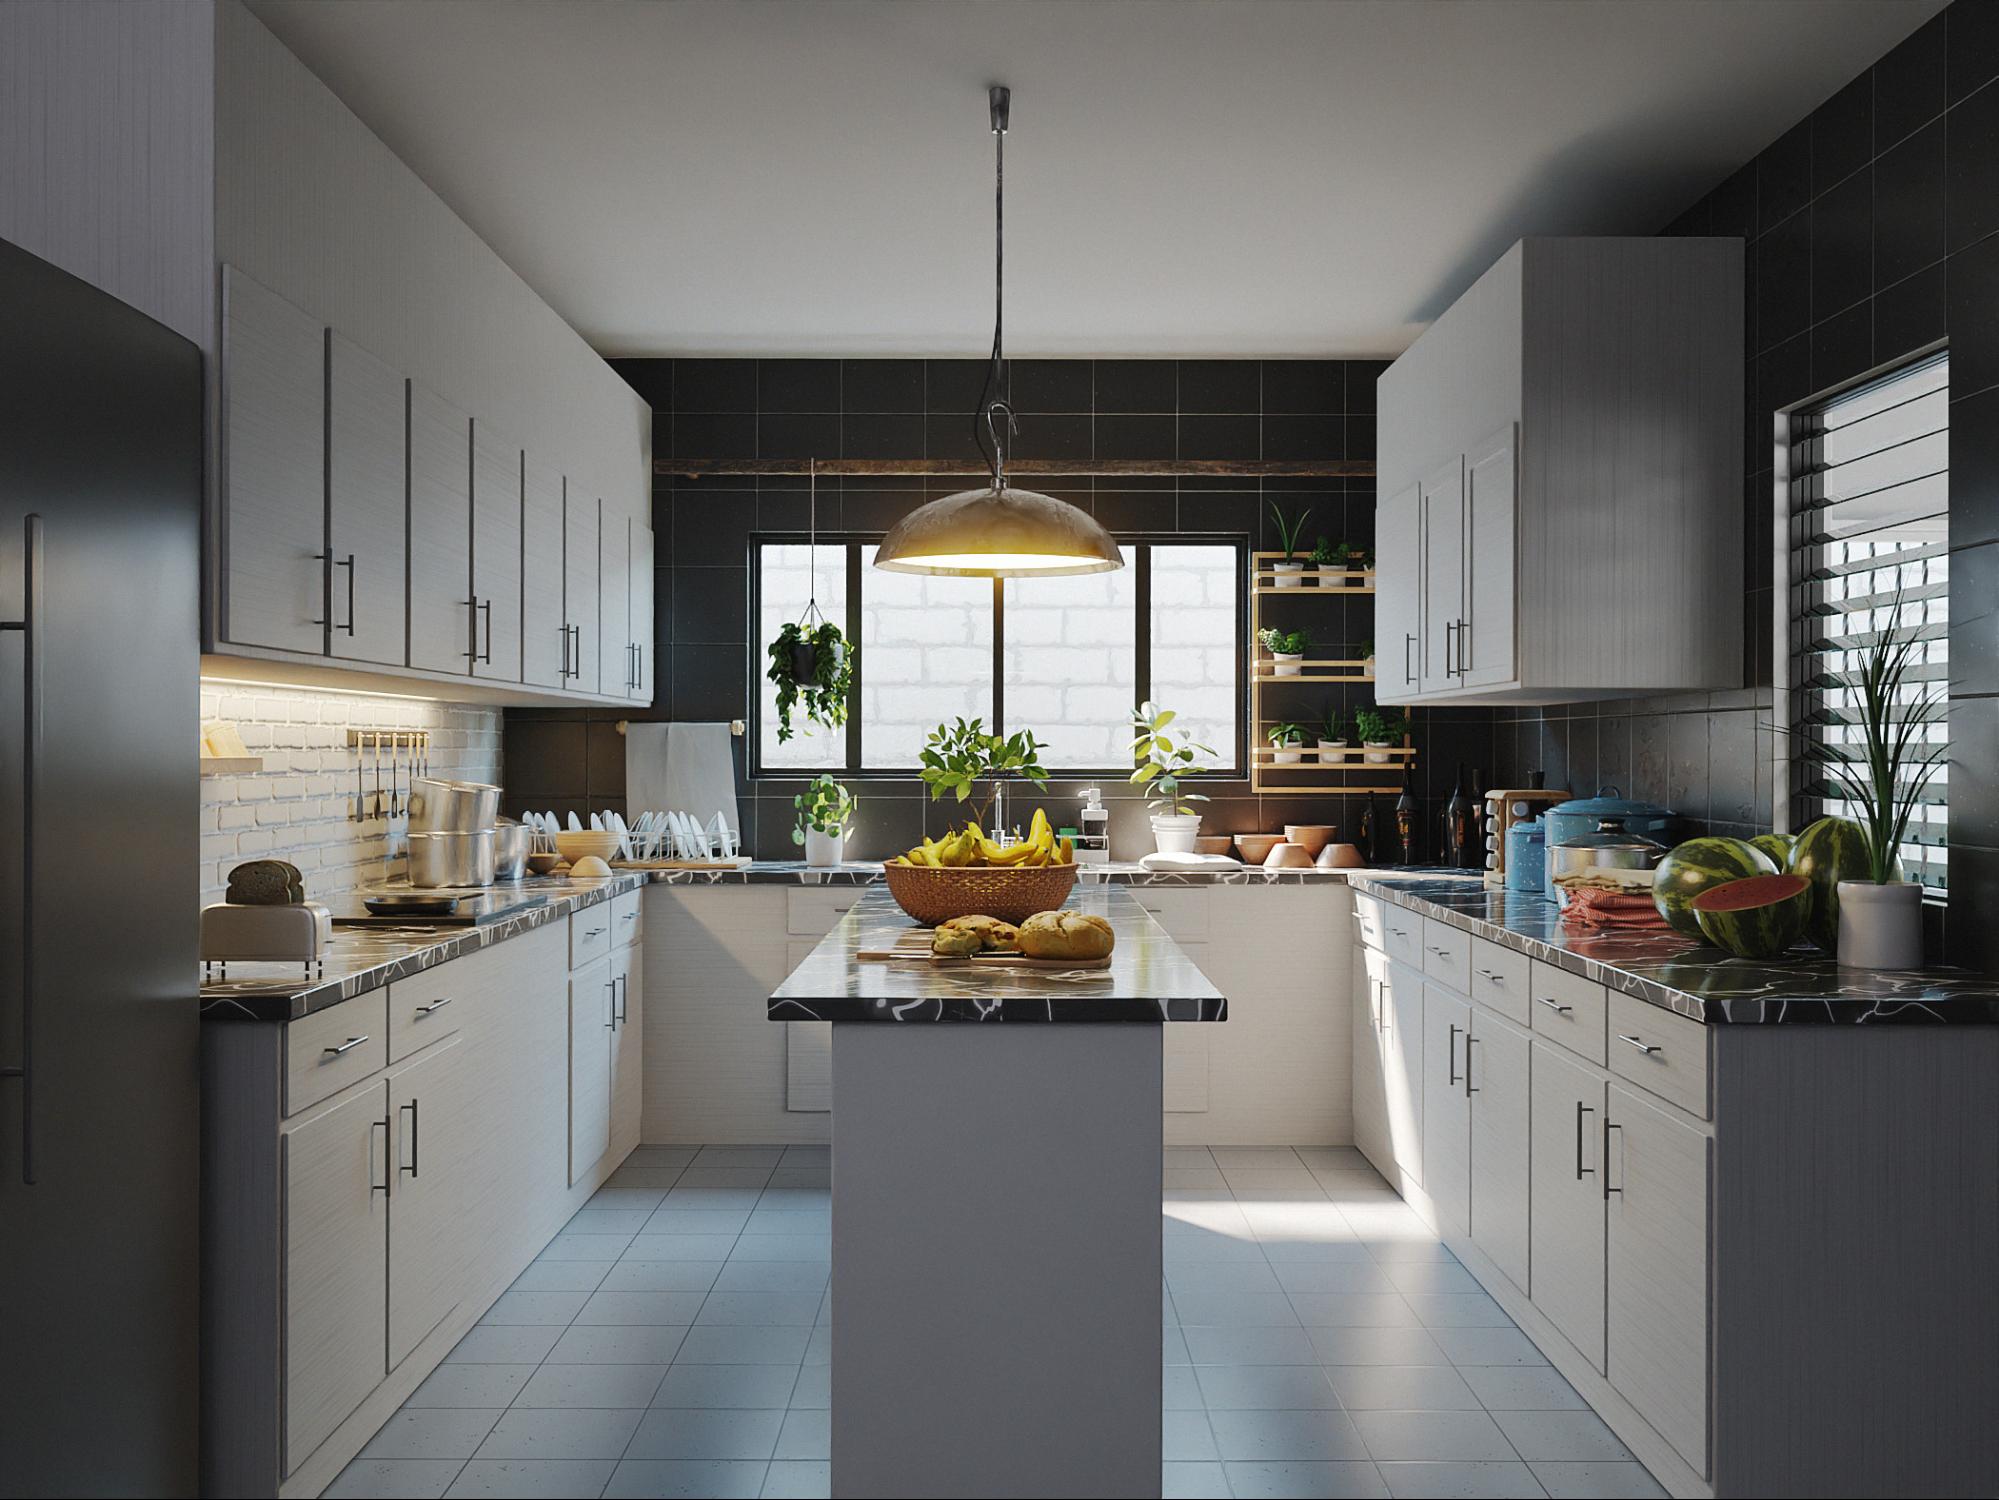
The Final Renders
Without Post-Production
This was the final render without post-production, Maybe you can see that this doesn’t have a lot of contrast, but that is normal because it is a raw render.
With Post Production
I exported this render with the default color management settings, only I increased the exposure to 1.5 before I exported the render.
The post-production was done using Affinity photo and I only added curve and contrast adjustments to add contrast to the render, and finally, I added a detail refinement and high-pass.
And the work is done. :D Thanks for reading this Behind the Scenes and I hope you liked it.
You can buy this project from BlenderMarket.
About the Author
 Jesus Alberto Sandoval Matias, I’m a software engineering student and 3D artist that likes 3D rendering and modeling.


Wow really nailed it! Baffled how well you got the models and lighting almost same as original. Great job!!!
PS that original C4D scene, that wasnt yours right?
Some materials could use some minor work, but you really did super well i think!
One thing i noticed just now looking at it again. I would add a soft glow for that main window. That ugly brick wall is kind of ruining the mood :)
Jesus:
Very well done project! Would you be willing to share your wood texture from Substance?
Thanks
TIM
Looks really well put together, great job! Awesome to see the progress from your first interior render ;D
Wow, I loved the process, really good skills!