Behind the Scenes: Futuristic Racing Motorcycle
About Me
Hi! My name is Lautaro Iglesias, I am a freelance 3D generalist from Buenos Aires, Argentina. I started using Blender in 2012 and I have been using it every day since 2015. I studied industrial design and graphic design at the University of Buenos Aires, but what really interests me is 3D stuff, which I learned on YouTube, of course.
When I have free time I like to work on projects in Blender, and in this article, I will be showing you what my process was on one of them. Hope you like it!
General Idea
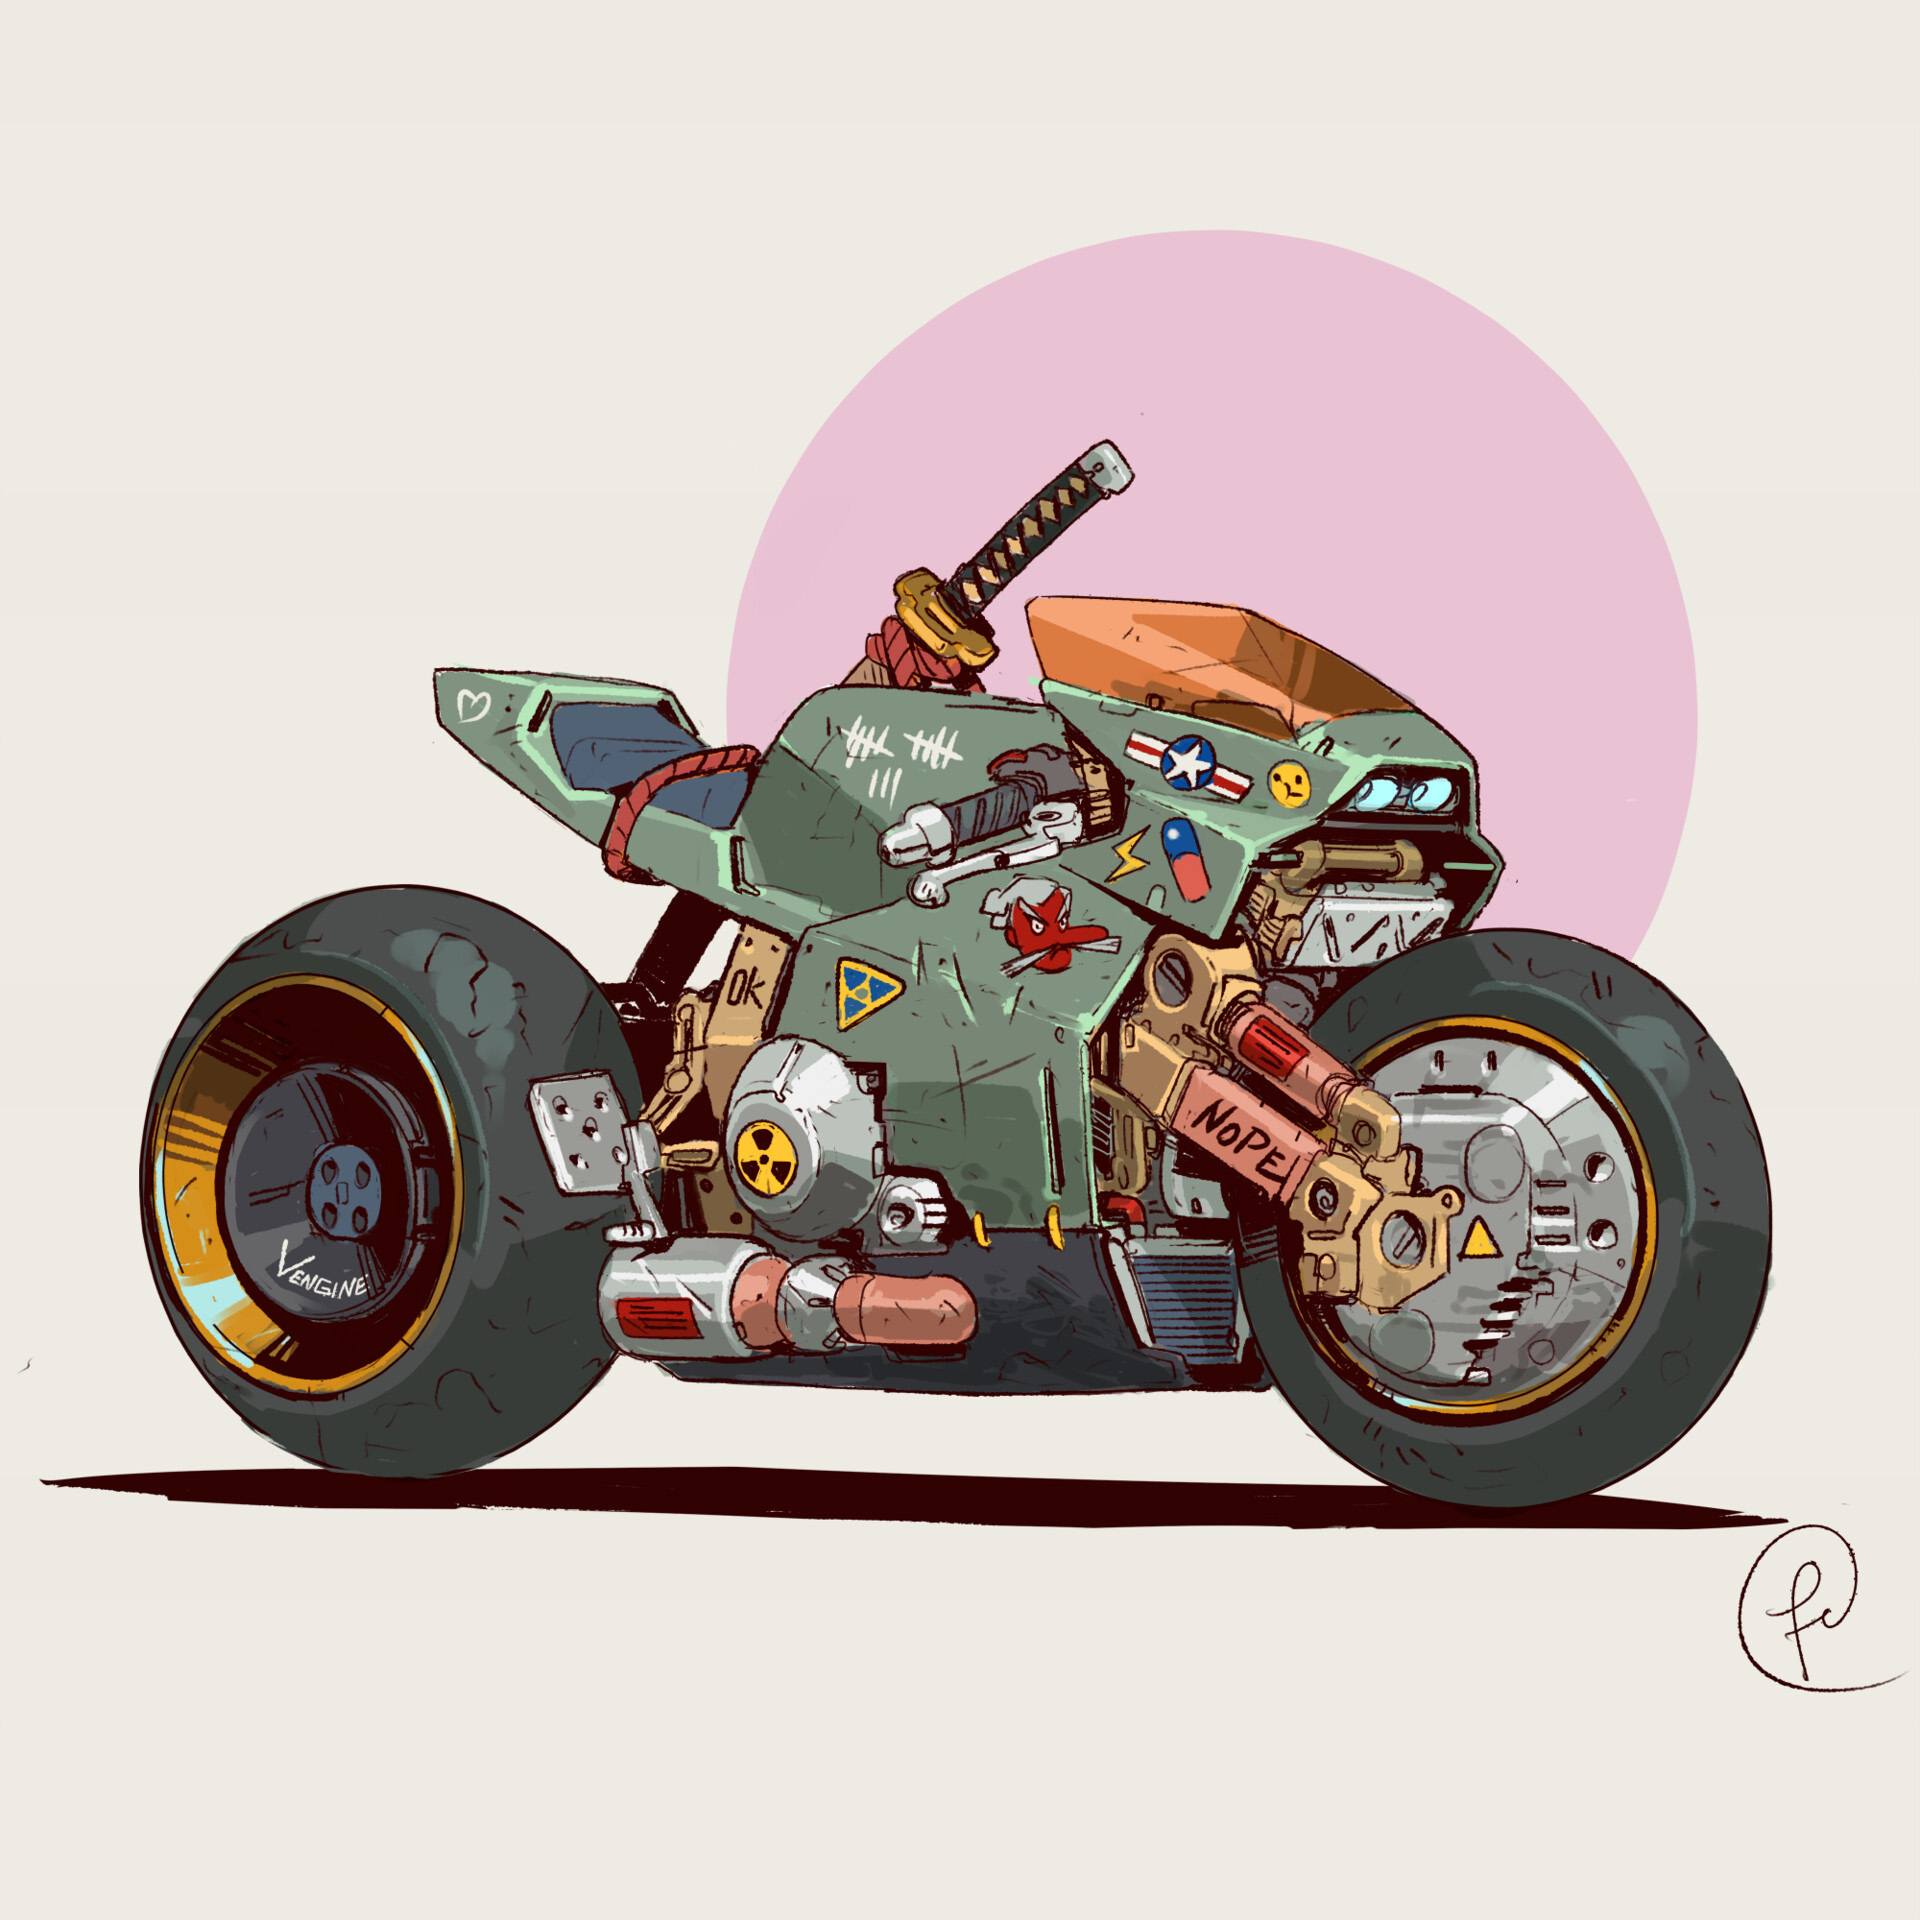
Whenever I have some free time I like to create a 3D scene. Sometimes no idea comes to mind, so it occurred to me to find some 2D illustrations that I like and recreate them in Blender. The illustration I chose was RONIN, by Fernando Correa:
Modeling
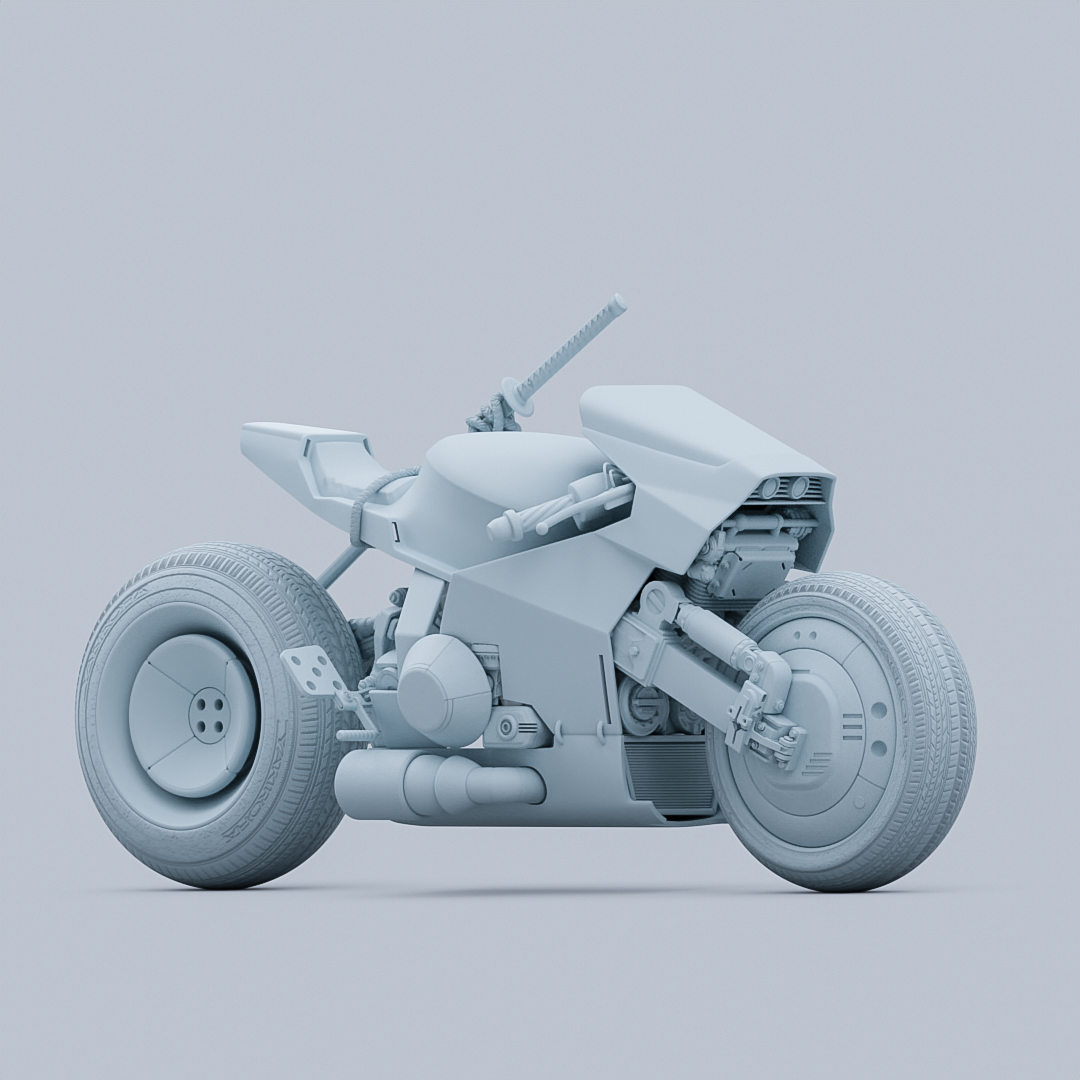
To recreate this motorcycle it was necessary to know what its dimensions were. For this, the first thing I did was to match the 3D space camera with the perspective of the illustration. I modeled two wheels very quickly and adjusted the camera little by little until the 3D and 2D wheels coincided (as approximately as possible).
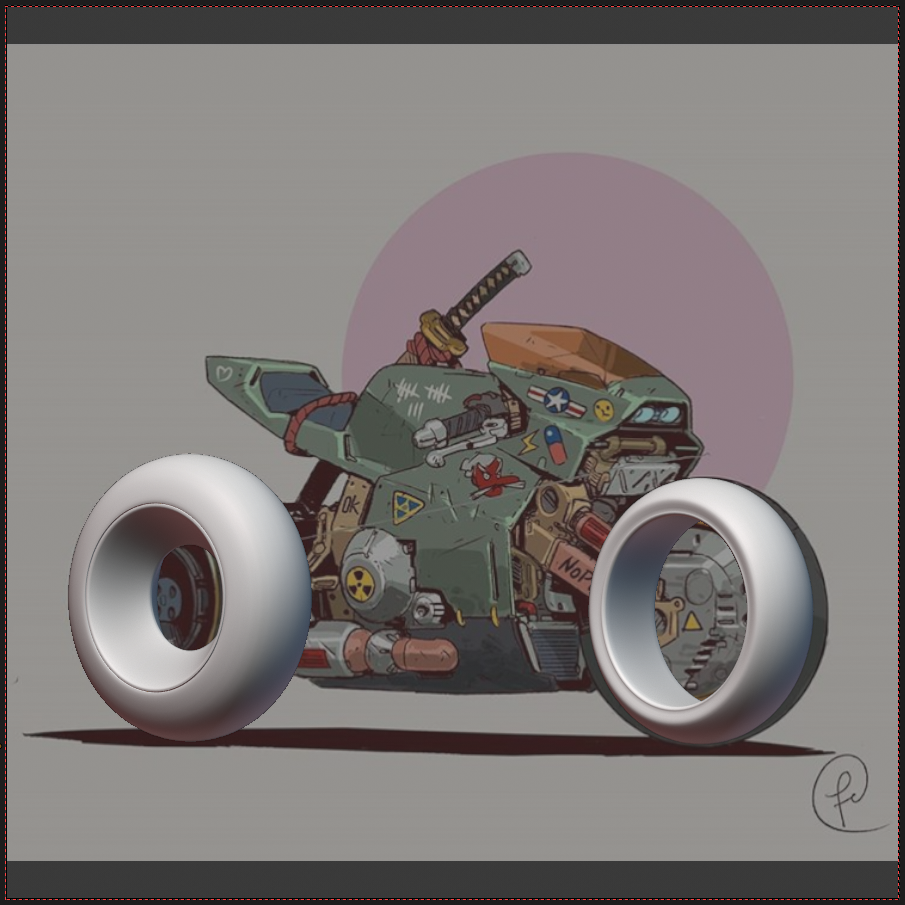
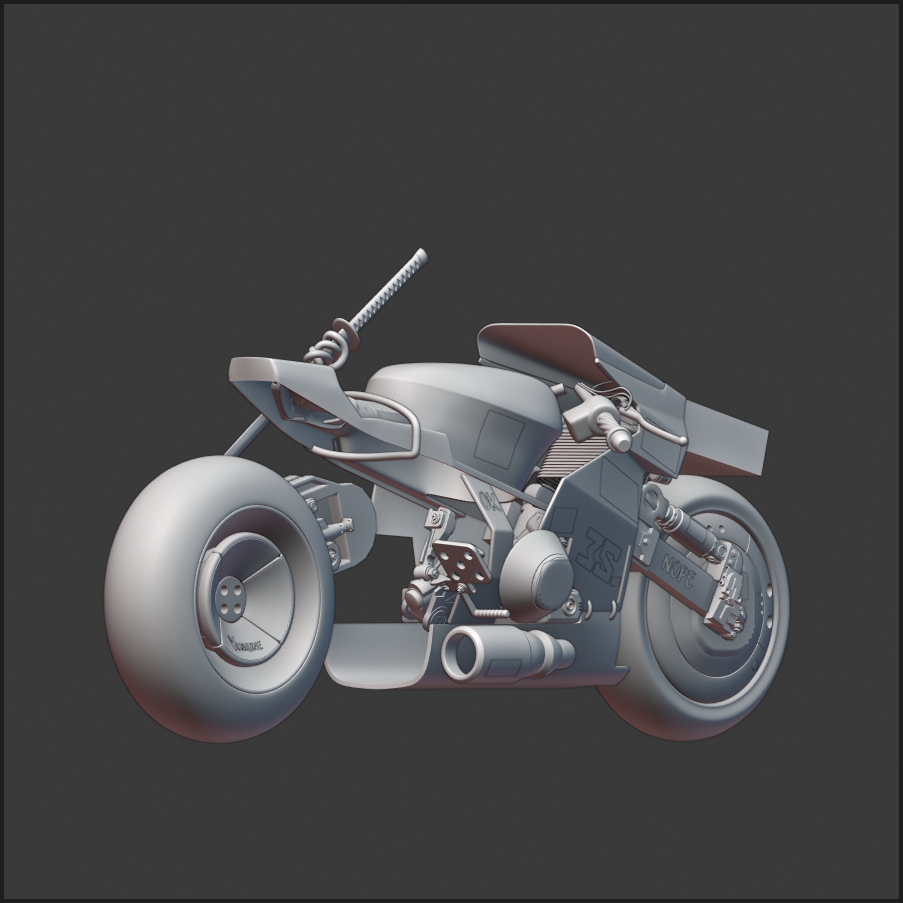
Once the camera position was locked, I started modeling the different parts. The general structure was blocked with lines to create the approximate shape. Once that was done, I started with the definitive model.
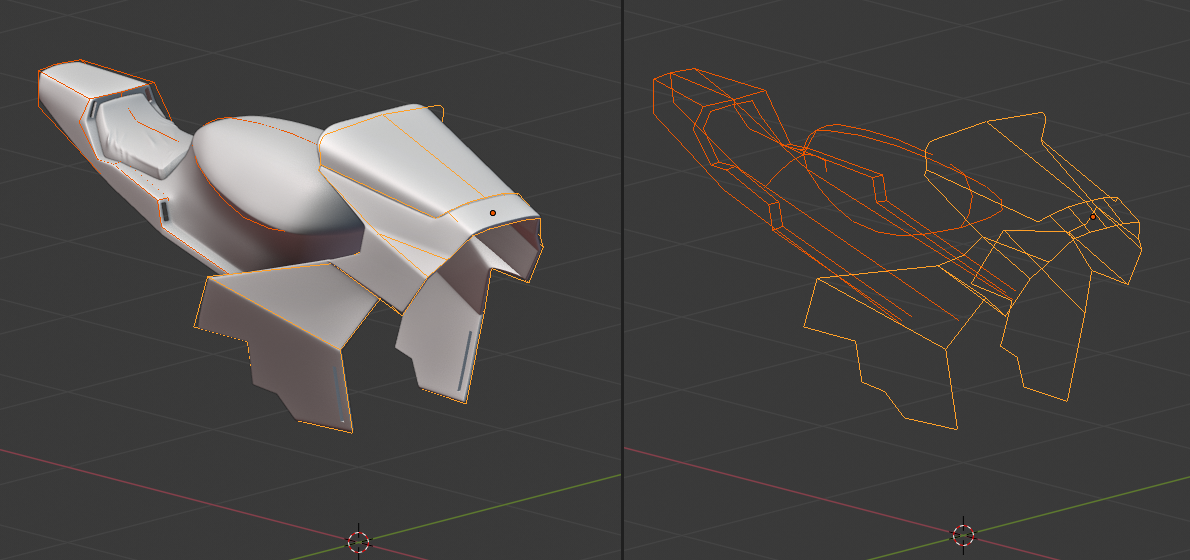
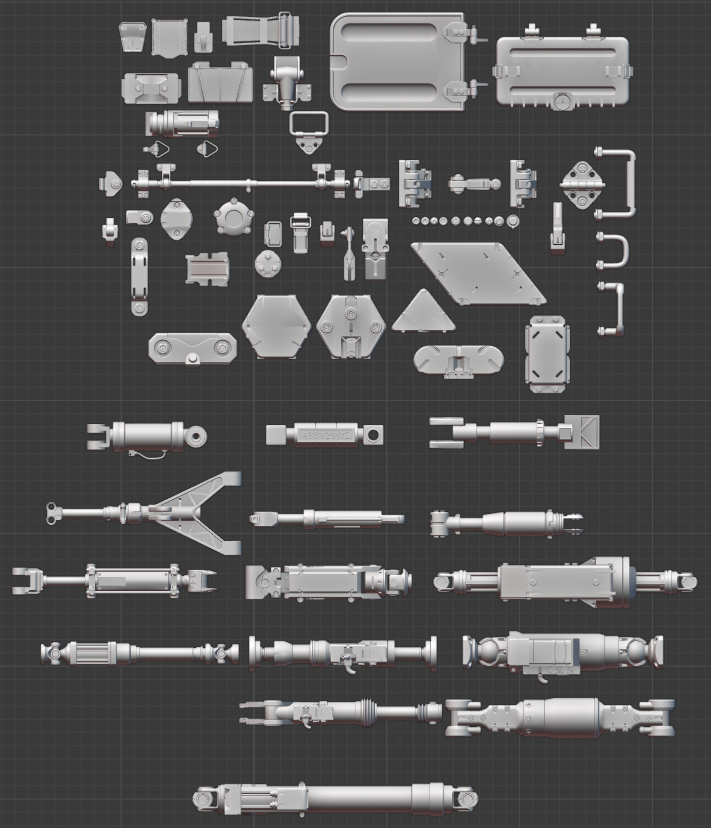
I only took care of modeling those pieces that were visible from the perspective of the camera. From any other angle, the motorcycle has no consistency. Some of the mechanical parts were not modeled by me, but I took them from a pack of mechanical parts. These pieces consume a lot of time when creating them from scratch and, since they are not the main point of the composition, it was not worth it to get stuck working on them.
Texturing and Shading
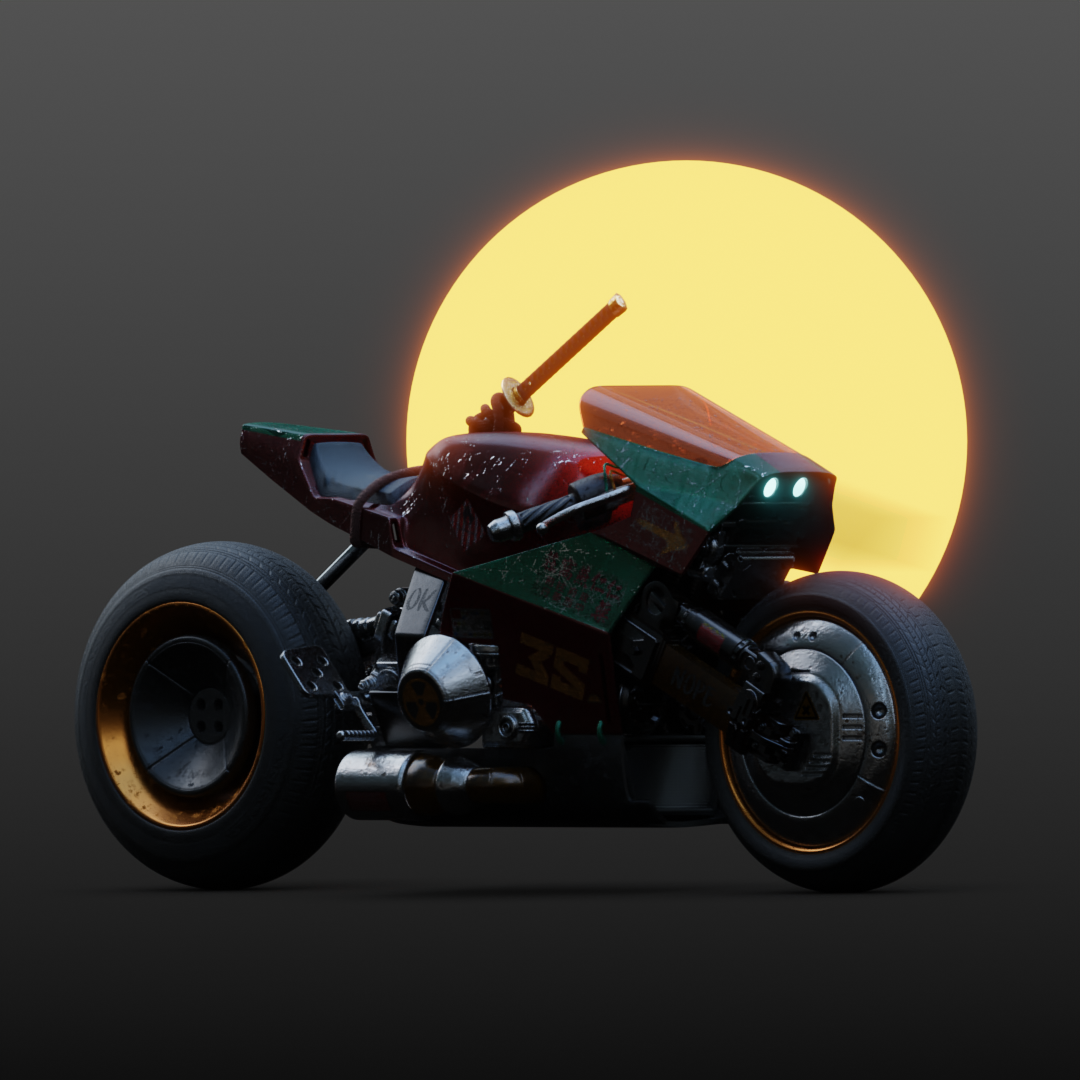
At the beginning, I decided to copy the original style of the illustration, but after some tests I was not satisfied with the result. The original style is toon, and it would be unusual for it to be rendered realistically. The color palette did not convince me, and the motorcycle stickers looked fake. Moreover, global white lighting left the image without contrast or depth and the early shaders didn’t look right.
This was one of the first renders. I don’t know why, but I really didn’t like it. It didn’t look as cool as the original concept and I thought it was best to change course.
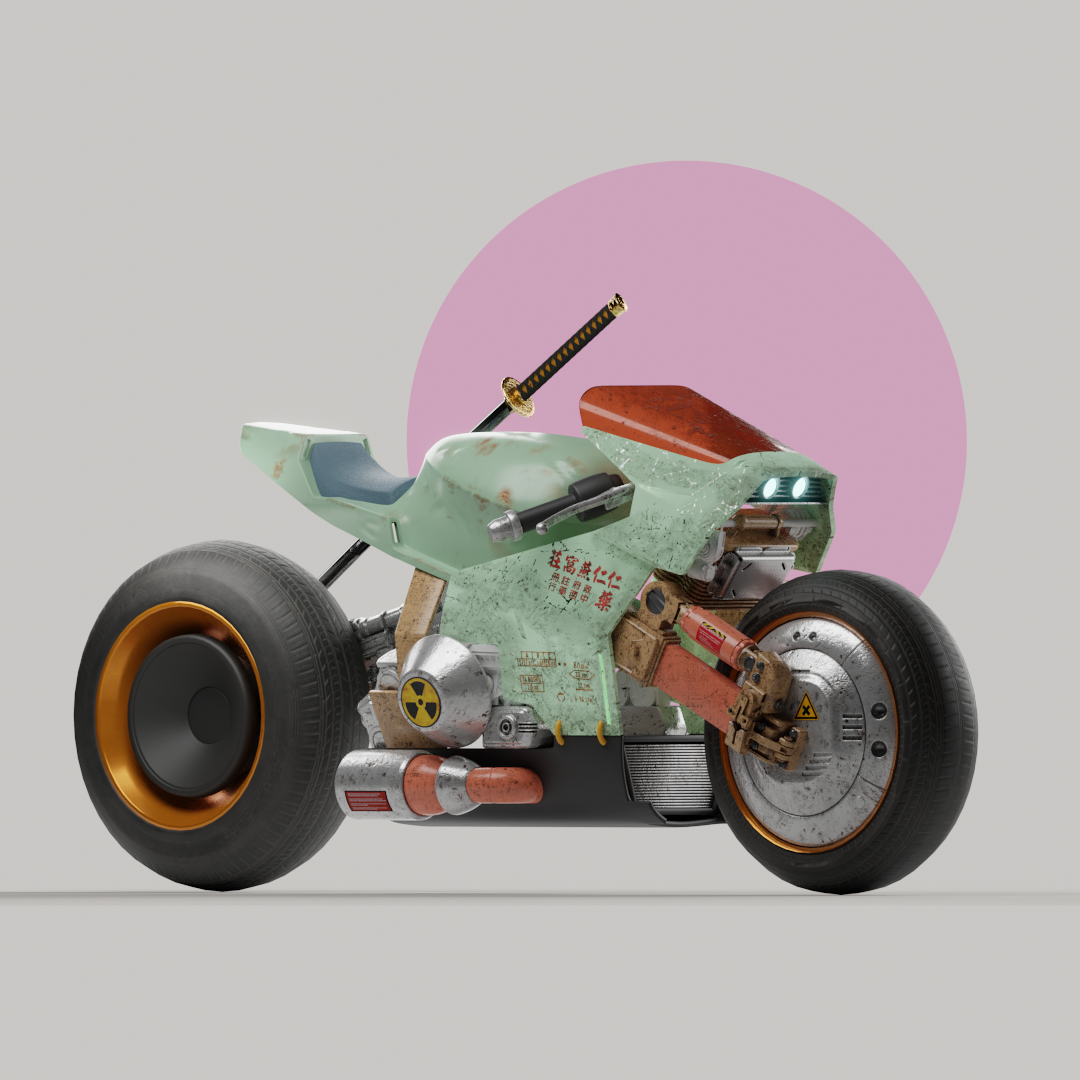
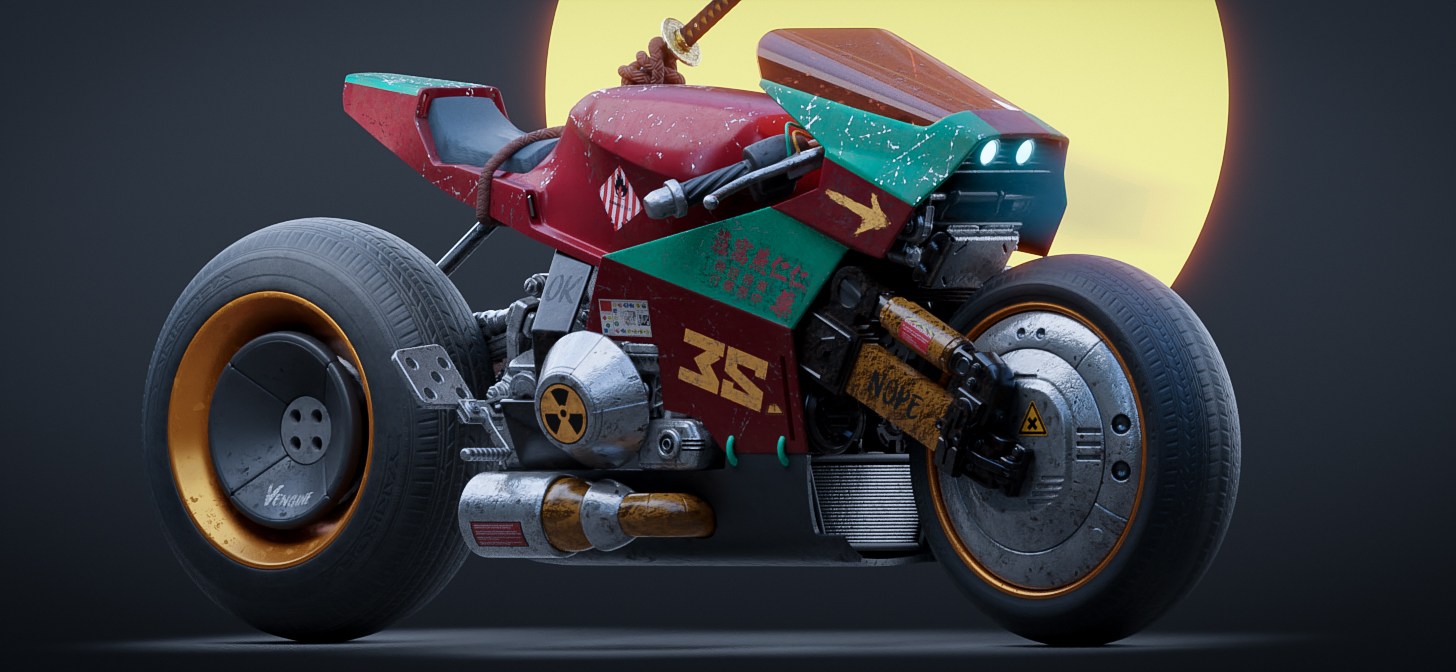
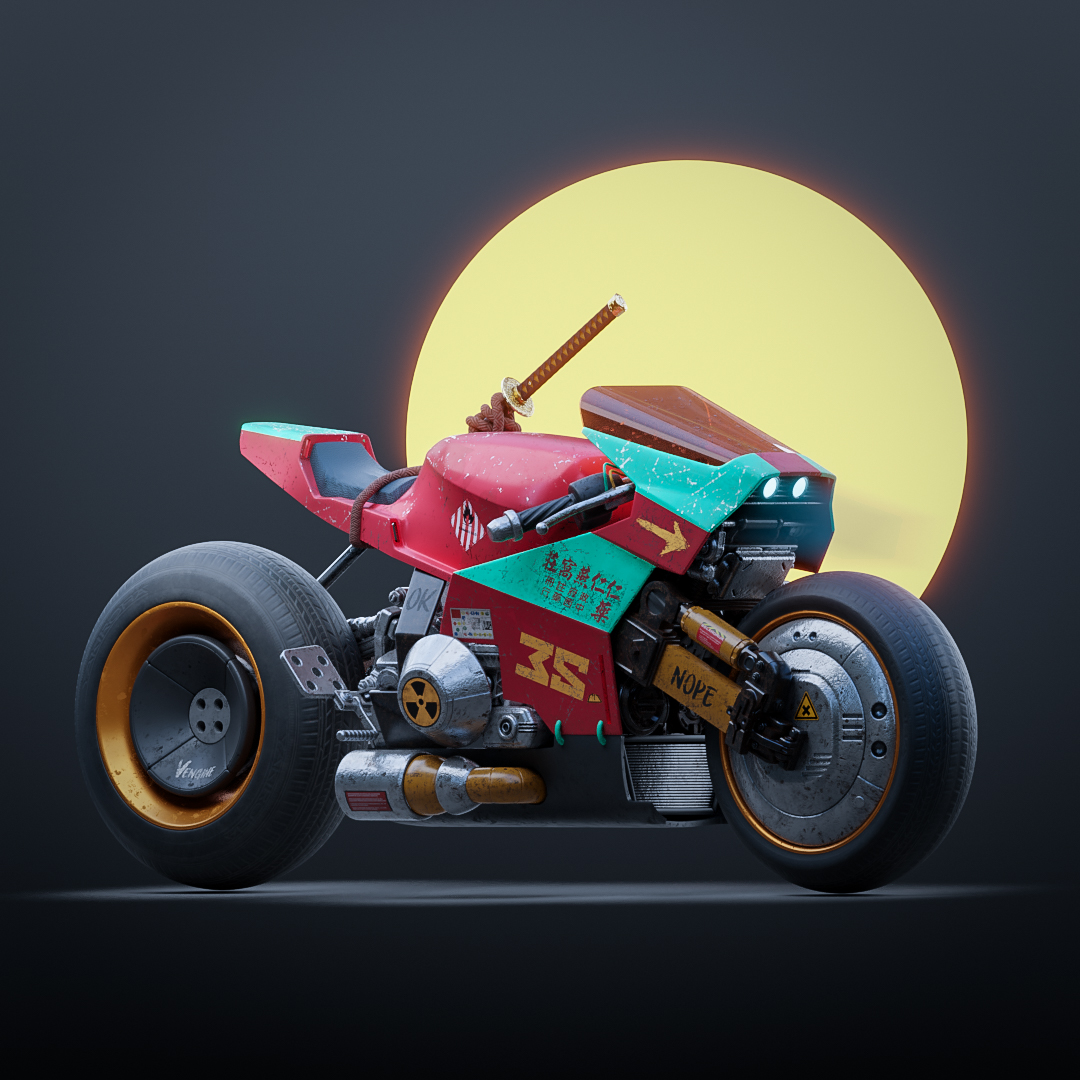
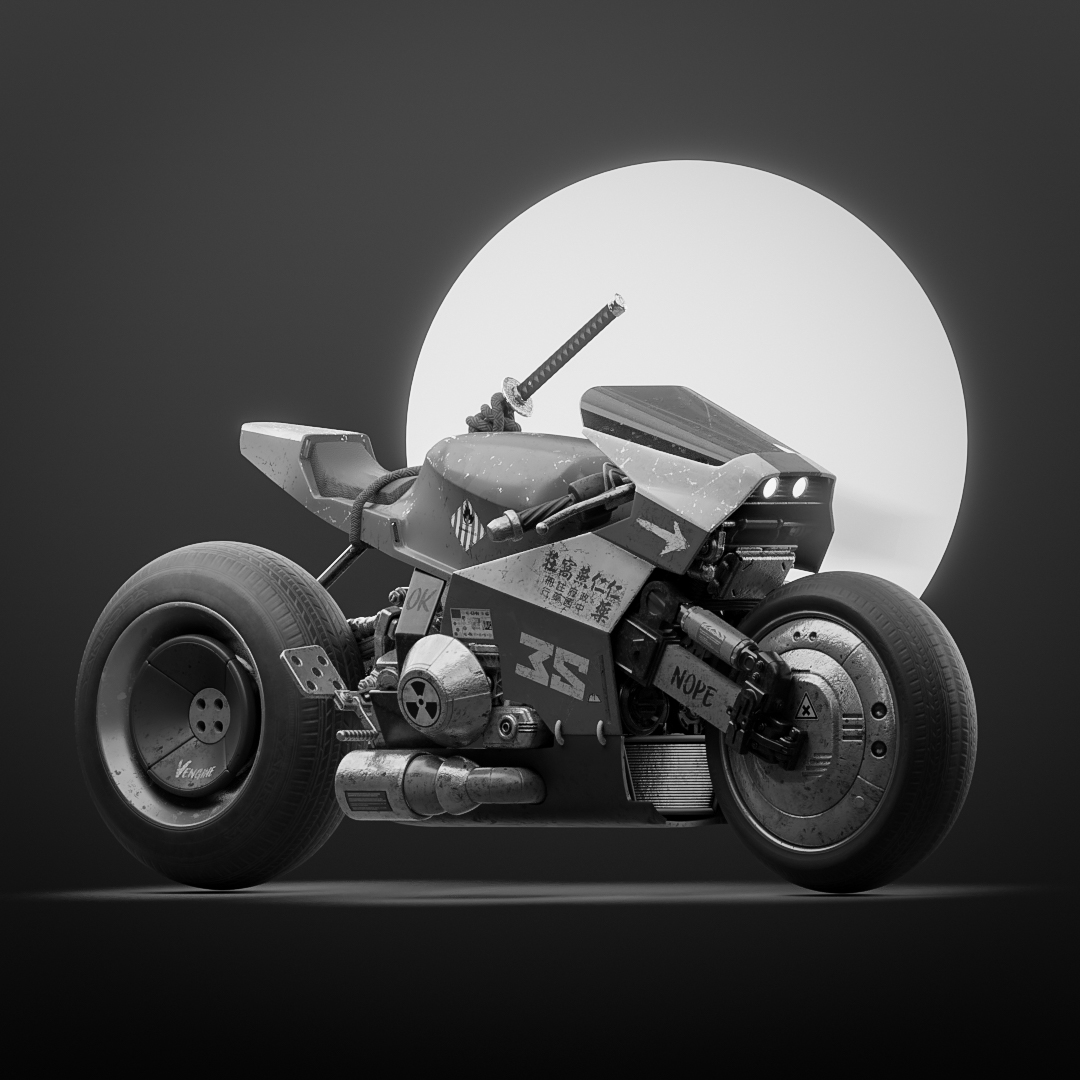
I decided then to abandon the original concept and look for a style that fit better within the 3D world and the cyberpunk vibe. I changed the color palette and replaced the toon stickers with safety instructions and racing vinyls (some stickers of the original concept remained in the final version).
The shaders used are mixtures of PBR materials downloaded from Textures.com.
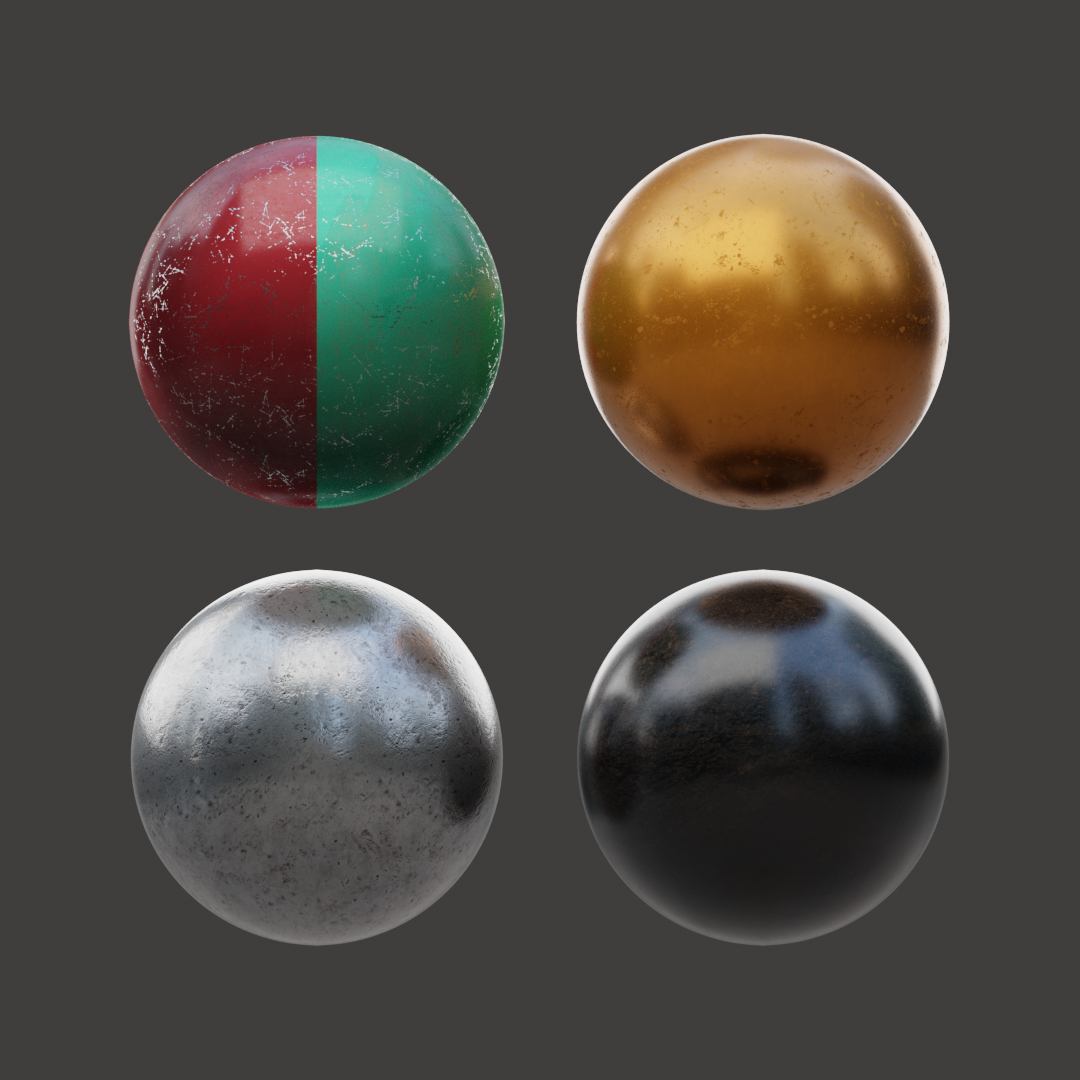
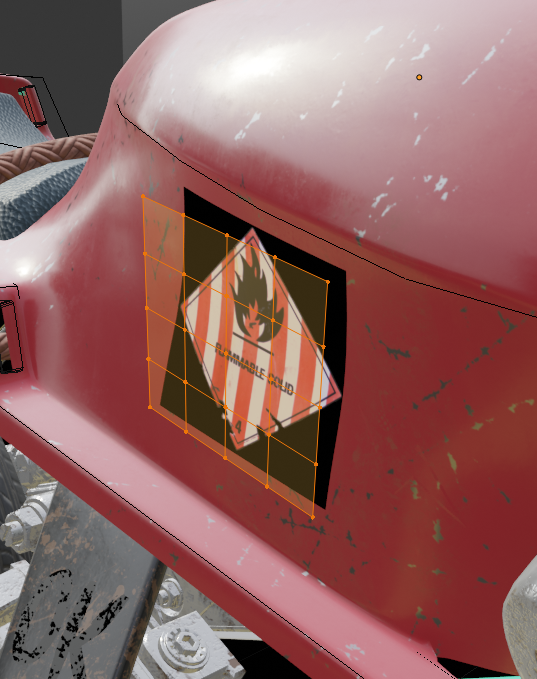
Regarding the stickers, most were imported as planes, then divided and applied on models with the shrinkwrap modifier. This is not a good workflow if the model is going to be animated or needs to be exported for use in other software (in those cases a texture bake should be done). But in this particular case, it works and saves a lot of time.
Lighting
The scene is illuminated by four white mesh lights, much like the classic three-point lighting set. There is also an HDR image in the world, but it only influences glossy rays so that metallic materials do not look so flat.
Final Settings
In the Blender compositor I used the Denoiser node and added some glare. Then I made some color adjustments in Lightroom and I think that was it.
I really liked the final result and I see people in general did, too, so I’m pleased. I hope you found this article interesting.
Thank you!
About the Author
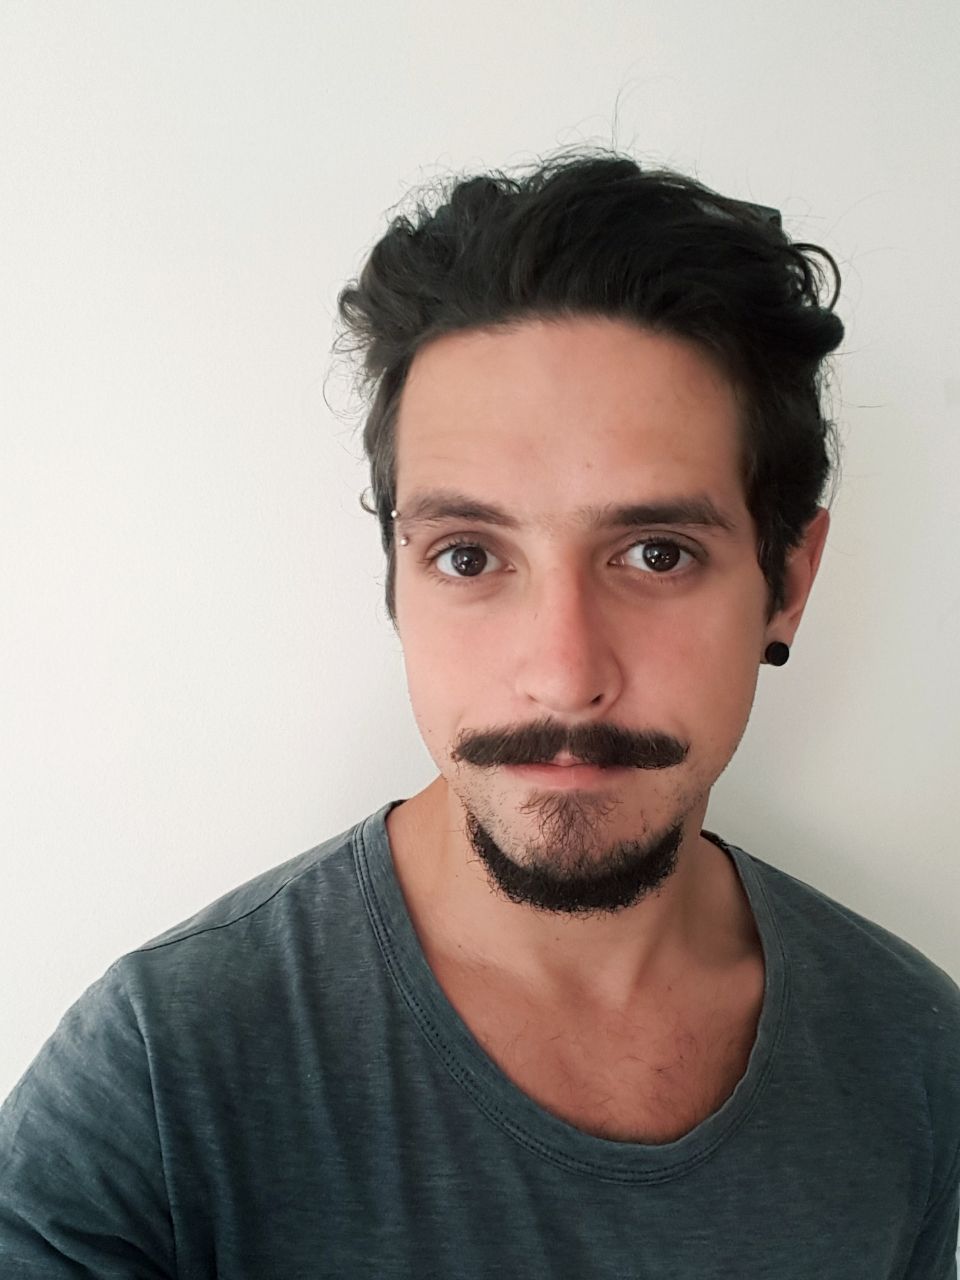 Lautaro Iglesias, 3D generalist.


