
Brief Intro
Hi! My name is Chipp Walters, and while I’m somewhat new to the Blender community, I've been involved in 3D for many years.
As an Industrial Designer, I've done concept designs for Apple, Sony, NASA, and the HYPERLOOP. I've completed a whole series of future designs for FastCo Design, including a Drone Ambulance as well as wearable tech. And recently, I led a very talented team to create an award-winning historical Augmented Reality product based on the Alamo for museums and education.
My 3D tools of choice before Blender have been SketchUp and Lightwave for poly modeling, 3D-Coat for topology, MoI3D for NURBS solid modeling and Keyshot for rendering. You can check out my YouTube channel if you'd like to learn more about any of these.
3D: What I Needed
Good design is about iteration. You need to quickly evaluate many ideas, select a direction and then refine it.
From the start, I’ve been an 80/20 guy—80% done with 20% effort, resulting in high quality at extreme speed. This is one of the reasons I’ve been successful providing concept direction for future products at game and media companies like Disney and Fast Company.
Each project has its own sets of challenges, and so I need a 3D tool that can provide a certain set of features that help me get there—and QUICK.
Enter Blender. Early on, it became clear an all-in-one solution would be best. I was a top SketchUp modeler and ended up working with a top Blender modeler, Jerry Perkins (aka masterxeon1001), who showed me amazing things that could never be built in SketchUp efficiently.
So, I decided to embark on the Blender journey knowing there were a couple of KEY FEATURES needed before migrating to a new 3D software package.
- Learn & Relearn: I need to be able to learn the software, then put it down for a few months, then pick it up again and start back where I left off—and ALL with minimal effort relearning how things work. This means the interface HAS to be intuitive and not filled with too many keyboard shortcuts—as for sure I’ll forget them.
- Full Design Pipeline: Ideally I’d like to:
- create 3D concept designs including sketch renders,
- build finished models,
- add materials and textures, and
- create full photoreal renders
And do them all using the same package—WITHOUT involving multiple other programs. Again—based on 80/20 and the Learn & Relearn strategies.
3D: What I Wanted
So, with the above in mind, in 2018 I started using Blender and I found 2.8 to be easy to learn.
Still there were some things missing and needed clearing up for me.
- How to replace SketchUp’s powerful component kitbashing tool?
- How to create photoreal renders using the new EEVEE renderer?
- How to quickly add materials and decals to objects in Blender?
- How to quickly create a SketchUp-style line drawing?
And one other thing—I don’t want to have to learn and relearn complex workflows to help me streamline my work. I know I’m not creating hundreds of models a week, and I can take a bit more time to build my models if it means not having to learn and relearn fancy new power addons.
And after seeing how strong some of these power addons are, I wanted to dive below the shortcut keys and power macros, and understand what it is they are doing under the hood.
What I Decided To Do
Based on What I wanted I knew I would have to create some new tools. That said, I had a few underlying goals for any addon I was involved with.
- The addon focuses on ONE THING and one thing ONLY. I’m not interested in creating suites of swiss army knife type tools.
- Because the addon does ONE THING, it should do it well and most importantly SIMPLY. A minimal learning curve is necessary.
- The addon should have super support. This means I need to provide great tutorials and documentation on how to use the addons and allow people to easily contact me with questions.
- People should know who it is that makes the product. I want to brand products in such a way people can easily discover who made and supports them.
And furthermore, I knew I would need to create some workflows to help me with many of the things I wanted to do. These workflows became the foundations for my Blender educational courses. I also had a few goals for them as well.
- Focus on communicating best in class ideas and workflows.
- Create courseware in easily digestible and short lessons. Squeeze all the non-essential talking, ummms, errrrs, and repeats out and keep the pace quick.
- Update them as needed and don’t charge customers update fees.
- Provide plenty of free help products and videos on YouTube and Gumroad.
- Provide great support.
First Up: KIT OPS
After starting to use Blender, I complained to Jerry about the inability to quickly kitbash objects together, like you can do in SketchUp. Consider this concept drone created in under 15 minutes in SketchUp:
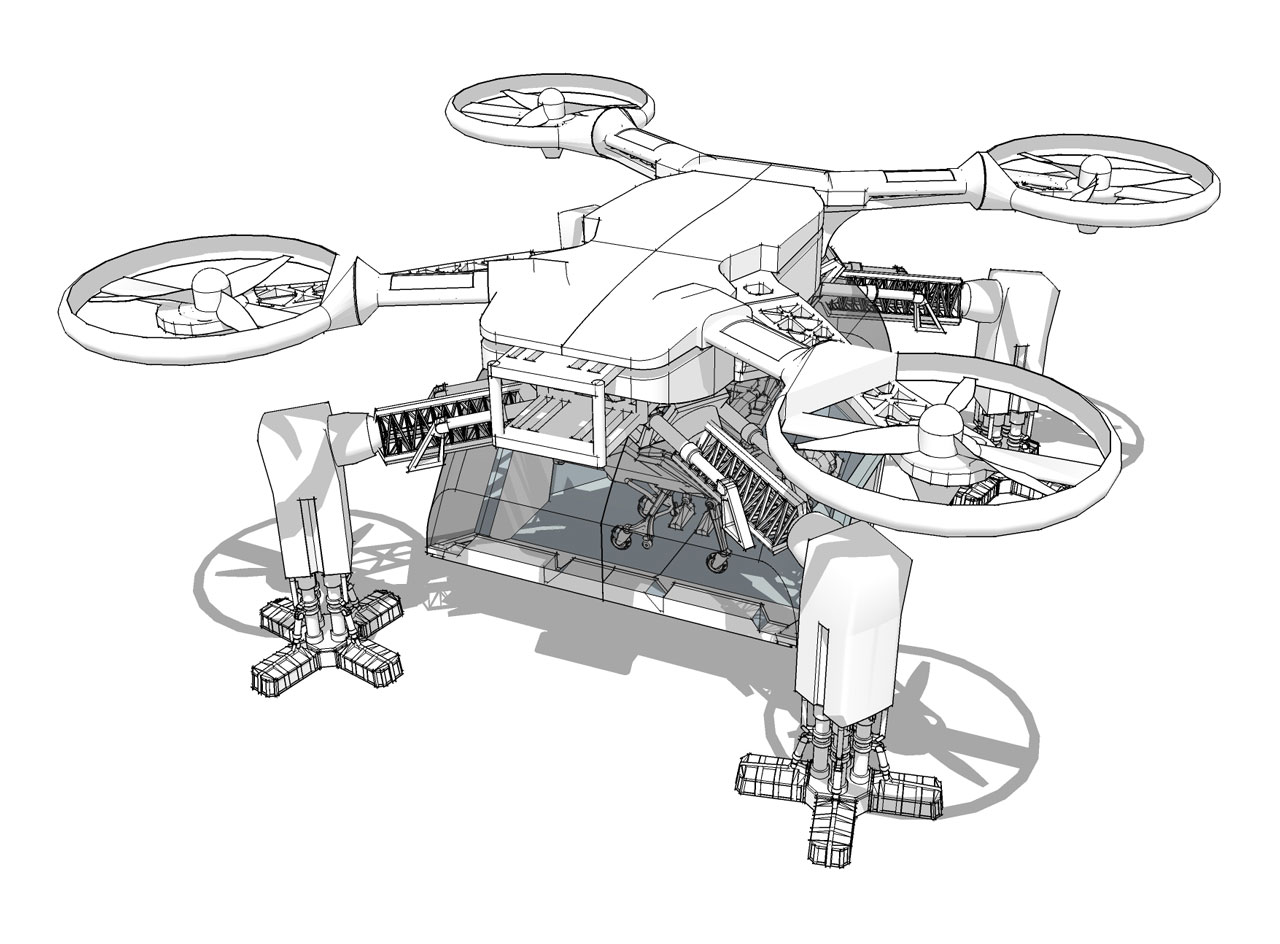
How to do something similar in Blender?
So, after thinking on it a bit, I asked Jerry for his help and created KIT OPS PRO and KIT OPS FREE.
Jerry agreed, and together with the coding prowess of proxe, Jerry’s deep understanding of Blender’s internals, and my interfaces, we created KIT OPS– the #1 kitbashing solution for 3D with close to 15K unique user downloads.
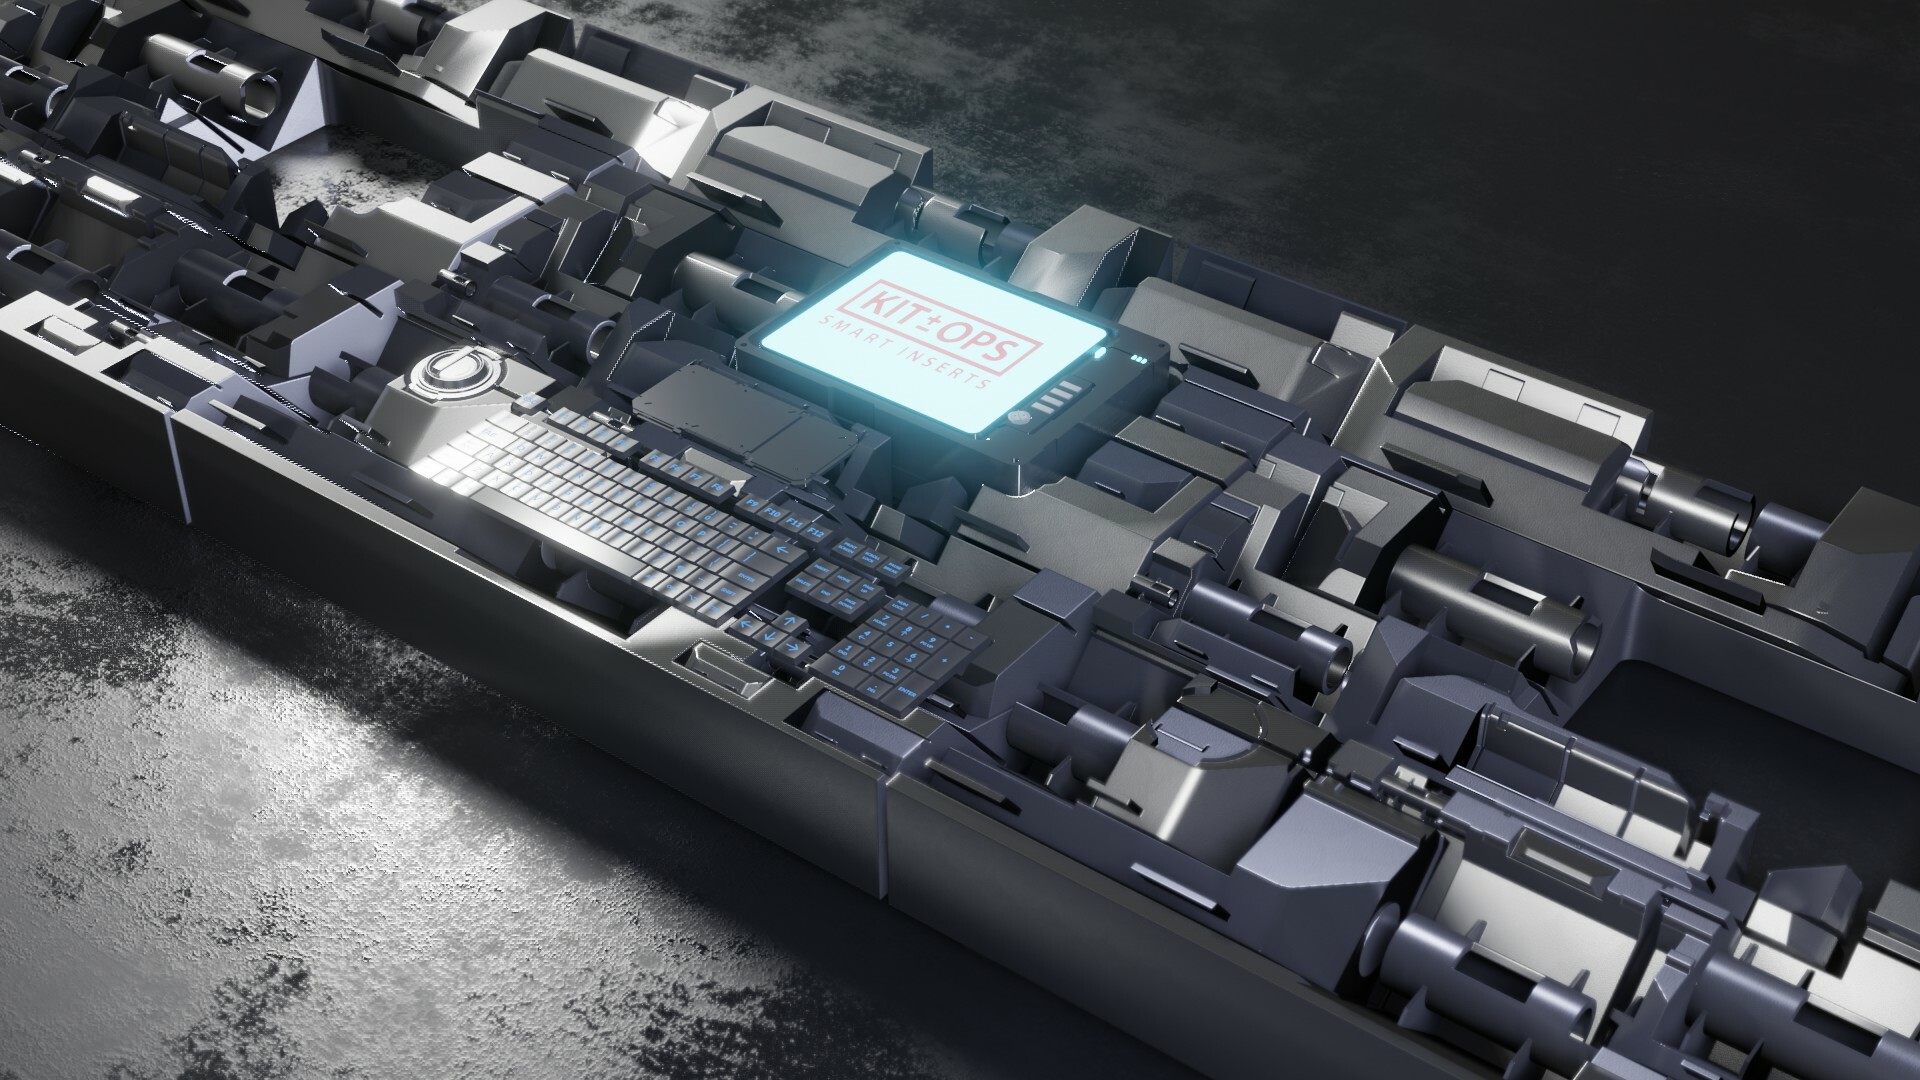
All created with a single cube and KIT OPS INSERTS.
Next: EEVEE Interiors
I knew I wanted to master EEVEE for rendering—and what better place to start than with a photographic interior? So, I asked 20 different beta testers to help me create a 27-lesson Blender 2.8 course on Interior Rendering with EEVEE called Definitely EEVEE: Definitive Interiors.
The goal was to help basic users of Blender and other software packages to be able to accurately import, add materials, and render photoreal interiors as quickly as possible. The sole focus was interiors and rendering, NOT modeling.
From the feedback, it was successful!
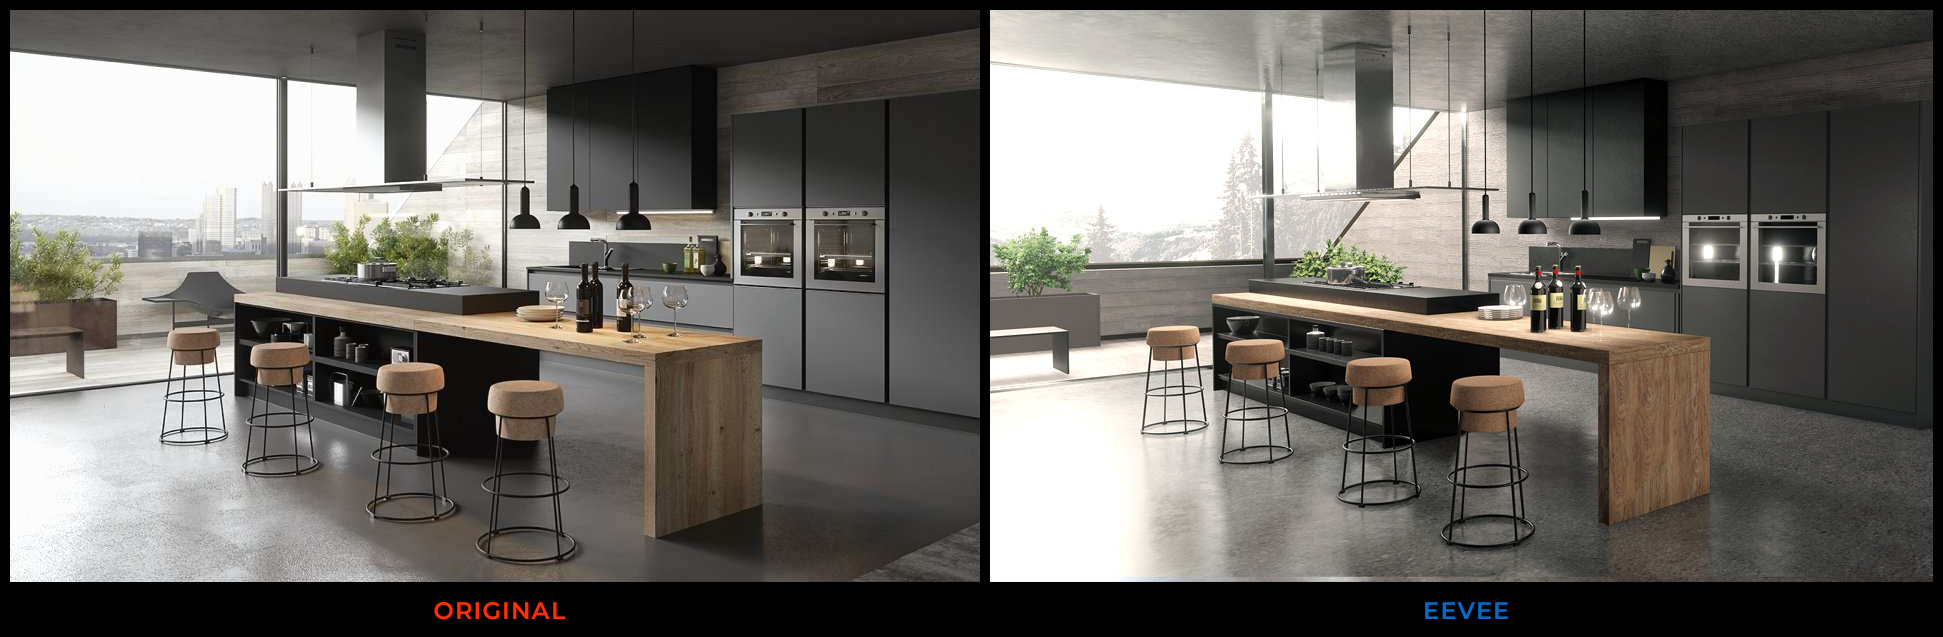
Original picture on the left, EEVEE render on the right.
Then: EEVEE Materials System
Next, I needed a way to add high-quality materials to objects and FAST. So, with a small tweak to KIT OPS, I was able to quickly preview thumbnails for materials and apply them with a single click.
There were a few issues.
Because I wanted to use EEVEE, I quickly discovered the traditional way of setting up materials, with different maps for diffuse, roughness, metal and normals, created a possible problem with overloading the GPU memory with only a few materials in the scene.
Furthermore, I noticed it was impossible to real-time preview the adjustments to many image-based mapping parameters. My solution was to create a customized material (the freely available OneShaderToRule) and to use it to create a materials library and system.
By meticulously creating tileable textures, I created high-quality and memory-efficient materials for EEVEE. I even built one-of-a-kind plastic tileable mold textures, a must for anyone designing with plastics.
With the EEVEE Materials System, you can apply textures to any object without having to UV Unwrap the object. And with the easy-to-use group nodes, you can edit the material in an infinite number of ways, including adjusting its color, tile, roughness, bump mapping and more.

Followed by: NITROX3D
Earlier, I created a concept LIDAR product for a client. Upon Jerry’s suggestion, I tried my best to create it with modifiers, so that it could be easily edited.
Of course, the client wanted changes and to my surprise, I was able to change the design most quickly using the modifier stack in Blender!
Wanting to learn more, I started a project called NITROX3D with the goal to create non-destructive workflows using the whole suite of modifiers AND no addons. It helped me to better understand the modifier stack and prepare me for most any project to come.
Eventually, I published some free videos, and several people asked me to create a course, so I did and I call it NITROX3D: The Full Course. It started with a few lessons, and I added more and more lessons to the point where now it has 21 lessons covering all sorts of topics.
It’s amazing what you can do with only a few vertices, edges and faces:
Lately: SKETCH STYLE
From the beginning, I missed SketchUp’s elegant “sketchy line” renderer. It’s great for showing clients concepts which are yet to be fully realized and even better for hidden line “blueprint” type renders.
Of course, Blender has Freestyle, a superb way to create similar line renderers. For me, there are four main problems.
- It’s VERY complicated to understand and even more difficult to use.
- You can’t easily toggle a scene from a photoreal rendering to a “sketchy line” render.
- There are times when you want the actual physical material to be rendered and not the sketch material—for instance when rendering a house with glass. You’d like to be able to see through the glass.
- There are no “presets” for different kinds of “sketchy line” renders.
So, I created the SKETCH STYLE addon, and now, with a couple of clicks, all those problems are solved!


What’s Next?
Well, that is the big question! I have a number of ideas I’d like to pursue. One that keeps bouncing around in my head is to create a course that focuses users on a specific genre of design. And by taking the course and using the accompanying KIT OPS kitbashing INSERTS, any non-designer could quickly create a specified unique type of product—and have it well designed.
There are also many other opportunities for KIT OPS products, including Head Up Display kits, more logo kits, lighting rigs, and a host of other products. These are all things I need anyway, and I’ll begin to squeeze them in when I can.
Stay tuned and I hope to see you online!
About the Author
 Chipp Walters
5 Comments
Thanks Chipp! I learned a lot from you.
Hi ILYAK, Thanks for you kind sentiments. Hopefully, I'll be creating some new stuff soon :-)
Great work Chip. I'm currently working on creating a coloring book with Blender and Freestyle. Could your add-on be user modified to use calligraphic or other non-uniform line weights?
No, unfortunately not. You might want to check out some Blender cartoon shader materials.
No problem. I run into the same issues with artistic Freestyle renders that you had with the technical ones though. I appreciate that your add-on trailer explains exactly who your software is for and its use case. Keep it up.