Behind the Scenes: Okami
Hello, my name is Rollan, I’m from Astana, Kazakhstan. Currently, I have almost completed my education at university, while working as a freelance artist. My experience with Blender was very inconsistent. I first learned about this program 5 years ago but abandoned it in the middle of 2017. The next time I returned to 3D was close to the end of 2018, maybe even later. Back in those days, 3D was just kind of a hobby, and I didn’t pay enough attention to it. But almost everything changed a few months ago, when my 3D skills, which I had not completely lost yet, helped me a lot in my life. And after that, learning and working with 3D, especially Blender, became a more serious and conscious business than it had been before.
I don’t know what will be in a next couple of years, but for now, Blender is one of the instruments that I’m using not only for a hobby, but as something related to my work, and even in my life.
This has been kind of a long introduction, and I haven’t even started to talk about my project. And there’s something worth telling. So, without any more words, let’s get started.
Inspiration
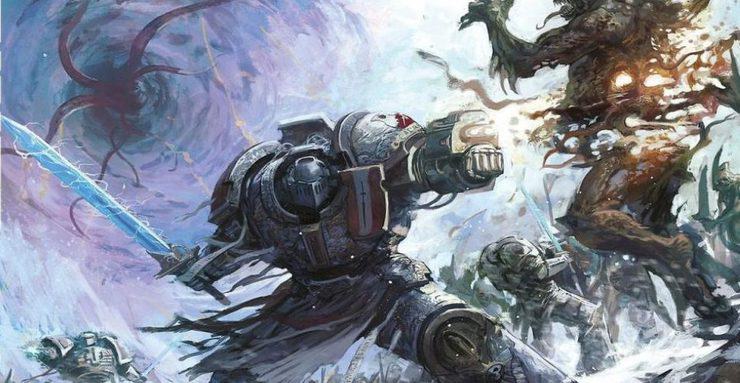
The project, that I’m currently working on is an animated 3D short movie. It is heavily inspired by several big franchises, including Warhammer, both 40k and Fantasy Battle, Classic Sci-Fi novels, such as Frank Herbert’s Dune and Robert Heinlein’s Starship Troopers.
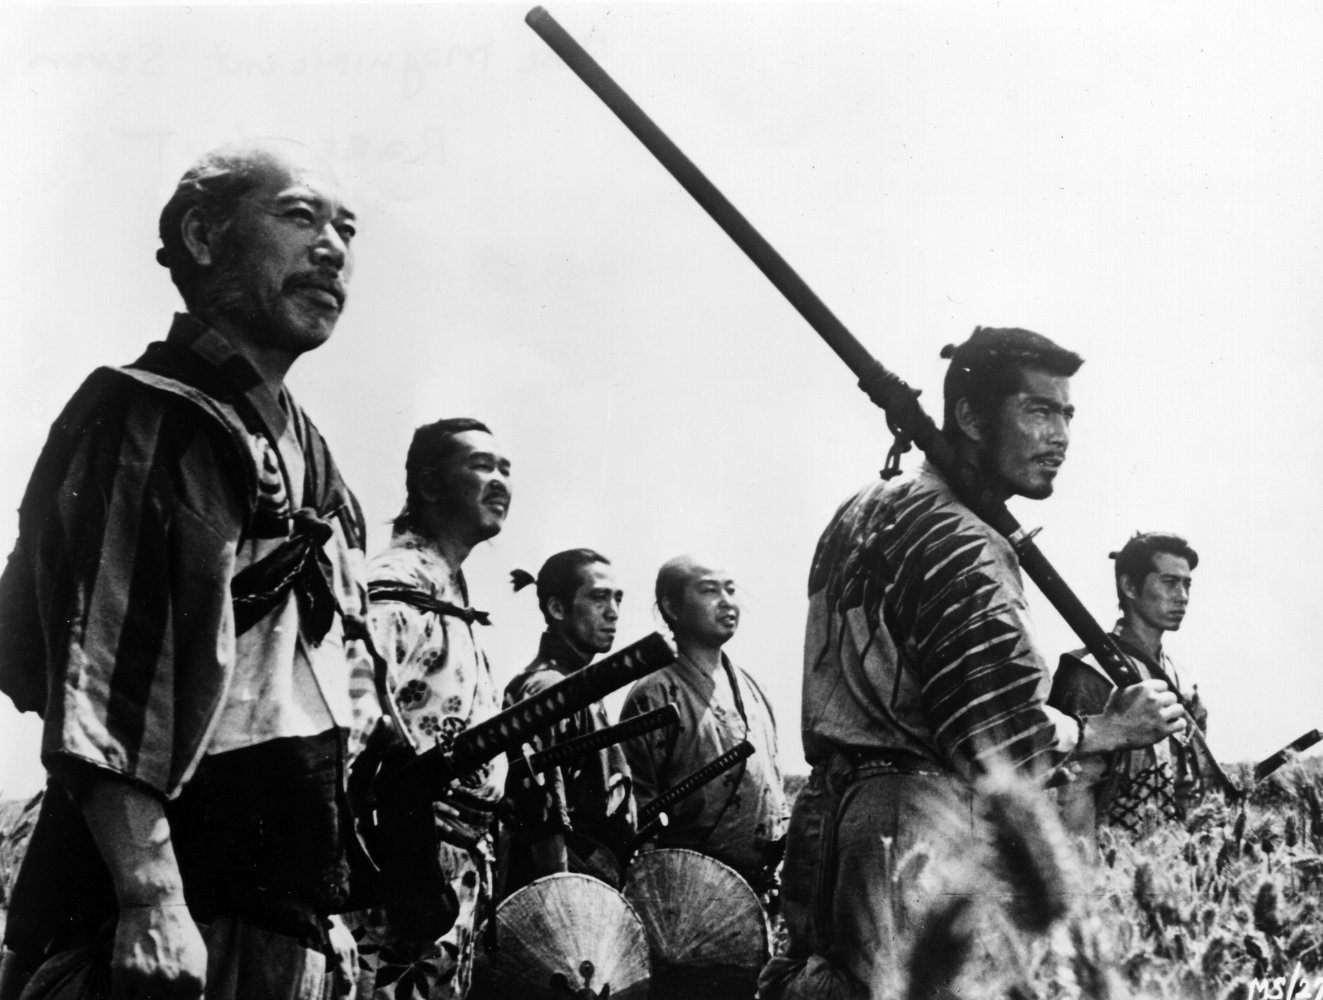
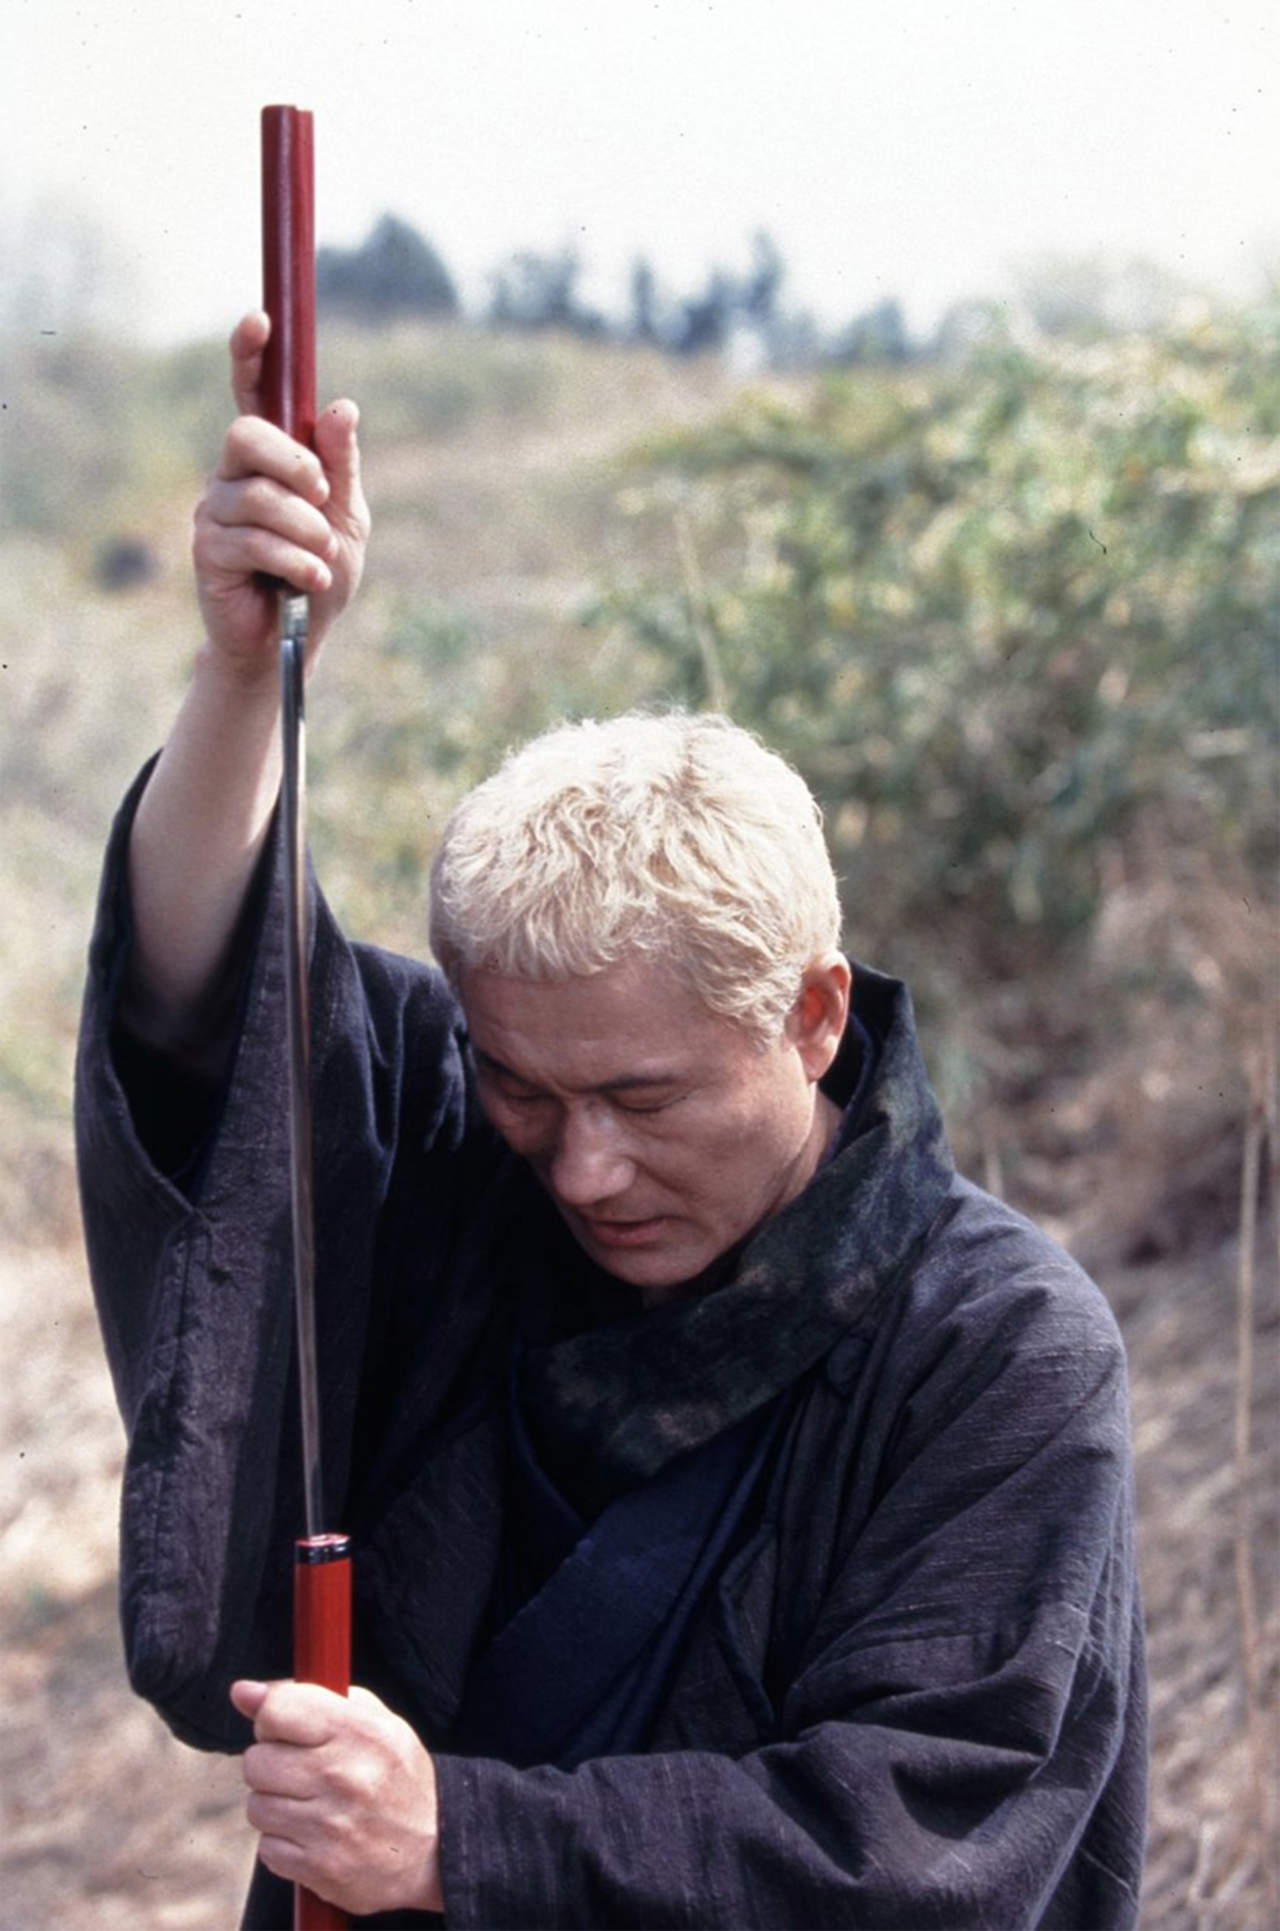
For the medieval part of the project, I was influenced by both Western and Eastern cultures, so I decided to implement them both in my character’s designs. I took a lot of inspiration from movies too, starting with Akira Kurosawa, and his Seven Samurai, Yojimbo and Throne of Blood. And, not forgetting about Zatoichi, by Takeshi Kitano.
On the Western side, it is firstly Mel Gibson’s Braveheart, Michael Caton-Jones’s Rob Roy, and especially, Ridley Scott’s Gladiator and Kingdom of Heaven.
I have always been interested in the medieval history of different cultures from all over the world, which I’ll add into my project when I expand it more. So, let’s get to the main part.
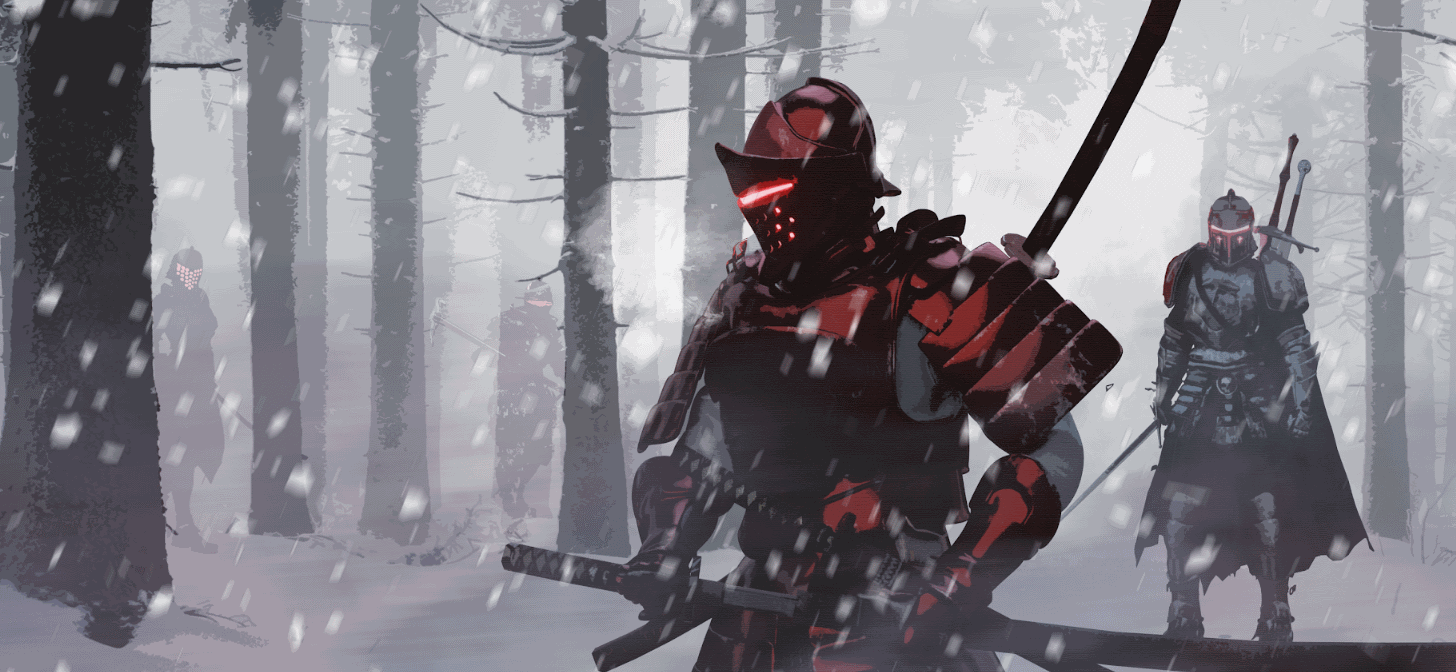
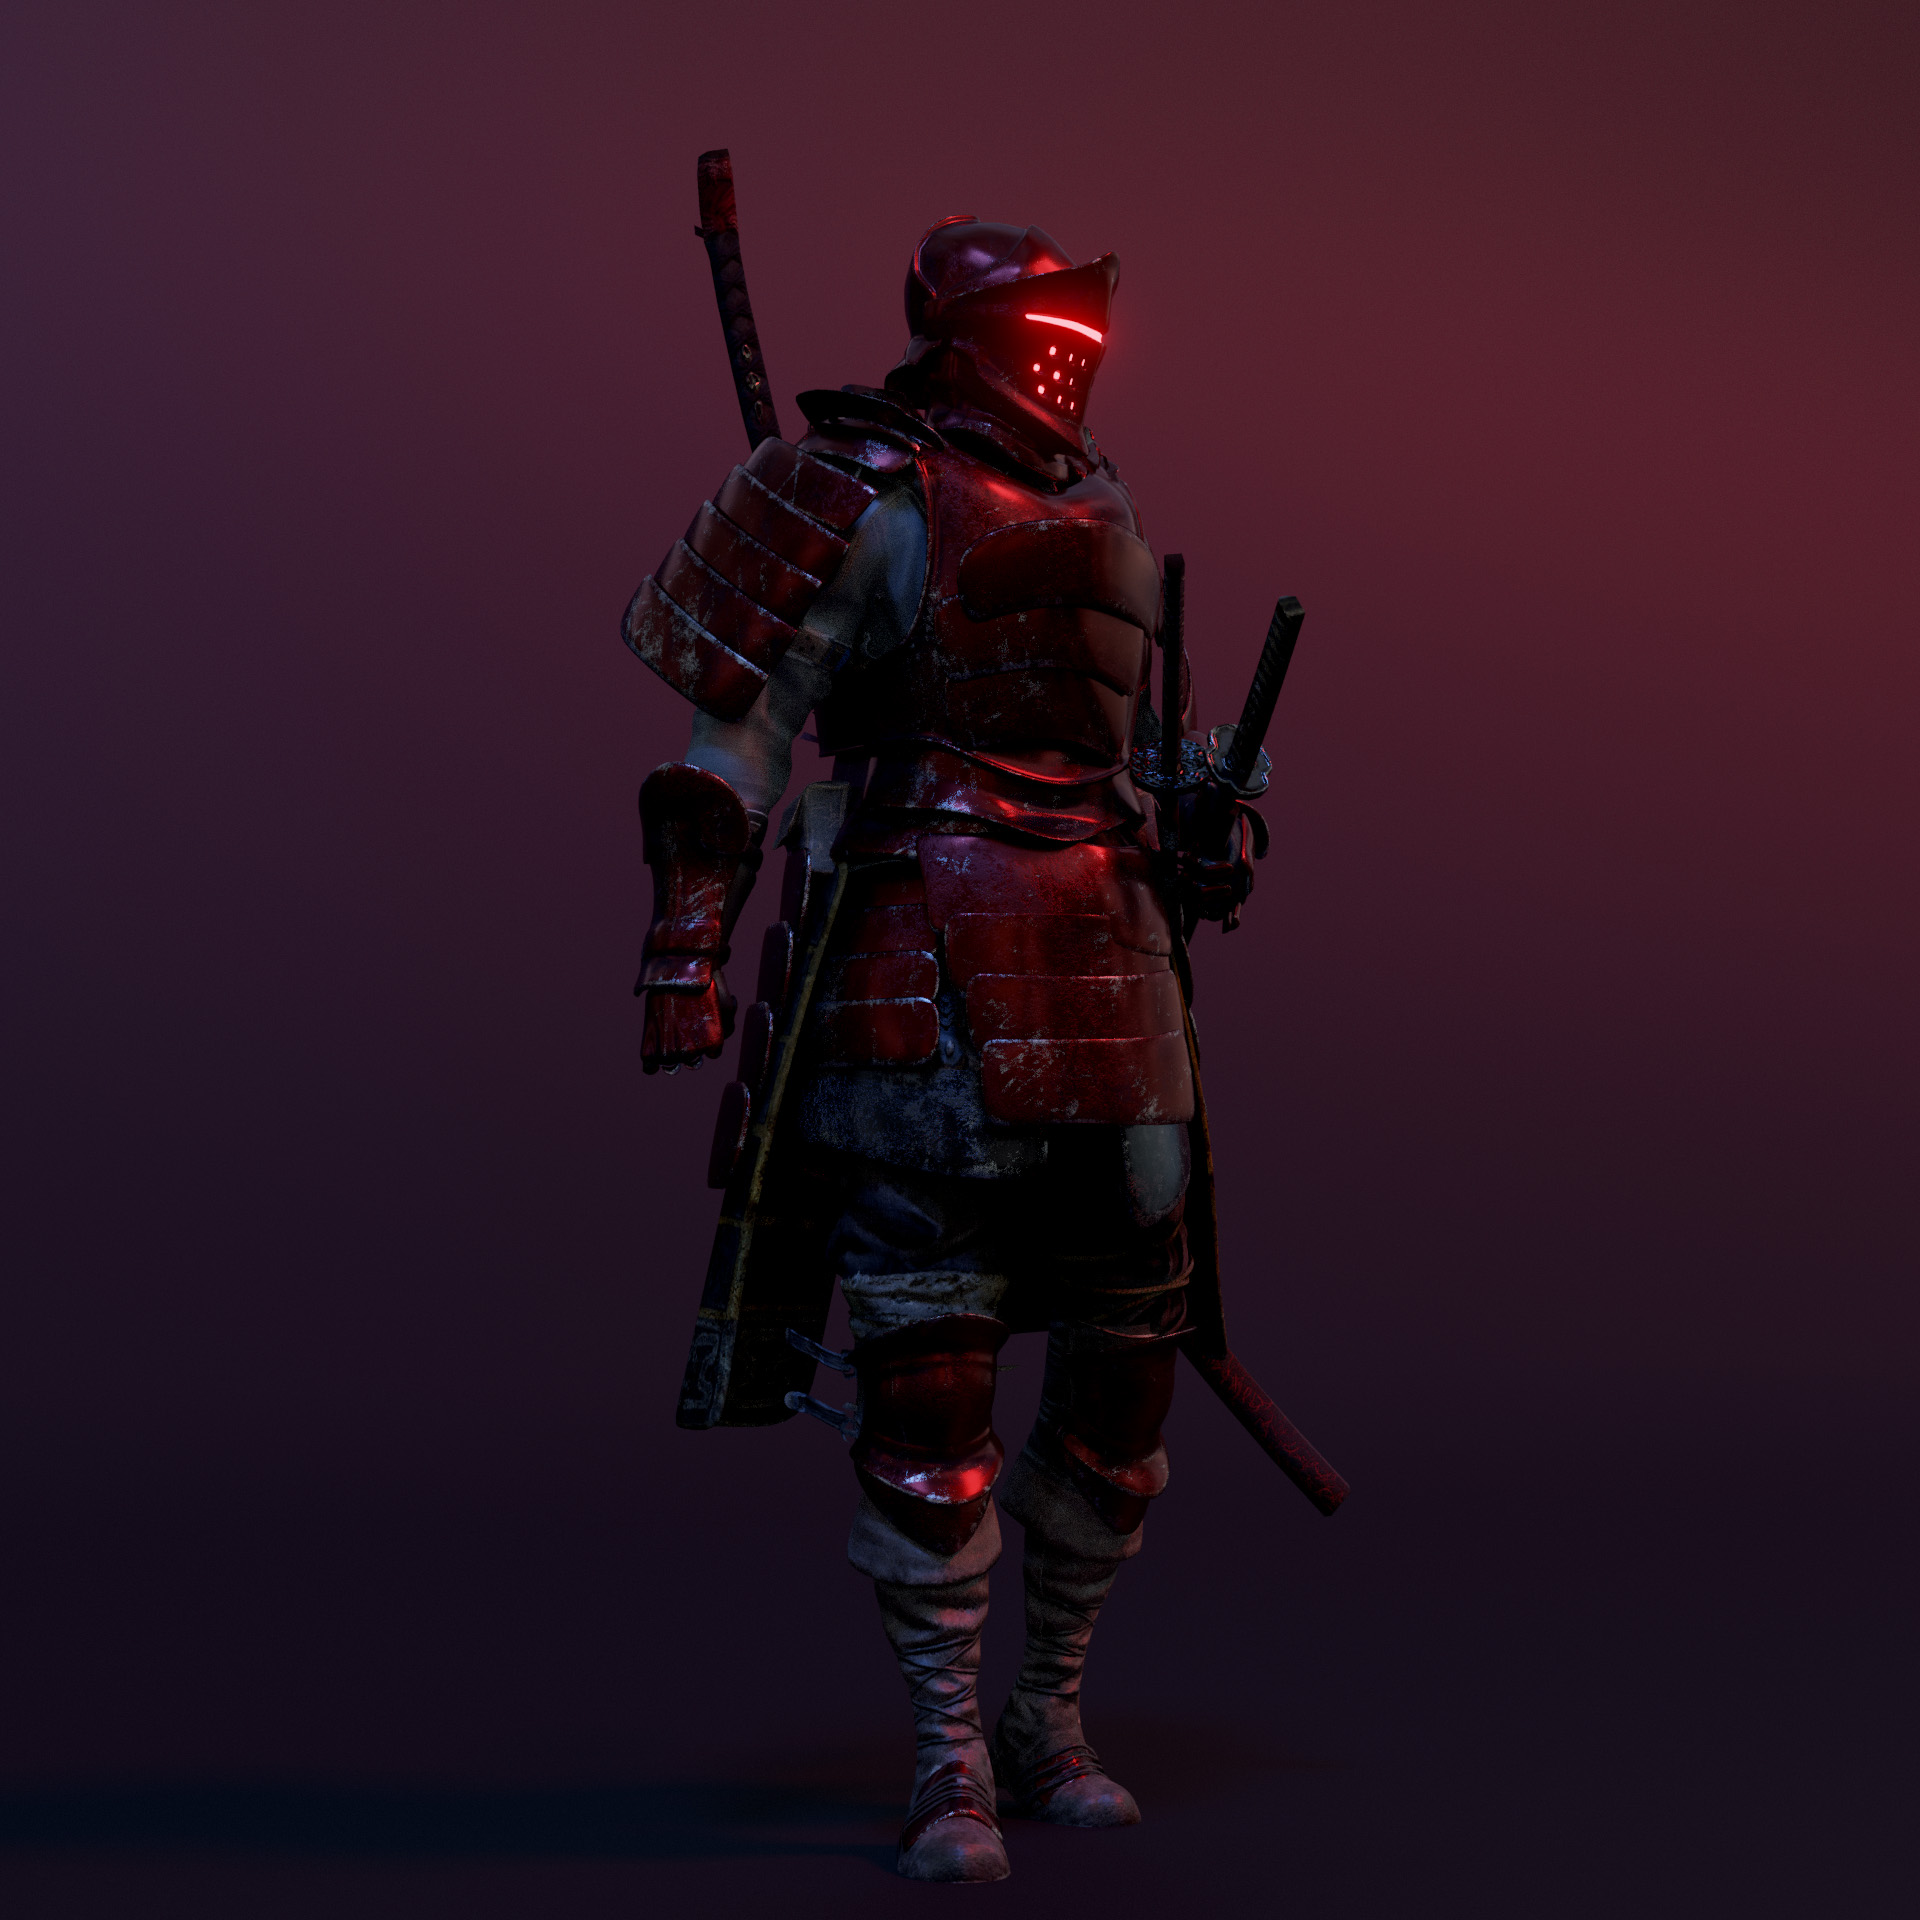
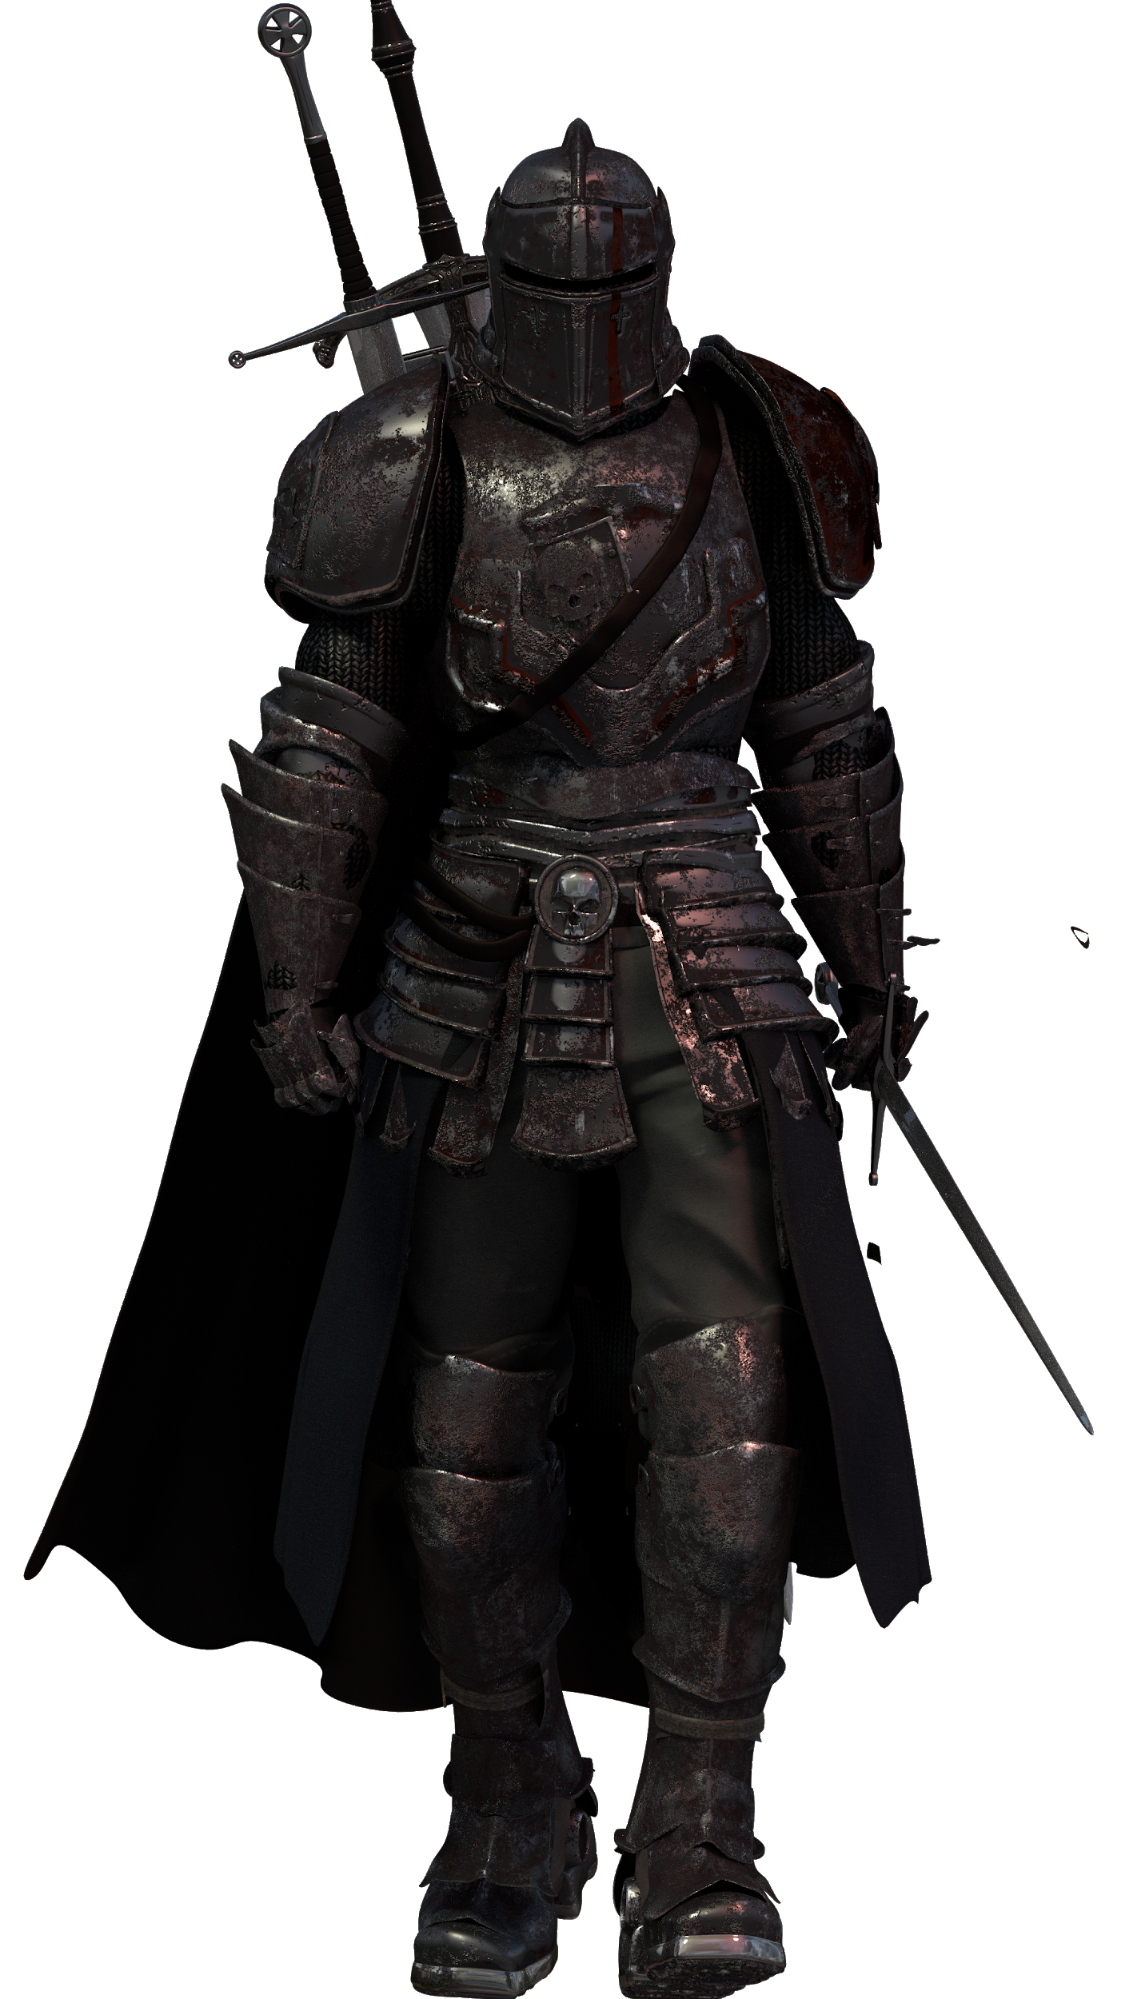
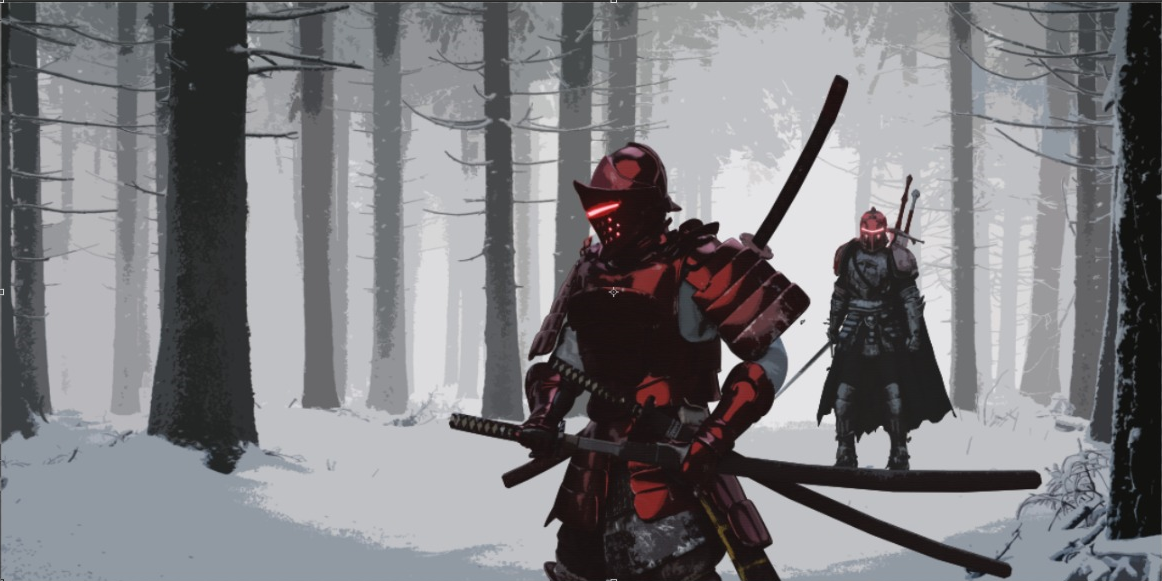
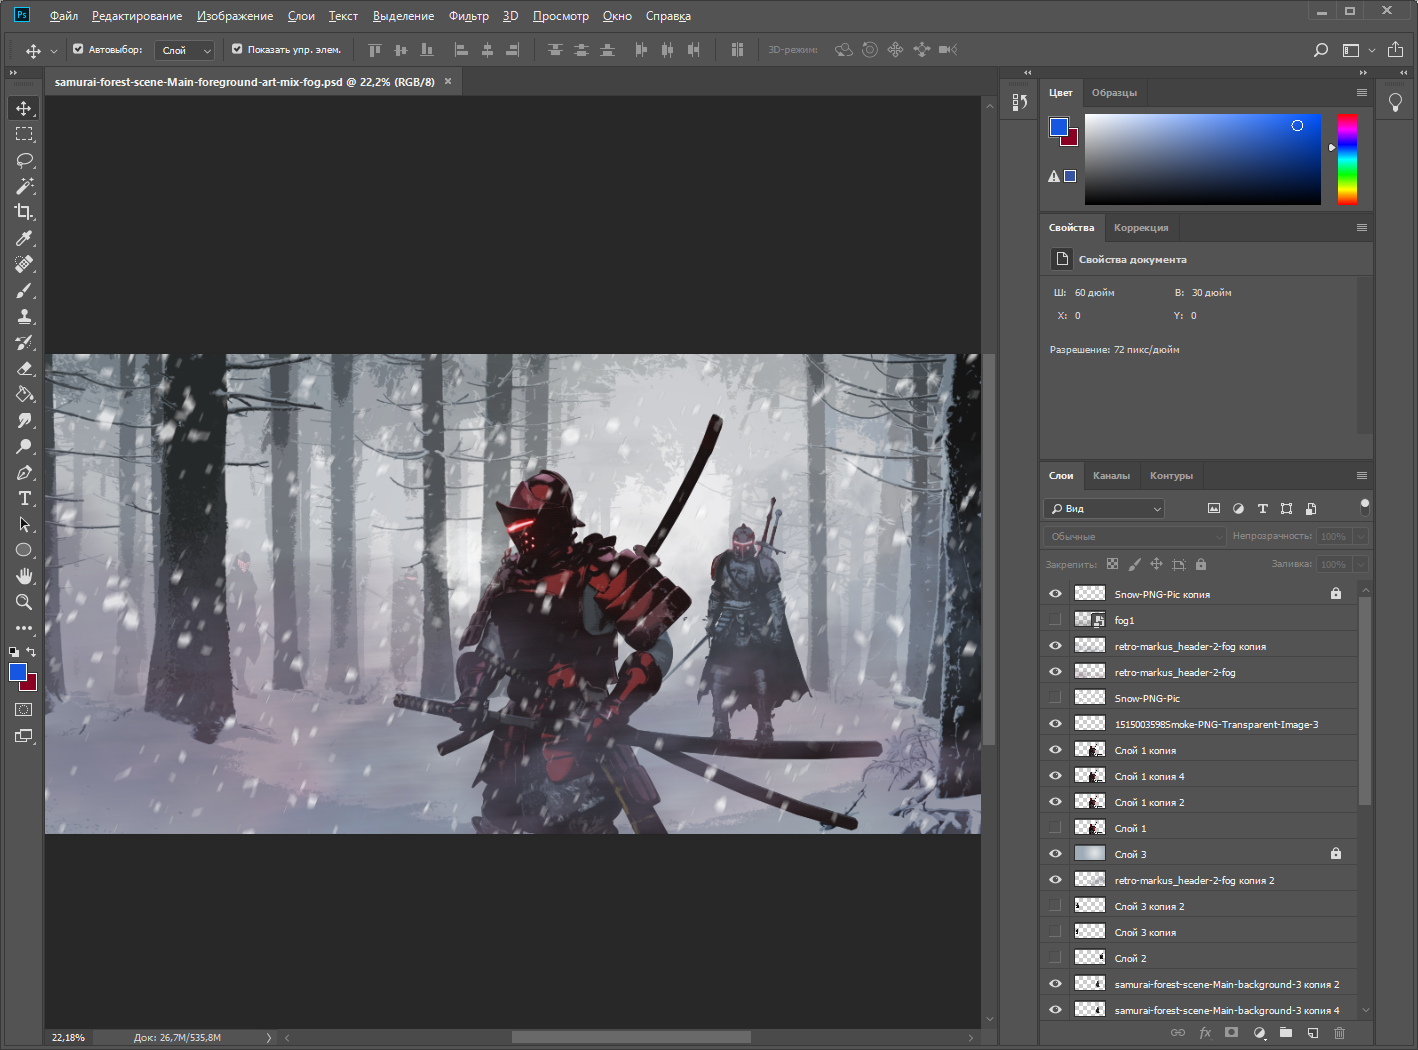
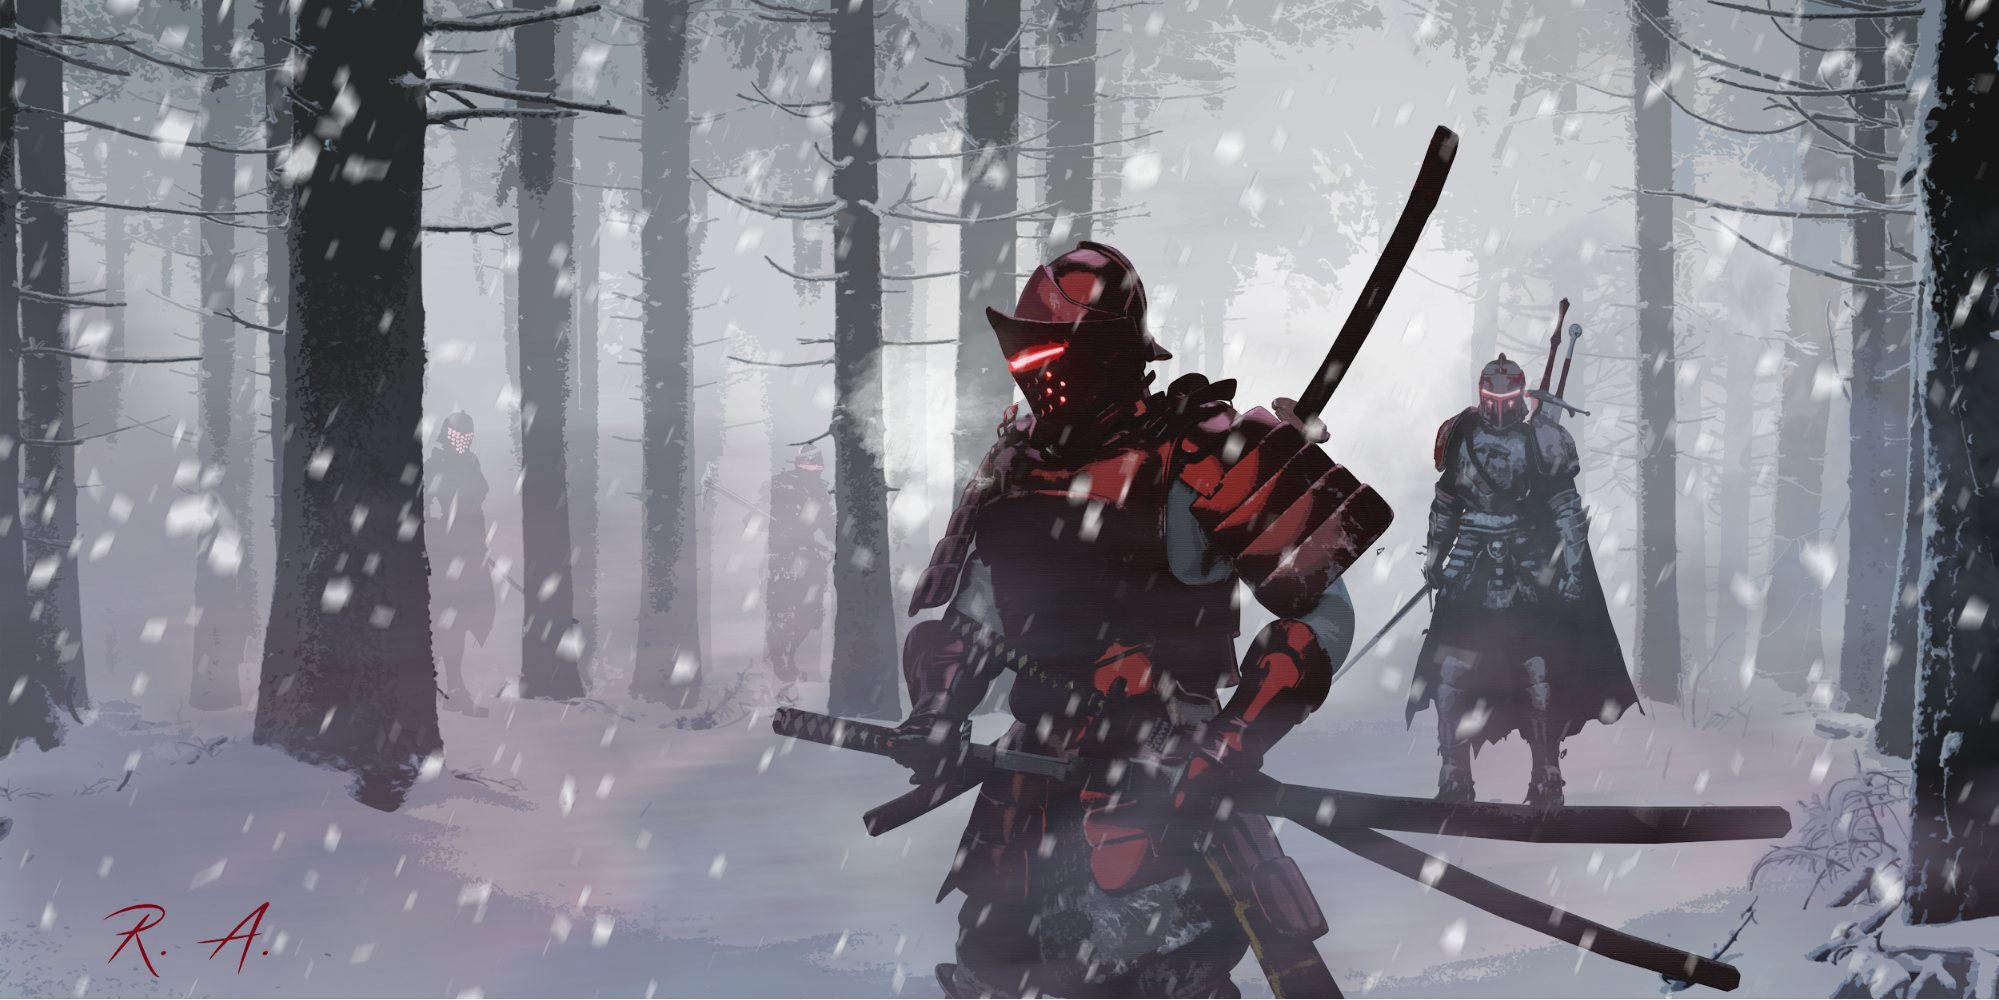
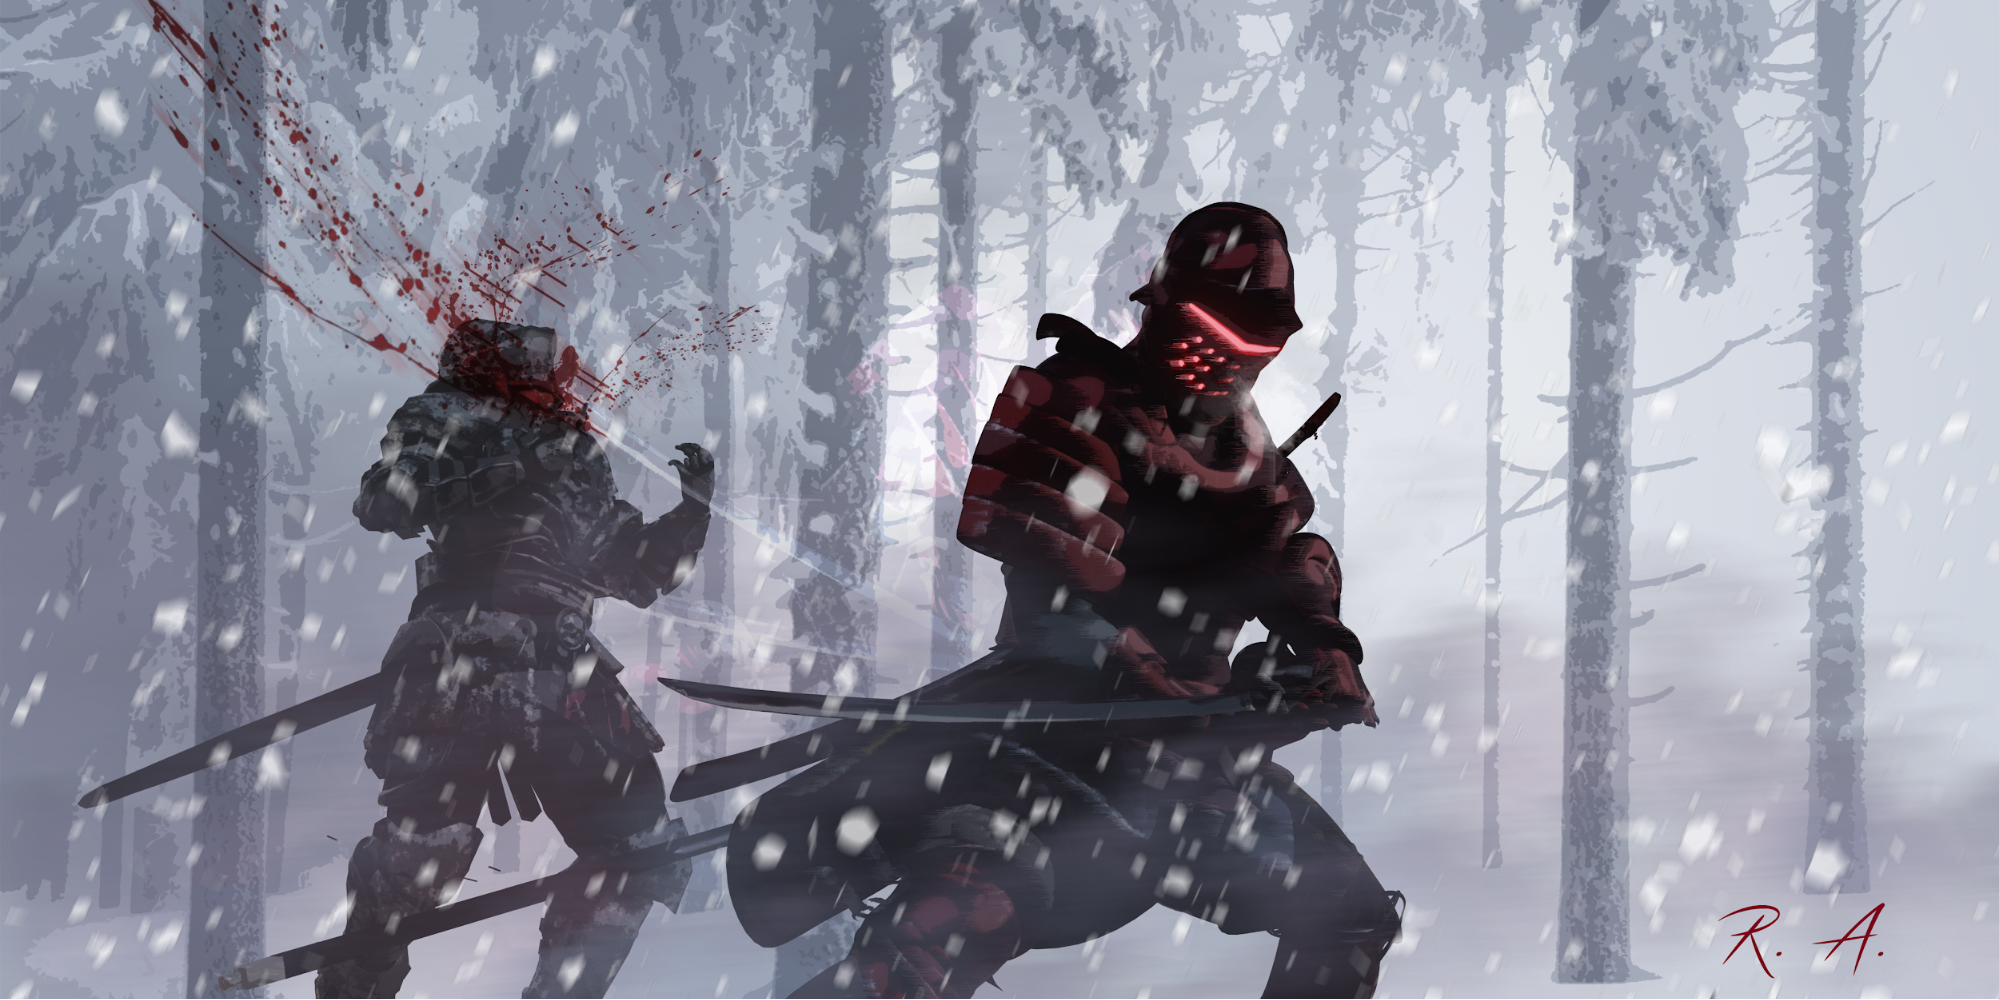
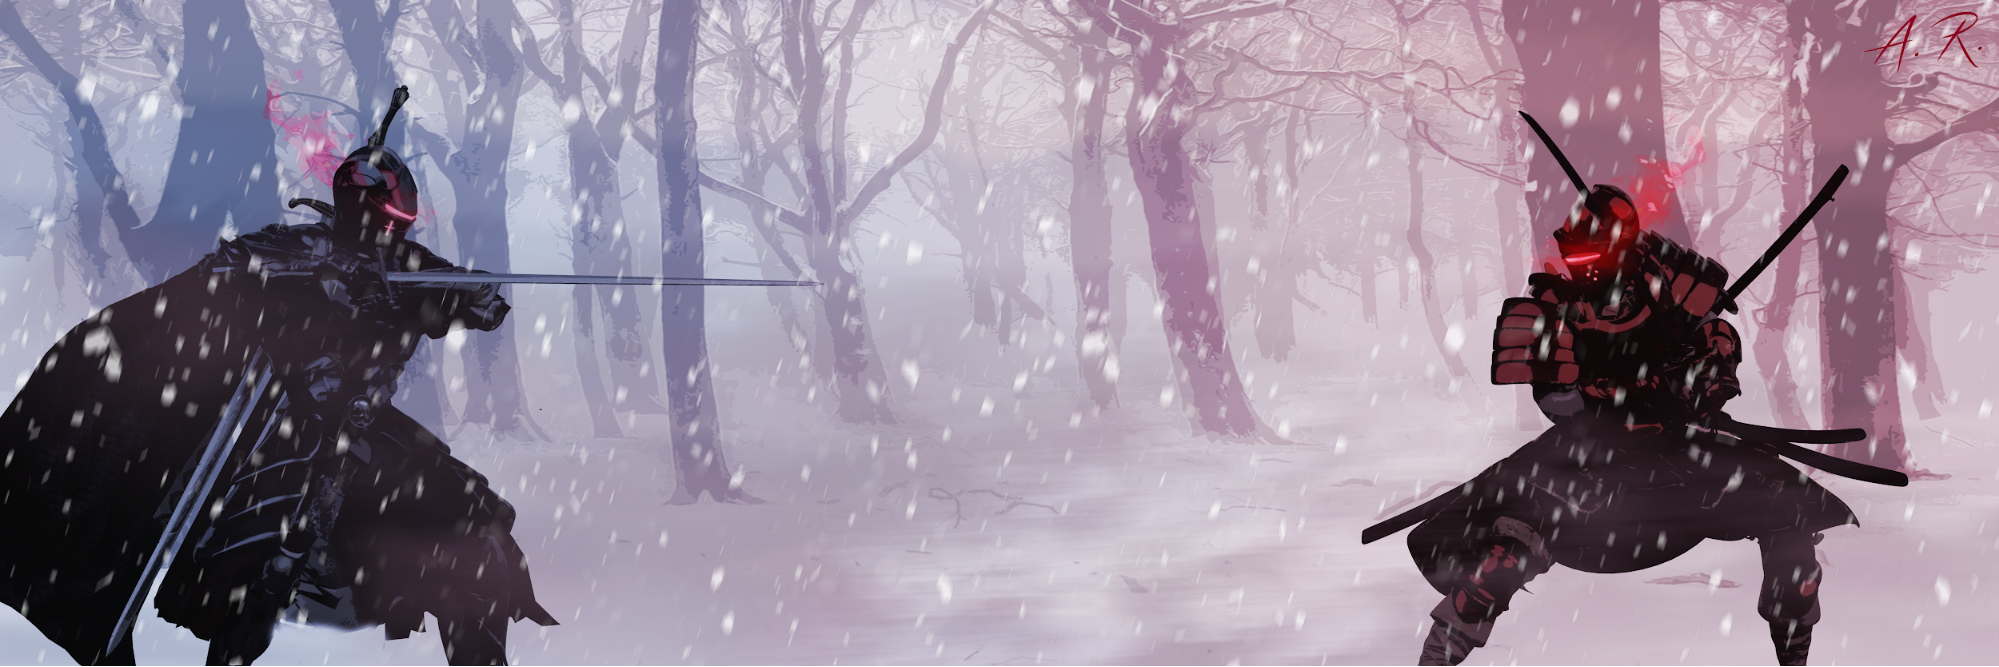
The story centers around the lone knight warrior (the red one), who’s accused of betrayal of his own order for being of a different mind regarding the future of the order, and thus becoming a traitor. Hunted by his ex-brothers, he was cornered, and driven to despair. Tired of running away, he decides to accept an unequal battle. Believing in his own truth, he decides to stand in his last battle.
Modeling
Characters
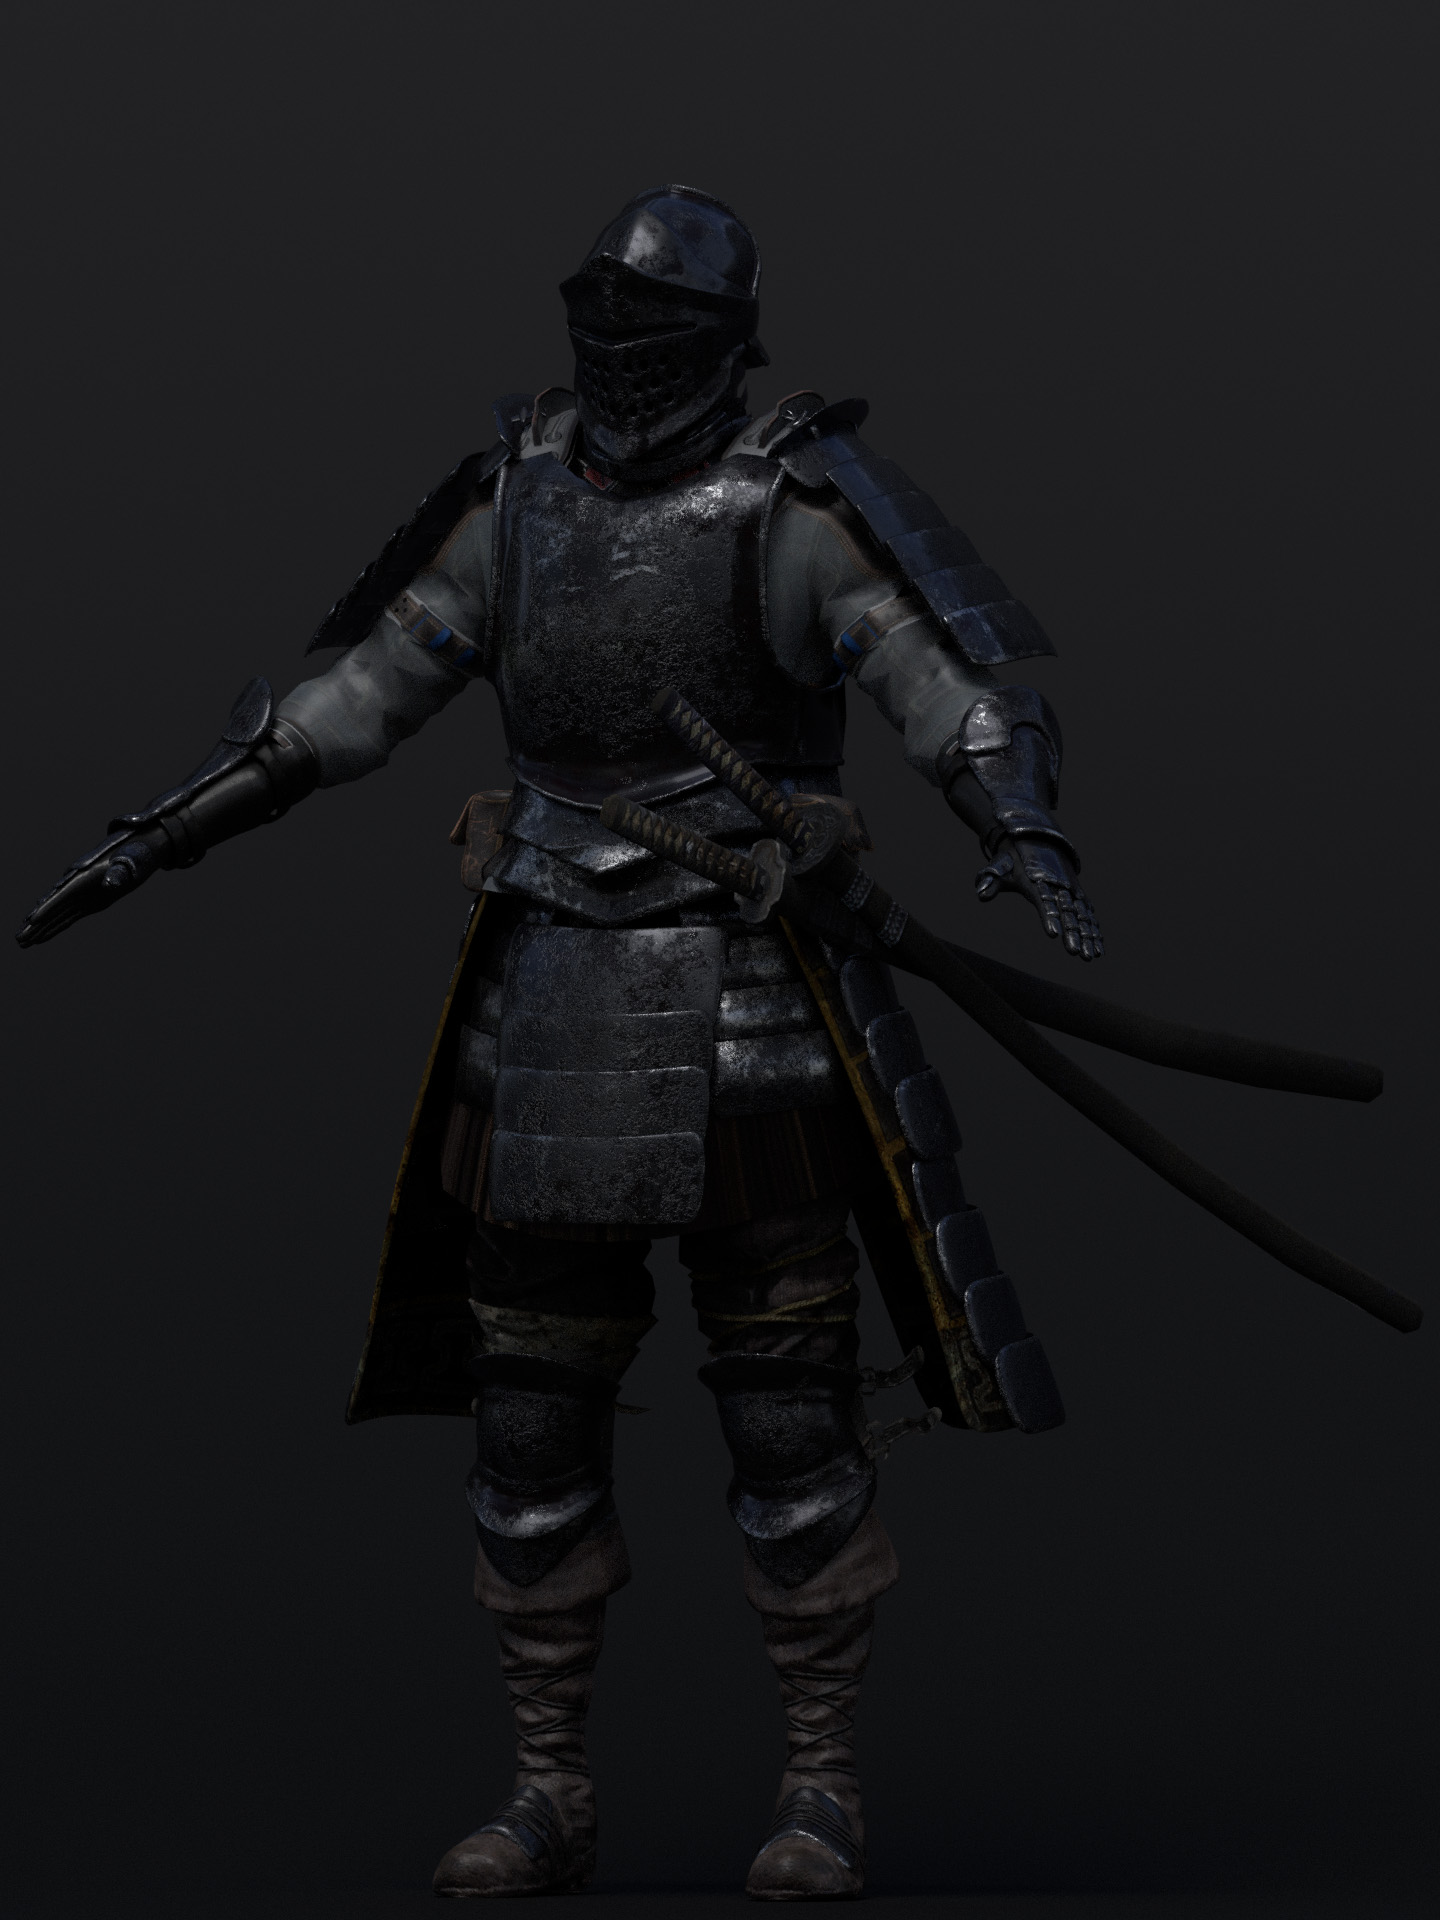
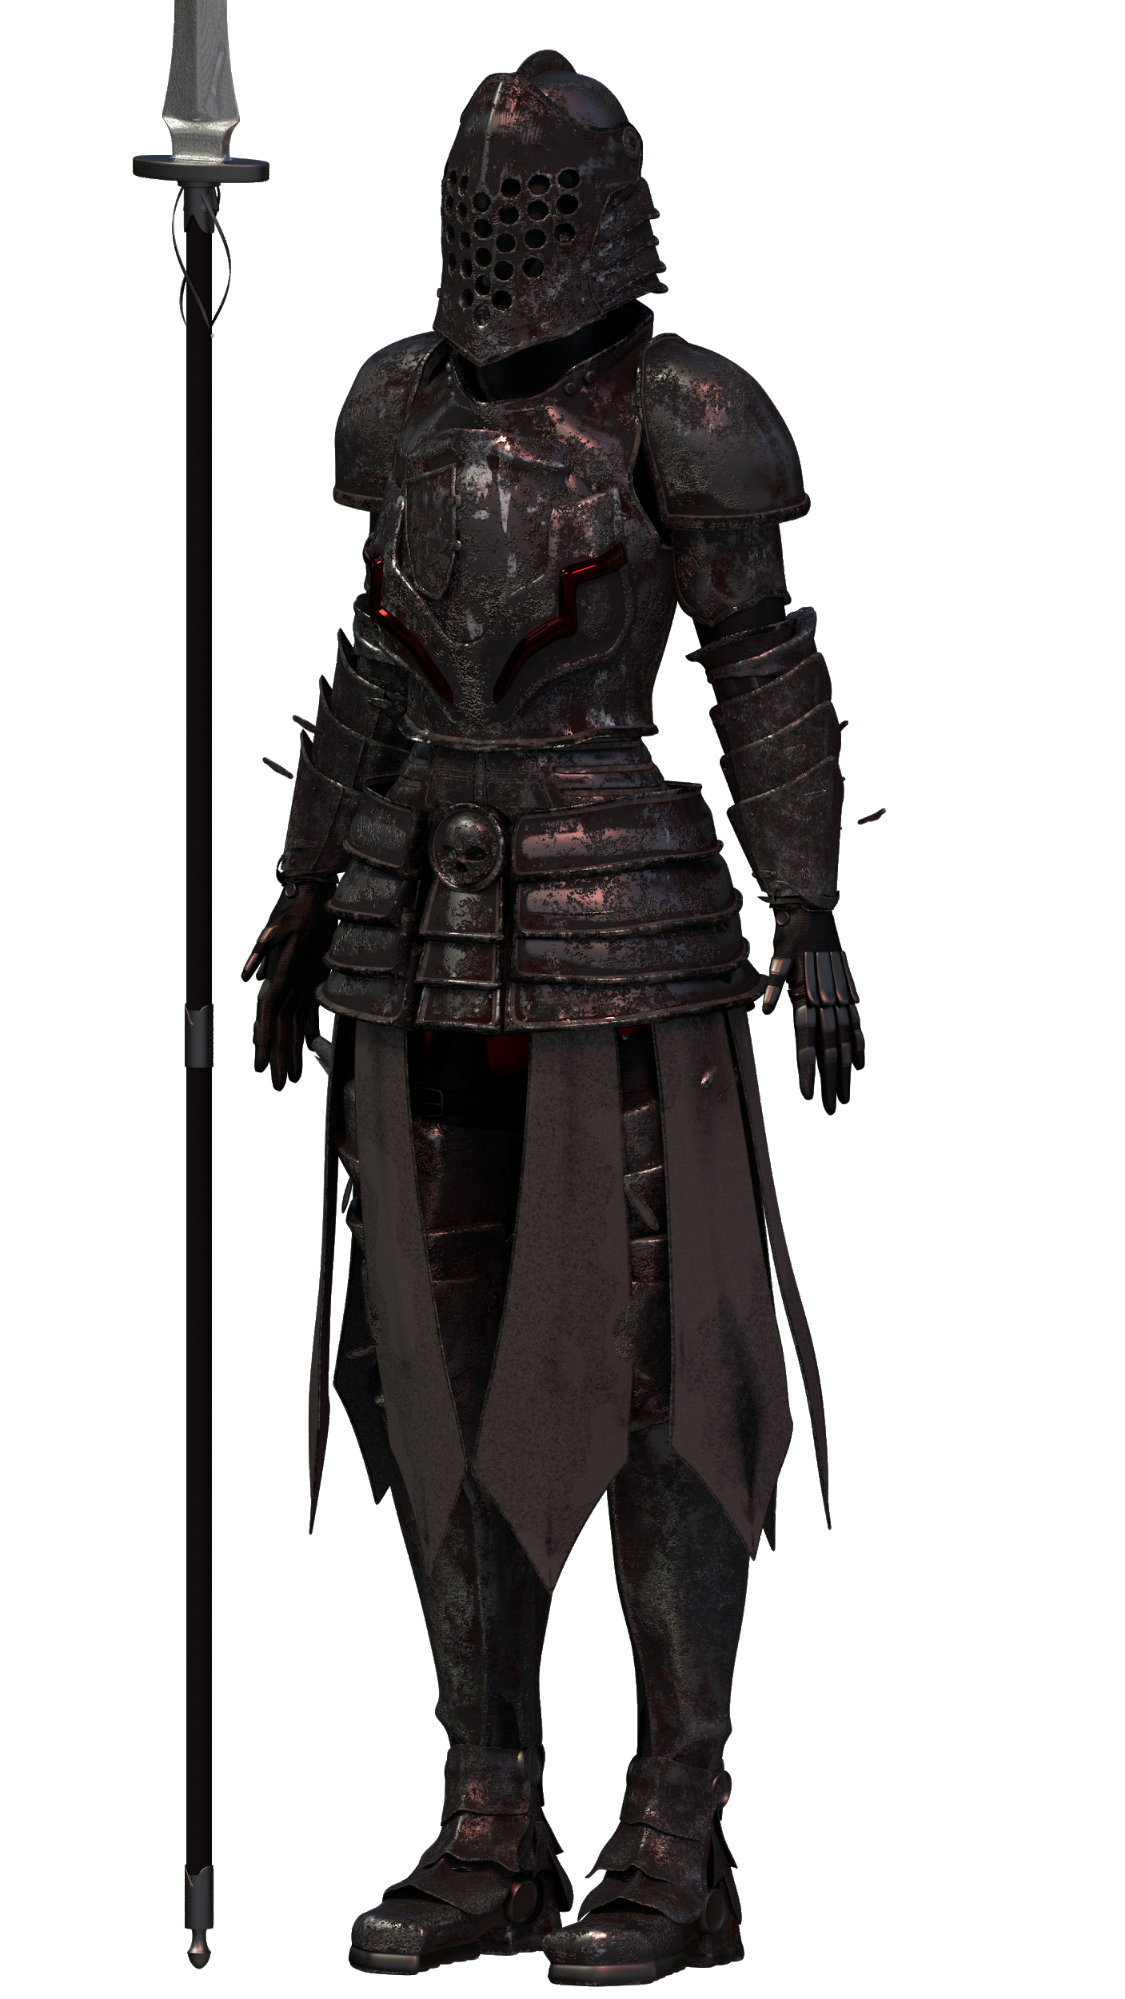
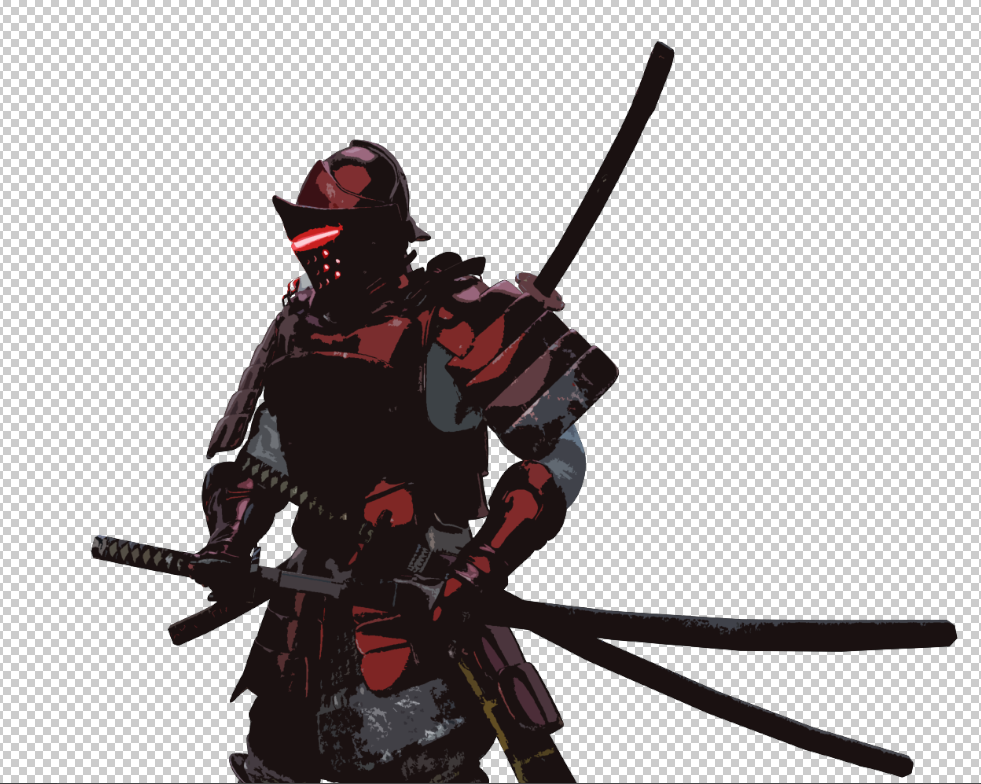
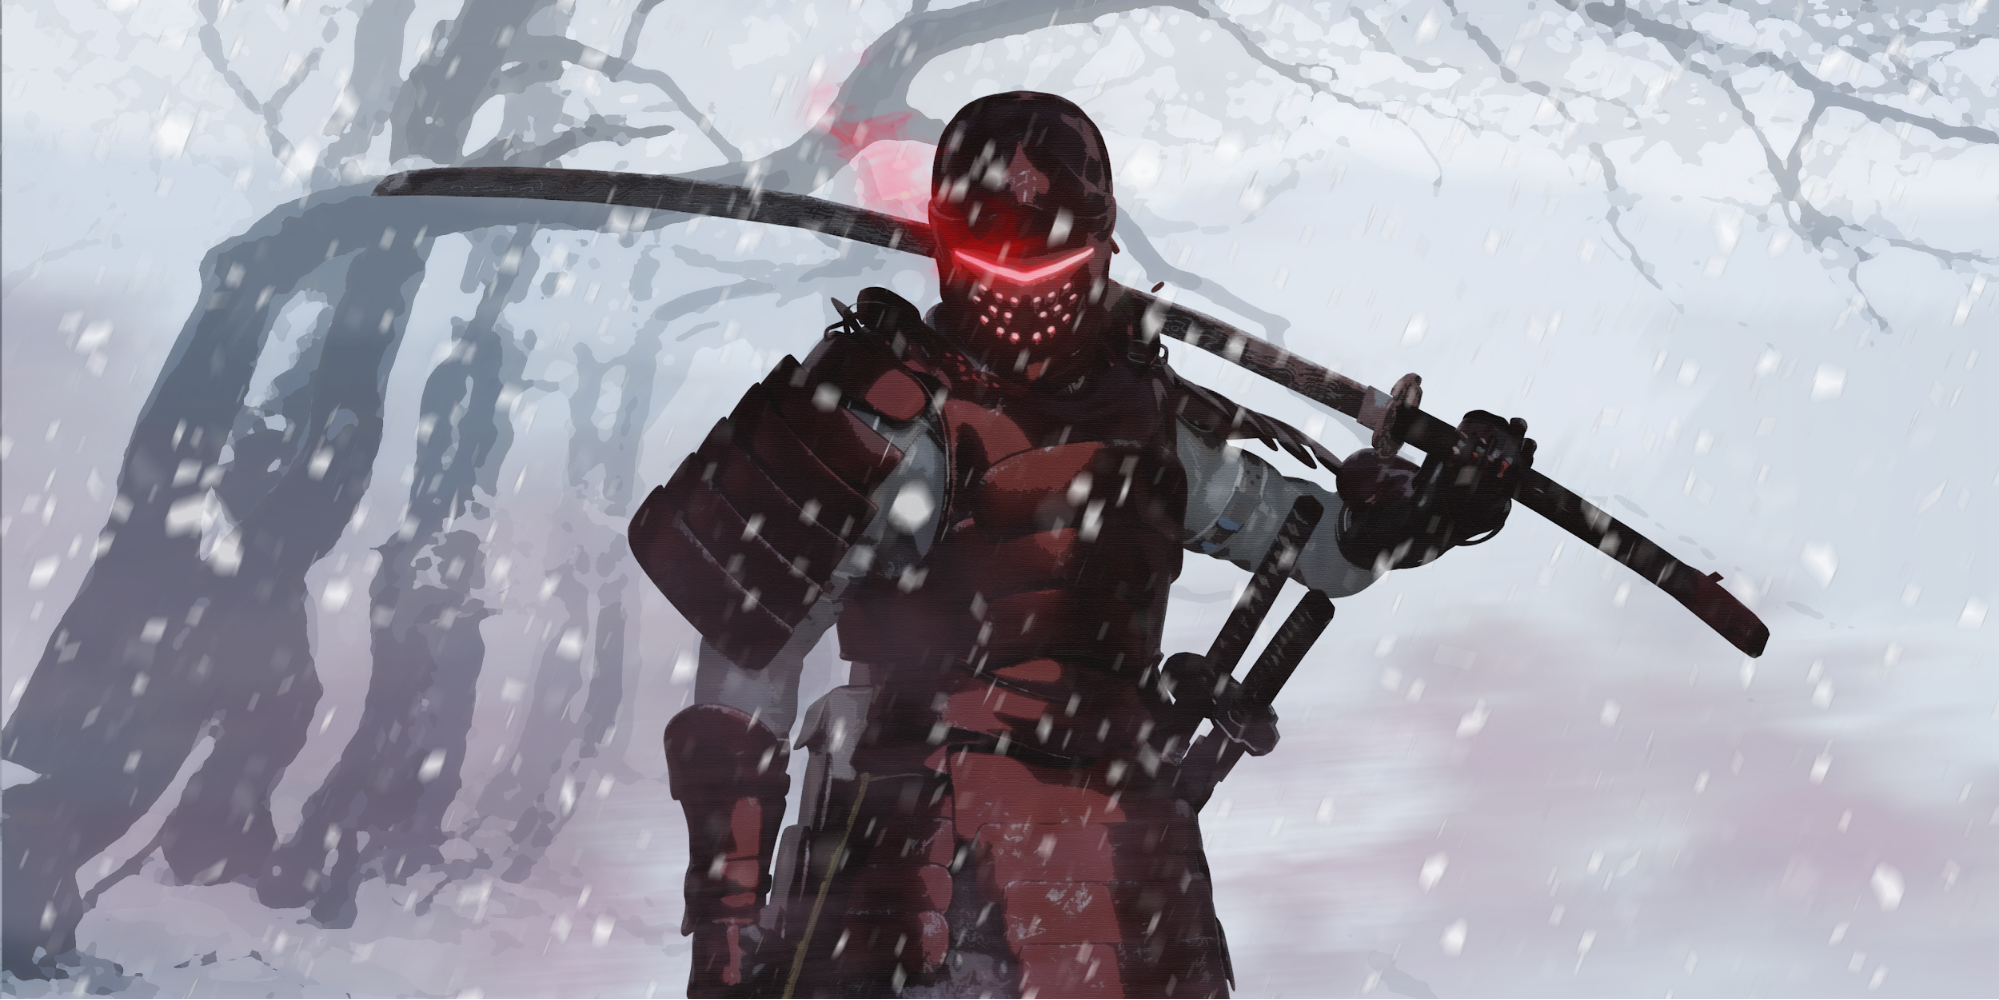
I started the modeling process at the beginning of September, starting with the main character, Okami. He is mostly a samurai-inspired warrior, with little western elements, such as cuirass, helmet, and bracers. There are a lot of objects, especially the armor and weapons, that I modeled long ago, and am now just reusing in newer projects. Usually, I make about 20-30 of those “template objects”, and then combine them in later projects. Thus, I had already modeled all other knights in this scene about half a year ago.
Environment
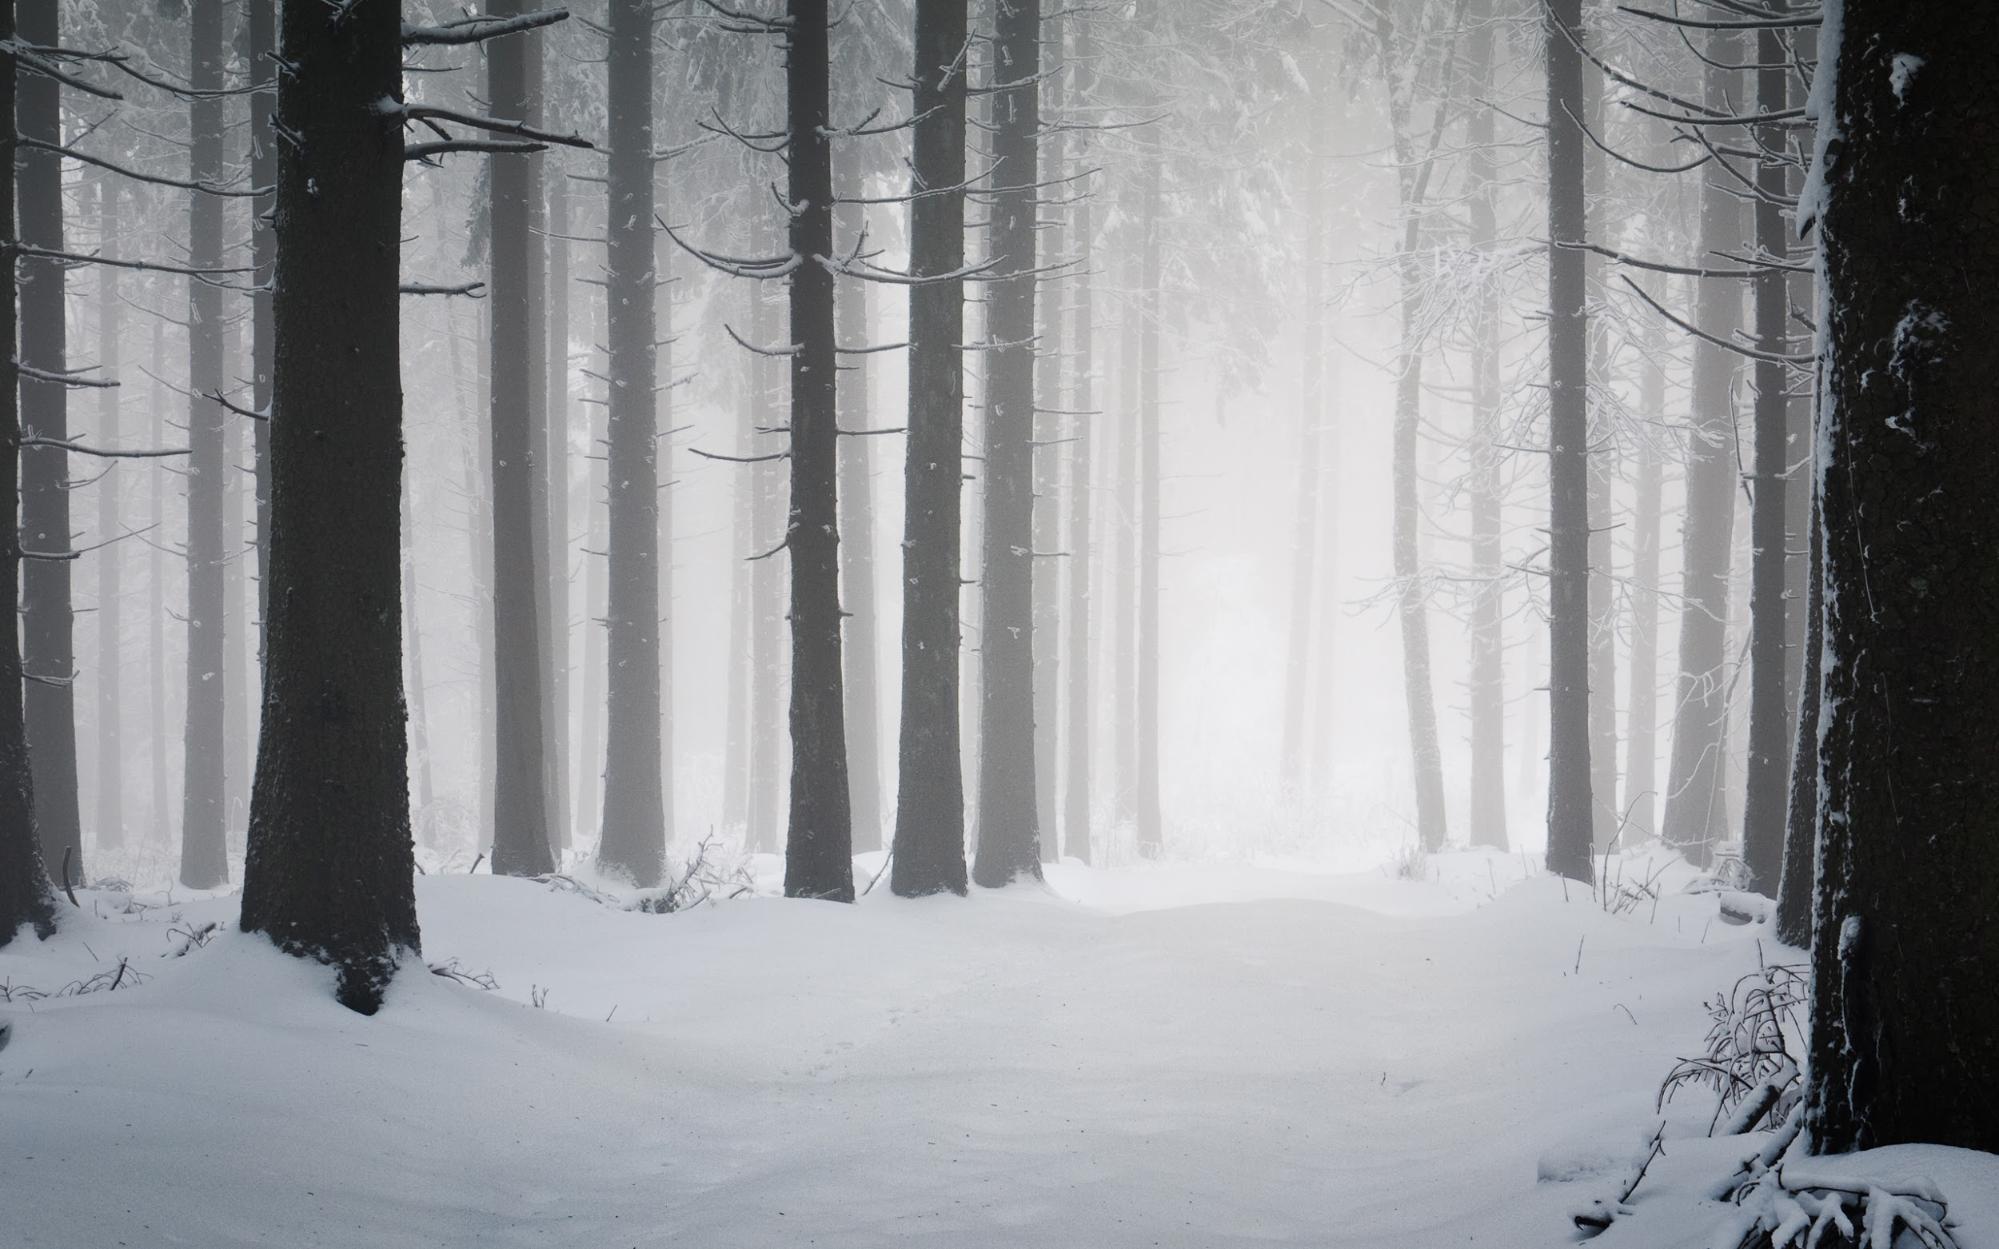
The easiest part was the forest simply because I didn’t make it. The 3D forest environment is still in a WIP state, so I had to use a picture from the internet. And for that I chose several winter forest pictures and applied a couple of filters to them. The environment was intended to be white-greyish, as well as the knights in this scene, with the main focus on the red warrior, who is Okami.
Materials and Rendering
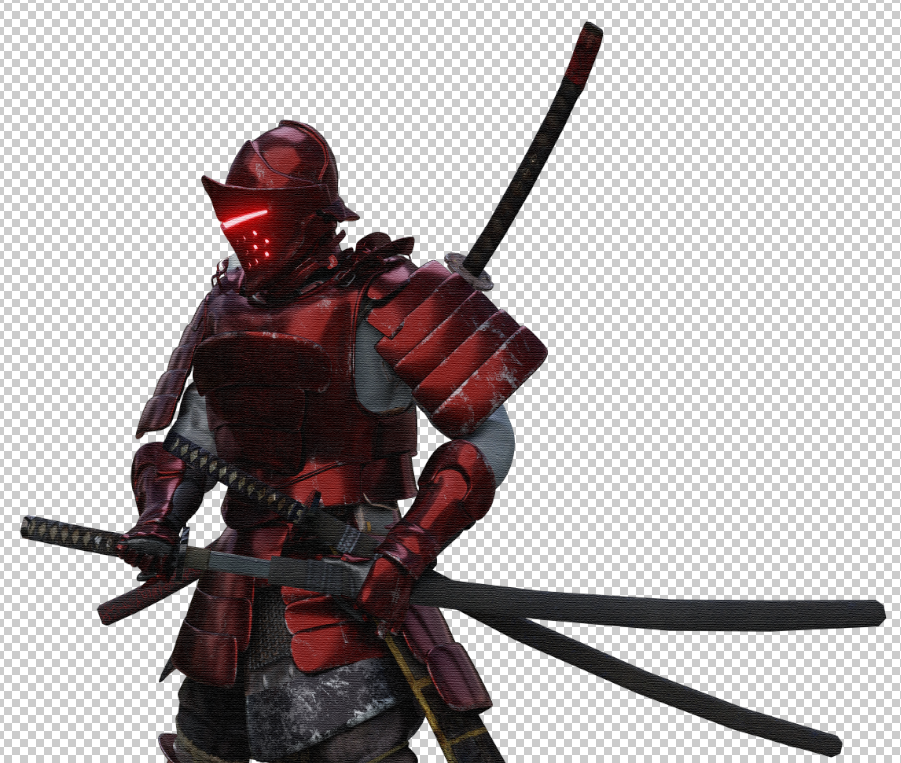
As for materials, for the main metal shader I downloaded the PBR metal from Blender Guru. This was the core shader, and then I started to add secondary elements, such as scratches, rub markings, etc. To armor materials, my primary goal was to achieve a slightly seasoned, rough shader. For that, I then added the Procedural Grungy Metal Shader from BlendSwap to the PBR metal shader. By combining them together, I finally was able to achieve the desired result.
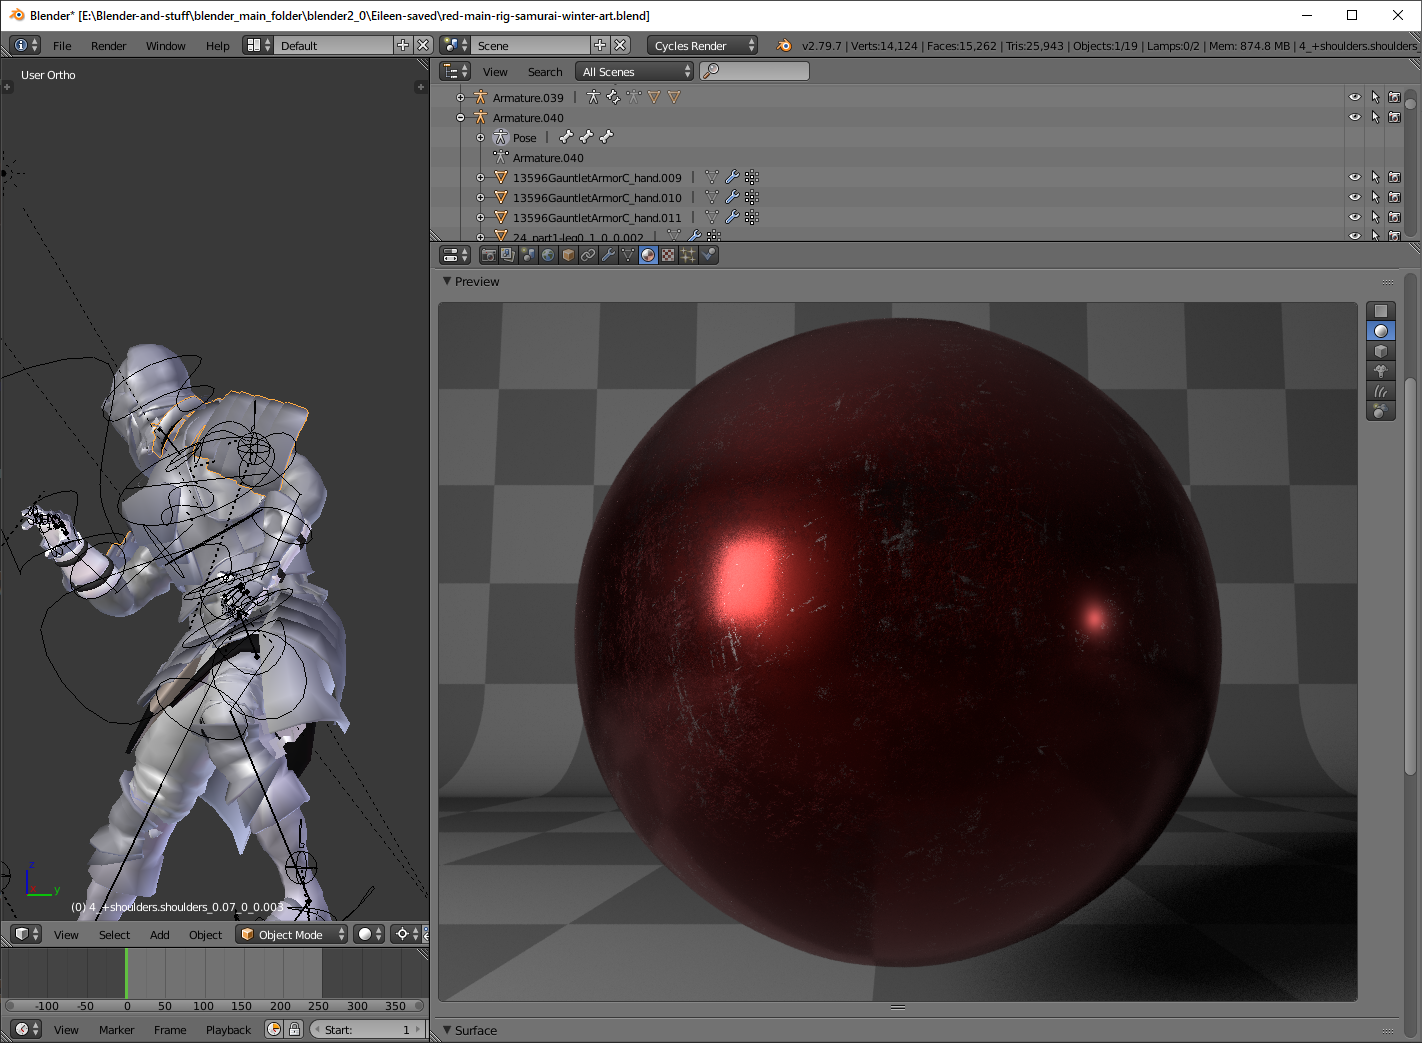

I put all models on different layers and then rendered them all separately. Render settings were standard for the most part.

Compositing
Now let’s jump into the most interesting process—composing and adding effects and filters. For compositing I firstly used Blender’s own resources, adding Glare effect, and made some changes to the brightness and contrast.
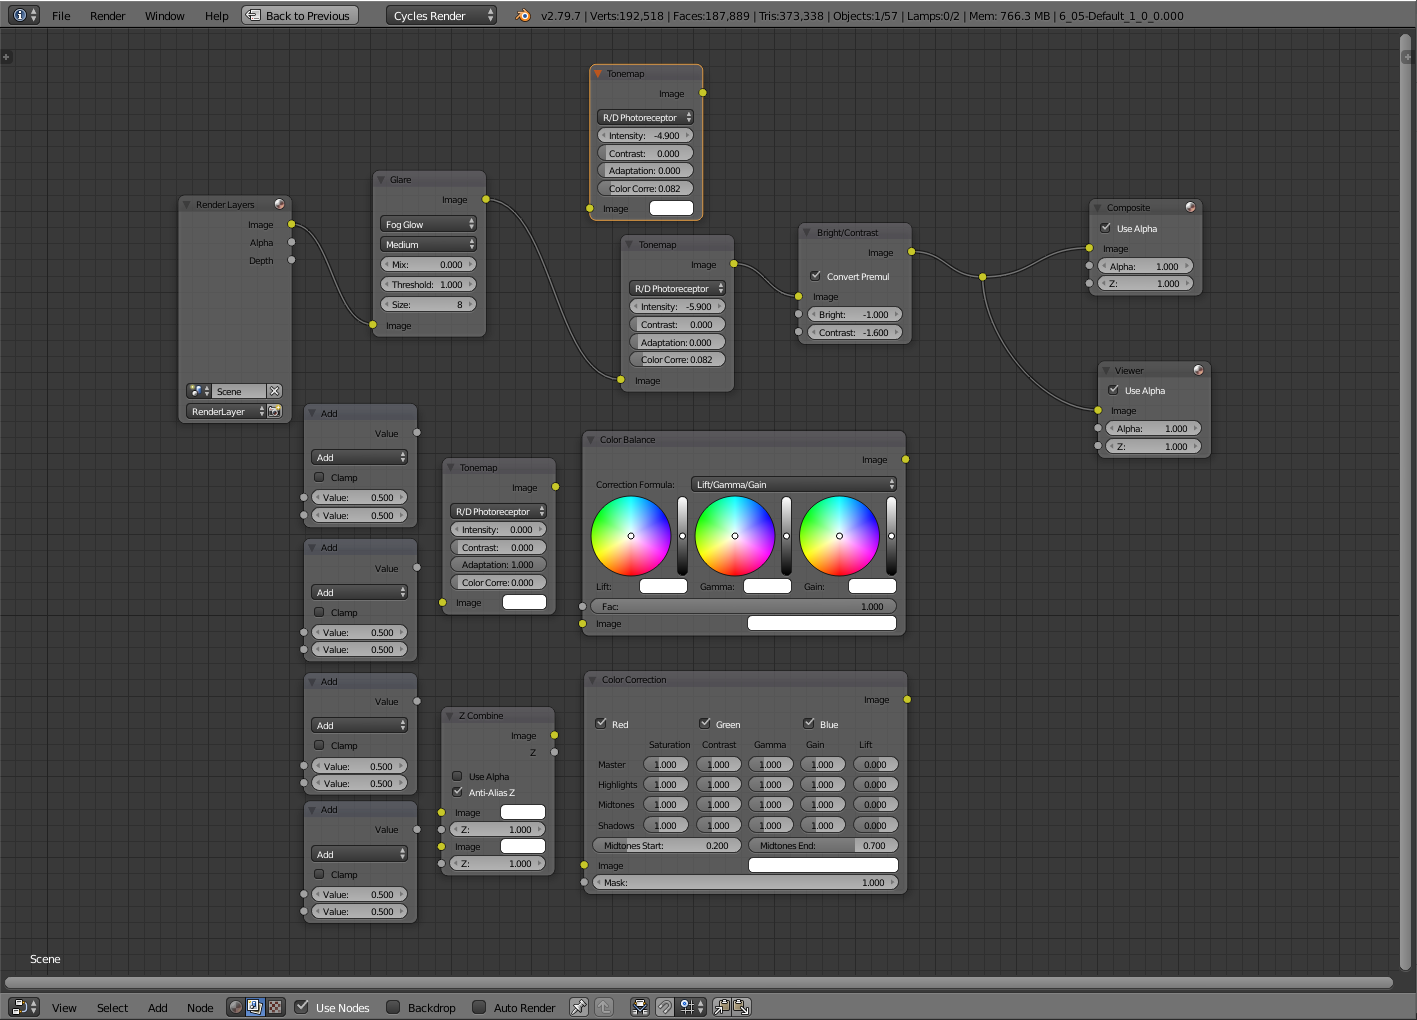
After that, in Photoshop, the most important thing was to achieve a 2D-stylized or comic art effect. I kind of achieved this by using a couple of filters in this order:
- Top layer application filter, with a high level of detail and precise lines.

- The second one is an application filter too, but with less level of detail and more blurry lines.

- The third filter is a texture filter, to give the picture a more hand-drawn look, and with a higher brightness and contrast setup.


After that, I simply added additional effects: snow and fog. I used a standard Photoshop brush to create snow, and then just blurred it. Fog is a .png image with alpha channel. I made several layers with this fog, and then manually mixed them together.


Final result
Since I completed the first render, I have now made five of them, each one representing a scene from the animated short, which I hope to finish during the next year. That’s actually all I had to say about this. Actually, this article wasn’t much about how I made this work, what modeling techniques I used for example, but rather why I made it. It’s more about creating the story, characters, and atmosphere.
About the Author
 Rollan, 3D Artist


