

Introduction
Hello everyone! My name is Mirosław Cichoń, I’m 25 and I’m a med student and 3D hobbyist from Sandomierz in Poland. I have been a self-taught Blender user since junior high school. I found out about Blender around 2008 and immediately fell in love with it. I was amazed by the idea of creating anything I could imagine on my computer. Of course, I was limited by my skills (and I still am ;) ) but with every next project and subsequent tutorial that I watch on YouTube, I have been able to create more and more.
Although my future career in medicine is not strictly connected to 3D graphics, I still find it very amusing and relaxing to create something in Blender after a hard and dull day. It is a great hobby and I hope I will be able to continue it over the coming years.
Unfortunately, due to a lack of free time and working on an old laptop, I try to focus on smaller projects. Ones that I can finish in a short time period (mostly weekends) and later be able to render without boiling water on my machine. :)
Inspiration
The idea to create “Roar” came to me out of nowhere. I was browsing the internet and came across this amazing metallic butterfly.
I thought of it as a really cool idea for industrial-like metal animals/machines made maybe out of scrap. Simultaneously, I remembered this toy from my childhood—wooden animals made of small wooden parts.
I loved playing with them and assembling them with my older brother. Right then I decided it would be fun to create something similar in Blender. I put it on my long to-do list and let it stay there for a long time. Finally, when I had some free time, I decided to mess around with it; and there is where the journey began.
Modeling
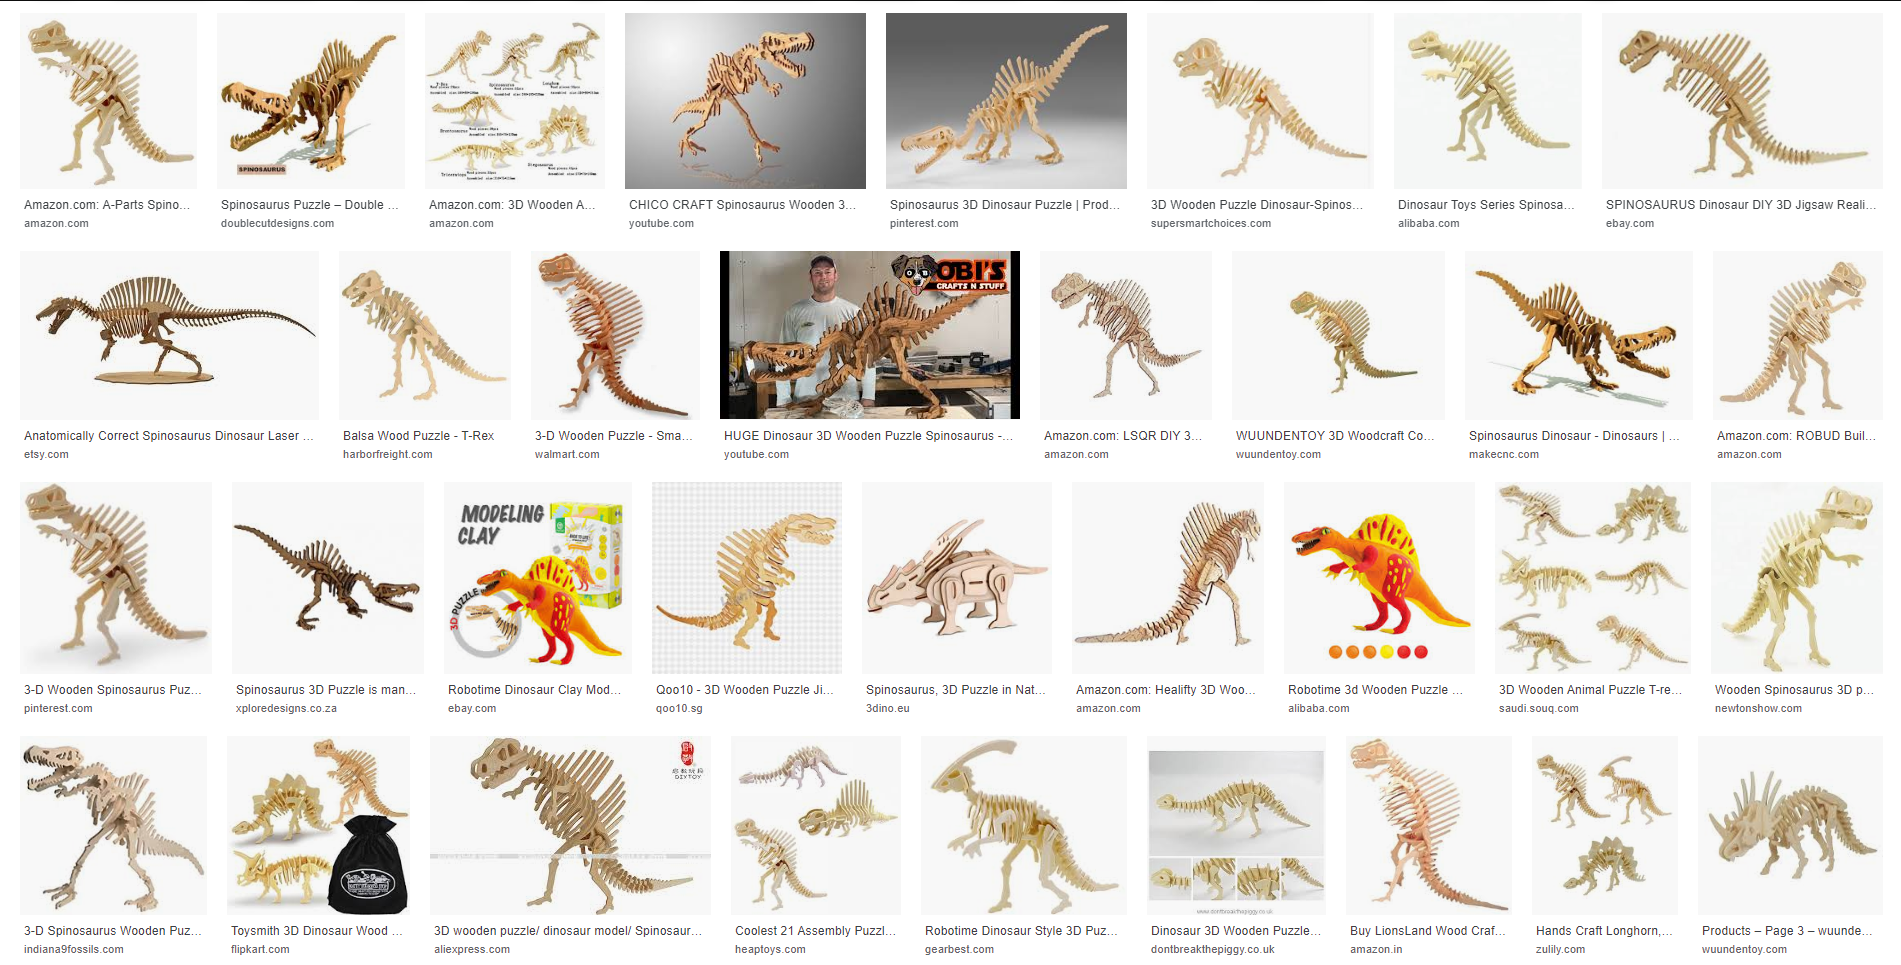
To even start anything I needed to find a template or reference for this kind of toy. I started searching the internet for “wooden animal skeleton” and found a few scans of them. Of course, I started working on a dinosaur :) Obviously!
I imported the image of wooden parts as a backplane inside Blender and set its scale to something realistic.
I used a bezier curve to track the outlines of each part. I set parameters of curves to 2D and fill mode to Both. In the geometry tab I set the extrude value of all pieces so their thickness matched the width of the notches. So they could interlock with each other.


I converted each part made of curves into mesh and cleaned up any unnecessary geometry. I added bevel modifiers to avoid any obvious sharp edges, set shading to smooth, and the pieces were done.
Next, it was time to put all the pieces together. Rotating and moving all pieces to their positions was the most fun part of the whole project for me. Like in real life, not everything had to be placed perfectly, some misalignment would even add realism.

When it came to the rest of the scene, I decided to quickly arrange it to look like a child’s room. A couple of wooden toys to add something in the background but nothing fancy to avoid drawing attention away from the main model. Modeling the objects was pretty straightforward—they are all cubes. Letter blocks: pure cube, domino blocks: scaled cube, boxes: cube without a top face, shelves: boards made of cubes. So, nothing complicated.

Materials
Most of the objects are covered in one wood material, different only in the scale of the wood texture, rough value, and main colour. The main wood material is a simple principled shader with wood textures from Poliigon. Each element of the dinosaur shares the same material so I varied it by using a random object input.


The non-wooden object had simpler materials. The wall is just a diffuse shader with a texture on the color input. The carpet is a principled shader with the color texture of a “typical” children’s rug with a normal map from a standard carpet texture.
Lighting
When it comes to lighting I like to keep it simple. For this scene, I used one HDRI from HDRI Haven (I love this site). And that’s it.

Rendering & Post
I rendered images in Cycles. I used 200 samples and 8 light passes with built-in denoiser at 1800x1200 resolution. A single frame took around 3 hours to render.
I try to do most of my post-composition work inside Blender. I used color pass and multiplied it with AO, tweaked a bit of color balance, and added lens distortion. Later, in GIMP I added dust particles, film grain, and simple vignette.

Final Renders


About the Author
 Mirosław Cichoń, medical student and 3D hobbyist.
4 Comments
Really nice, I like your simplistic approach. Keep it up man ;)
Thanks ;) Will do!
Brings me back to my childhood. Thanks for sharing!
Thank you!