
Behind the Scenes: Kitchen
About
Hello there.
My name is Eugene Demidov. I’m a freelancer from Riga, Latvia and a student at the Baltic International Academy.
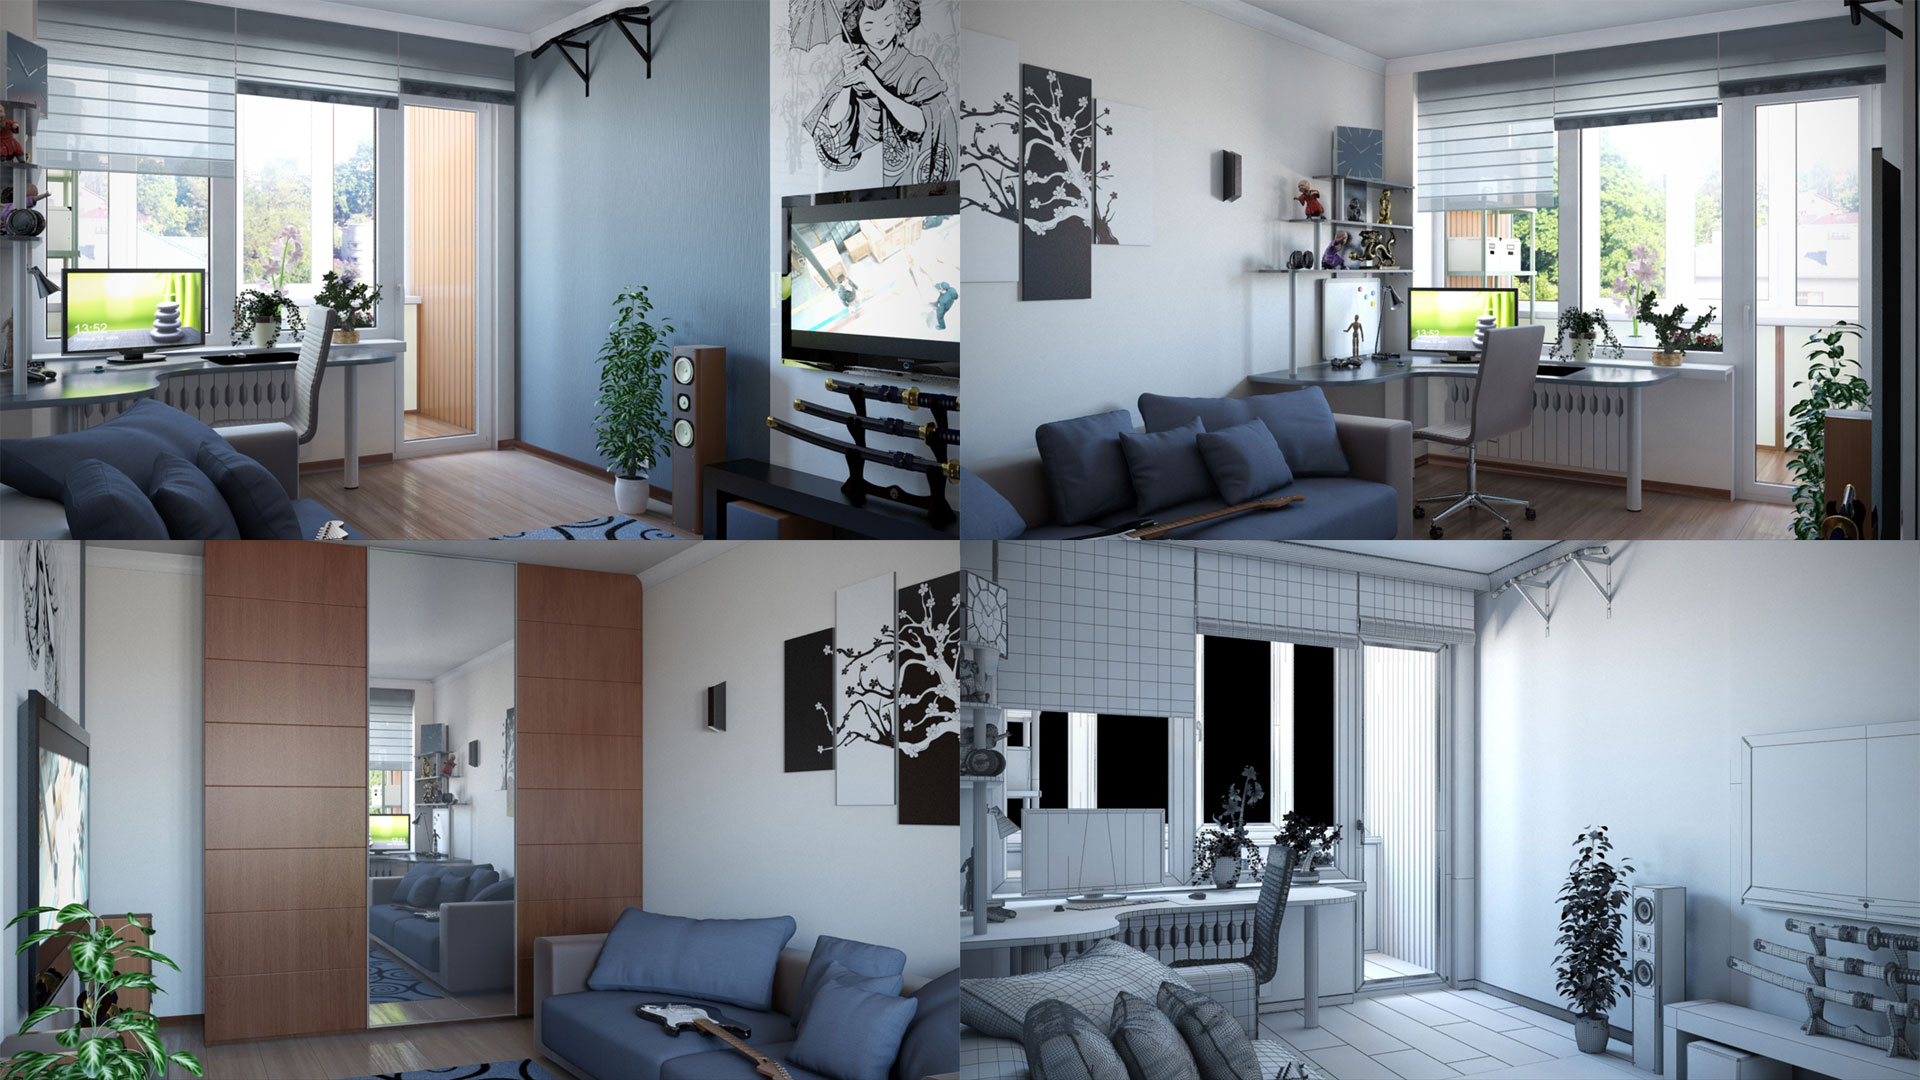
My acquaintance with 3D graphics began in 2011, and the first tool I learned was 3ds Max, which I used for interior visualizations. In 2013 I finished my first project. It was a renovation of my room. I made it using Mental Ray while learning how to work with 3ds Max.
Soon after that, I got my first freelance offer.
In 2016 I discovered Blender. In the beginning, I used it just for fun and did not consider it to be the main tool for work. All I did was create scenes with MikuMikuDance models.
A few months later, having gained experience in Blender, I decided to try to use it in a freelance project, after which I completely switched to Blender.

Inspiration and Making the Scene
Every day I browse the internet in search of new ideas for interior scenes. For this scene I found inspiration on the Houzz web site.

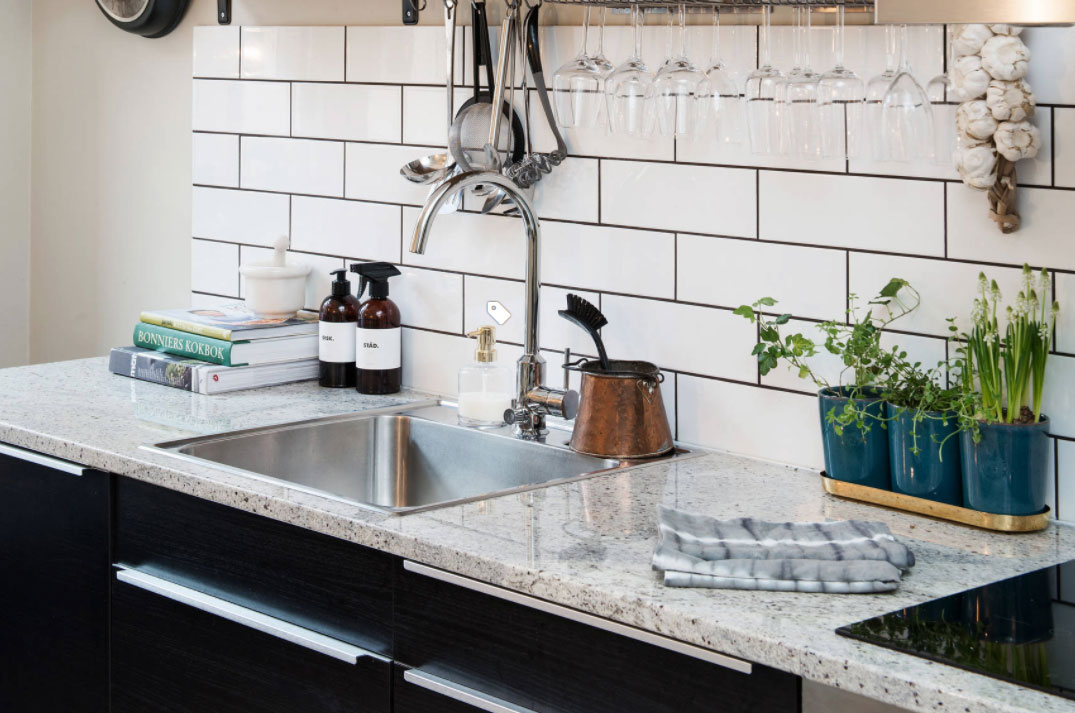
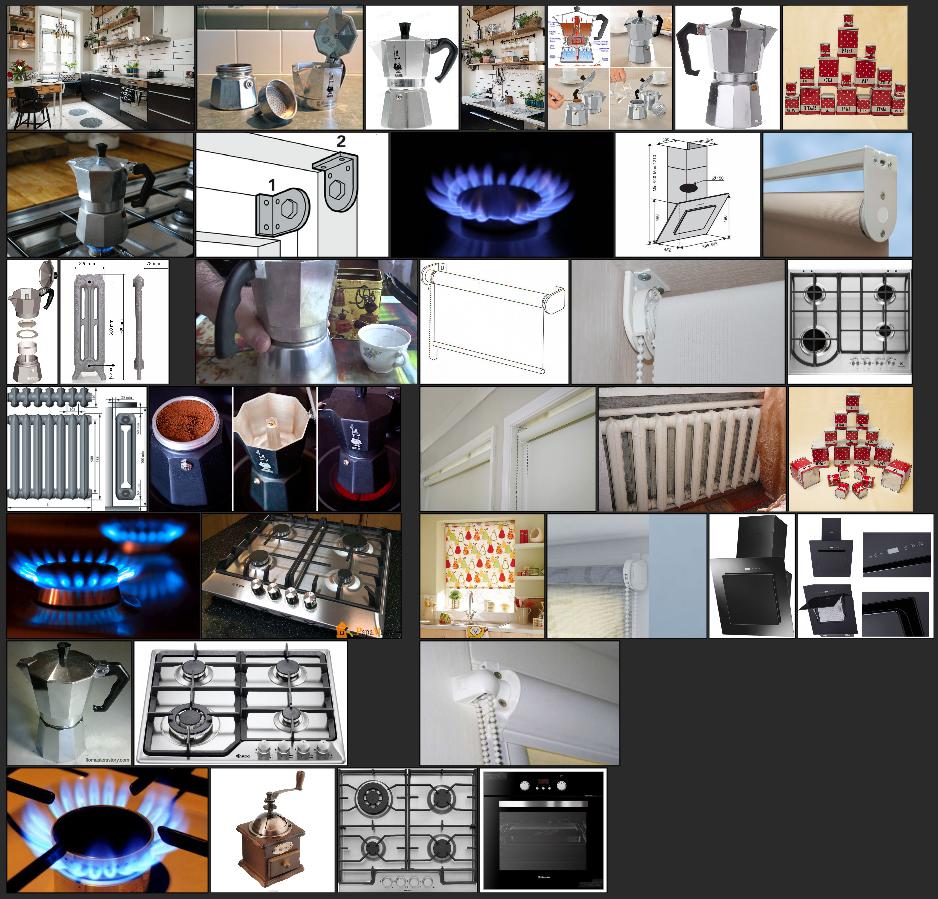
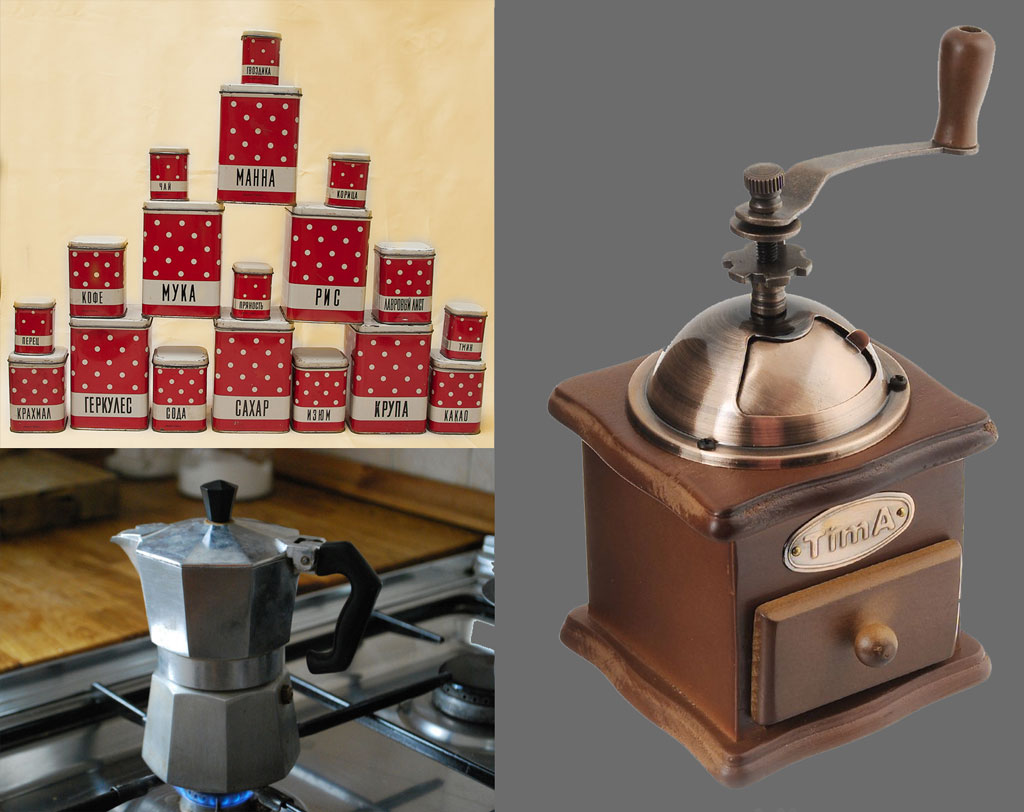
The next step was searching for reference images to make props, like a coffee-mill, coffee pot, and metal containers. All the references were saved in PureRef. I decided to use a few old types of kitchen items. They remind me of my childhood, and a warm, homey atmosphere.
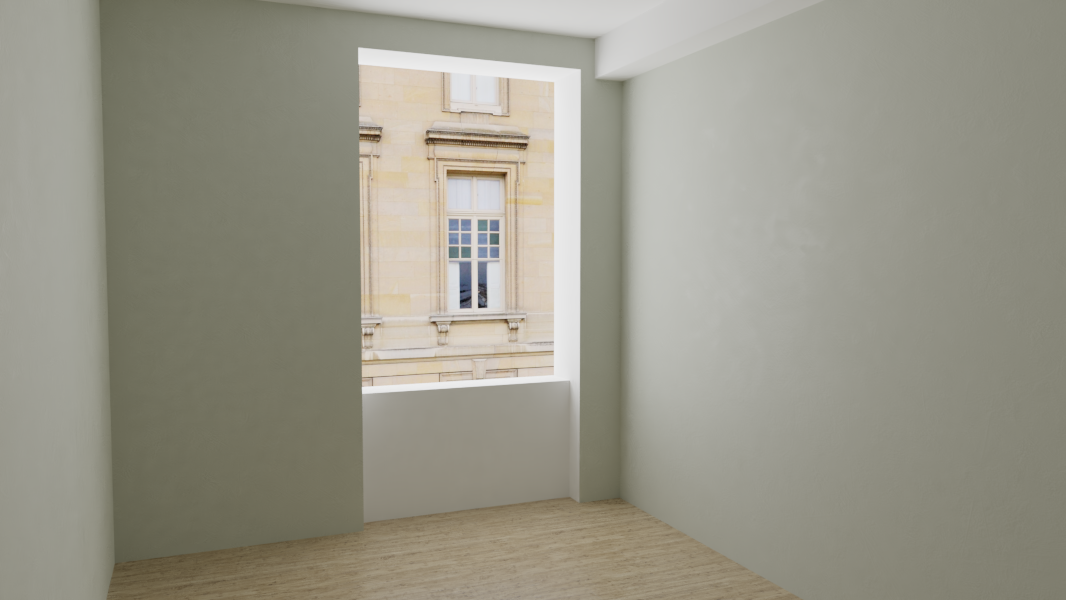
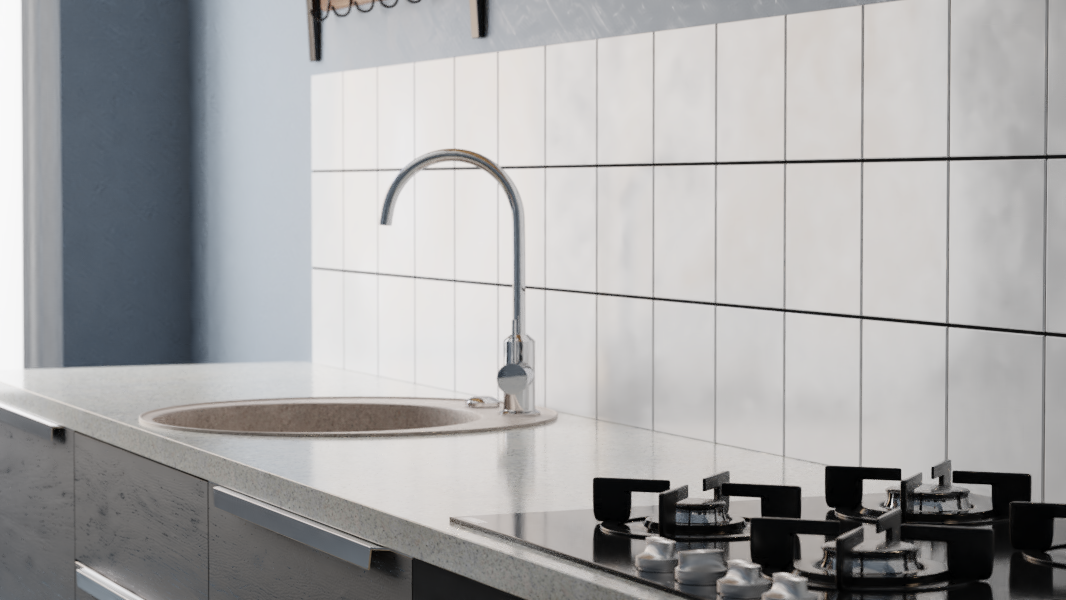
When I finished with references, I started making the scene. I made it similar to the main reference room and placed a plane with facade texture outside, to allow it to be seen through the window portal.
For the environment, I used a white color with Strength=10.
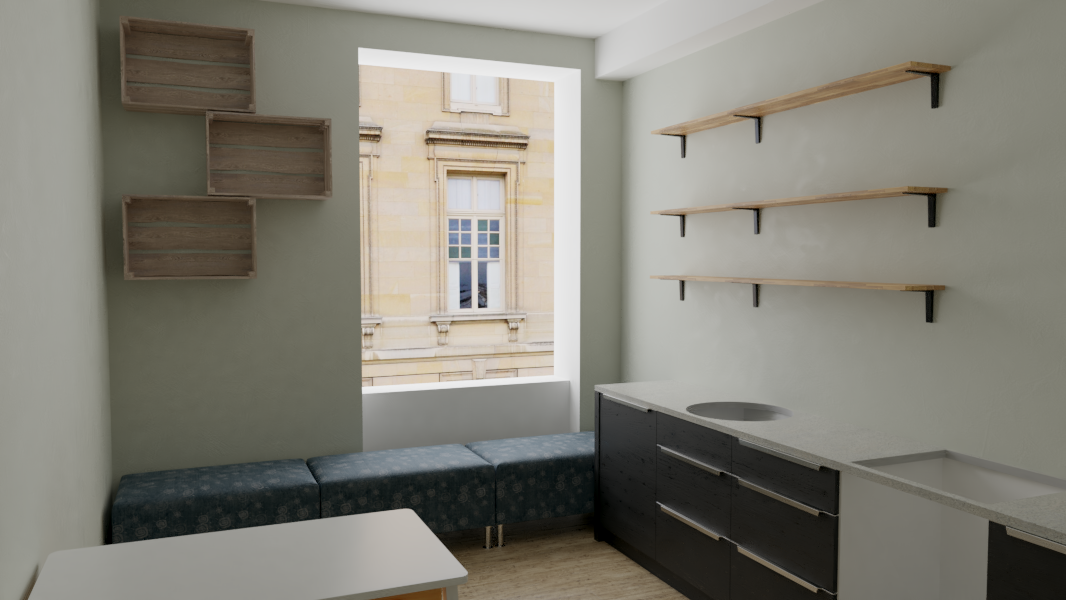
Next, I added furniture and, using the Boolean modifier, I cut holes for a sink and gas stove in the countertop.
I wasn’t satisfied with the color of the wall, so I changed it to a colder tone.
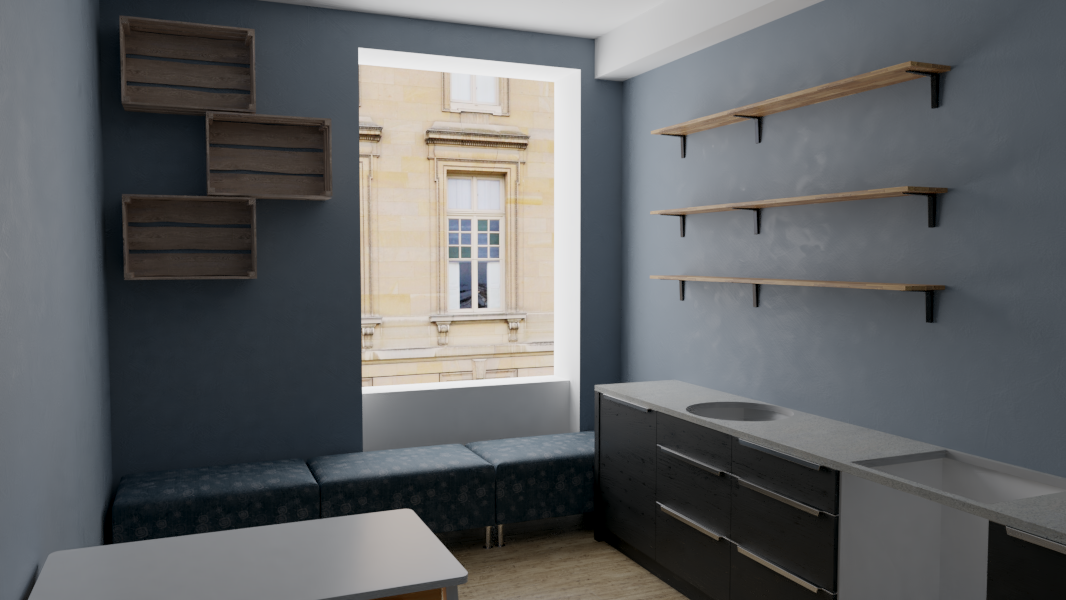
Then it was time to add some details and play with color correction.

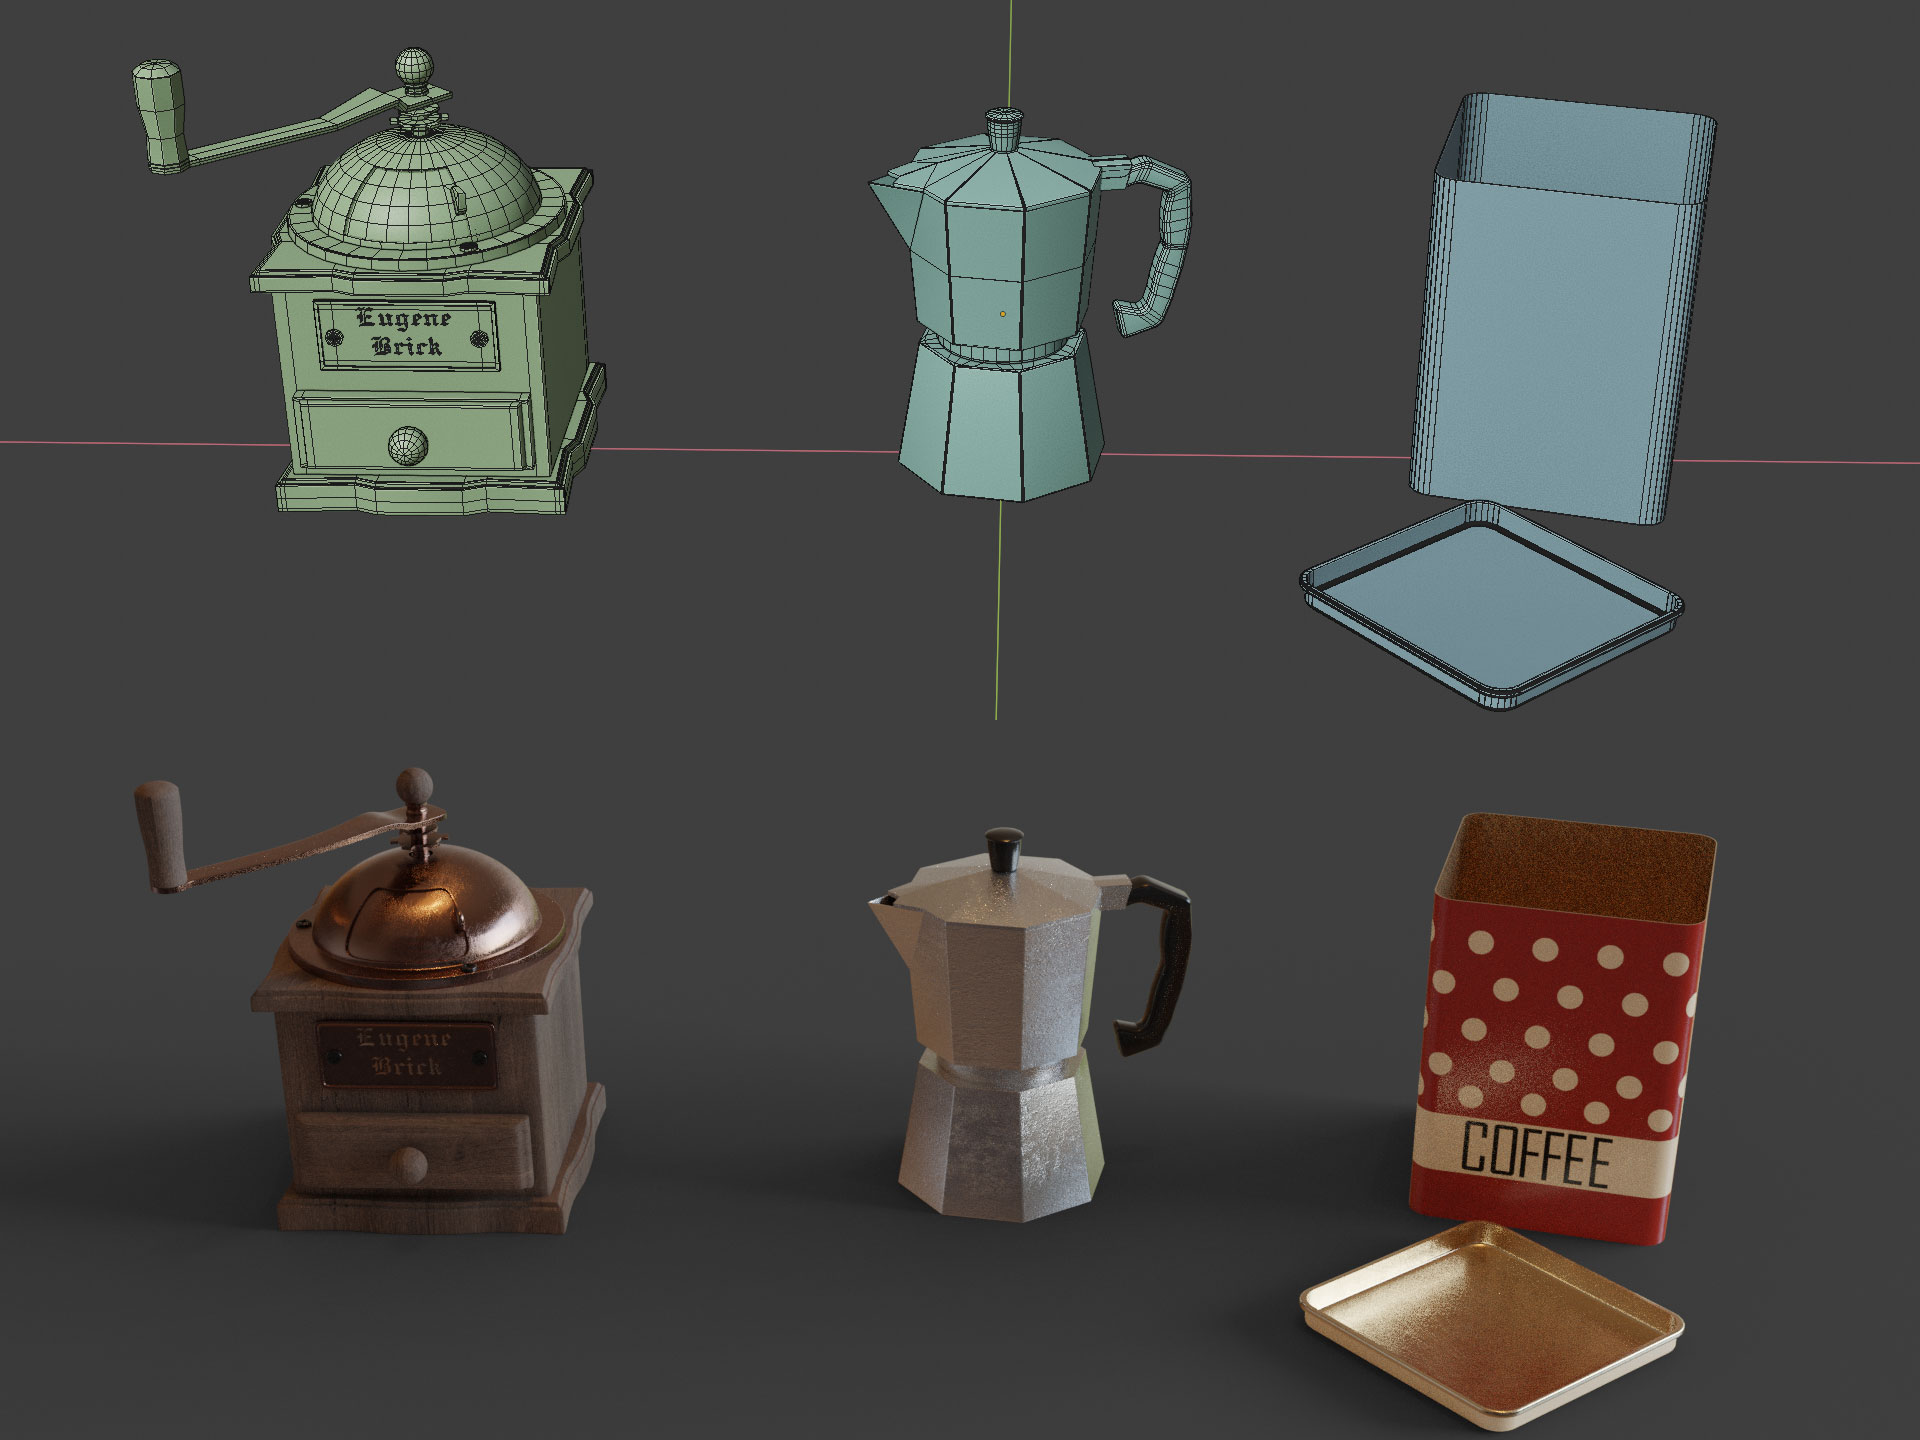
A Few Words About Making Props
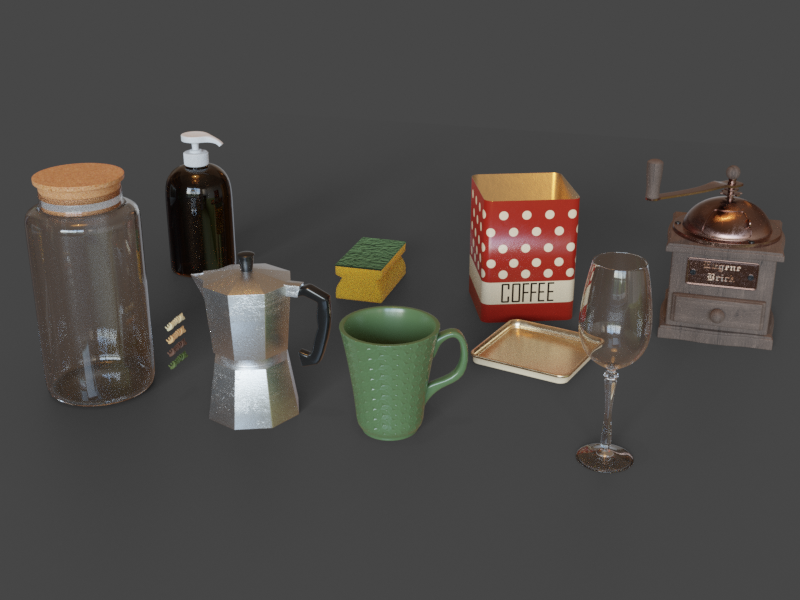
Most of the props are easy to recreate using reference photos. They have quite simple geometry.
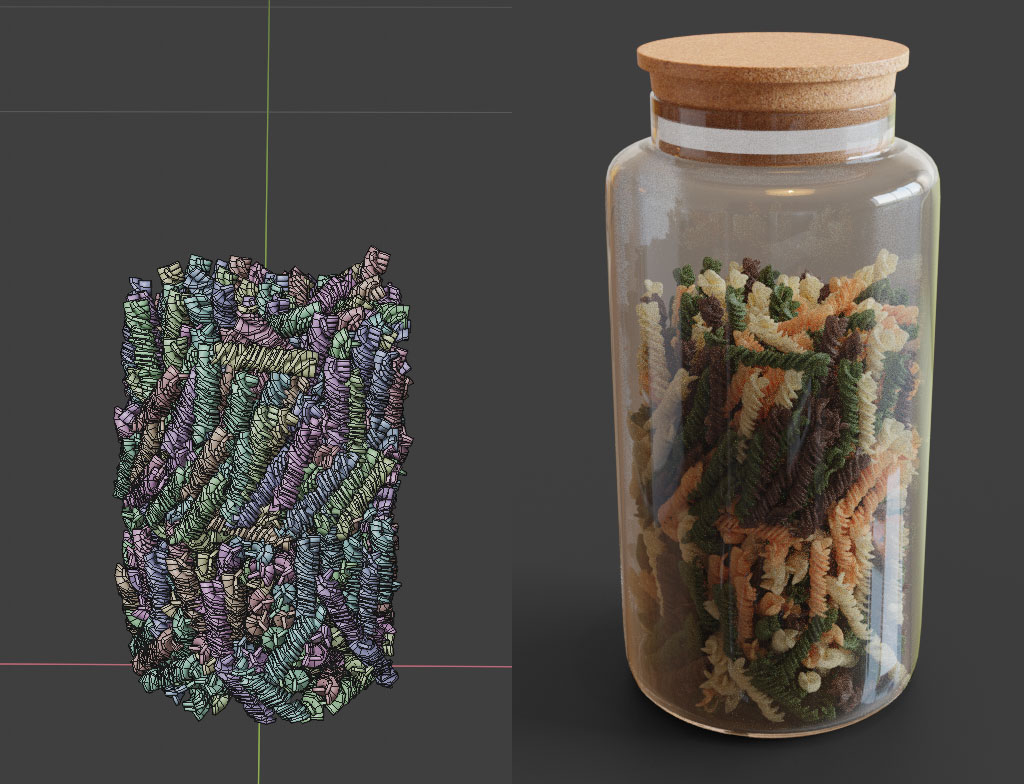
Fusilli
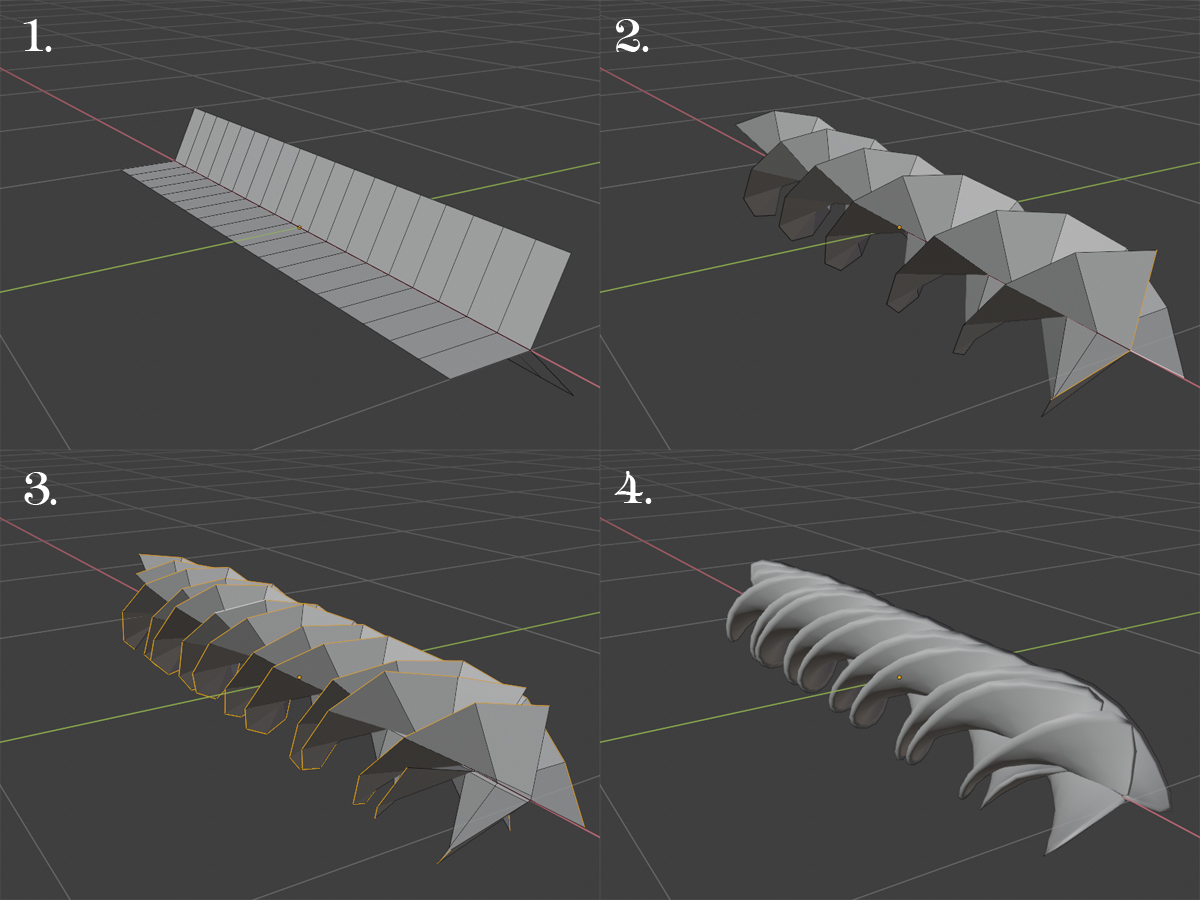
- The fusilli were made in a few simple steps from a plane, the faces of which were duplicated and rotated to make a Y looking shape (1).
- Twisted using Proportion Editing (2).
- Next, I duplicated faces with little offset and used the Randomize command on the outer edges to make a little deformation (3).
- Added Solidify and Subdivision surface modifiers(4).
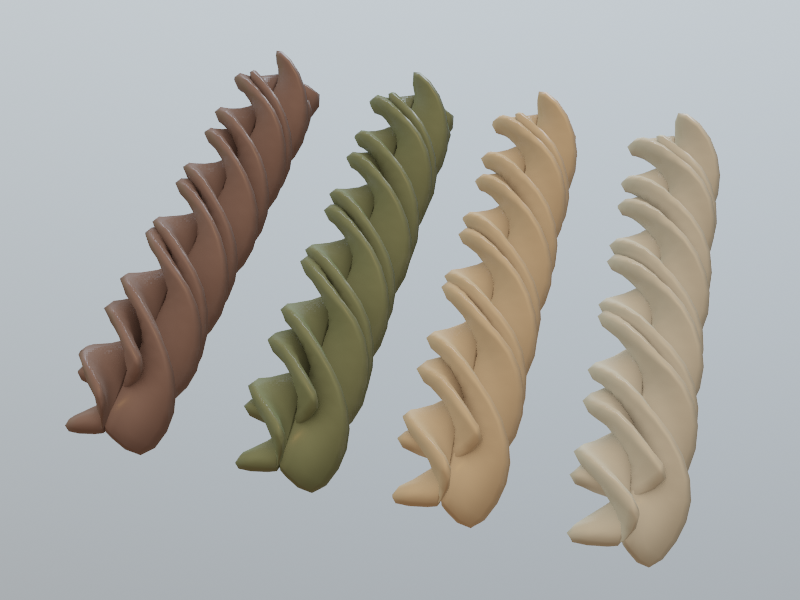
And voila! I have a simple fusilli pasta
After that, I made a simple material with translucency and color randomization.

To fill the jar, I used a simple physics simulation with ~650 copies of the object
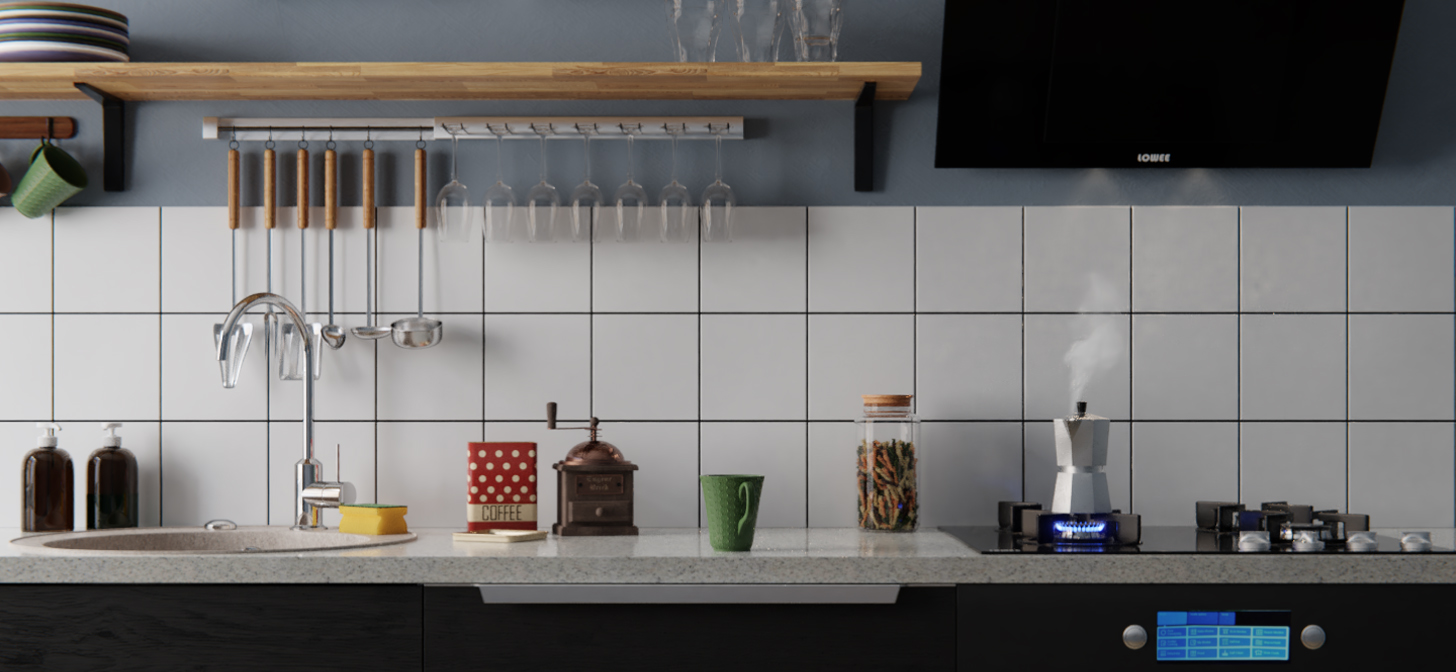
Finalizing and Rendering
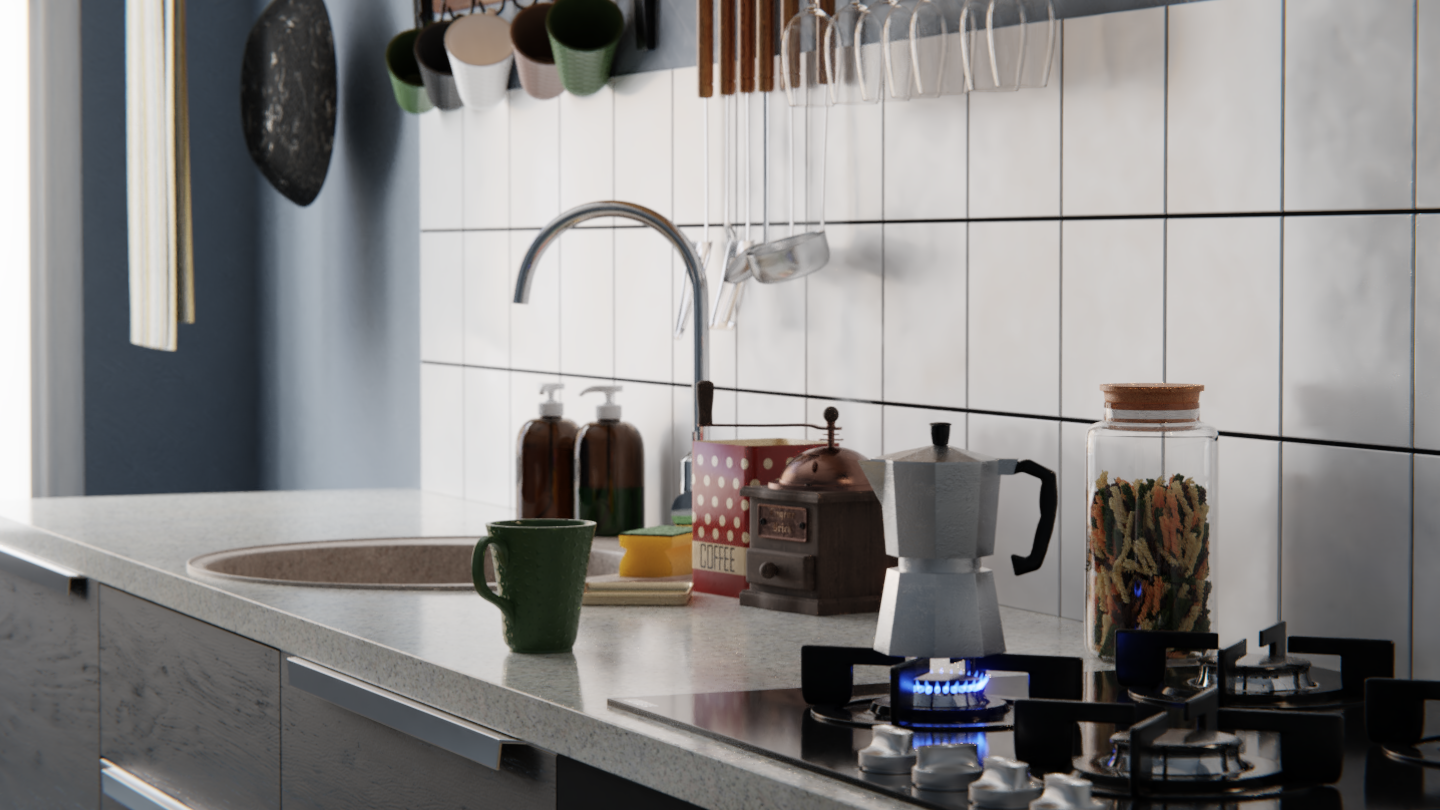
After a little research, I decided to change the camera position to focus on the kitchen workspace and give it a more artistic look, in my opinion.
Now I was ready to fill the scene with props. After all these manipulations I made a draft render to check everything.
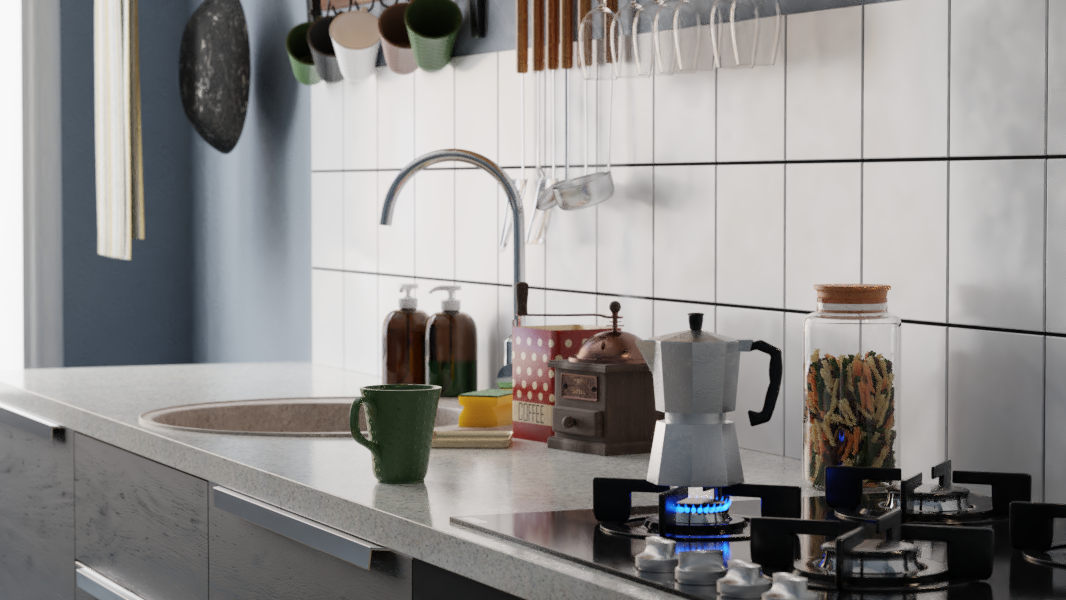
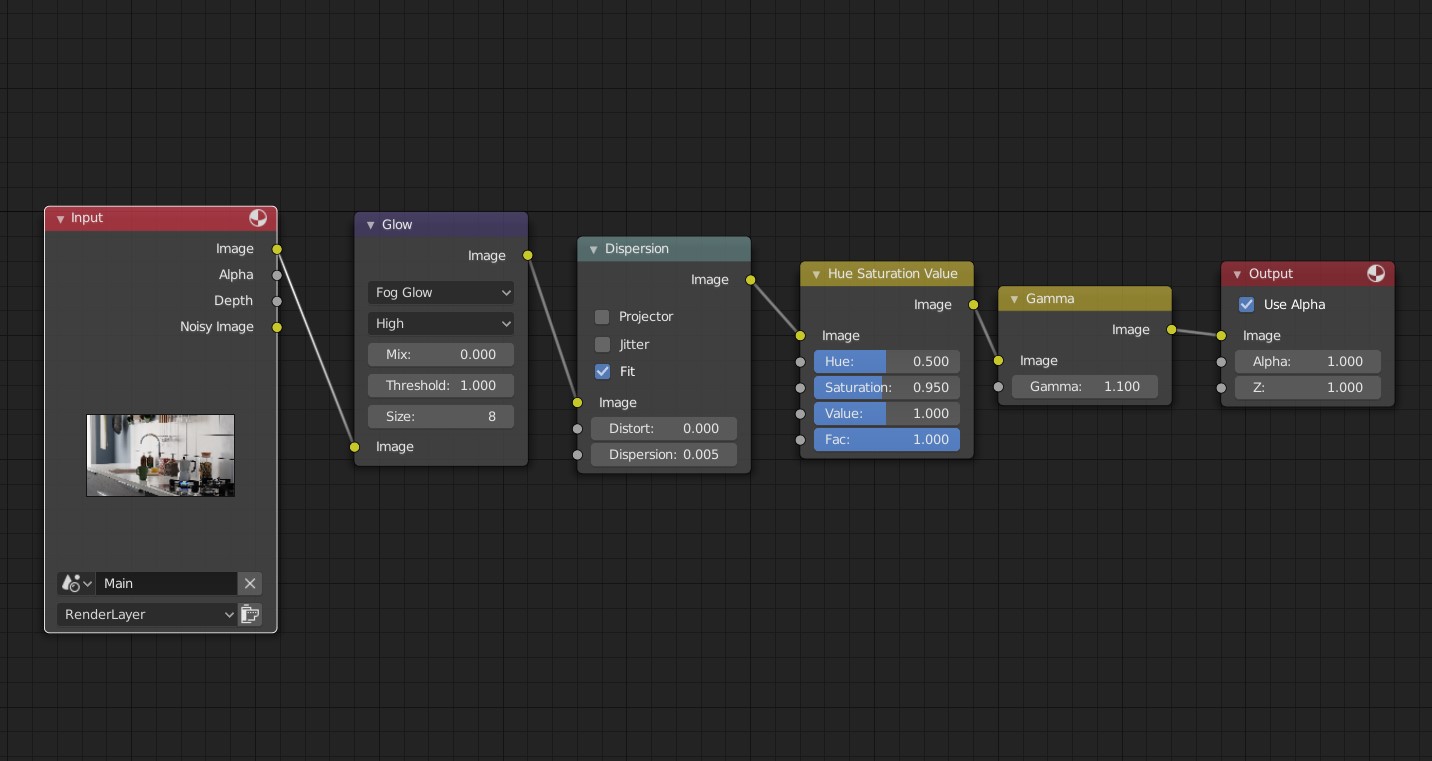
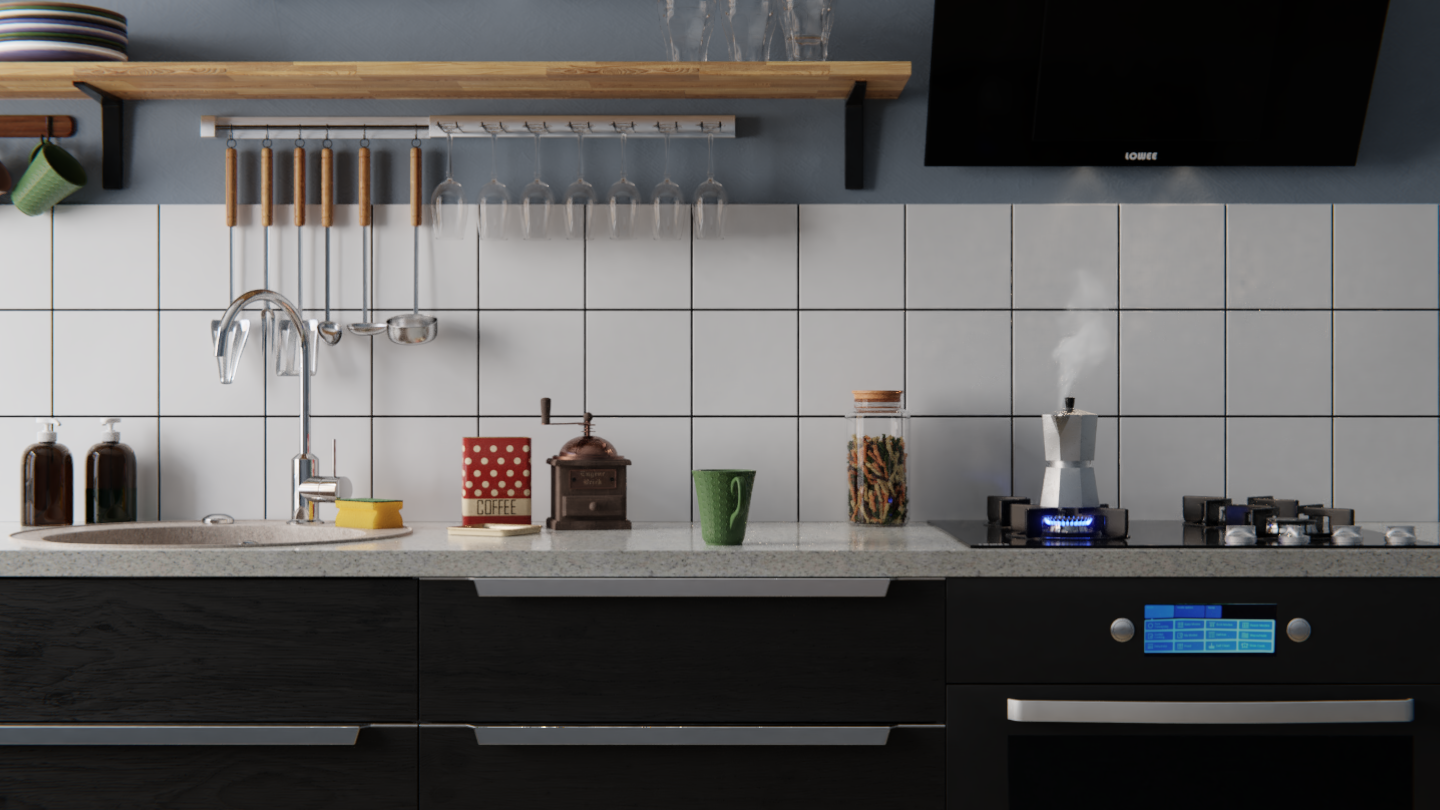
After a little post-processing in Composer, I was ready to make the final render with two different views.
My System Setup
I use two machines for my scenes. A desktop PC, which I use when I’m working from home:
- Intel Core i7-3930K
- 32GB RAM
- Nvidia GeForce GTX 680
And a laptop, which I use while I’m out:
- Dell Inspiron G3 3579
- Intel Core i7-8750H
- 16GB RAM
- Nvidia GeForce GTX 1050 Ti
Thank you for your attention. I hope you enjoy this article a little.
About the Author
 Eugene Demidov, I hate Mondays.


Very interesting that you start with the props 1st. Thank you for the break down
Very interesting that you start with the props 1st. Thank you for the breakdown,,, I don’t get fully how u made the
Fusilli
Where do you find Glow and dispertion??? i cant find them in Compositor
Filter -> Glare. Select Fog Glow instead of Streaks.
Distort -> Lens Distortion and modify Dispersion value.
Very nice job! Thanks for the breakdown.