Behind the Scenes: Ice Cream Shop
I’m Felipe Del Rio, 21 and I am from Brazil. I started using Blender in the 2.48 version because, as a curious kid, I really wanted to know how 3D animated movies were made and that curiosity brought me to Blender in 2008. In the beginning, I was just having fun with it, but 2 years ago I decided that I really want to work with 3D.
One of my biggest dreams when I first started playing with 3D was to create a short movie. I tried making it a lot of times over the years, but I was never able to finish one, because I was always underestimating the amount of effort necessary to create a complex short animated movie by myself. Fortunately, those experiences taught me a lot of lessons and last year I finally finished my short movie “Ciclo” and I was really happy when it got selected for festivals like the AnimaLatina and AnimaMundi.
Now I am mainly focused on improving my 3D skills, especially in look development, because that’s my favorite part in the process of creating 3D art. I’m also studying graphic design at São Paulo State University (UNESP) and starting to work as a freelance 3D artist.
Inspiration
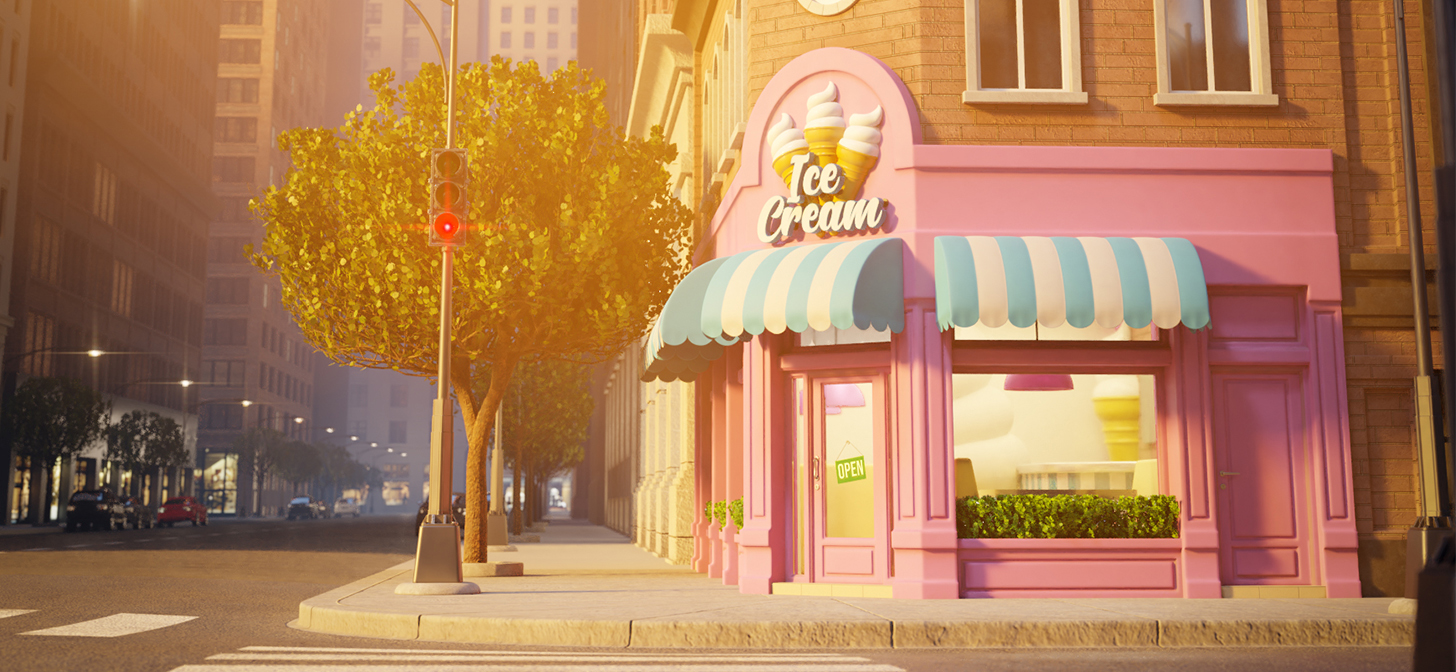
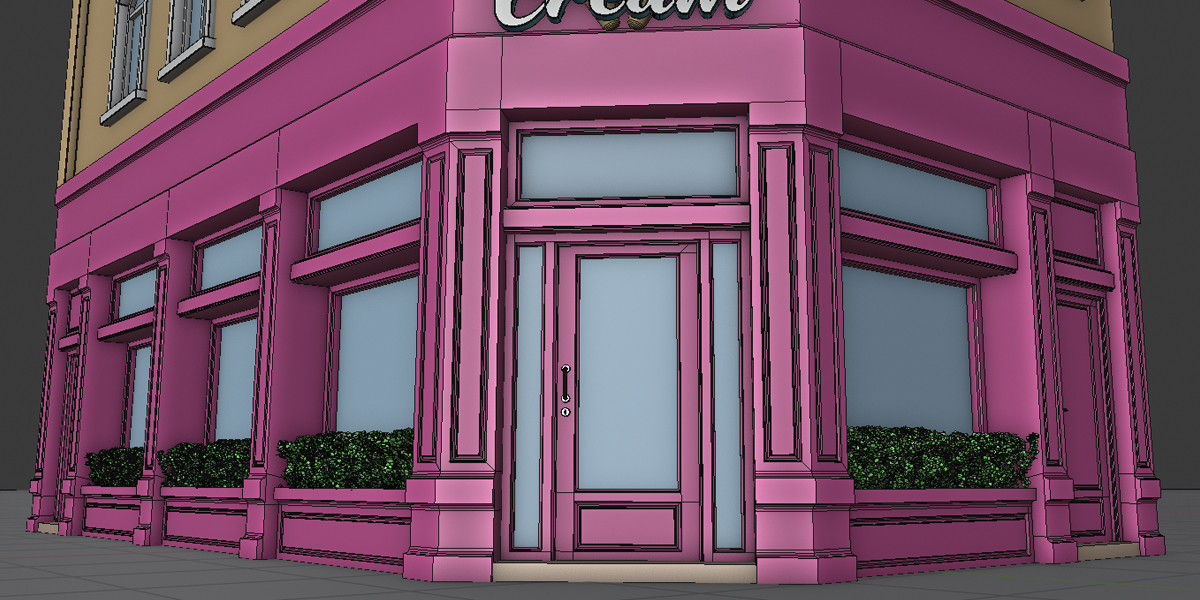
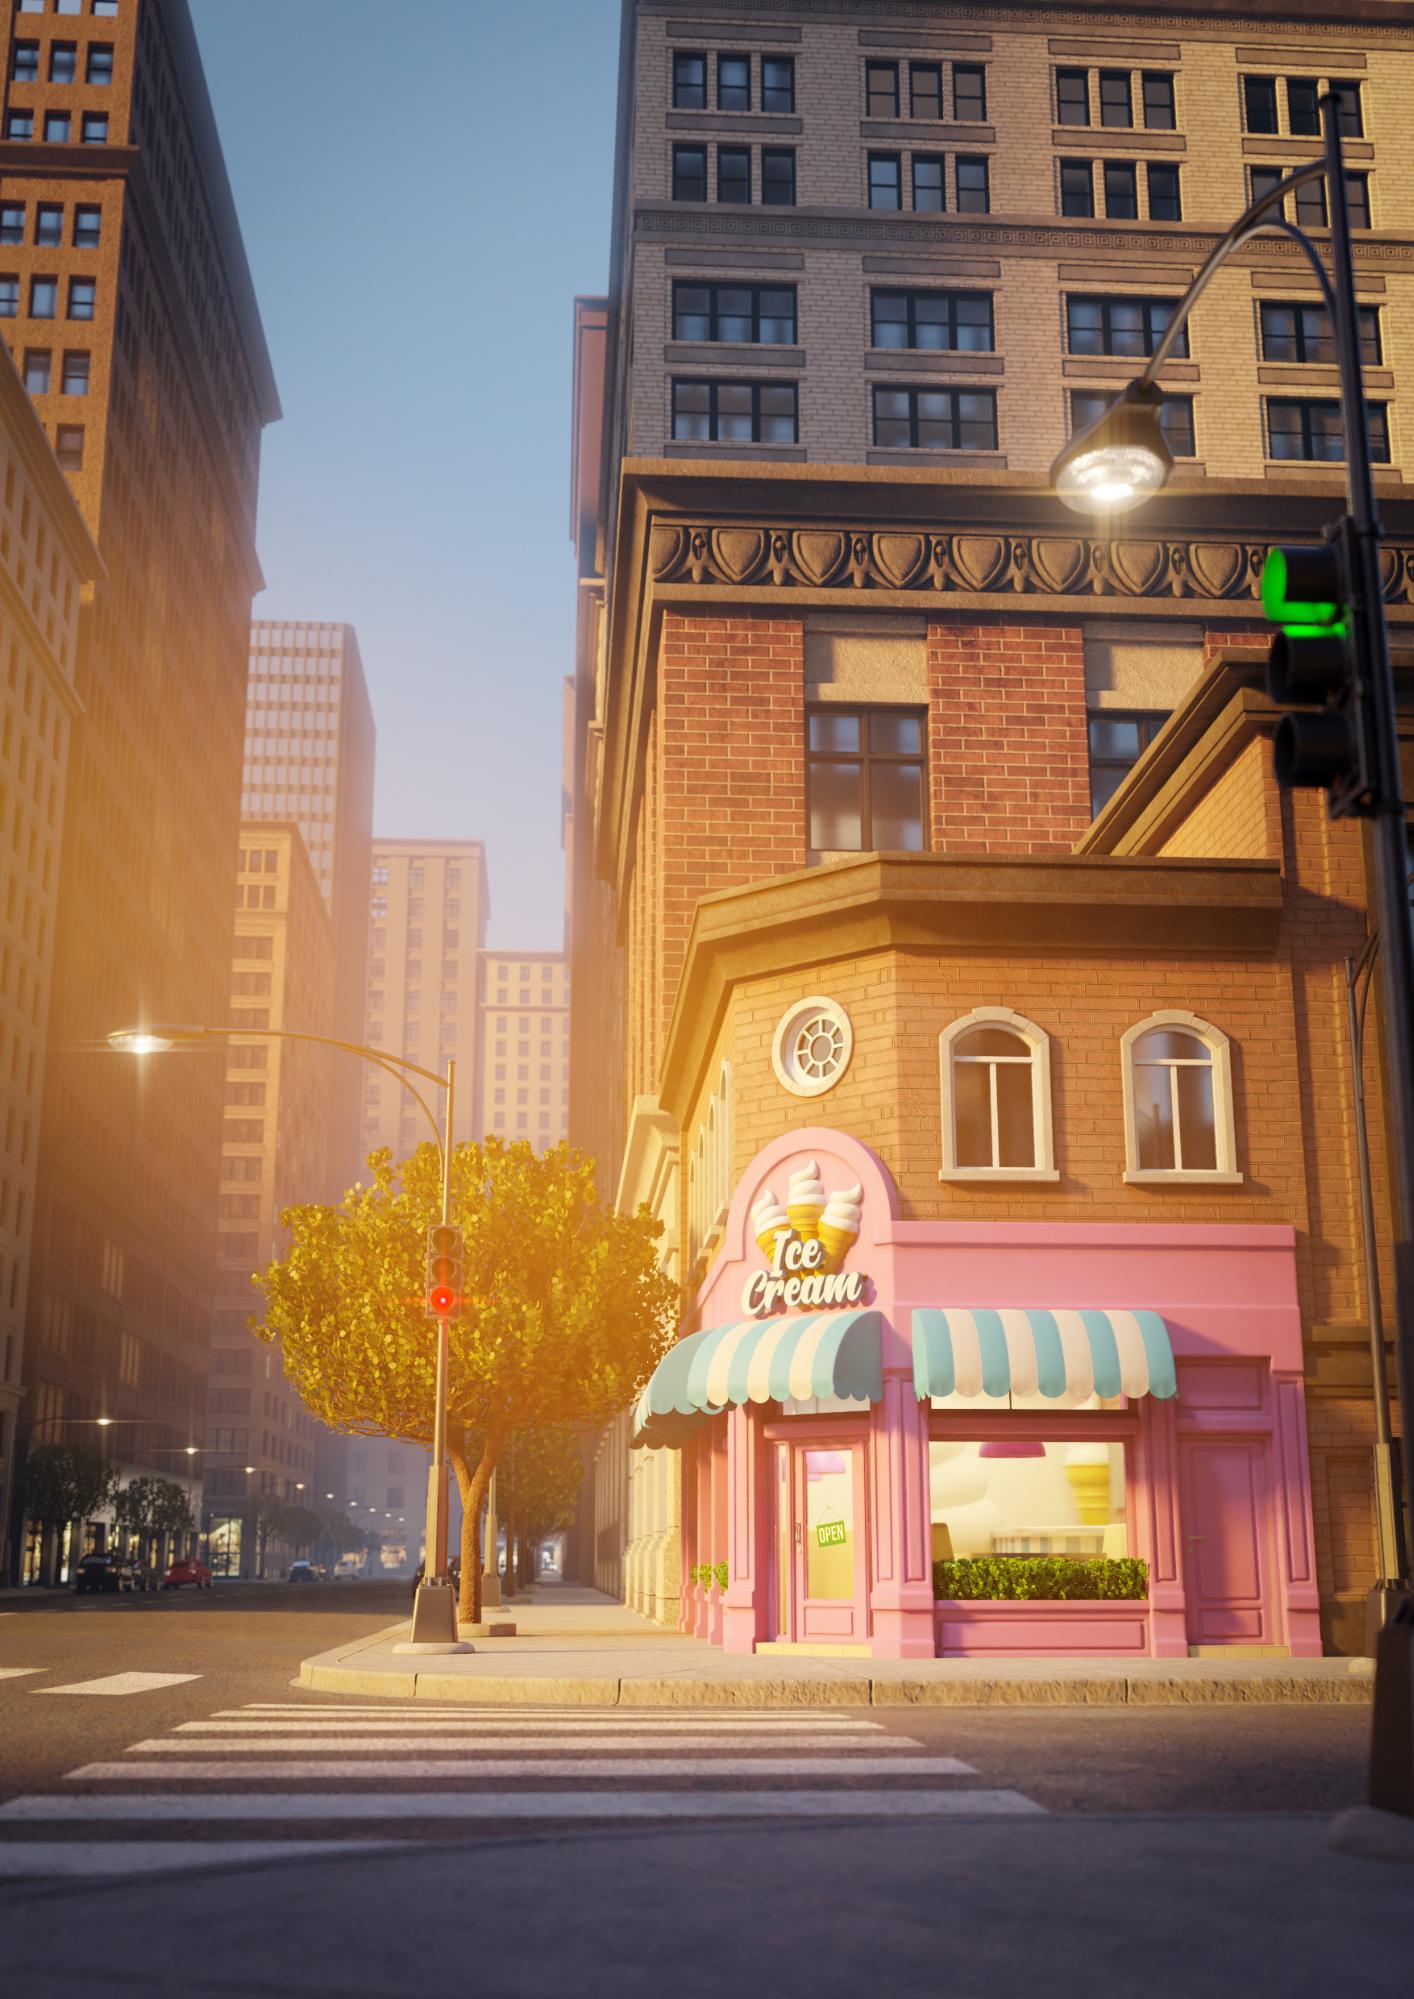
This render was created for a CG Boost challenge, and I took a little of my background as an inspiration. My family business is an ice cream shop and I spent my childhood in this place, so I have a really strong affective memory about it. I wanted to represent it like a magical place in the middle of the city that people go to have some good moments after a whole day at school or work.
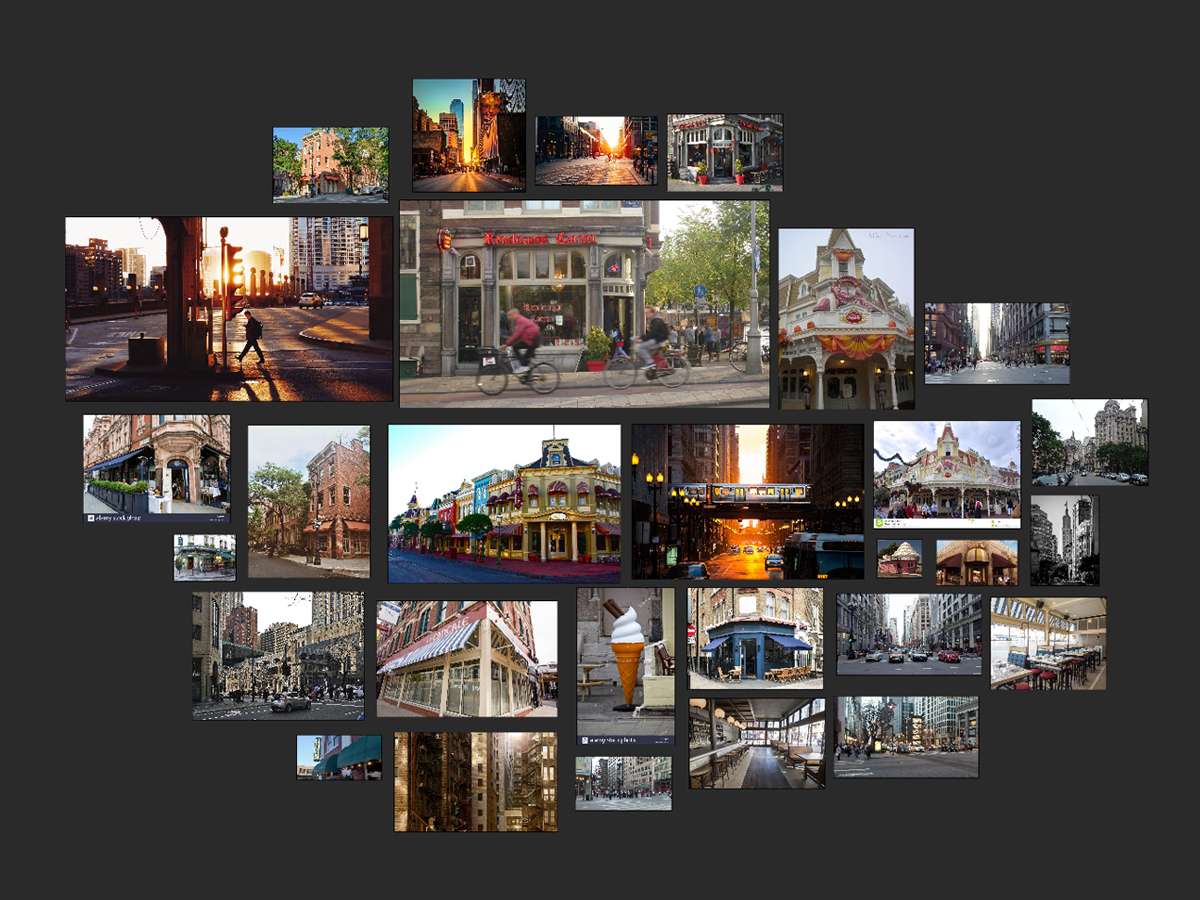
I thought about the ice cream shop being a small building surrounded by high buildings, so it would create a contrast between the large and massive office places and that tiny little space where people have some good times. So I started looking for some architectural references from Pinterest, Google Maps, and Google Images.
Modeling
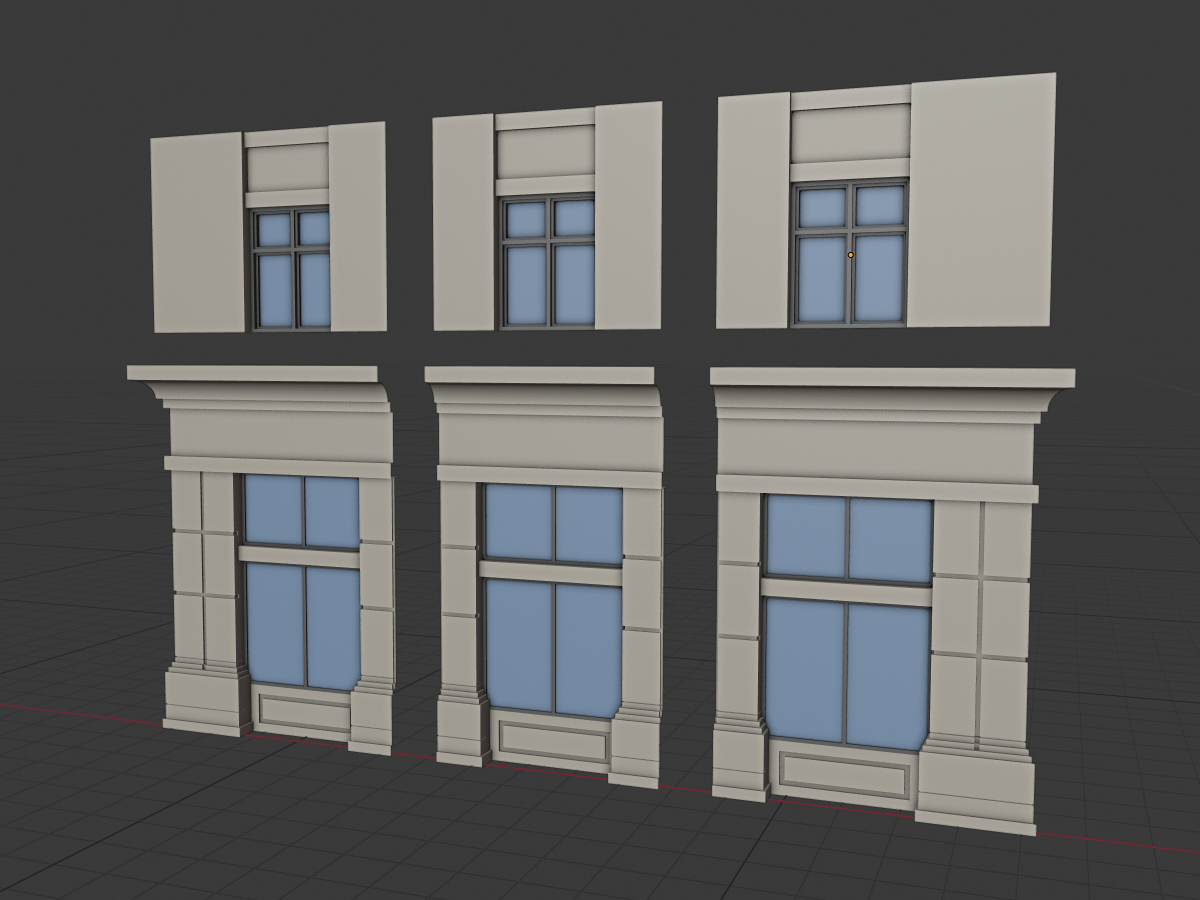
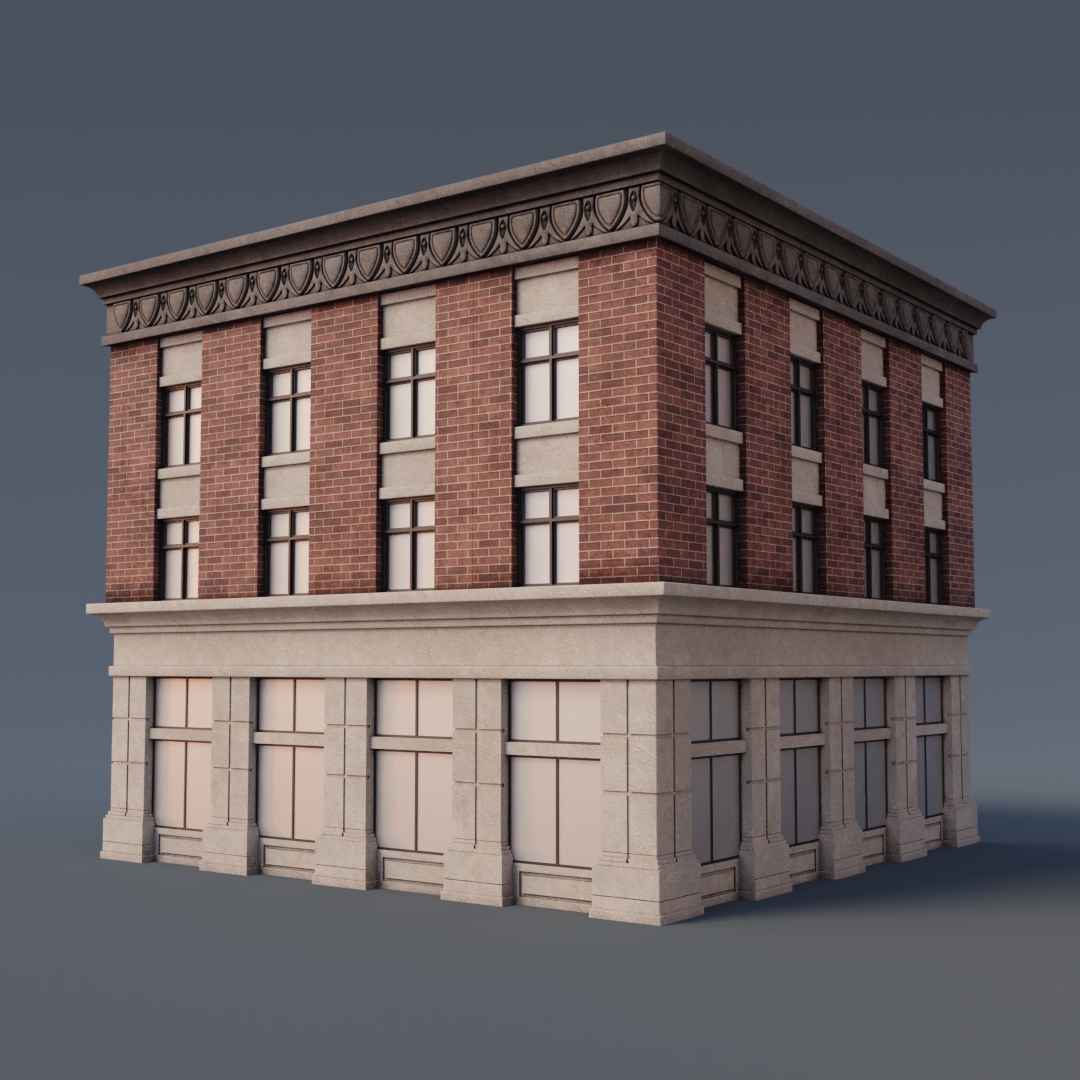
I took a lot of references from Google Maps for the modeling part, especially from large cities like São Paulo and Chicago. For the buildings, I modeled some modular elements; this way I could set the width and height of the buildings using array modifiers.
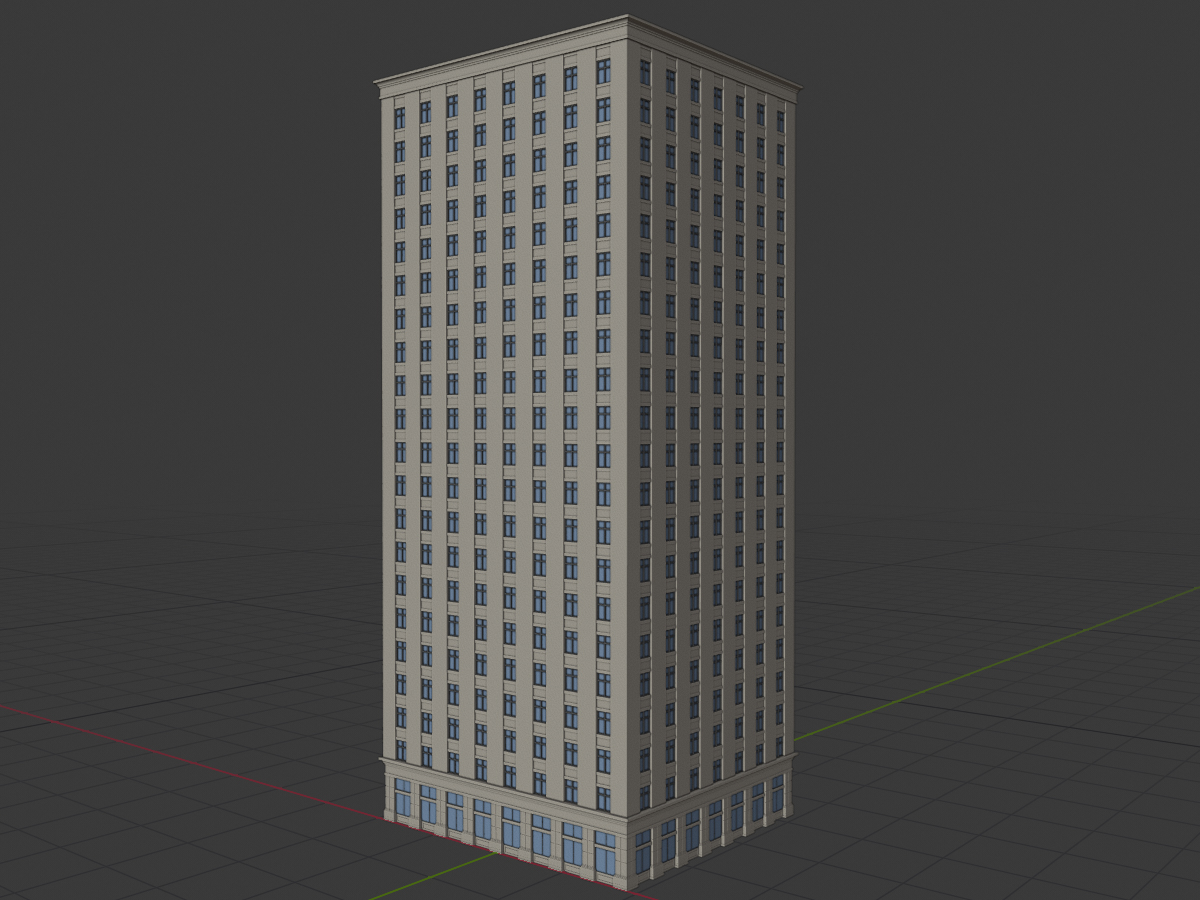
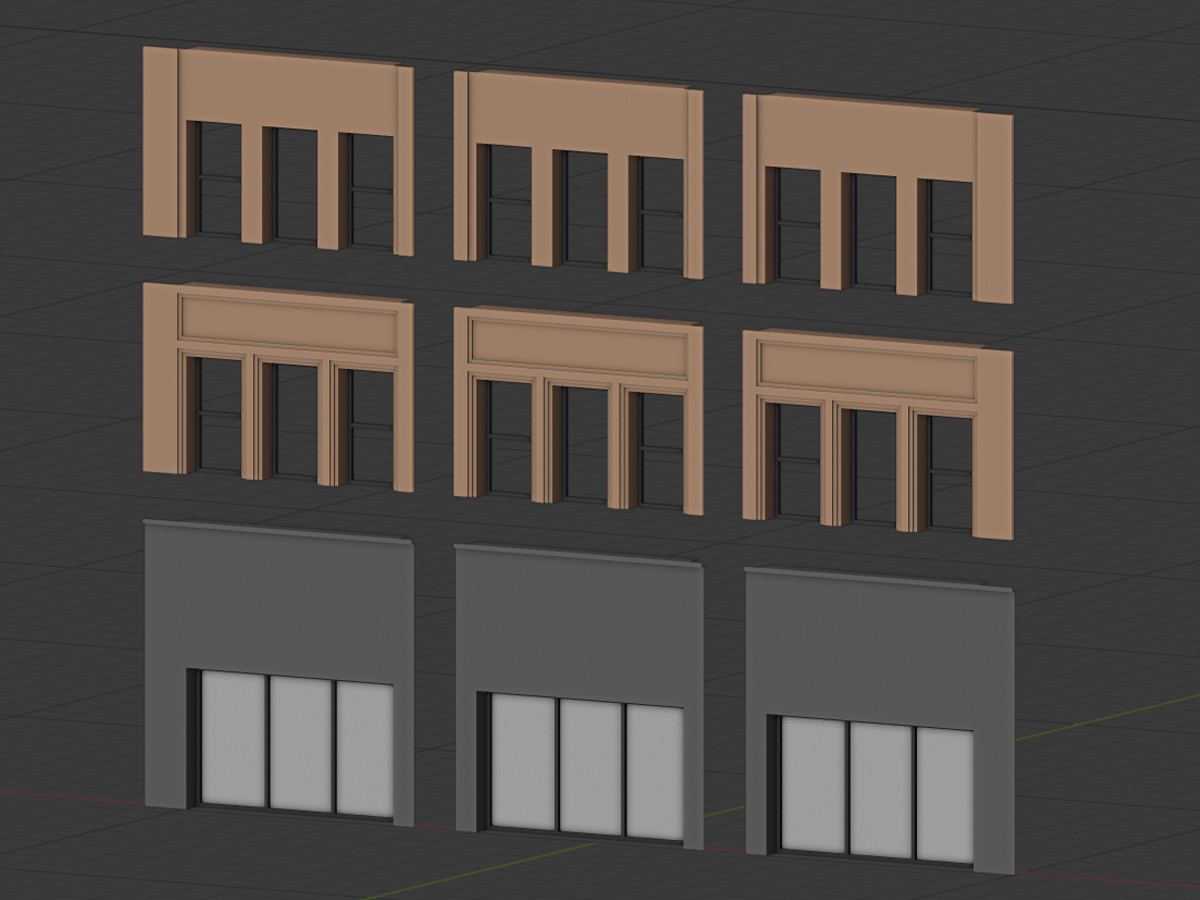
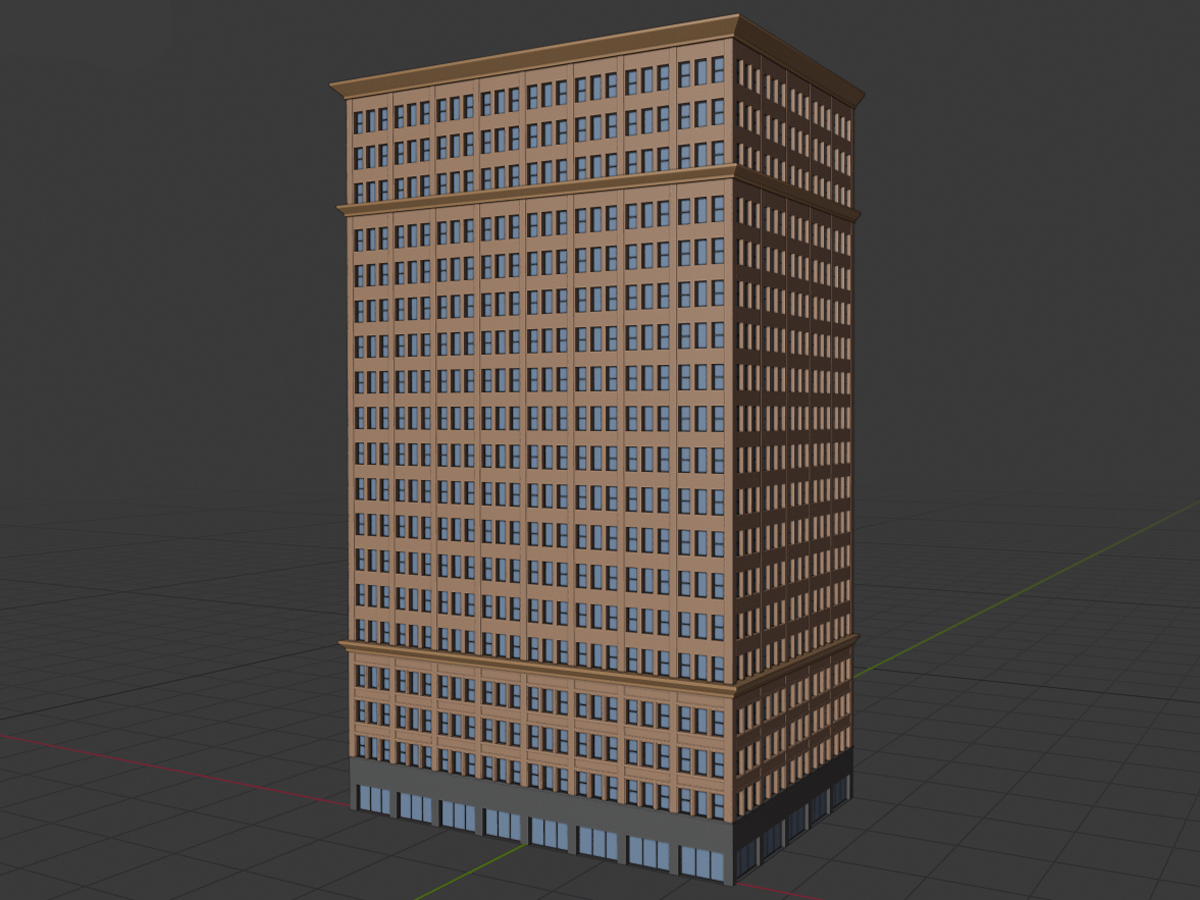
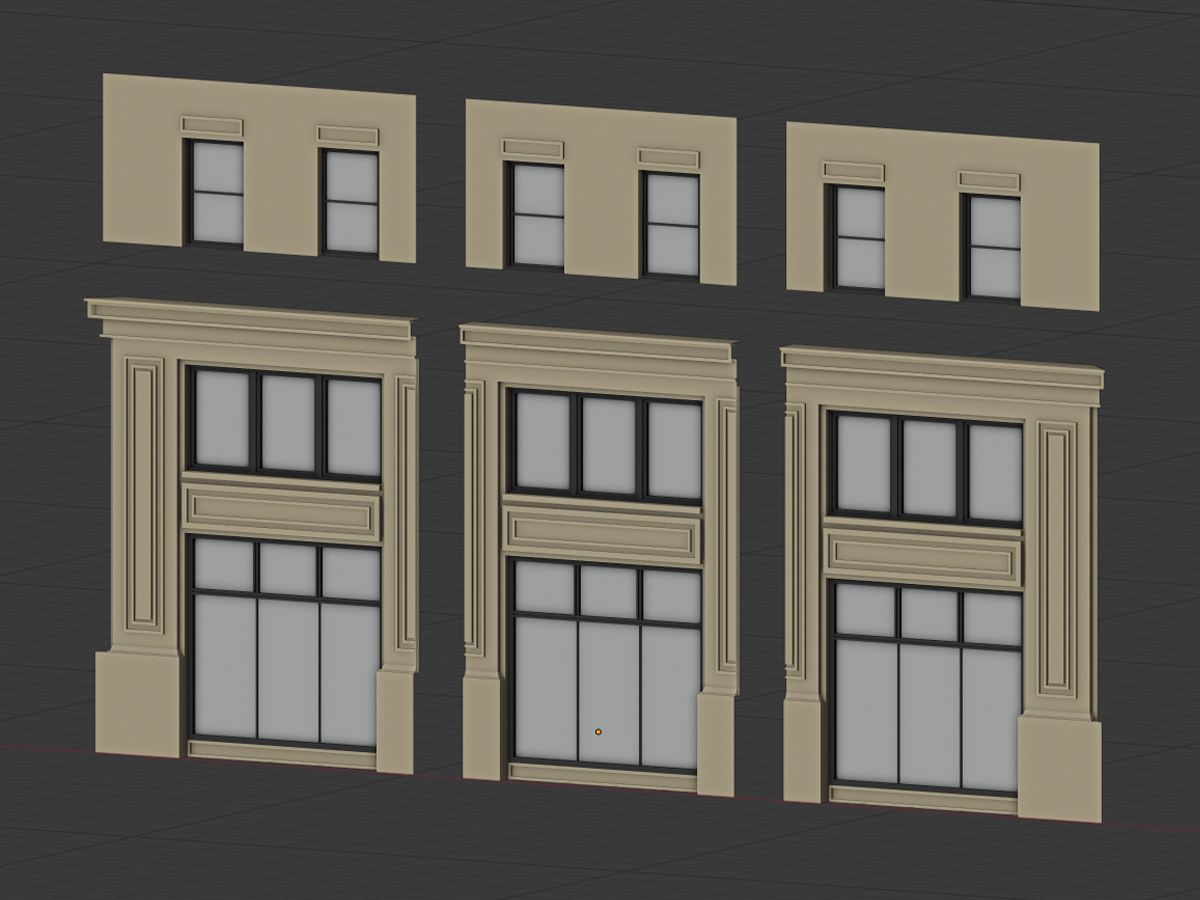
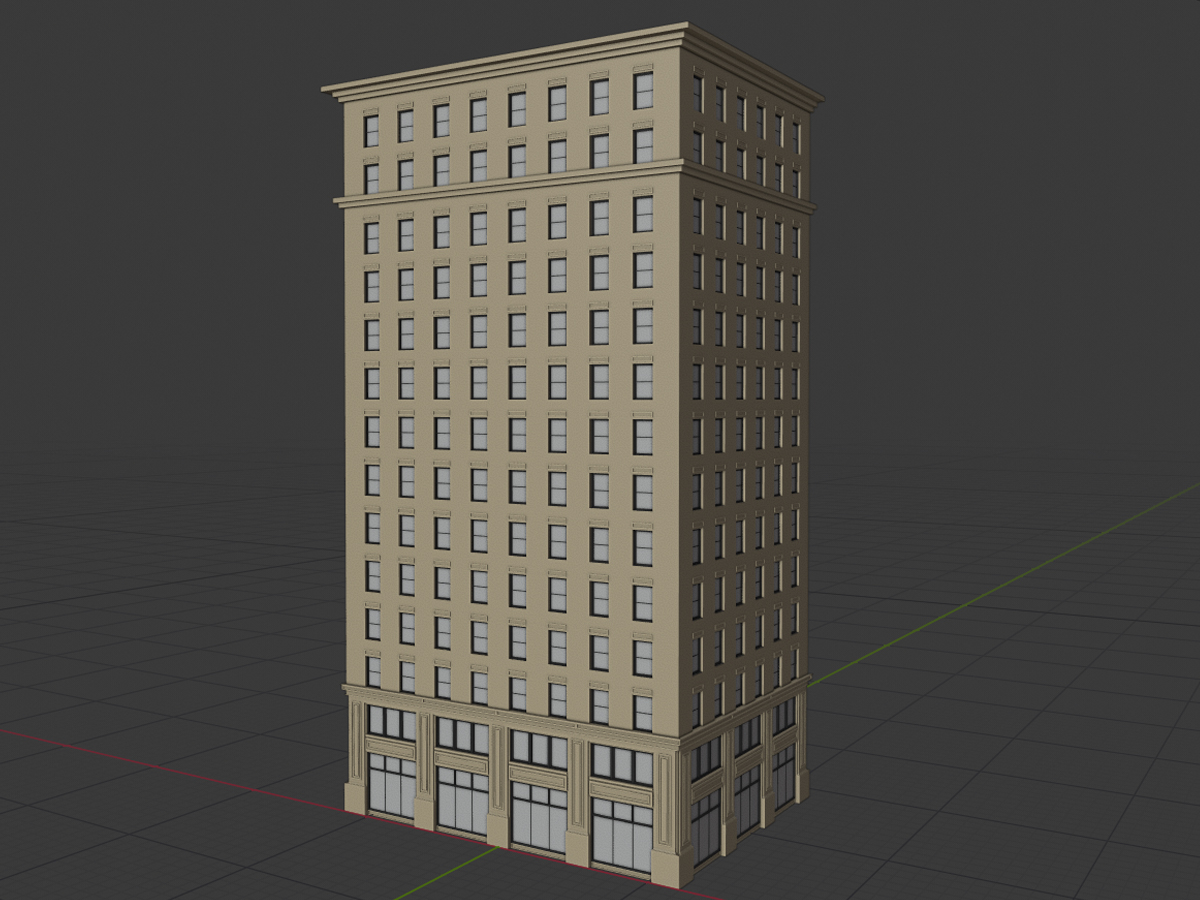
I used references from Walt Disney parks and gave the ice cream shop a more detailed modeling than the other buildings, not only because it’s closer to the camera, but also because I wanted it to stand out from the rest of the buildings in the city.
Textures
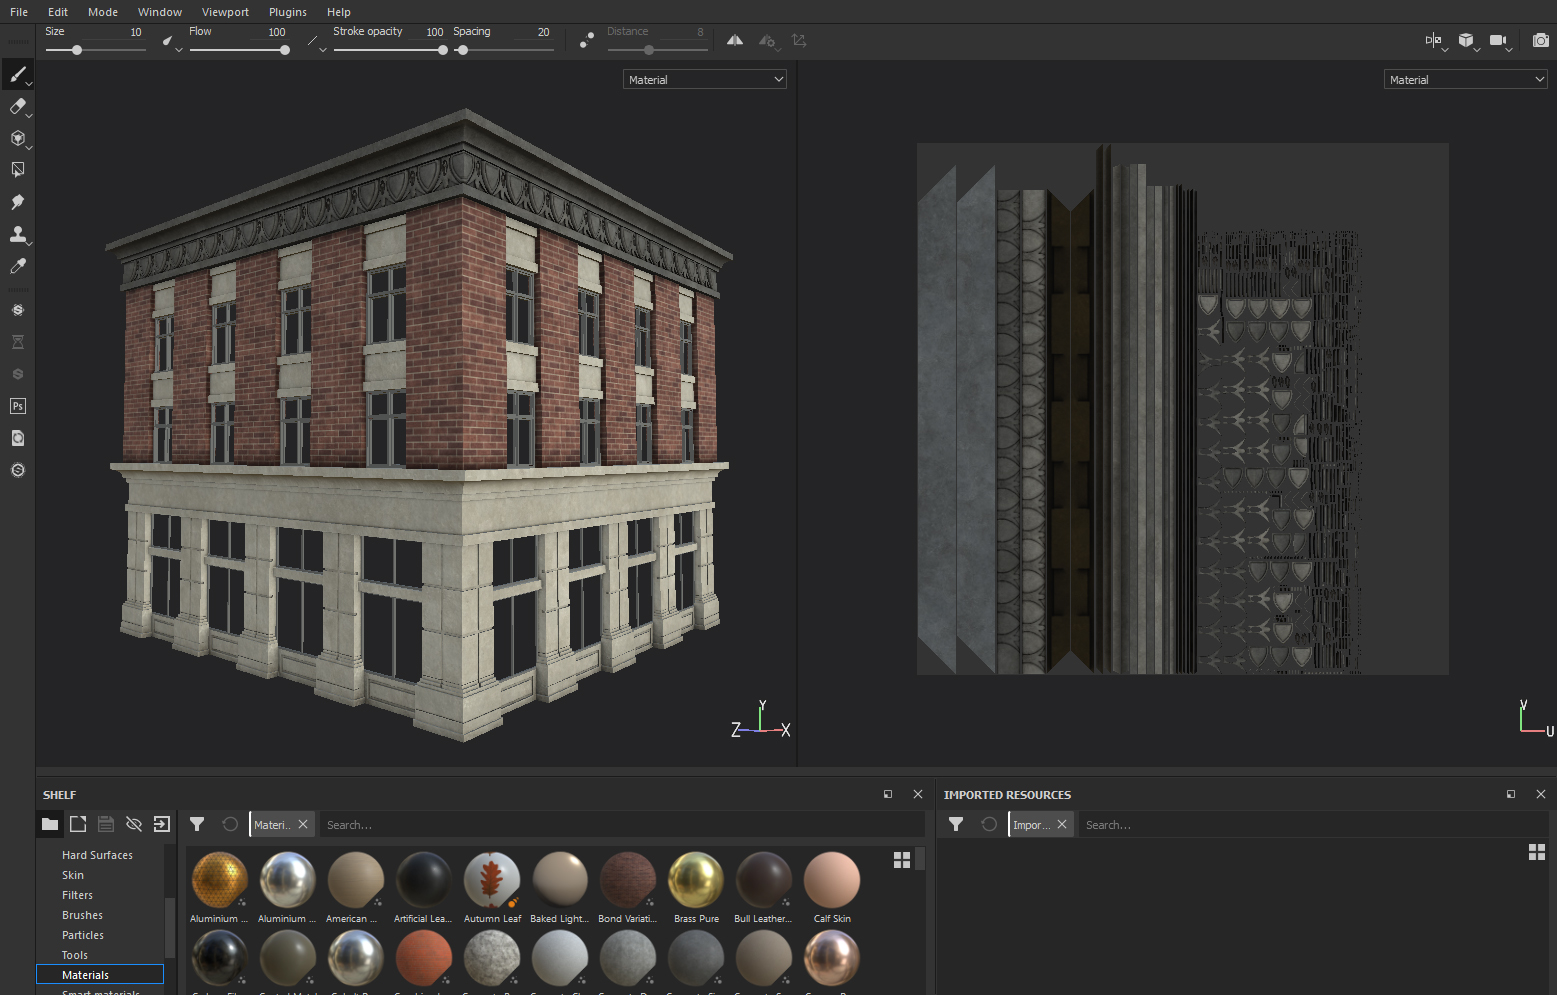
For the textures, I used Substance Painter and Substance Designer. I’m starting to include the softwares from Allegorithmic in my workflow and I am really enjoying creating with them, especially because it is really simple to create things like dirt and rust based on the model topology. My workflow for this project was basically creating the “raw” materials for each element (bricks, concrete, iron, etc.) using Substance Designer, and then add a dirt map on top of it using Substance Painter.


Lighting and Rendering
Lighting is one of the things I most like to do. And I always imagine how it will be from the inception of the project. For this project I decided to create a sunset lighting from that part of the day when the sun almost disappears and the streetlights start turning on.
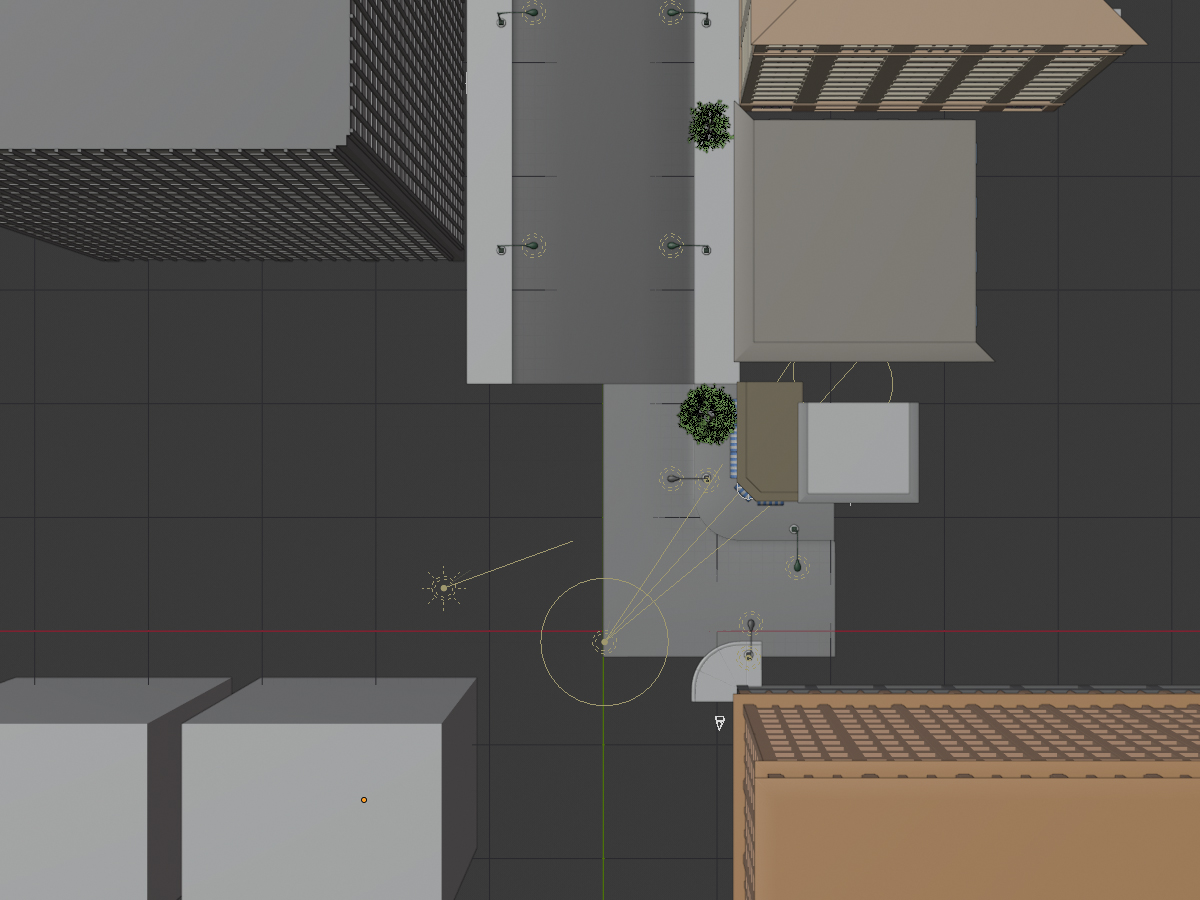
For this effect, I used an HDRI map to simulate a dusk sky and added a sun lamp positioned in a way that the sunlight would pass through the buildings and light up the street corner where the ice cream shop is. I also used a spot light to enhance some parts, like the ice cream sign. To improve the composition, I placed some planes and buildings in the non-visible parts to create strategic shadows and reflections.
I also created a second scene layer for the volumetric light. I didn’t want the volumetric light to be in the major layer because it was costing a lot of render time and I didn’t have a lot of control on how it would affect the final render.
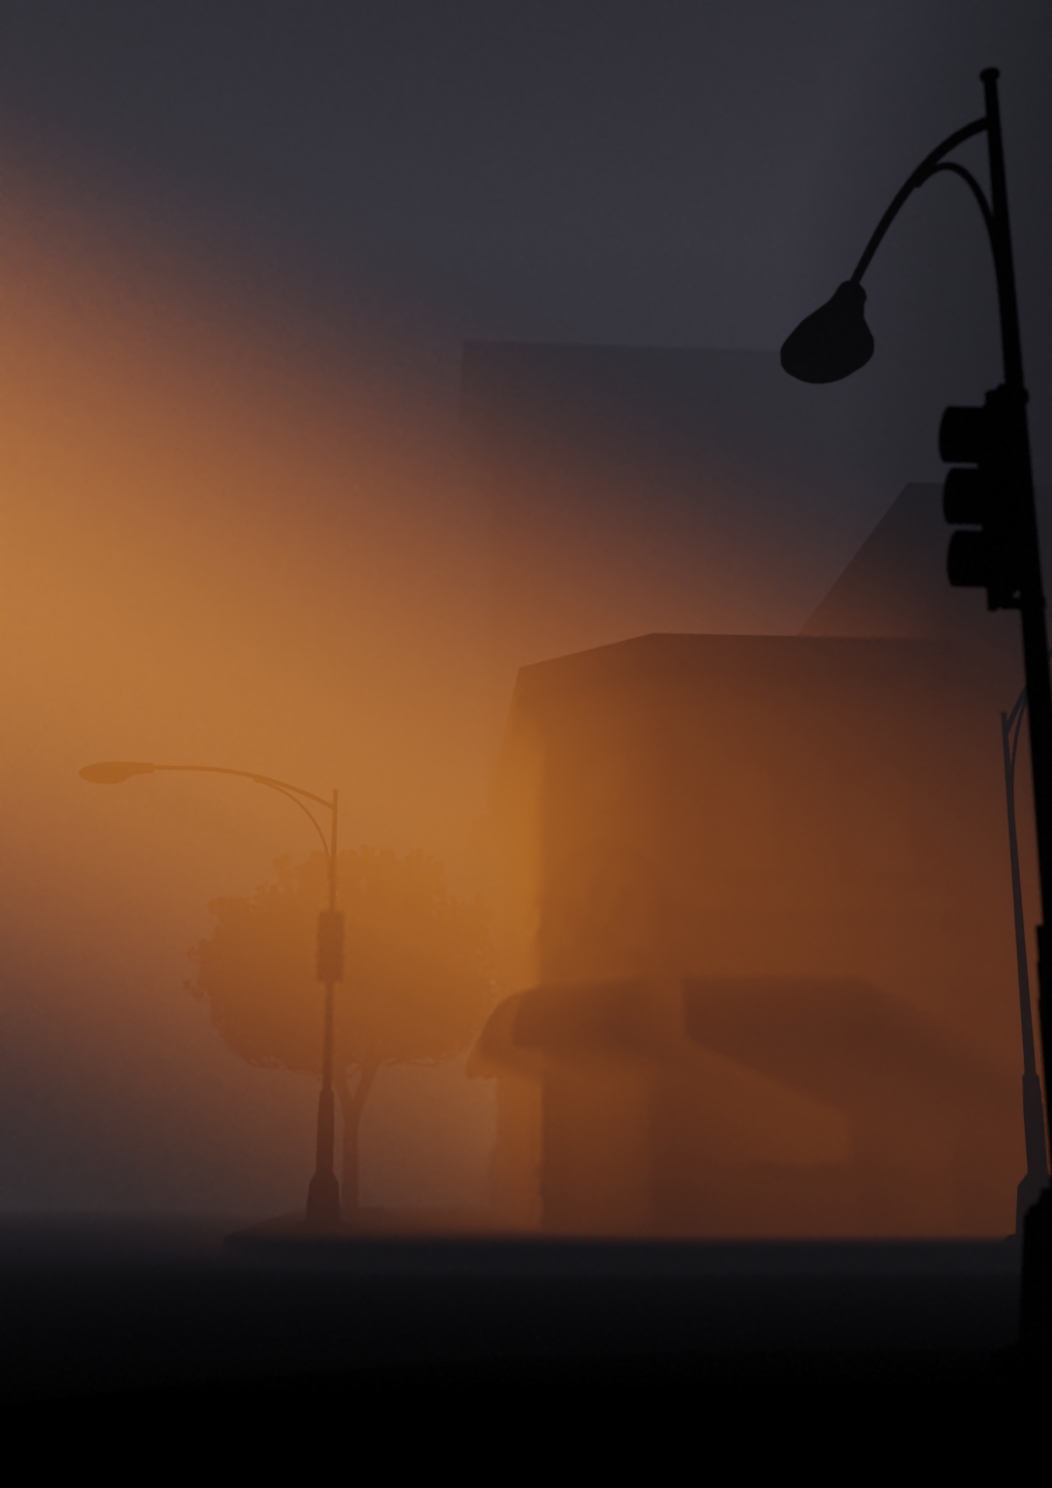
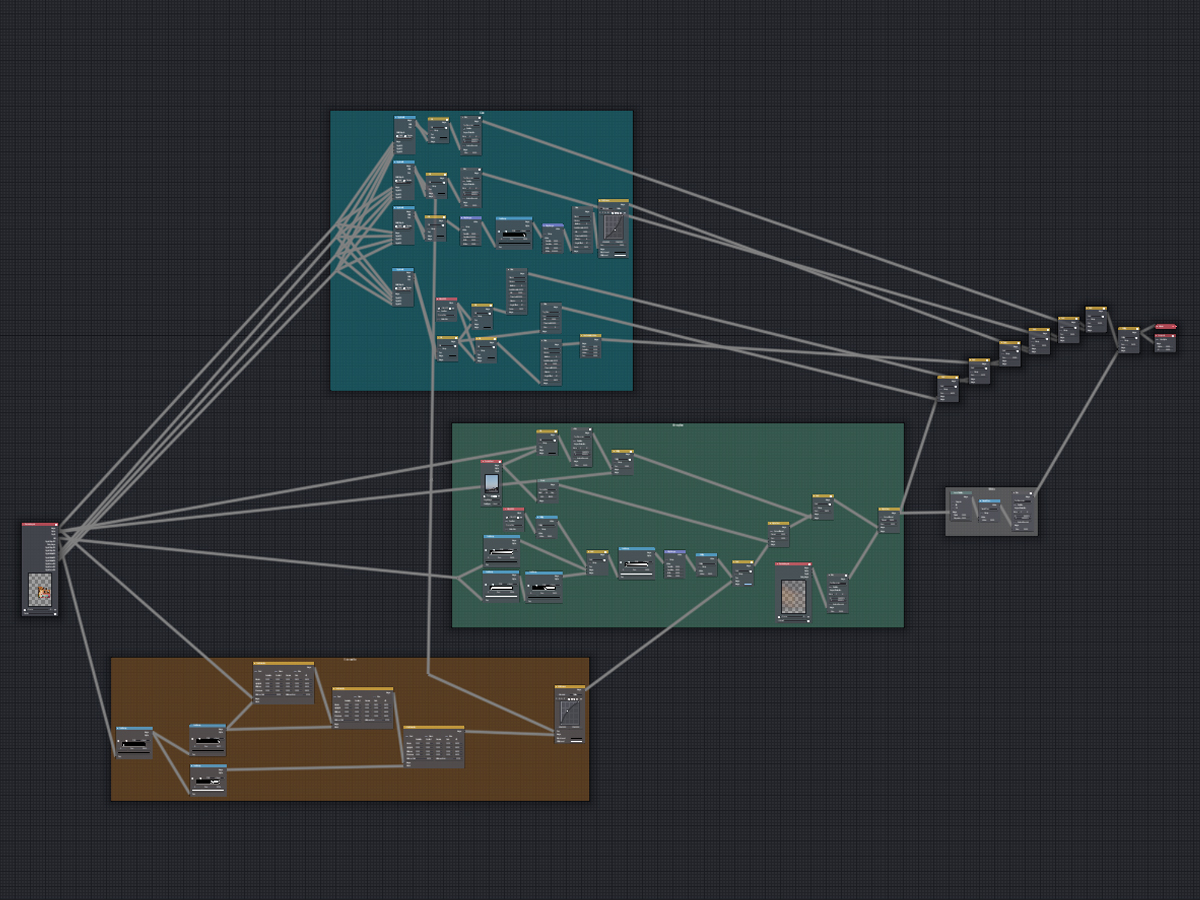
In the compositor, I made some color corrections, created an atmosphere using mist pass, mixed the volumetric lighting layer and added some effects like glare and lens distortion.
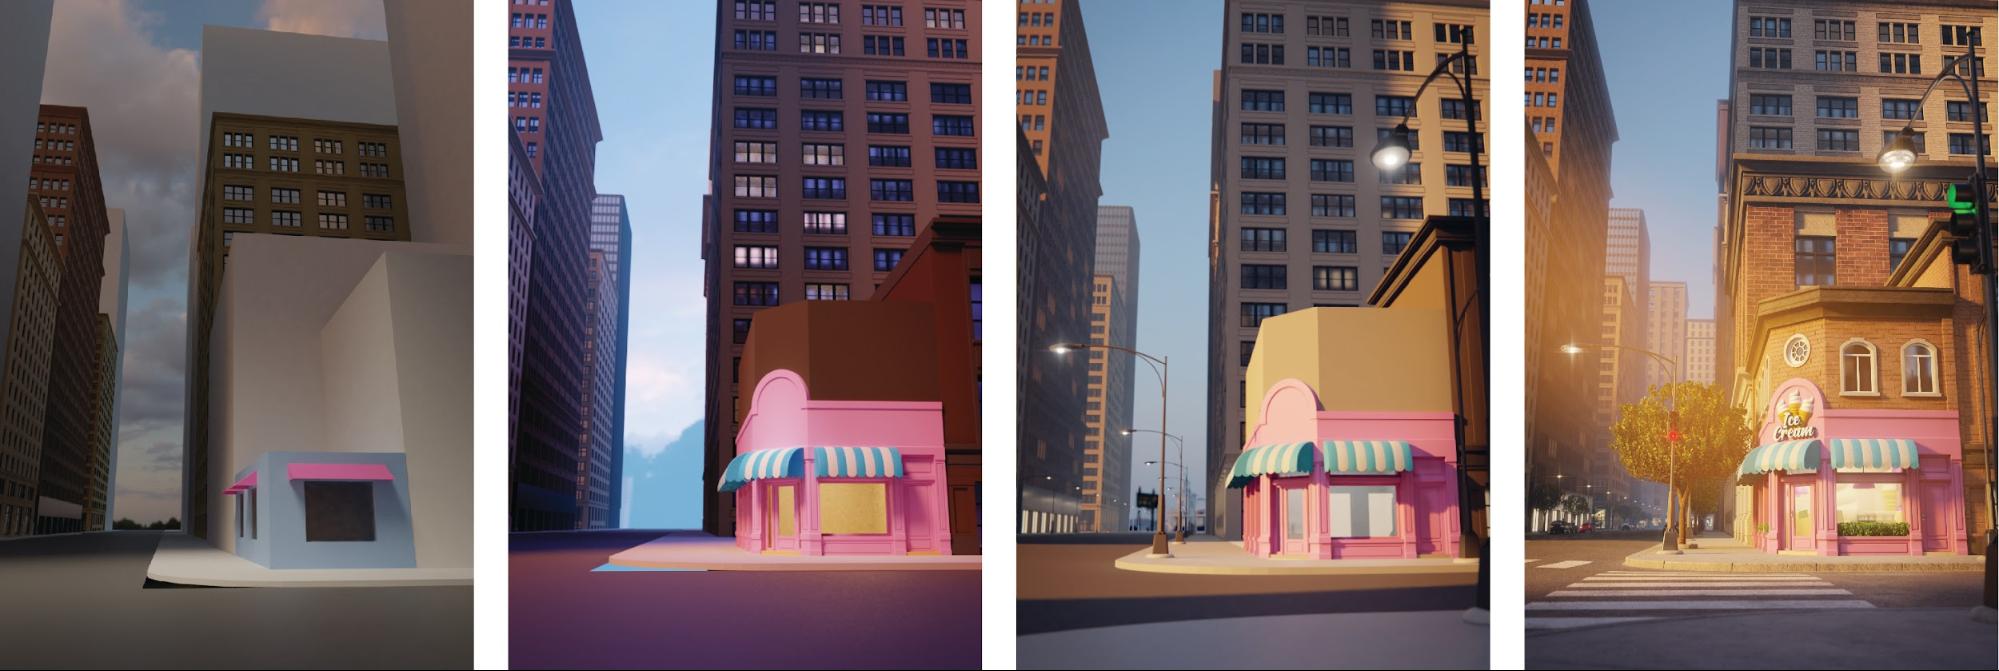
I always like to compare the evolution of my renders during the process. And this is how the evolution of this scene looks:
About the Author
 Felipe Del Rio, freelance 3D artist.


