Behind the Scenes: 3D Animated Short Film
Hi, My name is Rino Cheng and I live in Kuala Lumpur (Capital City of Malaysia). I am a co-founder of The Only Studio.
How I Started Using Blender
I studied Animation and Visual Effects in Multimedia University. I was taught how to use Maya for 3D-related assignments. At the time, I encountered numerous bugs (possibly my lack of know-how working around the UI) while chasing tight-deadlines and so I decided to use Blender for the rest of my studies. It was quite a risk as the University’s syllabus is mainly based on Autodesk Maya. However, the University allows the students to use Blender.
I owe thanks to Chun Giap, Andrew Price, Gleb Alexandrov, Zacharias Reinhardt and the people from CG Masters, CG cookie, random Blender YouTubers, and Blender Stack Exchange. Because of them I was able to catch up with my 3D software knowledge in Blender and graduate with flying colors.
How This Short Film Came to Be (The Inspiration)
At the end of my study, we were commissioned by the University to be part of the content creation team to create a short for our very own graduation ceremony. There were at least 5,000 attendees during the ceremony. The results are in the videos below (Parts I, II, III):
Tools used:
- Blender
- Maya
- Substance Painter
- After Effects
Challenging deadline
It was a huge project with a lot of people involved. In addition to these short films, there were also around 40 short animated videos of the character in the commencement procession.
For the team to adopt Maya to Blender workflow was a gamble as there is no room for mistakes. However, we believe in Blender and the Blender Community was helpful in giving us the confidence to overcome technical challenges.
I would like to also mention Haziq Hilman and Mirza Pauzi who are both amazing animators that made the final animation possible in a month.
Why the weird ratio?
The stage screen is made of multiple LED panels that span along the big hall to provide immersive experiences.
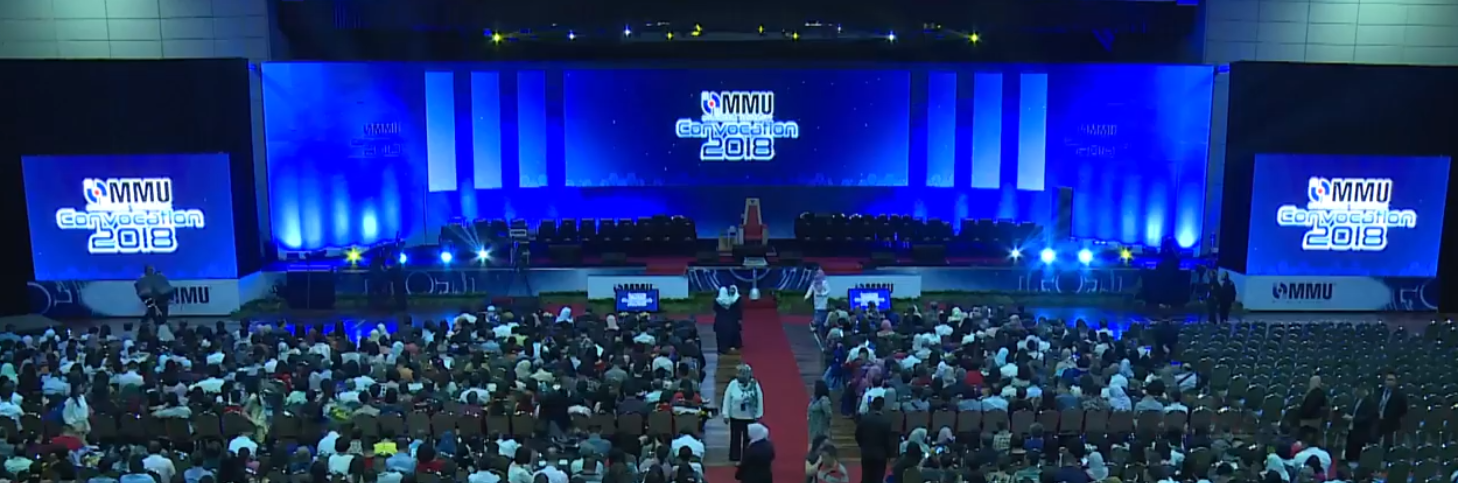

We utilized the side screens by animating the character to travel between them in one scene for novelty’s sake.
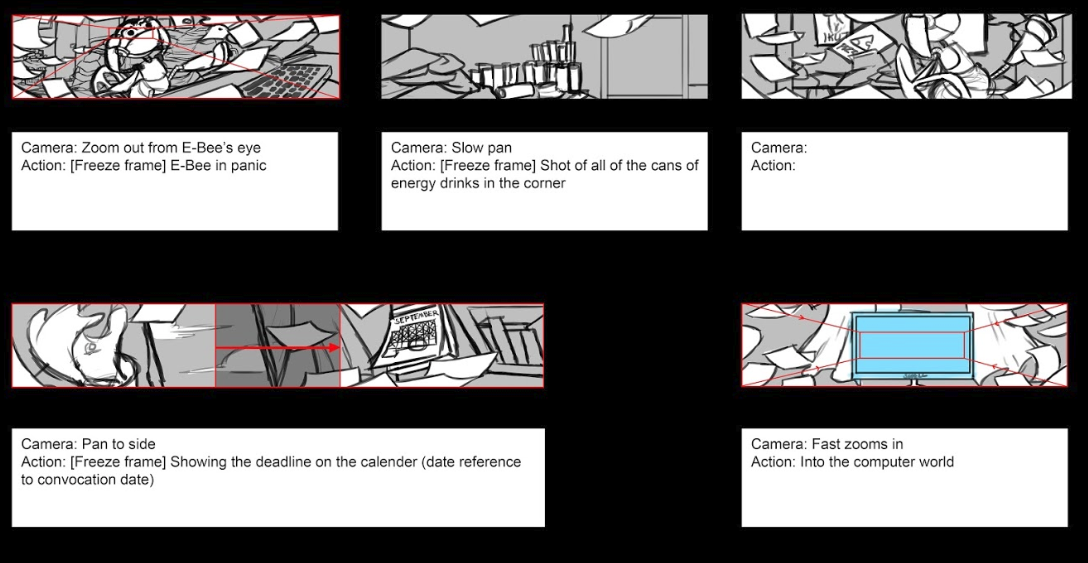
Pre-production
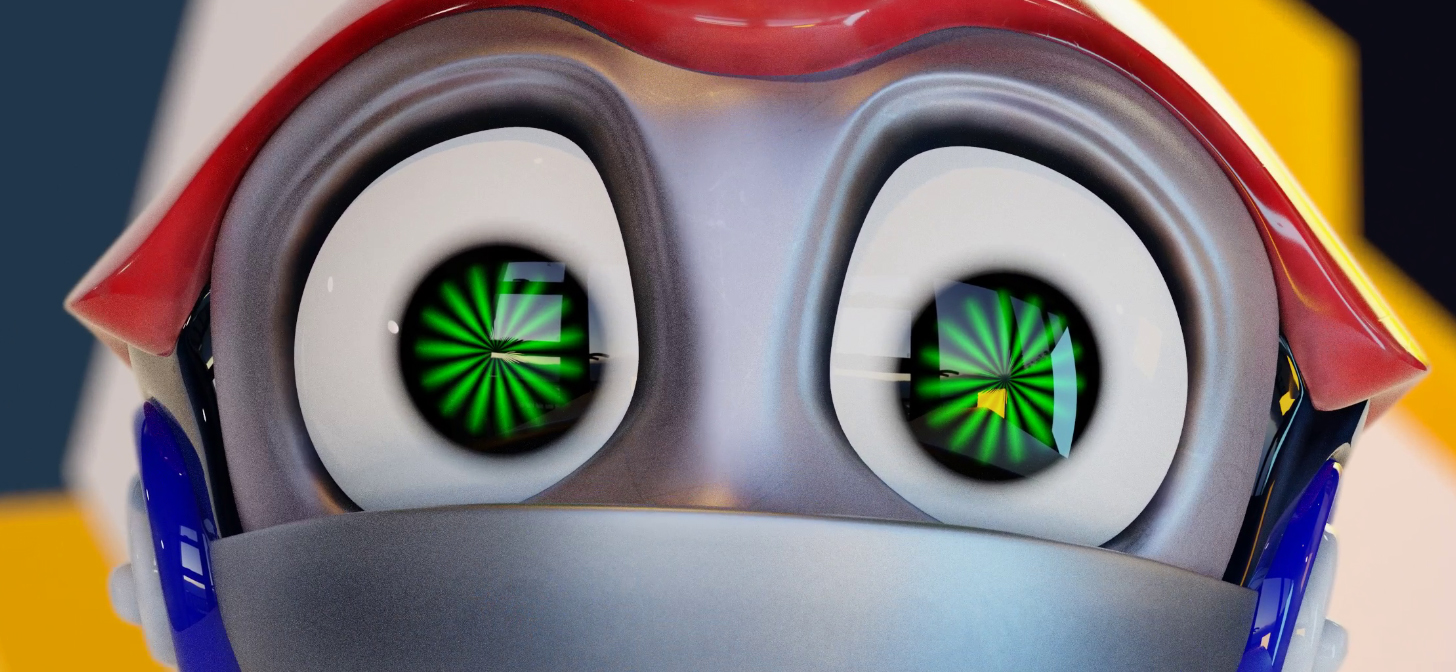
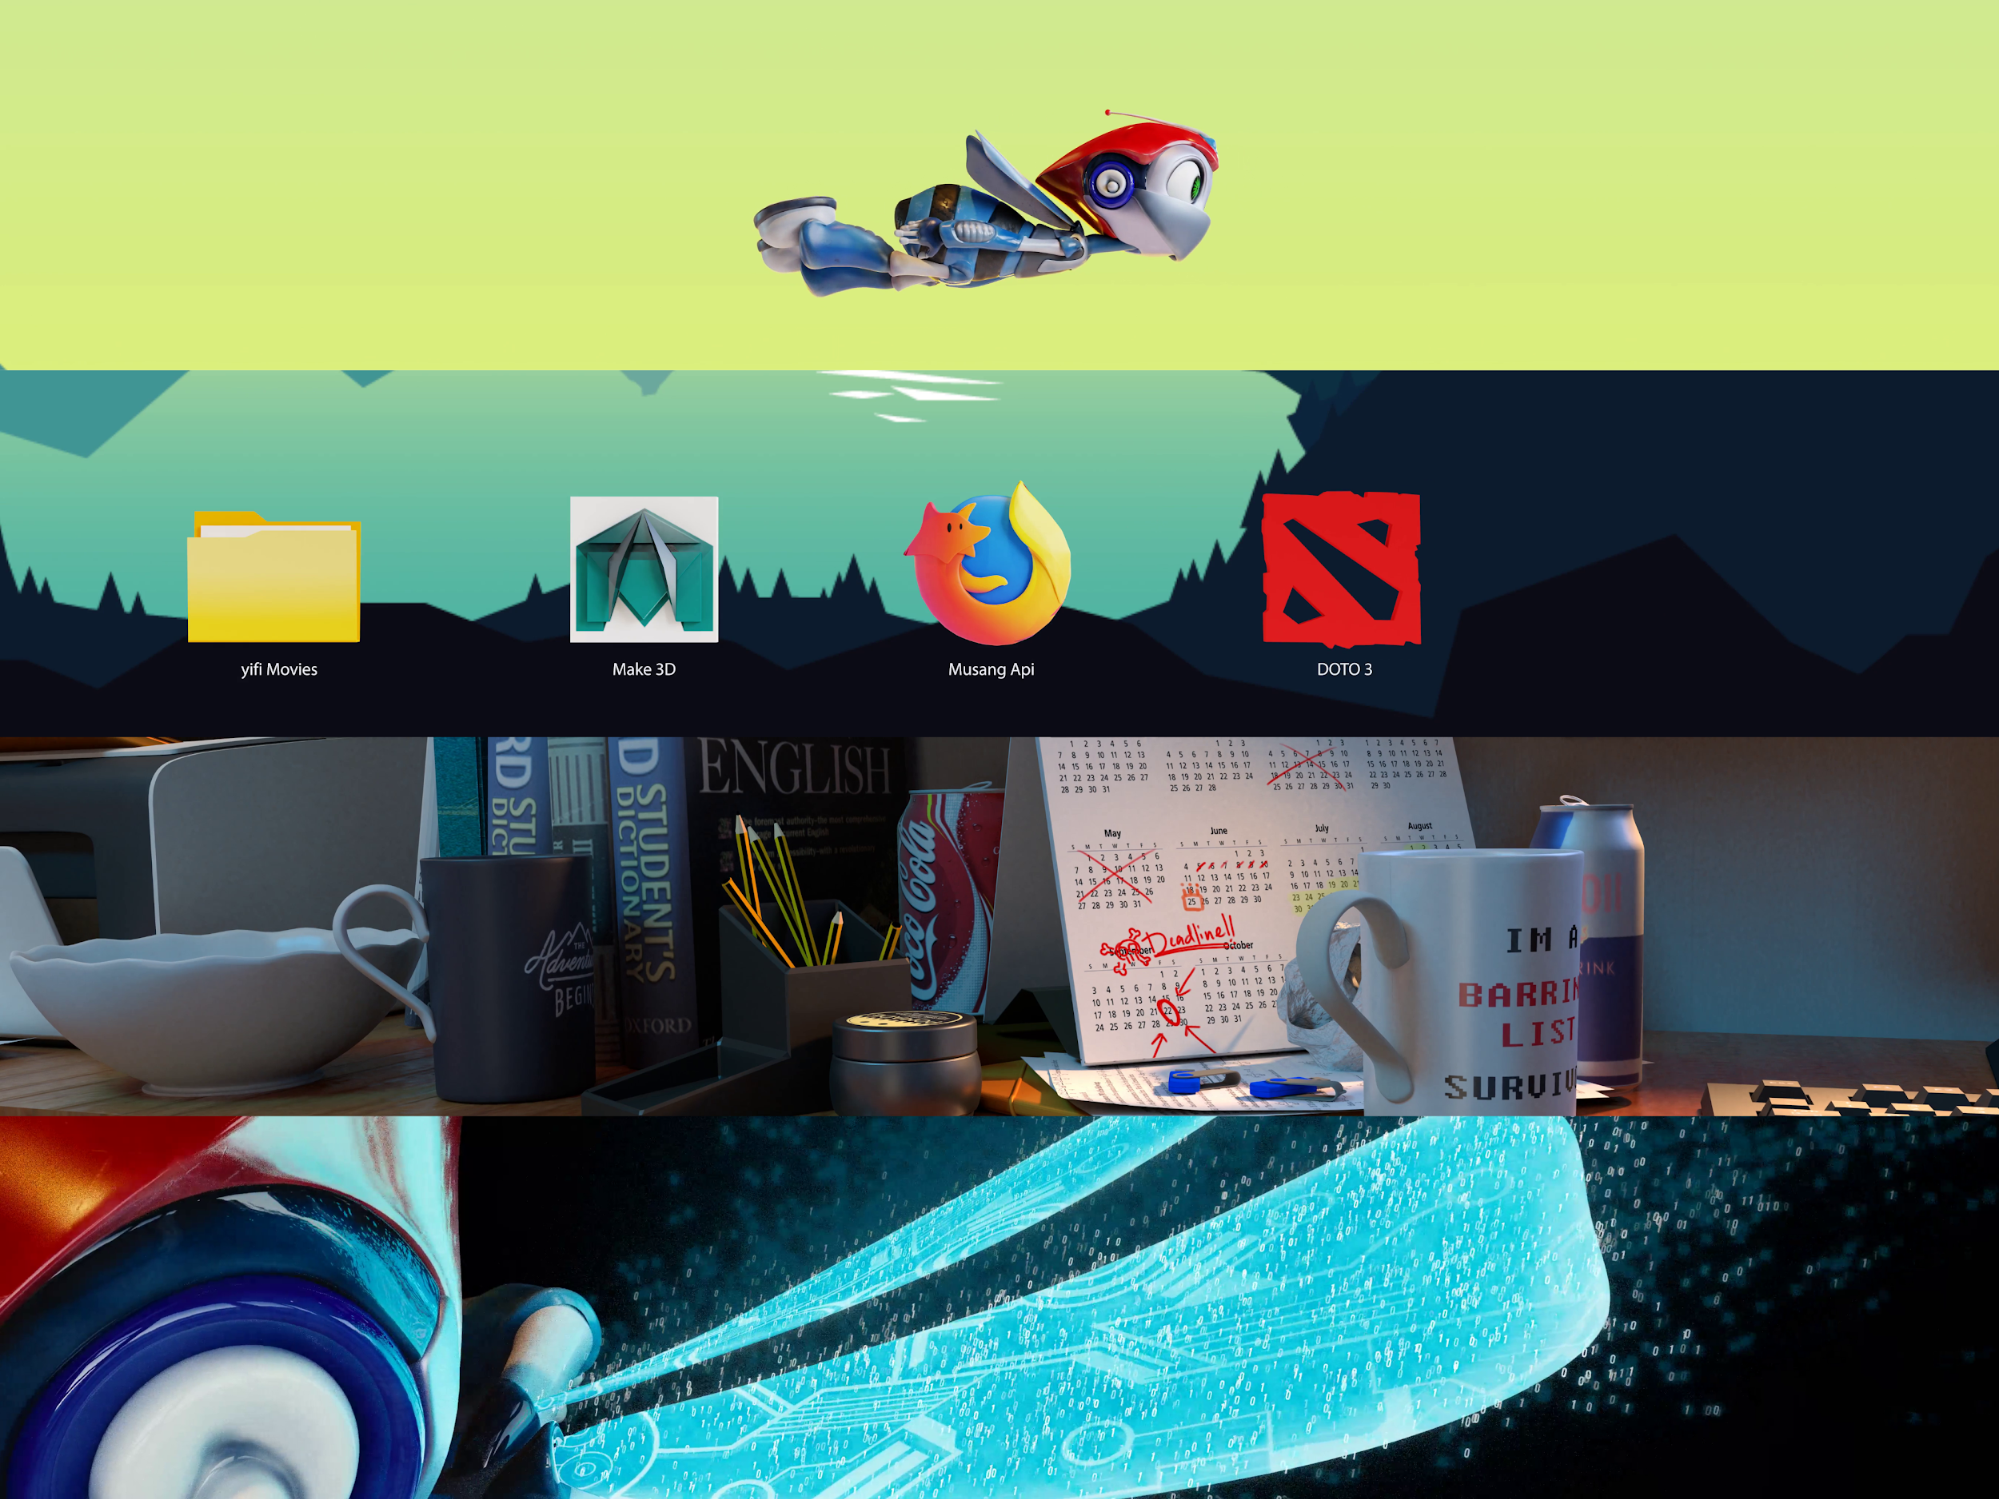
We were asked to create a short story about the struggles of students graduating from university and the story had to be told with the University’s Mascot, Ebee.
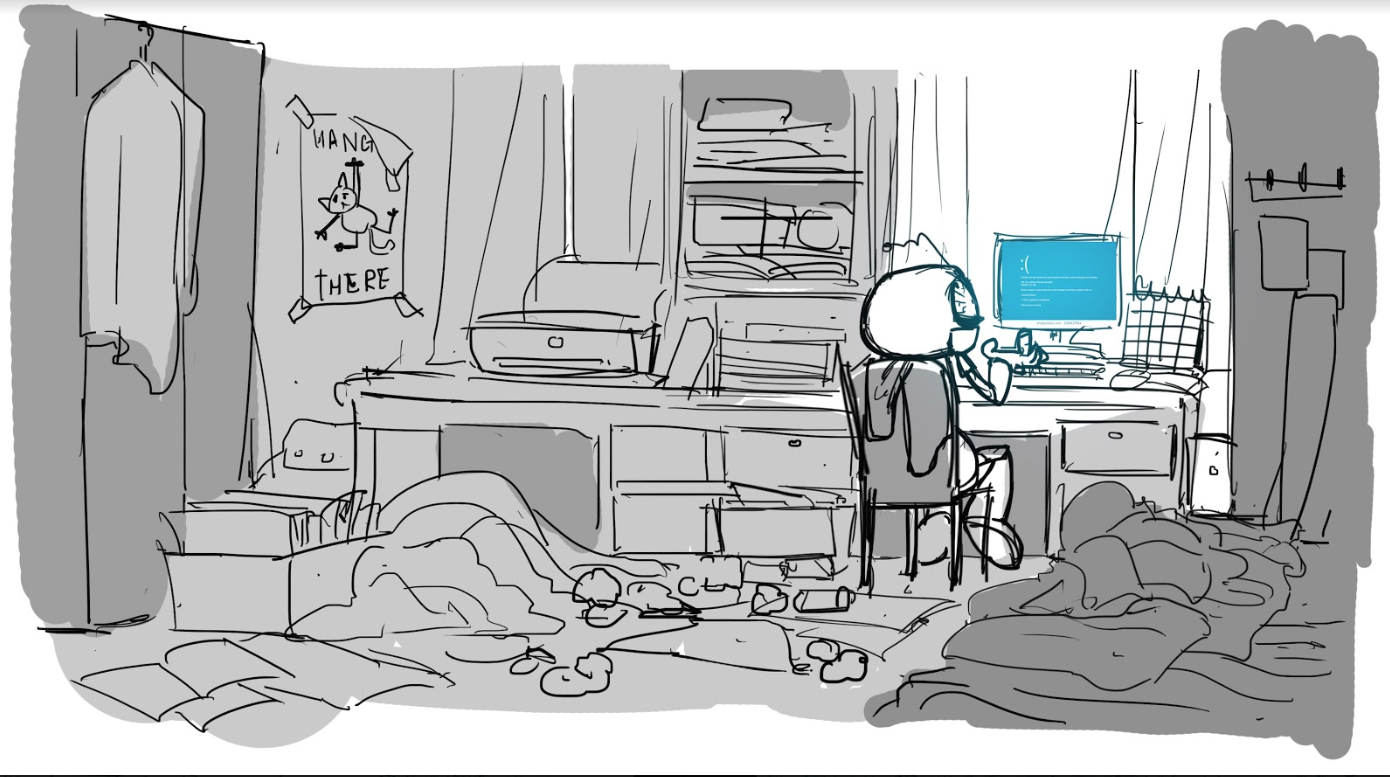
Within the tight deadline, we managed to properly create a story outline, concept sketches, and storyboards. The story was written in a way that allowed the production to operate quickly and efficiently. Also, due to the nature of the ultra-wide, high-resolution display, we decided to produce a story that mostly revolved around a static background, whereby a full render was rarely needed as we could just render only the character and composite in post-production.
Production
In the production, the character animations were all done in Maya, while everything else was produced with Blender. We exported the animations from Maya using alembic cache and imported them into Blender for further setup. We went through multiple trials and errors in order to get things right. You can refer the steps below if you are to do the same thing.
Exporting the abc(alembic) file
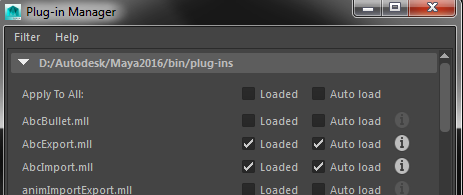
First, make sure to enable abc export in the Plug-in Manager of Maya.
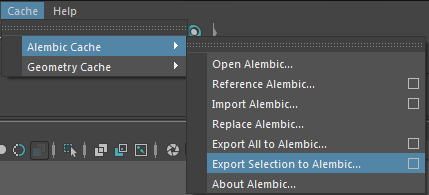
Then, make sure to click the box icon of Export Selection to Alembic.
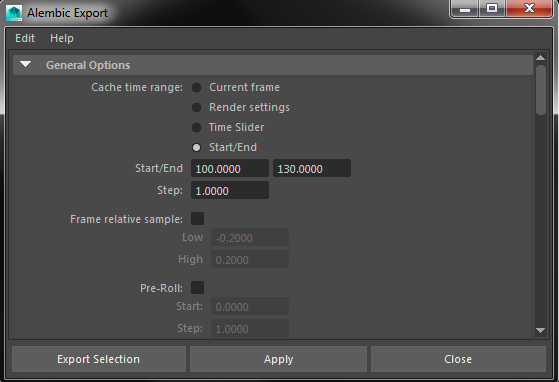
Hit export selection and rename the .abc file once you have the start and end frame set with these settings.
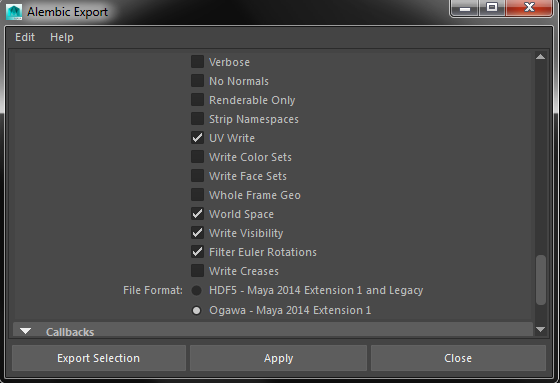
A few important settings in the export:
- UV write – Export UV map
- Write Face Sets – Export material slot
- Write Visibility – Export animation in visibility, Blender alembic import does not support this at the moment.
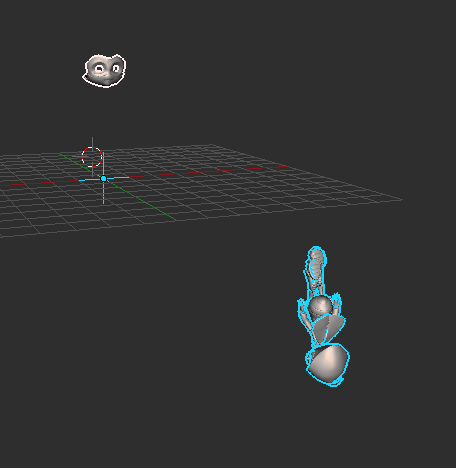
Once you import the alembic into Blender it will look something like this. The empty is the parent of all the imported objects.
The imported objects will have errors when: the object isn’t rigged, its origin is not in the center of the object, and the transformations are not zeroed in Maya. Even so, some shots would still have animation offsets, so it would be best to check the animation again in Blender and make adjustments if you have to.
From there on, the animation and models are rendered inside Blender Cycles.
Some Import Error fixes:
- Apply or combine animation layers
- Use rig to animate object instead of direct keyframing
Kitbashing a Scene

There are a lot of scenes in the short. However, this particular scene was done fairly quickly and I would like to share how it was done. As time was of the essence and the story required a scene from the game Dota 2, there needed to be some quick way to produce the scene. So we planned to just grab straight from the game itself.
The Process
The meshes were extracted from the actual Dota 2 map, along with their textures which were then modified in Blender. So although the meshes were from the actual game, the textures were quite different.
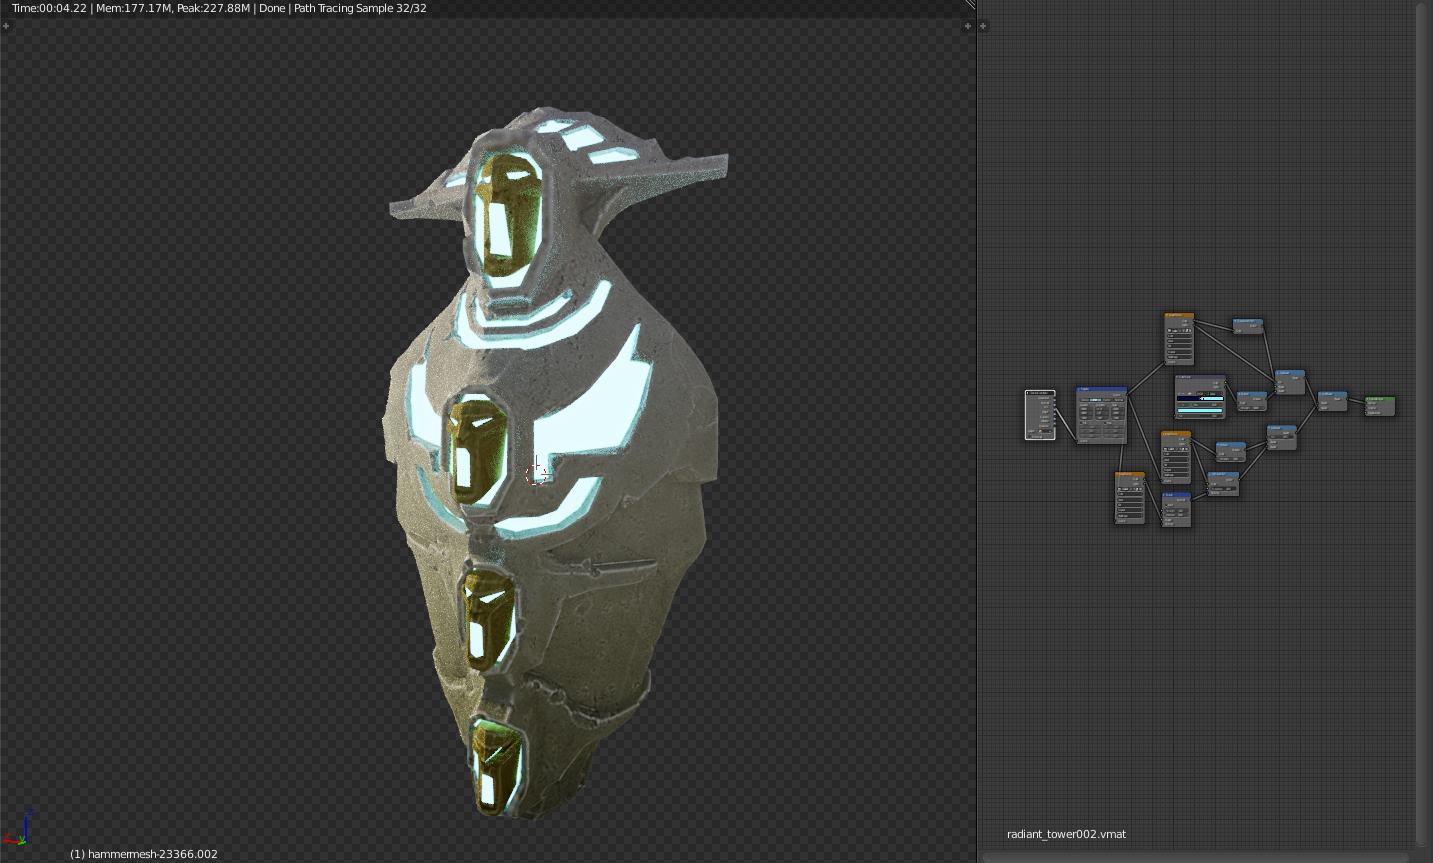
![]()
The objects were quickly placed with linked duplicates with face snapping enabled.
Rendering
The total shots were about 49. With so many shots it is hard to keep track of which ones are rendered; therefore, we carefully planned out the rendering so as not to become confused.
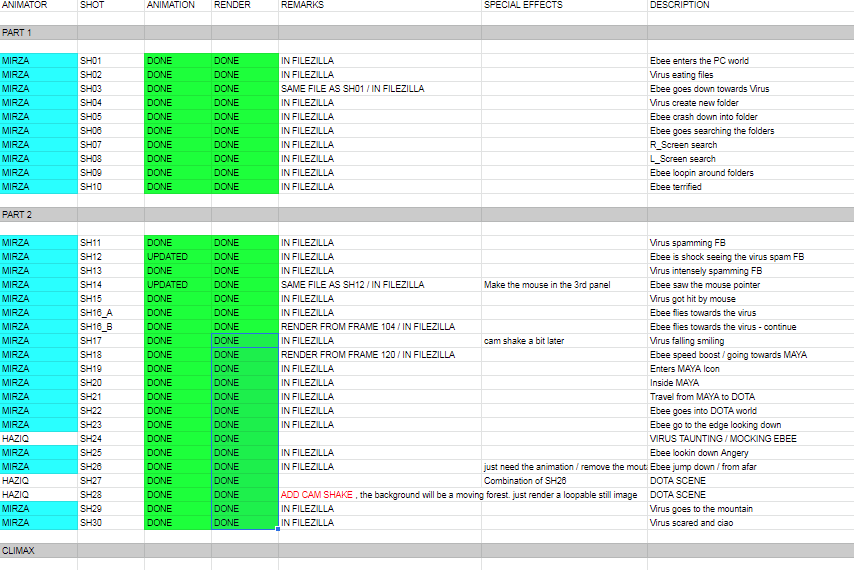
The University supported the renders by allowing us to use the computer labs.


Final Thoughts
The whole process of creating this short was a fun and challenging experience. I am glad to have the company transitioning its software usage to one that is free and open source, at the same time, fully capable of handling any 3D work.
Special thanks to my lecturers, Mr. Azhar Salleh for heading the content creation division; Mr. Yusran Mazalan, for approaching and advising us on the project, Mr. James Teo Chin Hao for directing and managing the project, Mr. Dzulhafidz Dzulkifli for sound designing; last but not least, Prof. Datuk Ts. Dr. Ahmad Rafi Mohamed Eshaq for the opportunity to be part of this grand production.
Do check out my University.
About the Author
 Rino Cheng, 3D artist, currently working in The Only Studio as an Operational Director


