Behind the Scenes: Plague Witch
About
Hi, my name is Jean-Paul, alias Jean-Paul K. I live in France, near Paris, and I’m a teacher for pupils (10 year old kids).
I started to learn Blender four years ago, I tried to learn it only with tutorials. I’m very grateful for people that are sharing their knowledge and take time to explain it with videos.
I tried different sorts of art and creation but creating 3D characters and worlds is the thing that I love the most. It’s so powerful to create when our only limitation is our imagination. That’s why I go on the Blenderartists site and Pinterest very often, to find my inspiration. I looked very carefully at Blender Guru’s (Andrew Price) tutorials, because I find them pretty clear, but also other ones.
I don’t think that I will work in this industry in the future but I hope that I will be animated with the same passion and that I will share my work as often as I can.
The Concept
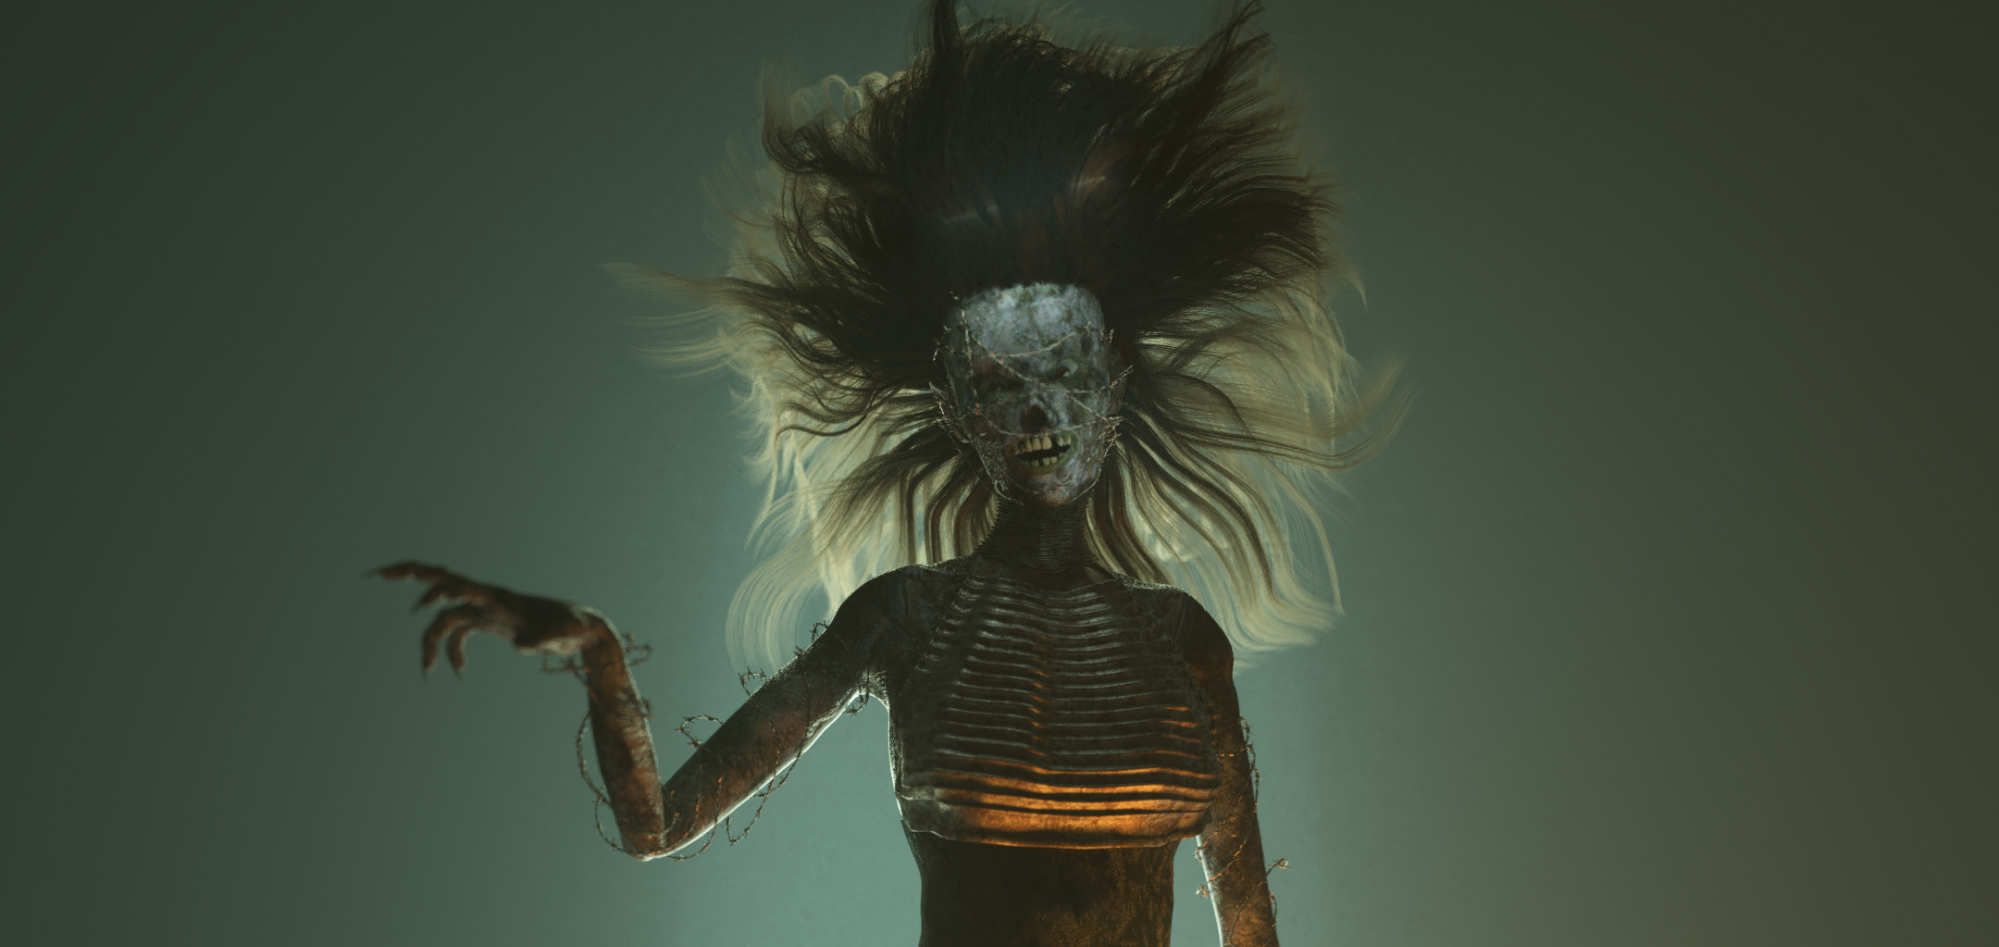
I like to work with characters. I like horror characters and scenes, so for this witch I inspired myself with various characters on the net and this one (here and here) in particular for the mood.
I wanted something dark and creepy. At first I wasn’t very sure where I was going.
Tools & Hardware
I only used Blender for all the entire process (modeling, texturing, compositing).
My hardware setup isn’t too bad and allows me to do things quite quickly. I only use the keyboard and my mouse, no tablet.
Modelling
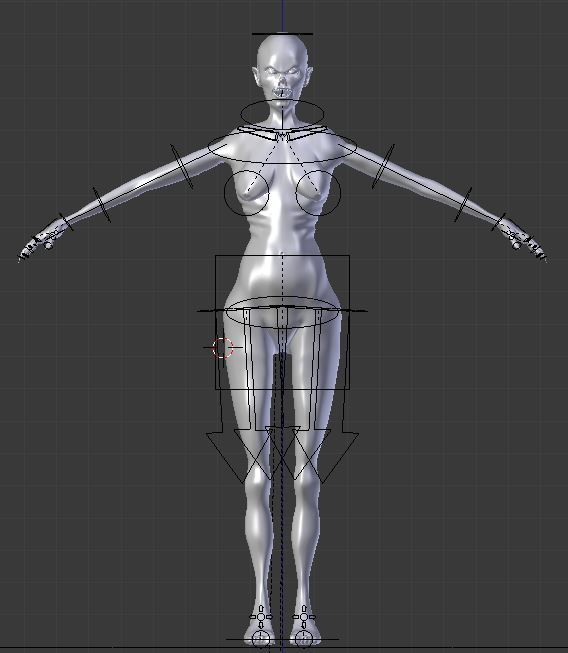
My modelling workflow begins with a plane that I extrude till I get the shape of my character. I use common tools such as mirror, subsurface, and so on…. I always work with photos or sketches because I’m not comfortable with proportions, I need a template. I find Blender very powerful. I don’t know other softwares, such as 3ds Max or Maya, but I find Blender easy to use (after a while) and quite intuitive. For this character, I reused a female character model that I created. I premade one female and one male character. And it allows me to not have to start from scratch.
Then with extrusion I made the shape. I used poliigon for some of the textures, but also used textures that I found elsewhere on the net. I rigged the character with Armature (I’m not very proud of this part in general because I always have issues; it’s difficult to make it very fluid and to have things not collide with the body and clothes, for example).
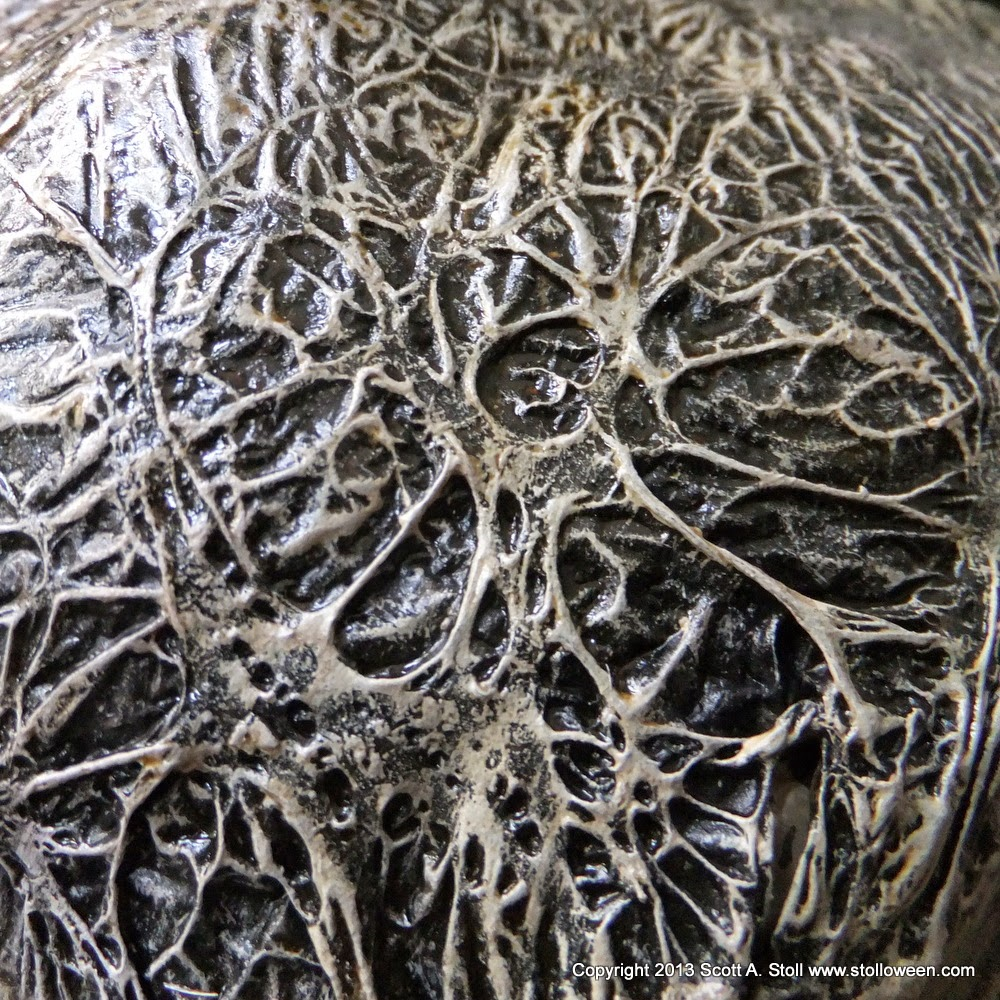
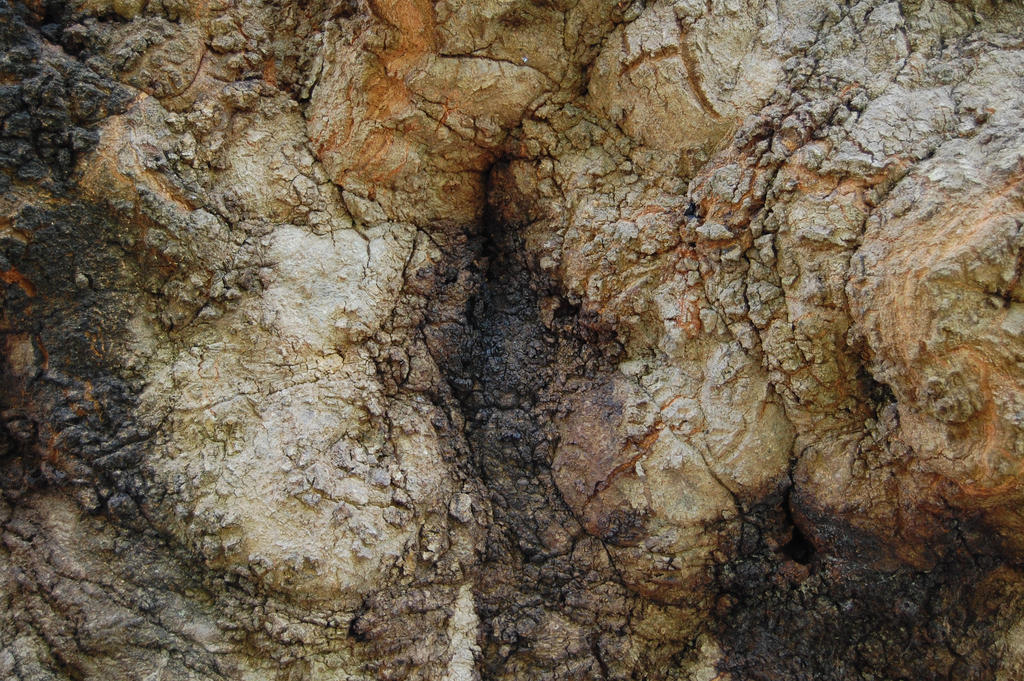
I used two zombie textures to create the skin texture for the witch.
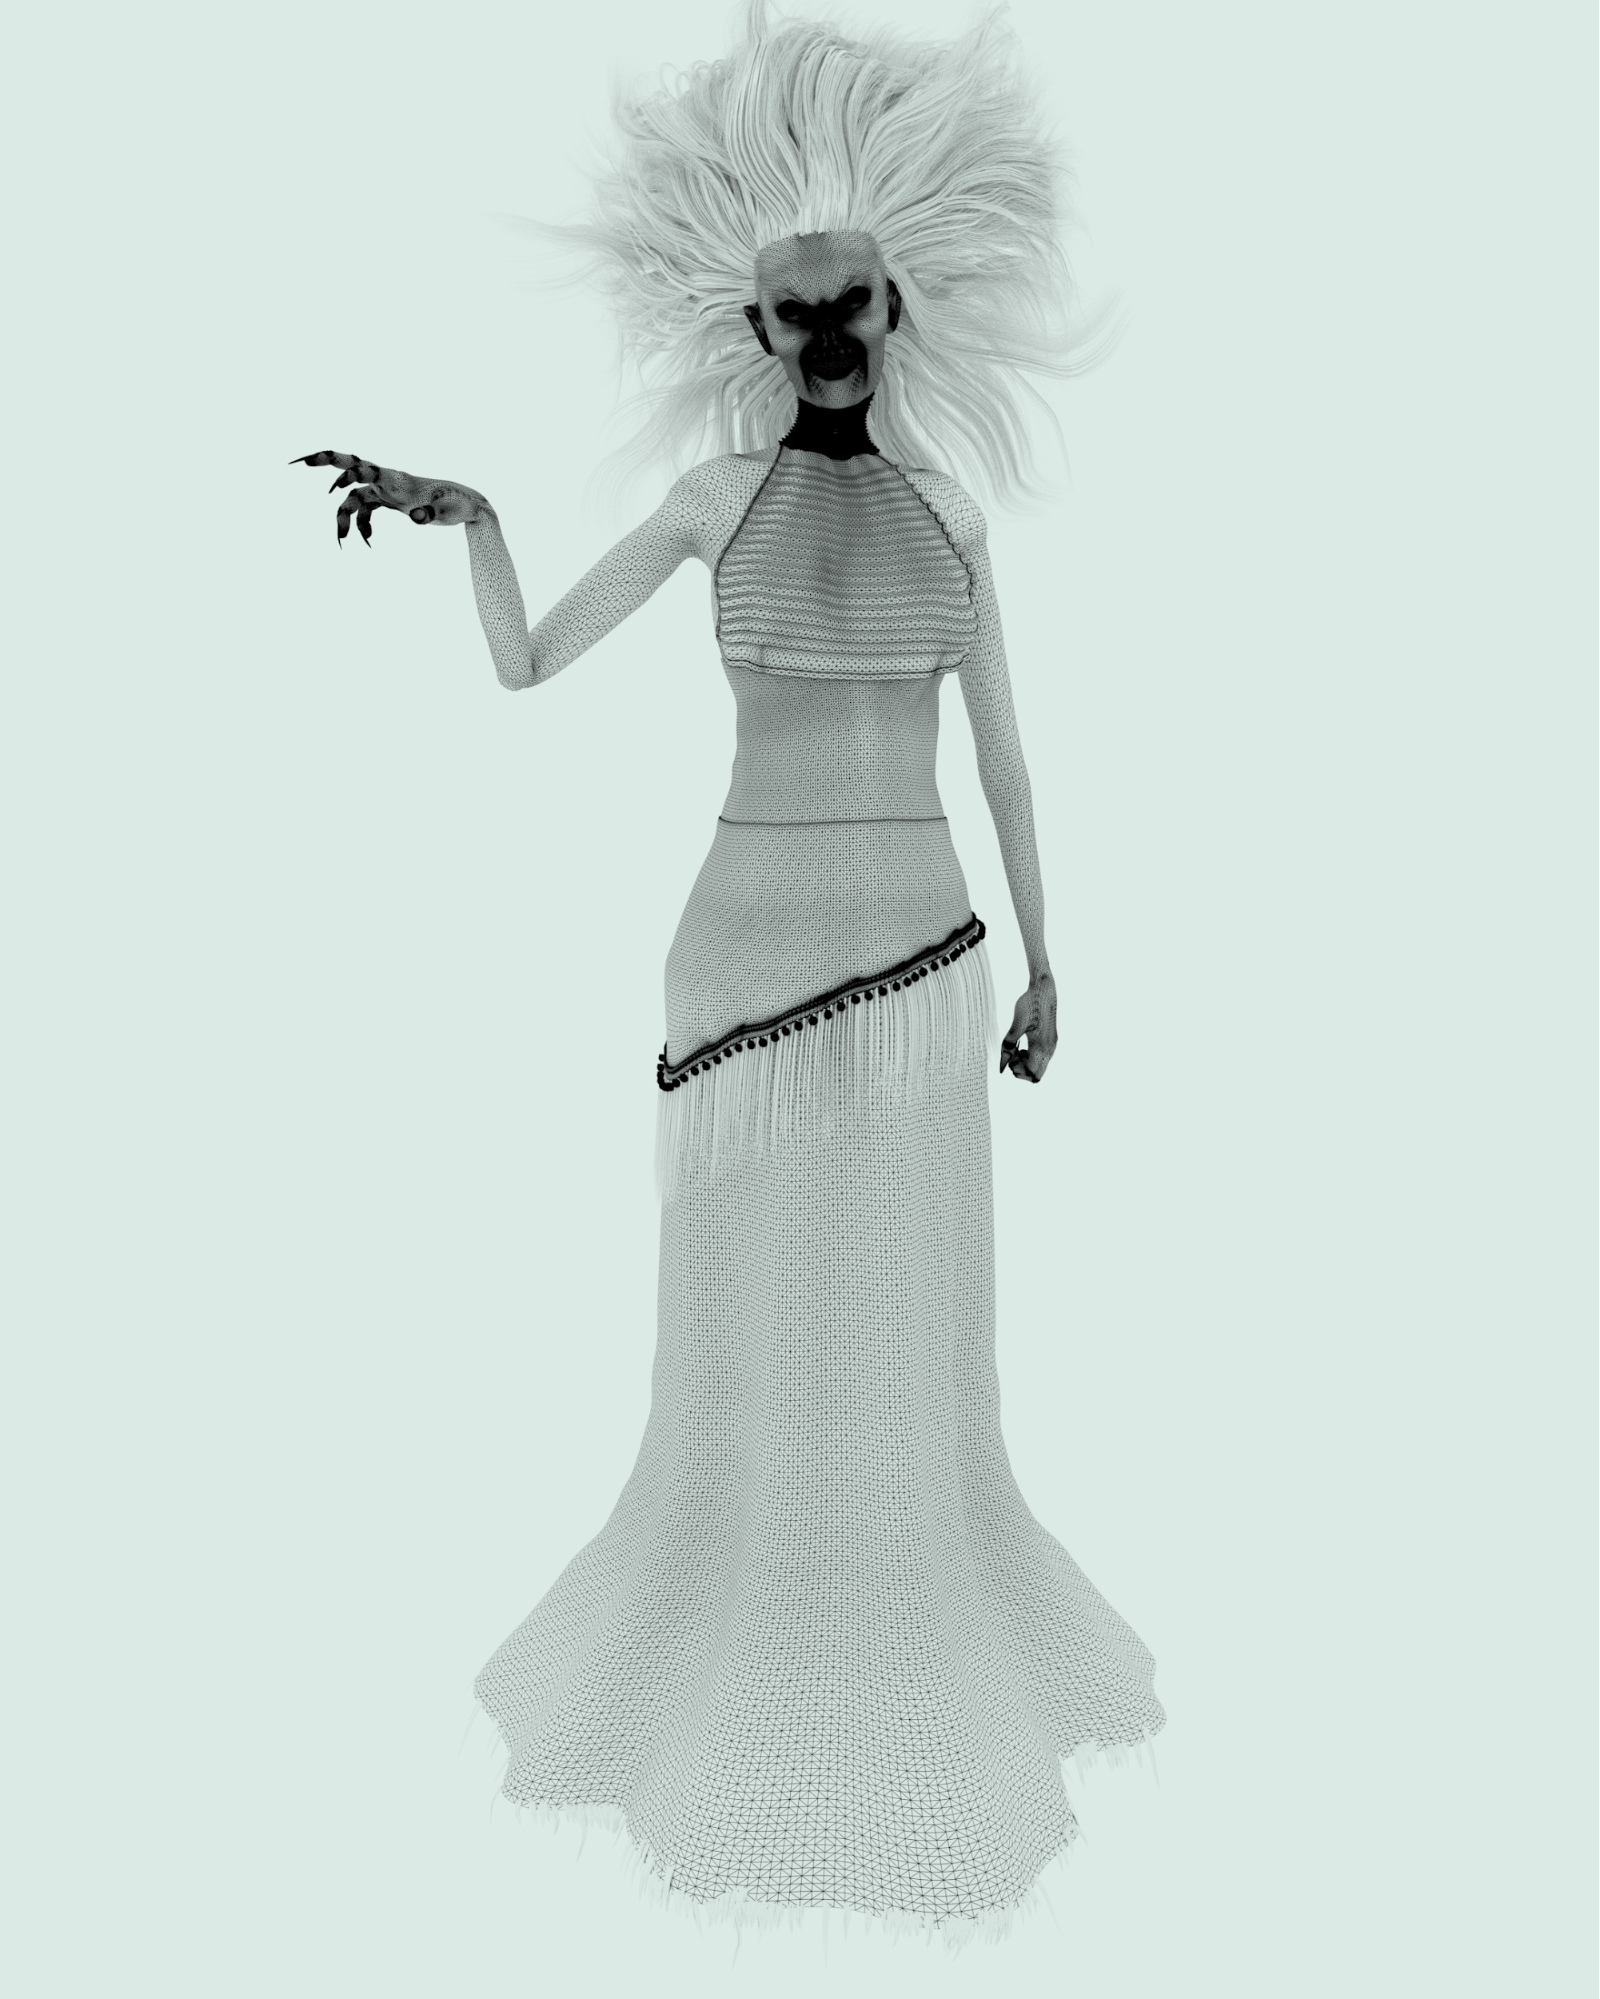
I’m not very comfortable with clothes, so for the dress I created a simple plan and used the cloth simulator. Then I used the sculpt mode to give it a little bumpiness.
For the “gipsy pareo” I searched on the net and found my inspiration with this.
Then I modeled the “tassells” and used hair simulation to complete them. The top and necklace were very simply modeled. Here are the results:

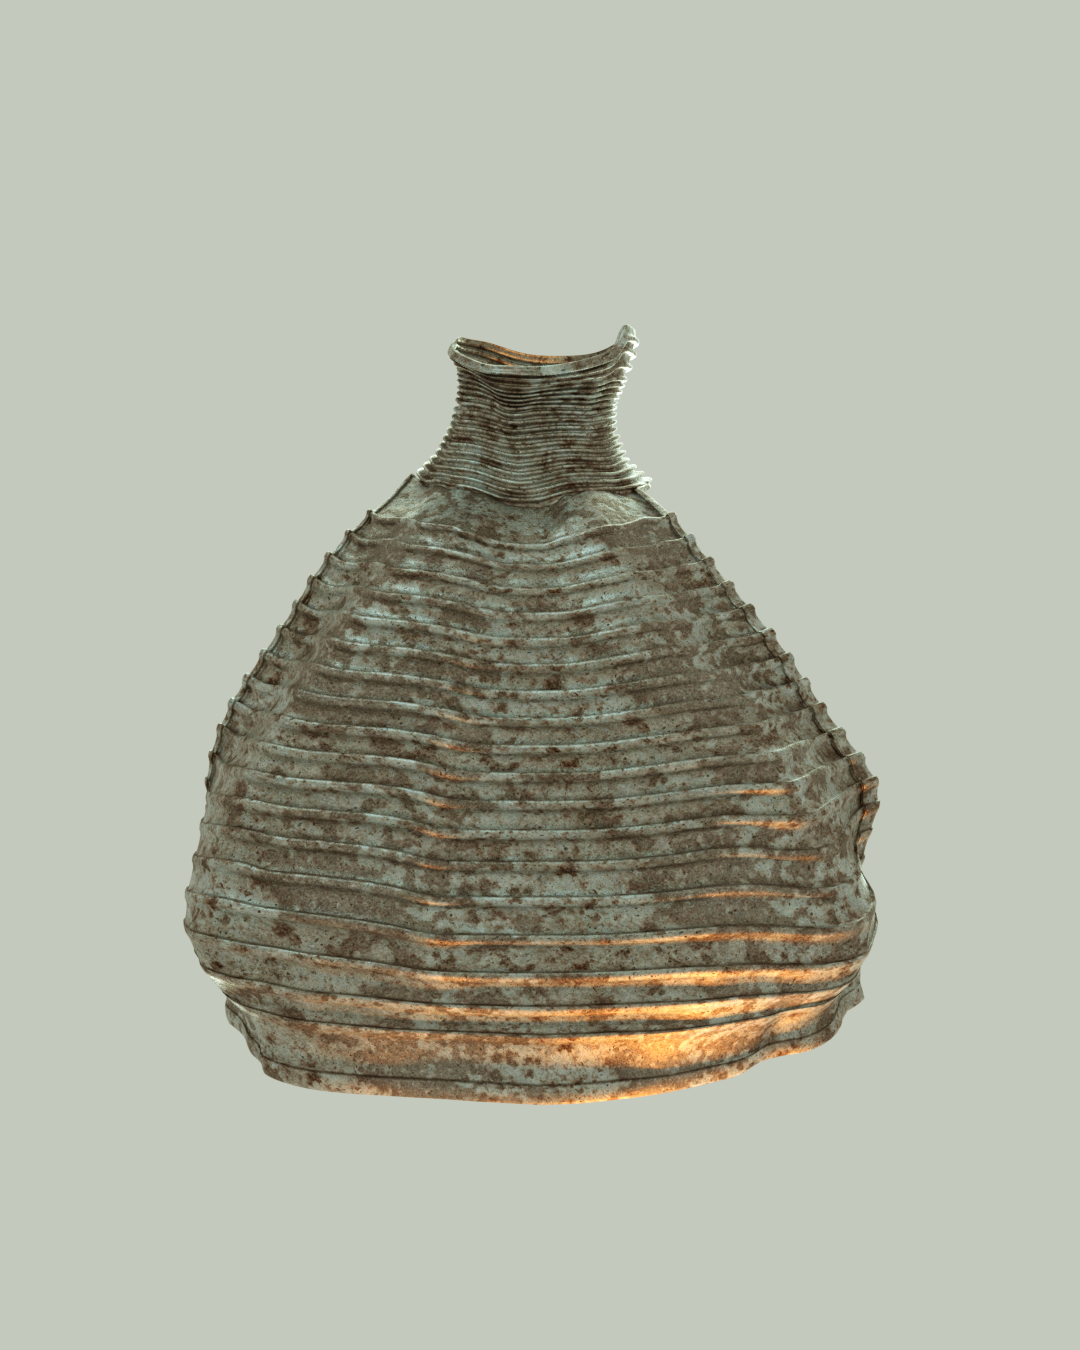
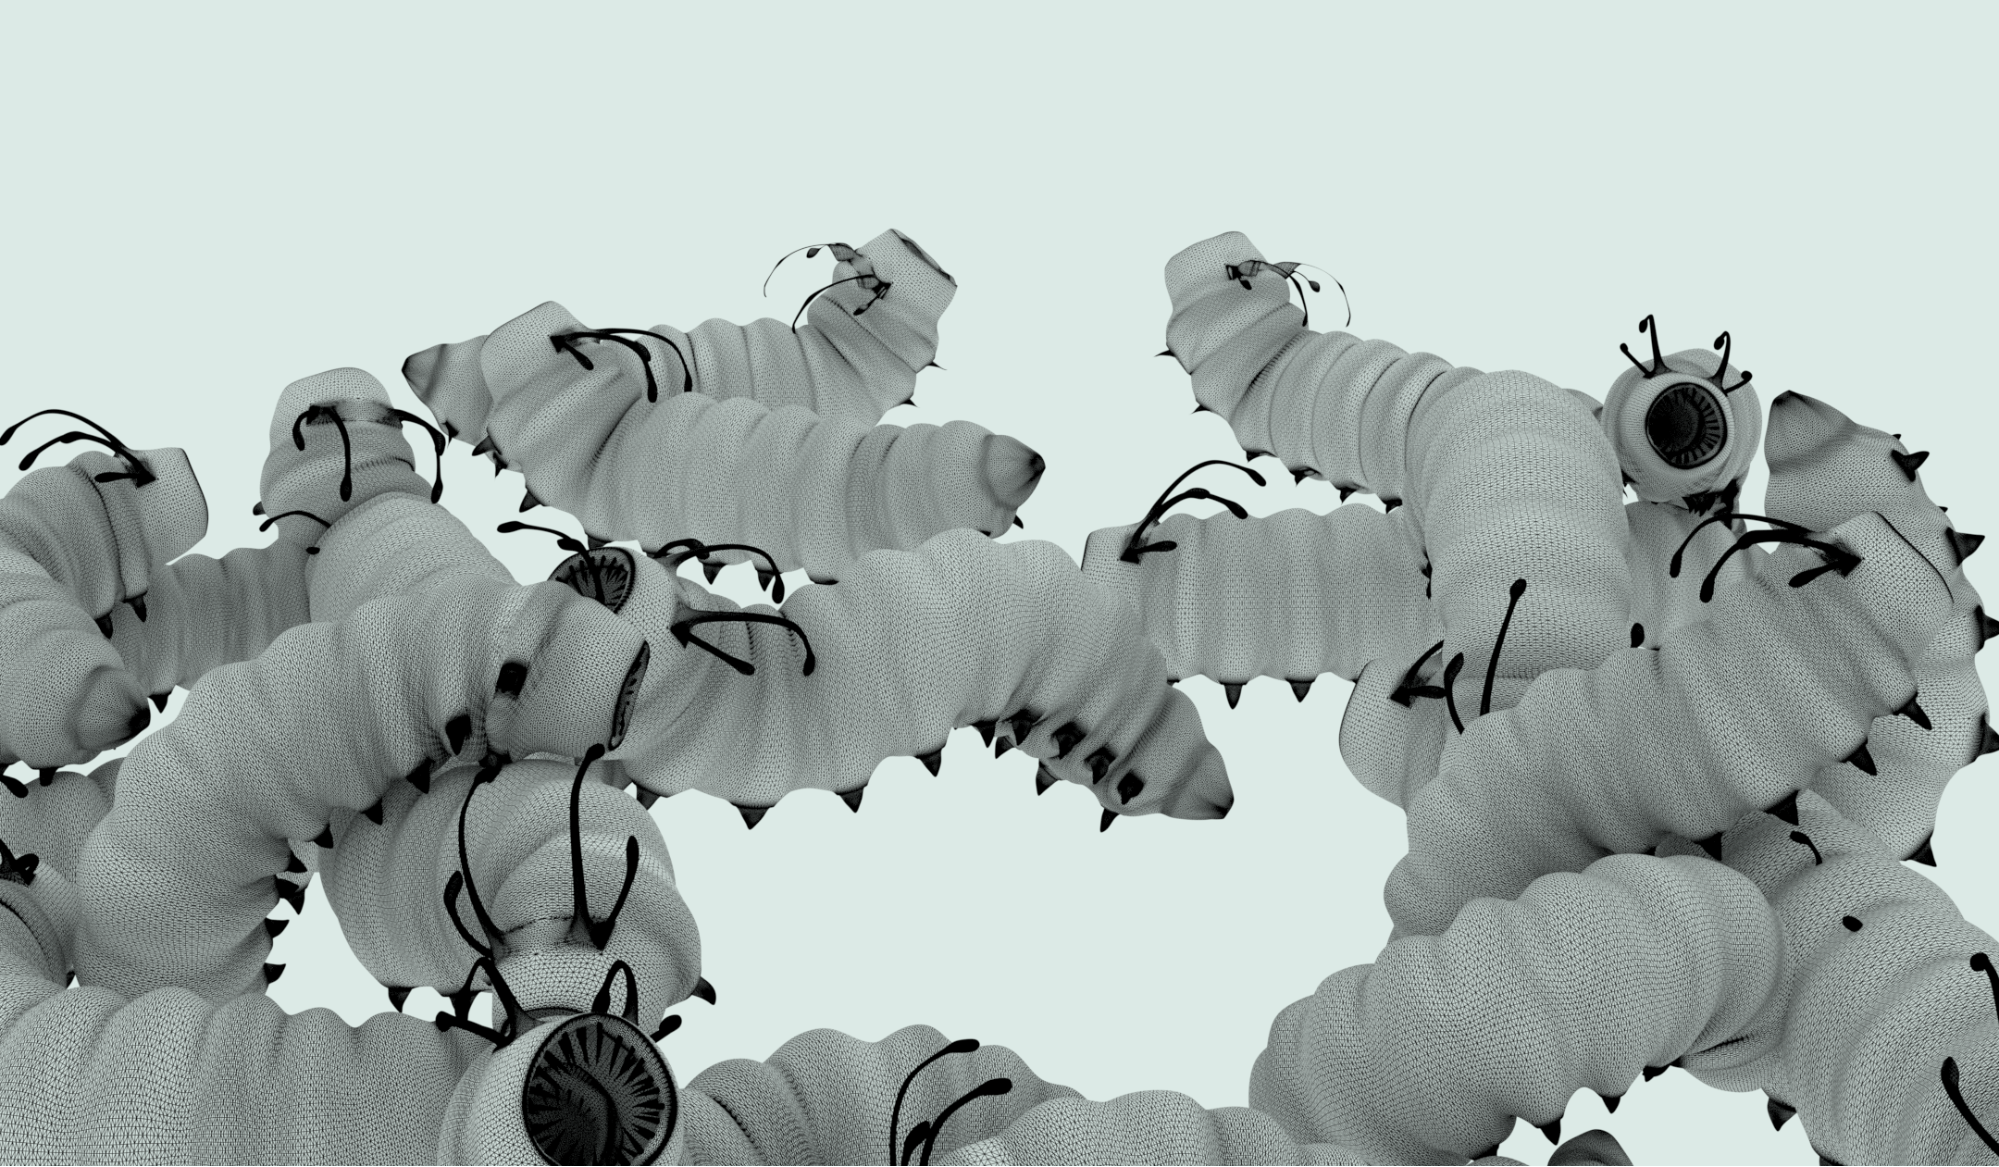
I reused the worms from another project because I had made them before thanks to the very great tutorial from Hokiroya.
Here is my texture node for the hair texture:

Below is the node for my skin texture:

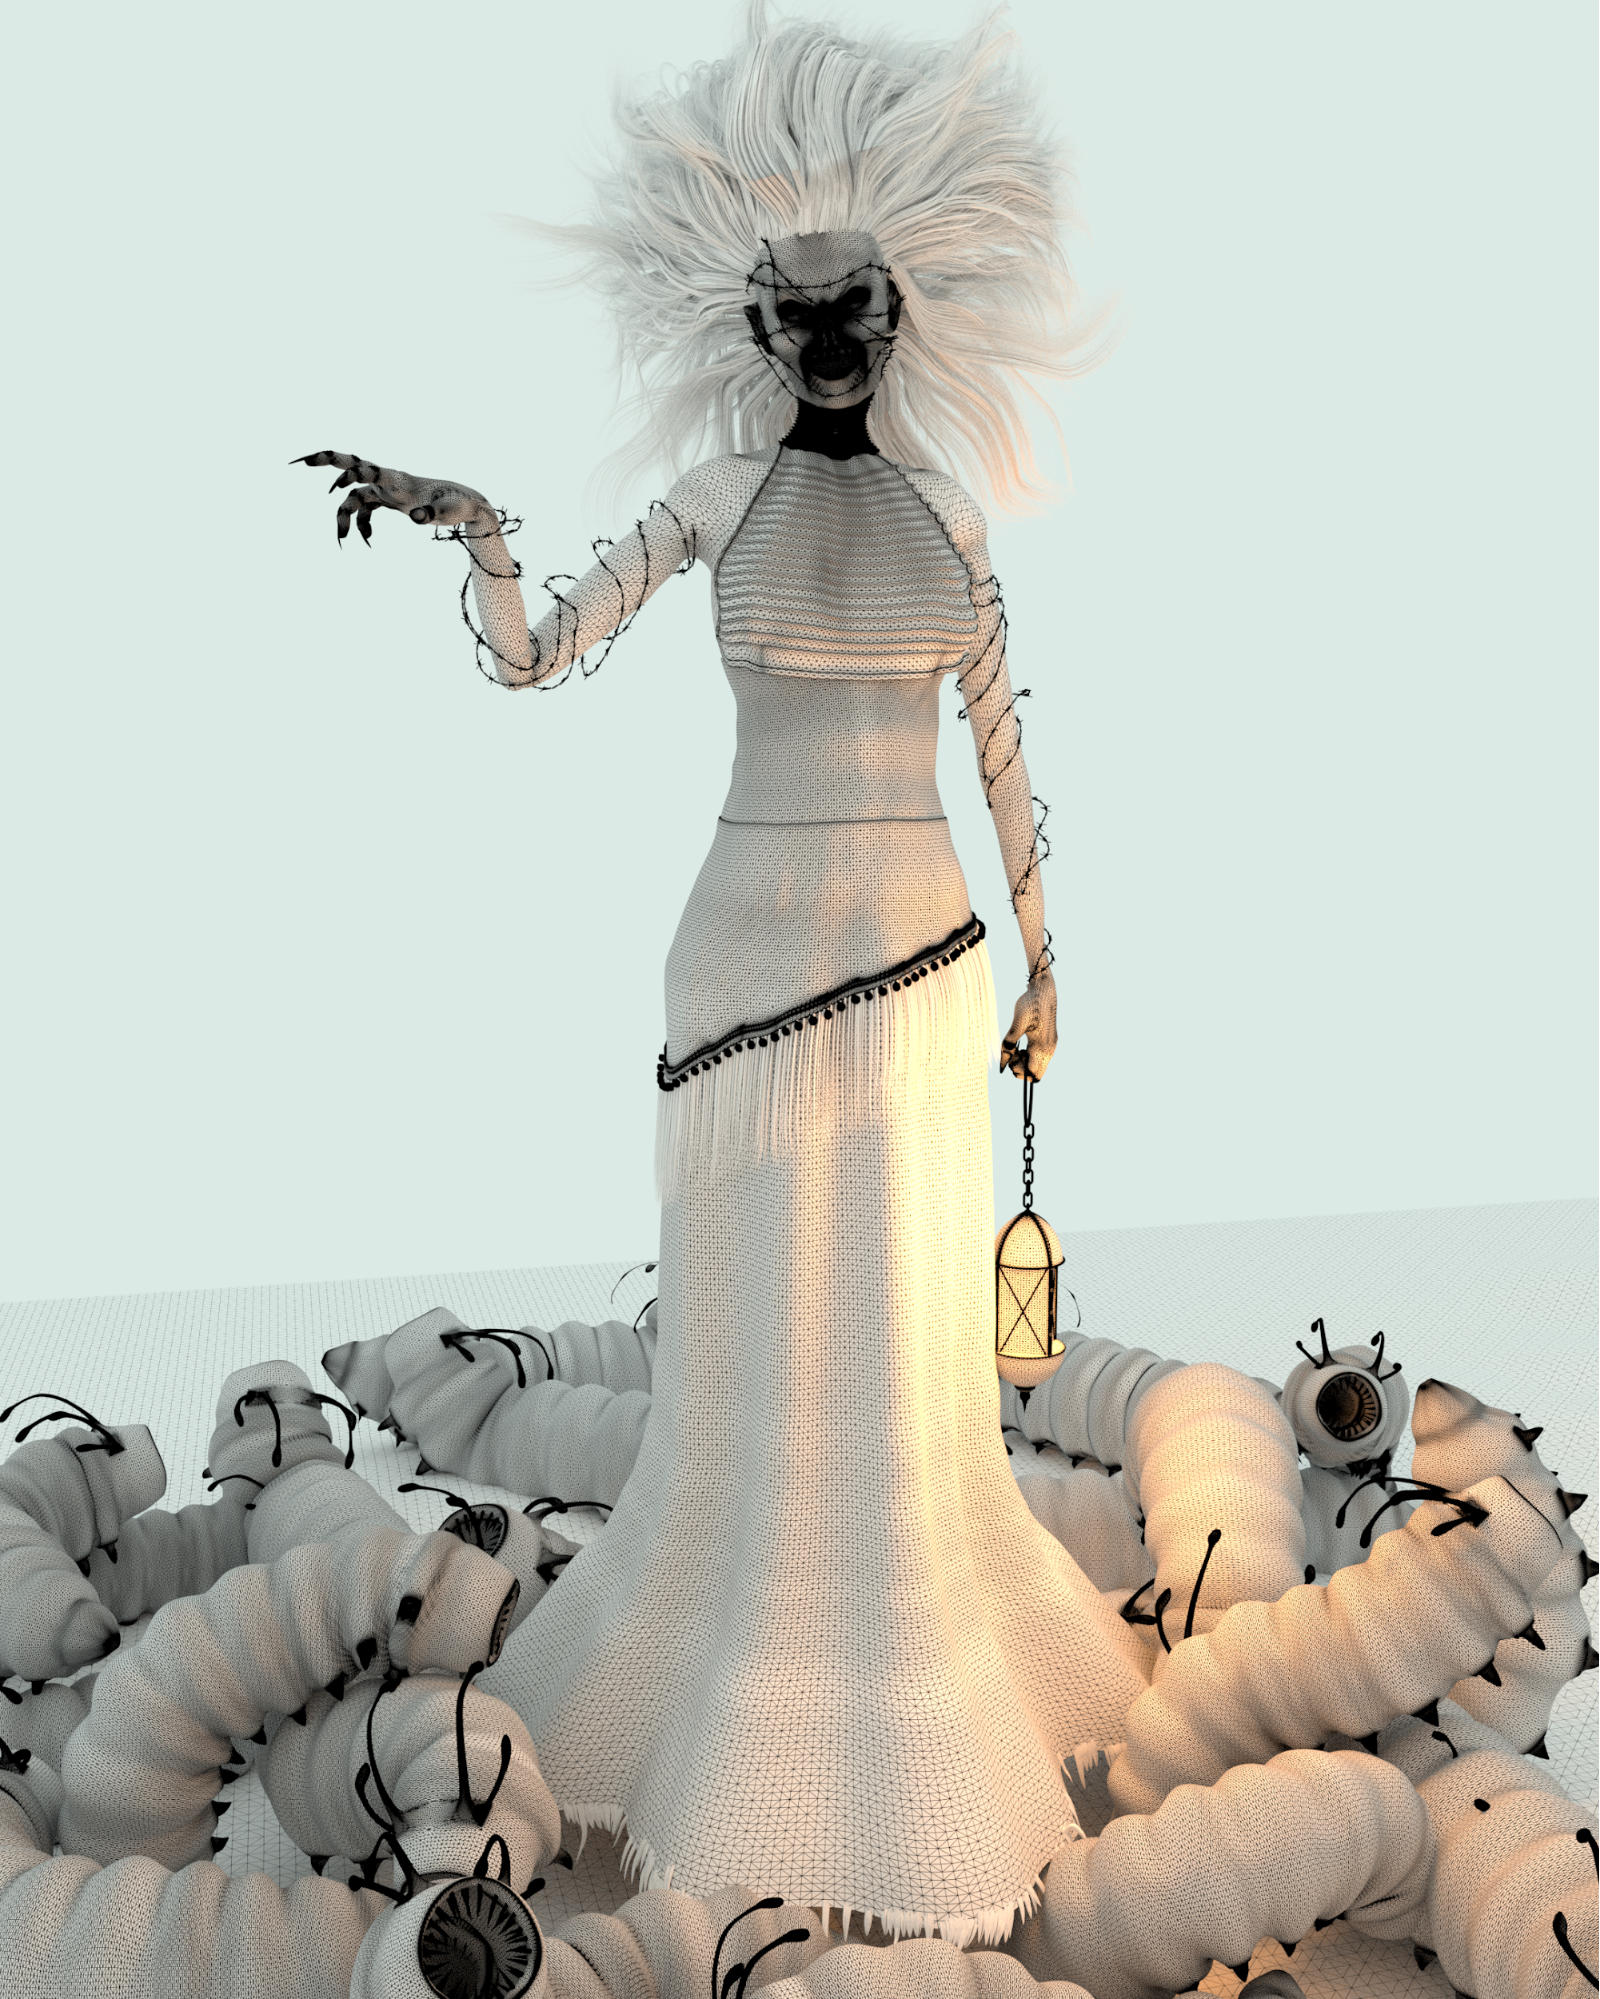
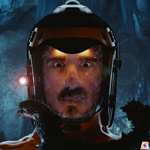
Then I had the feeling that my character wasn’t complete so I decided to add barbed wire (tutorial) across her. It came to my mind thinking about the main character from the horror movie picture Hellraiser. It’s not the same because he had needles on his head, but that’s what came to my mind. Here is the character, Pinhead, who inspired me.
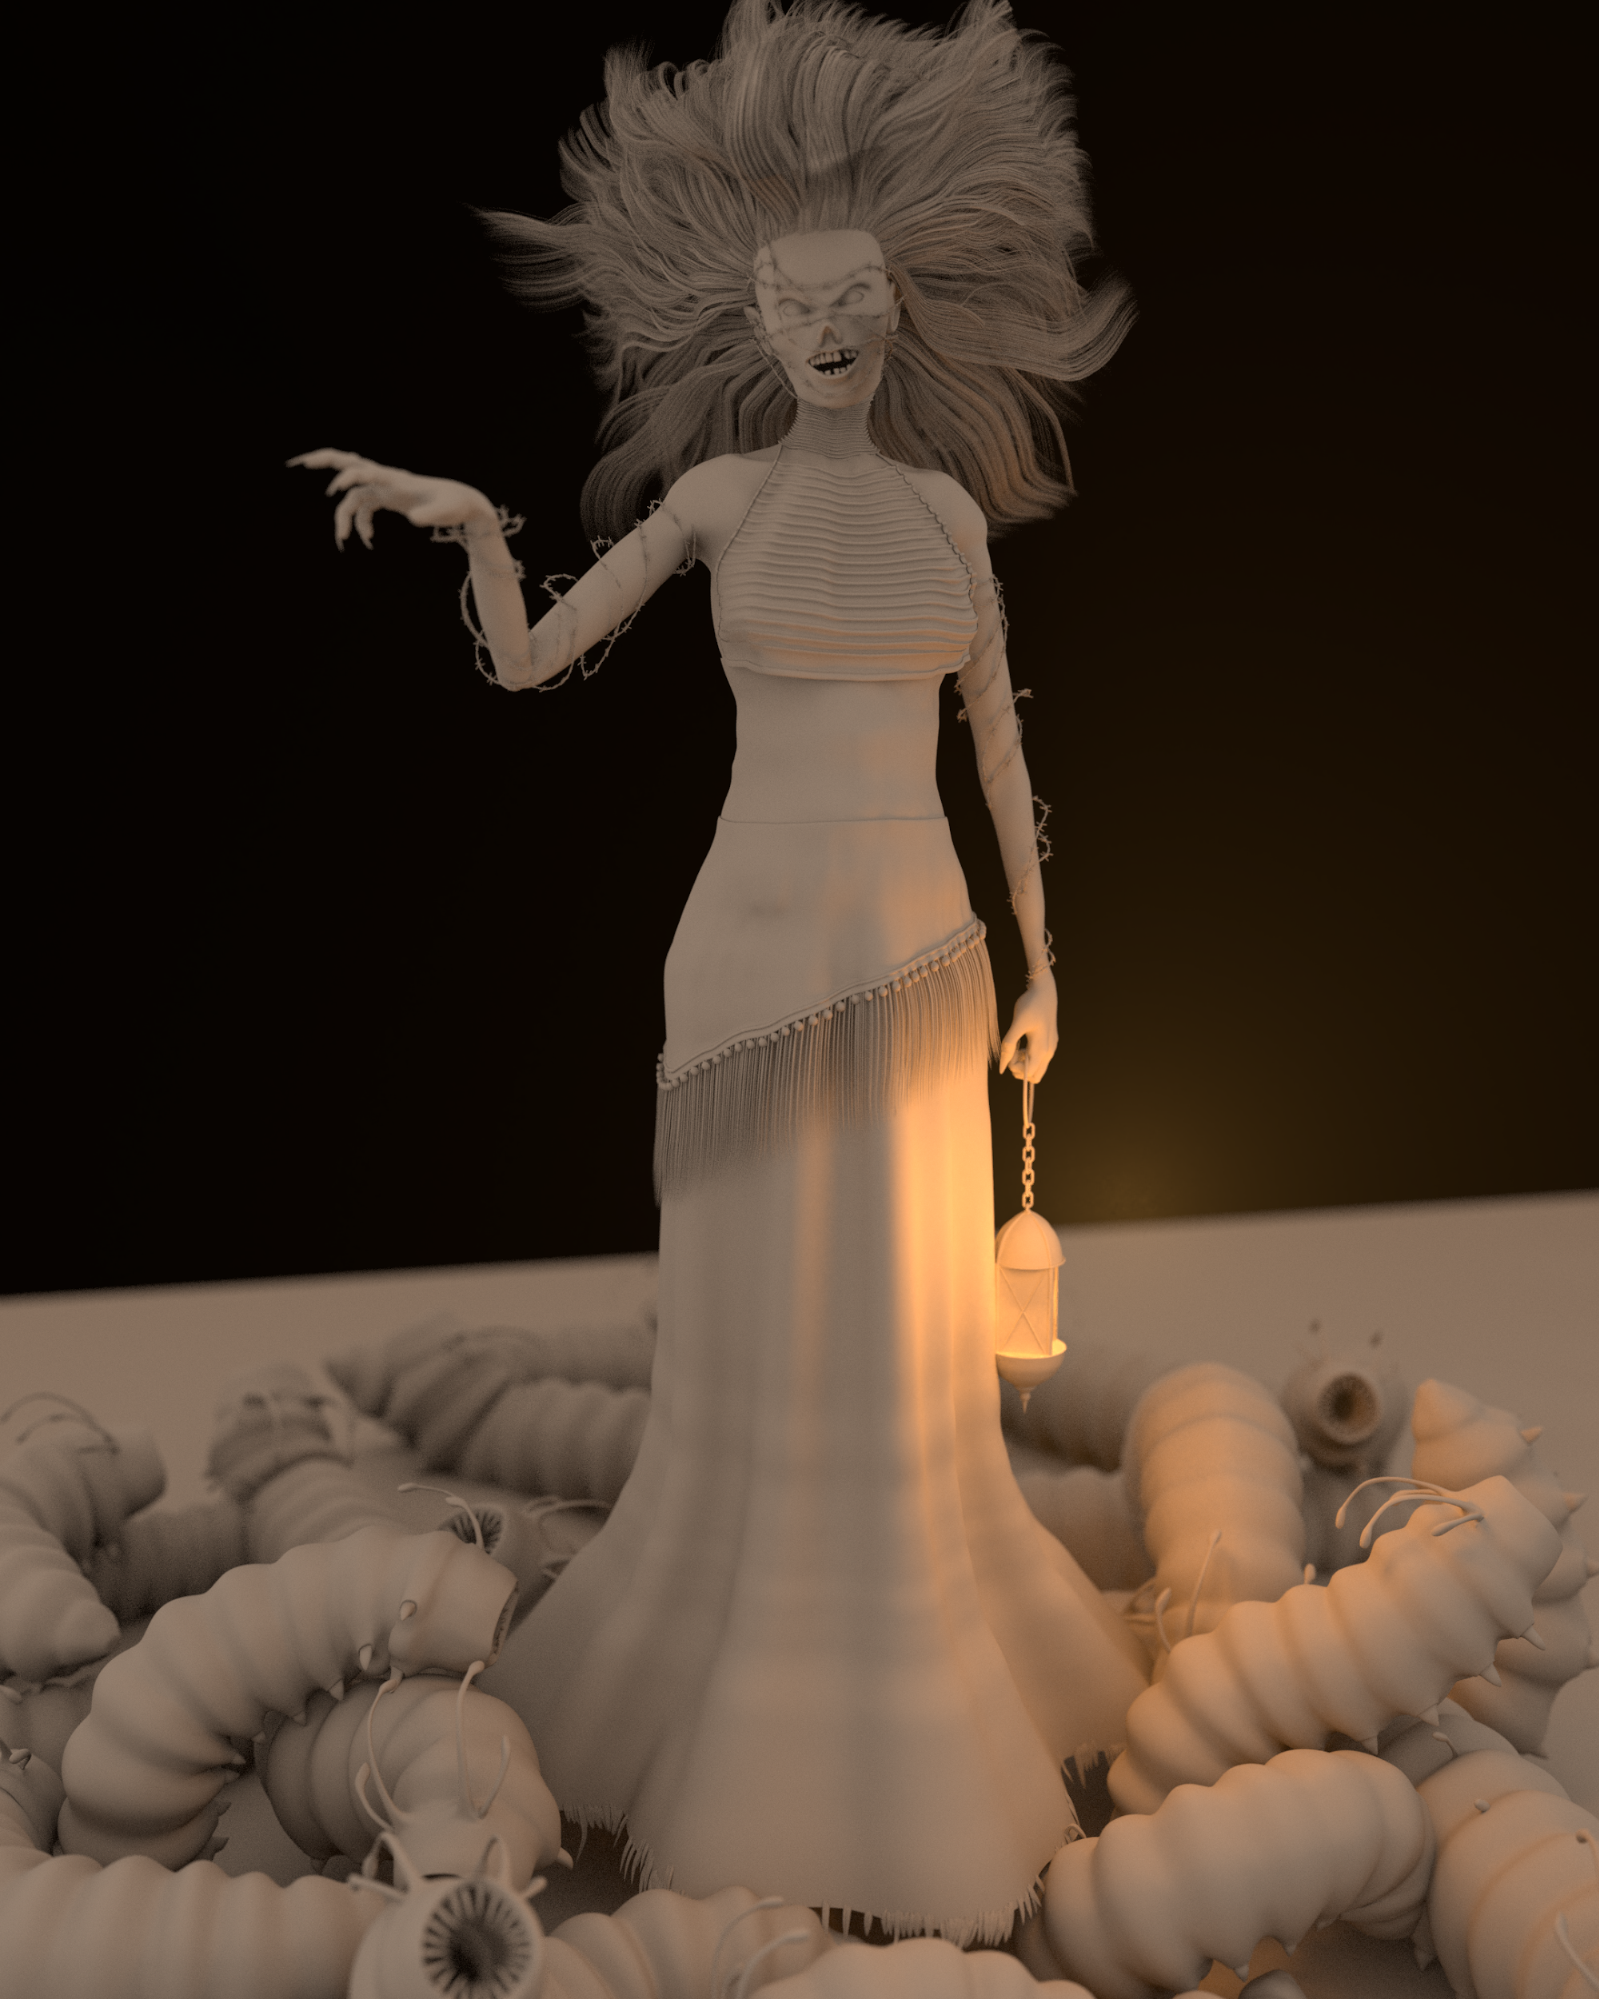
Here is a clay render:
Rigging
I simply used the Human meta-rig provided with Blender.
Lighting and Render Settings
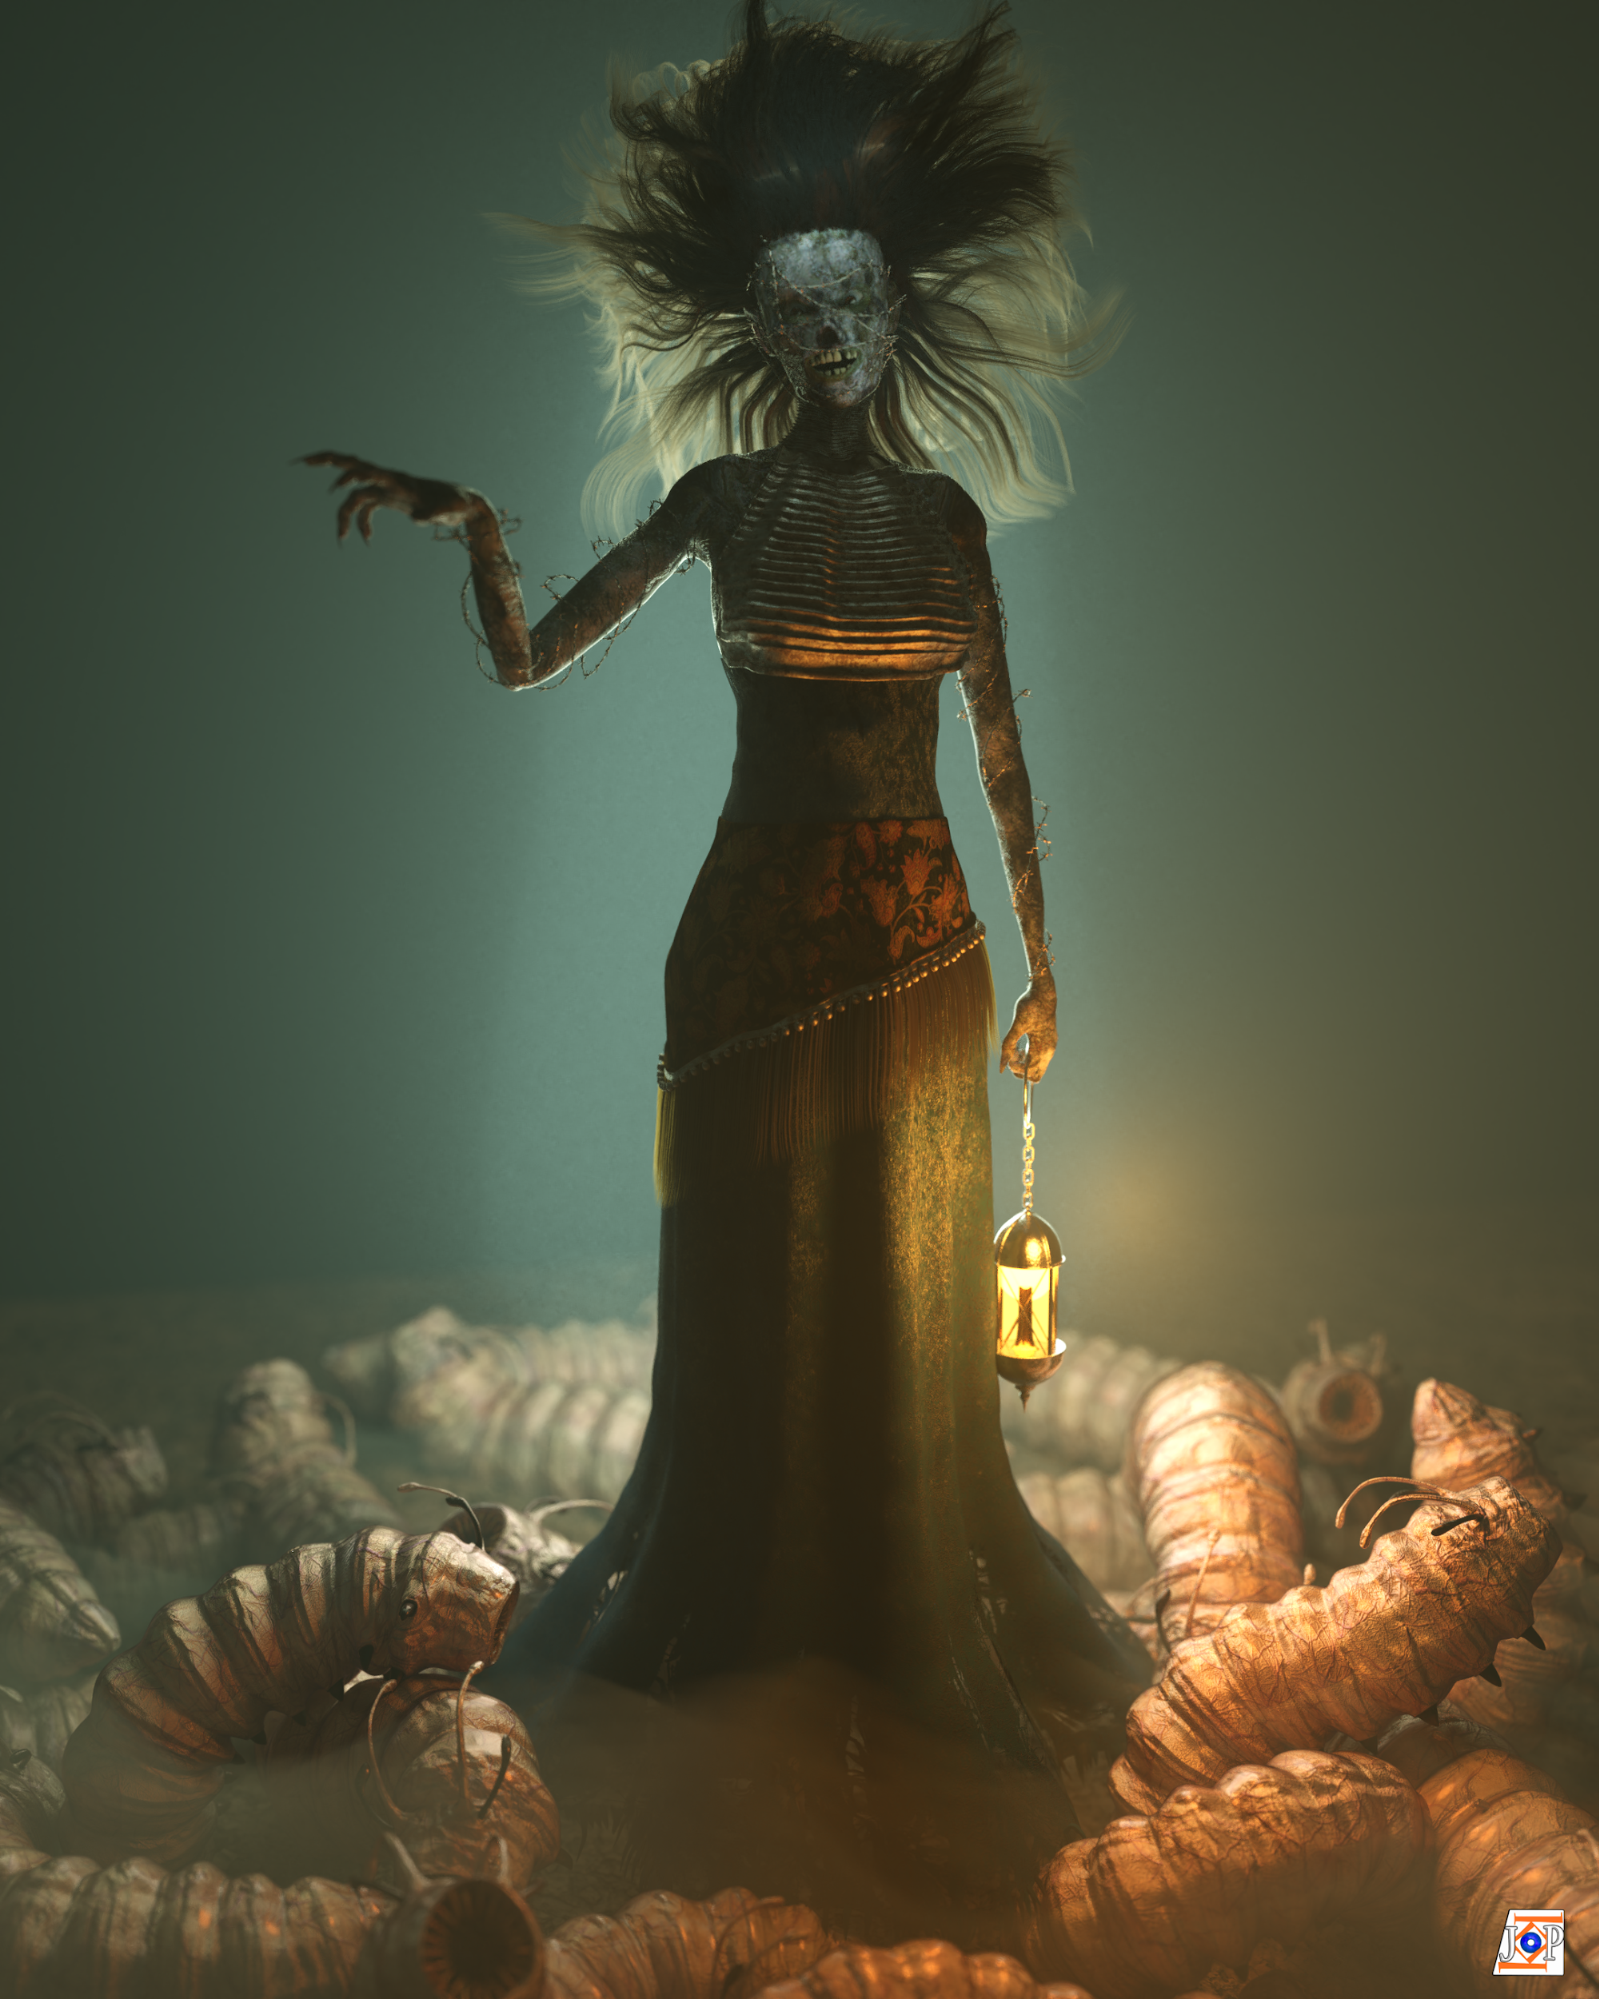
Nothing extraordinary in my settings; I added a yellowish point near the lantern, I added two emission planes, both white-bluish, one from behind and another near the face. For the environment lighting I used an HDR image (bunker-02 envir).
For the render settings, it was a 2160 x 2700 image, with 500 samples. I added a slight depth of field effect to keep attention on the character. I used a film effect (Agfa Agfacolor HDC 200 plus) as color management.

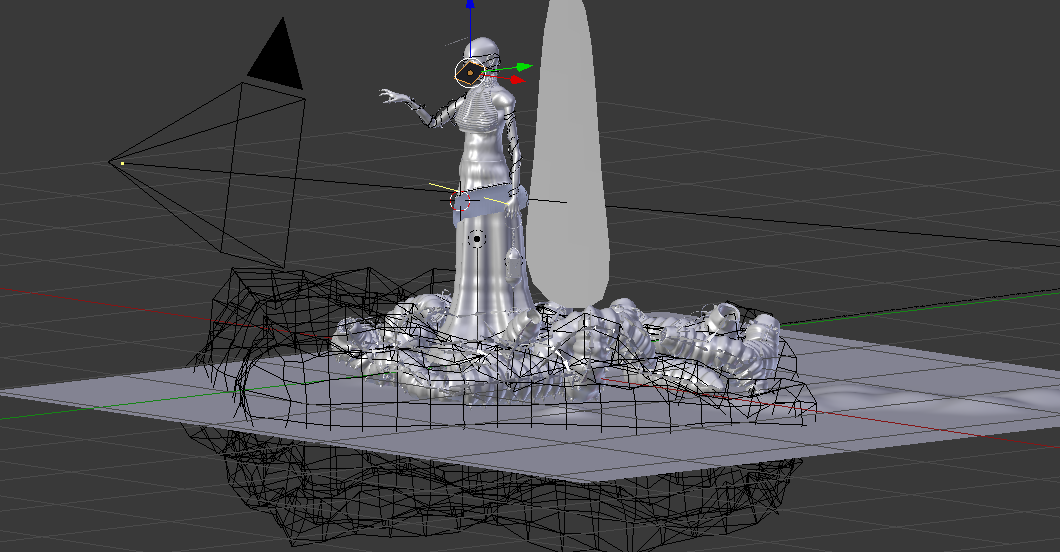
I added a volume scatter effect to the world (0.150) and I added a cube with a volume scatter material as shown on this scene:
Final render
About the author
 Jean-Paul K, 3D lover.


