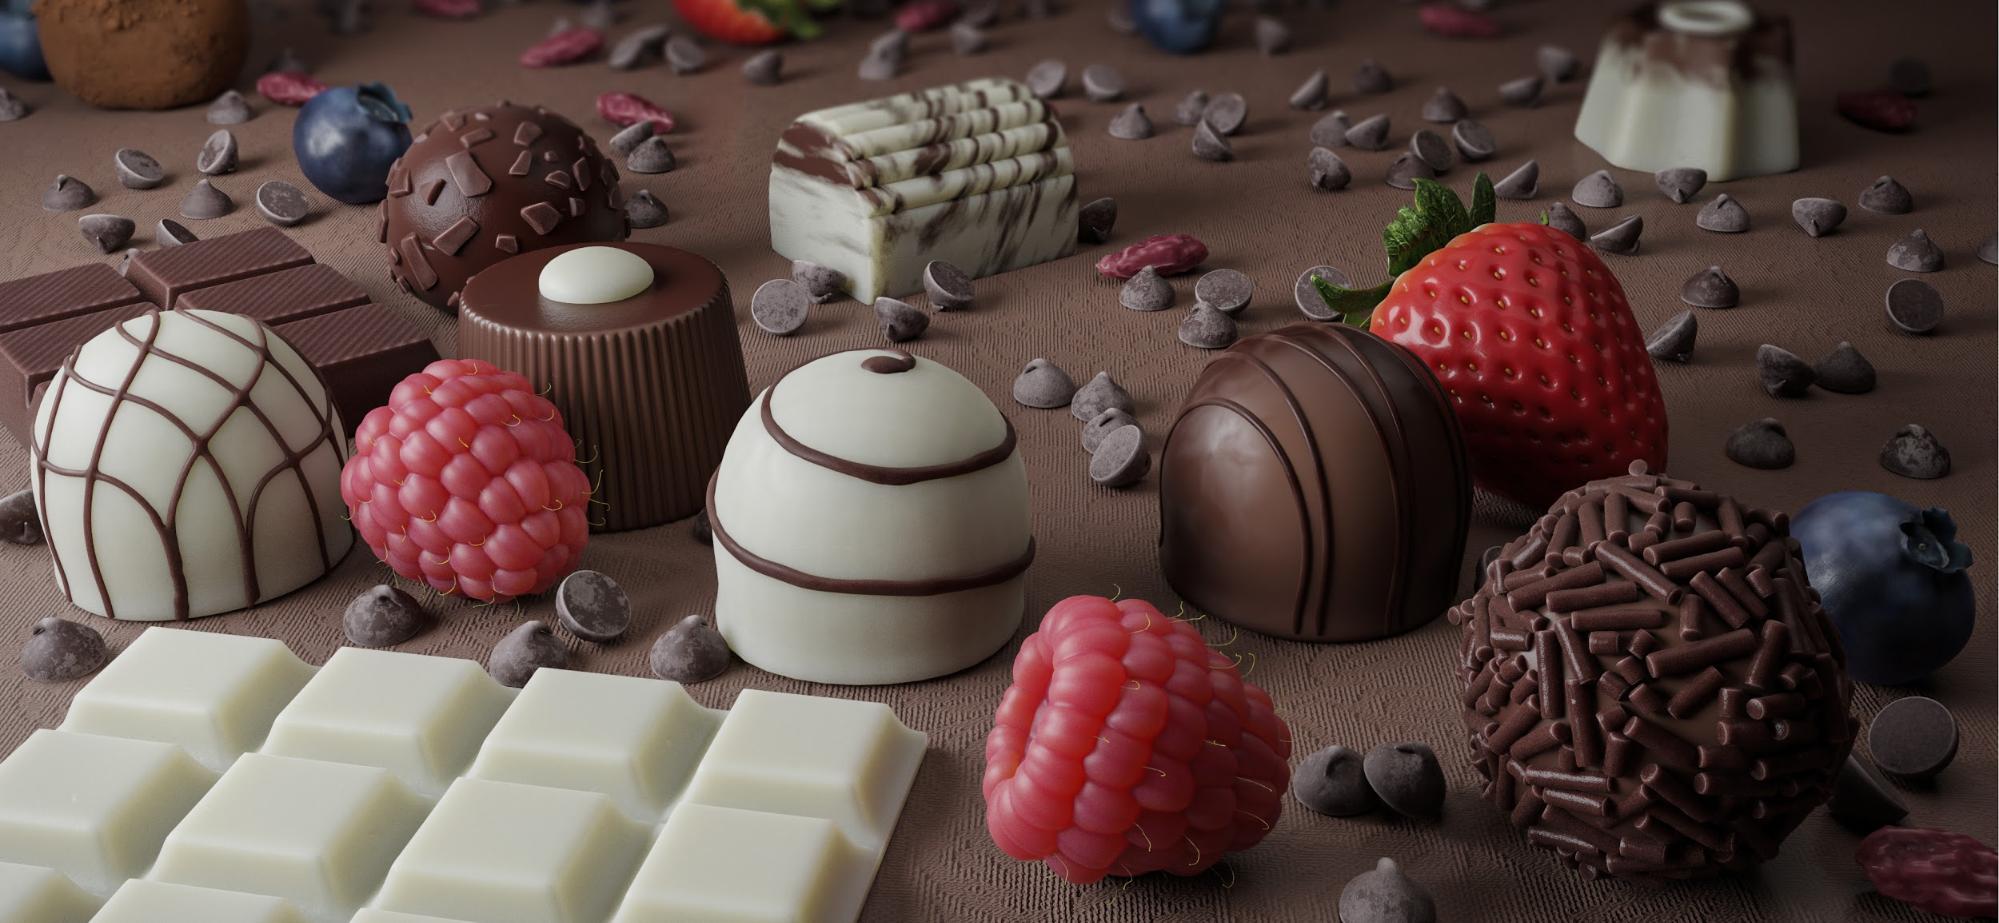
Behind the Scenes: Chocolate Truffles
Hi, I’m Ioanna Papadopoulou, long time rendering artist, specialising in photo-realistic illustration for advertising. I’m co-founder of Studio Clip and my job has to do with texturing, lighting, camera setup and rendering/post work. Through the years I’ve used many renderers, starting from FormZ Renderzone, Electric Image, Maya’s internal renderer then Mental Ray, and finally Maxwellrender as my main tool. Currently, I’m learning and exploring my limits with Cycles.
Where ideas come from
What motivates a 3D artist, when thinking of starting a new project, to choose this subject over that? This is difficult to answer. We do many personal projects to improve our skills and the fun part is trying to satisfy both modeling and rendering skills. Food and drink is my favourite category when it comes to rendering and one of the most popular assignments in commercial illustration. These are items that we all know and that our eyes are accustomed to, so the challenge is to achieve realistic and convincing results at the same time.
So I asked myself “Can I do this in Cycles?” and the story began….
References
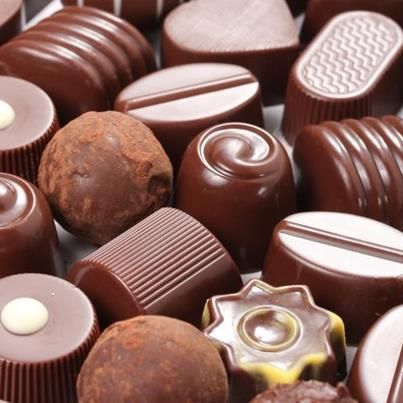
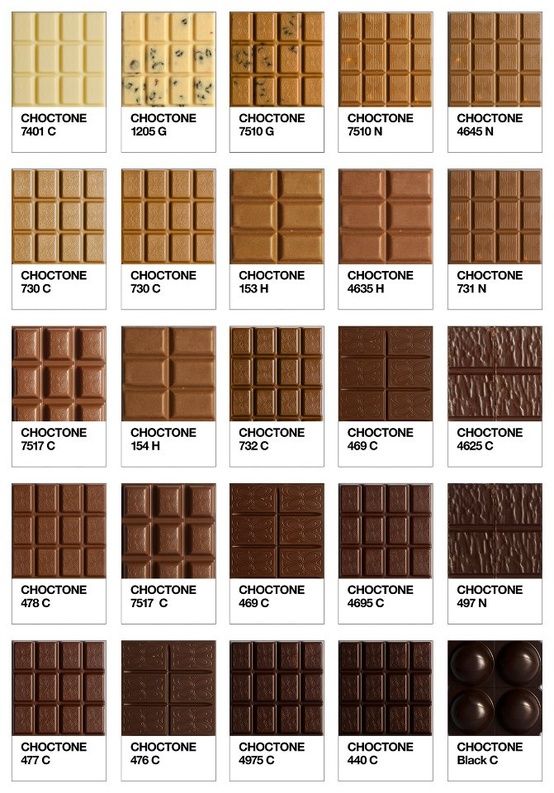
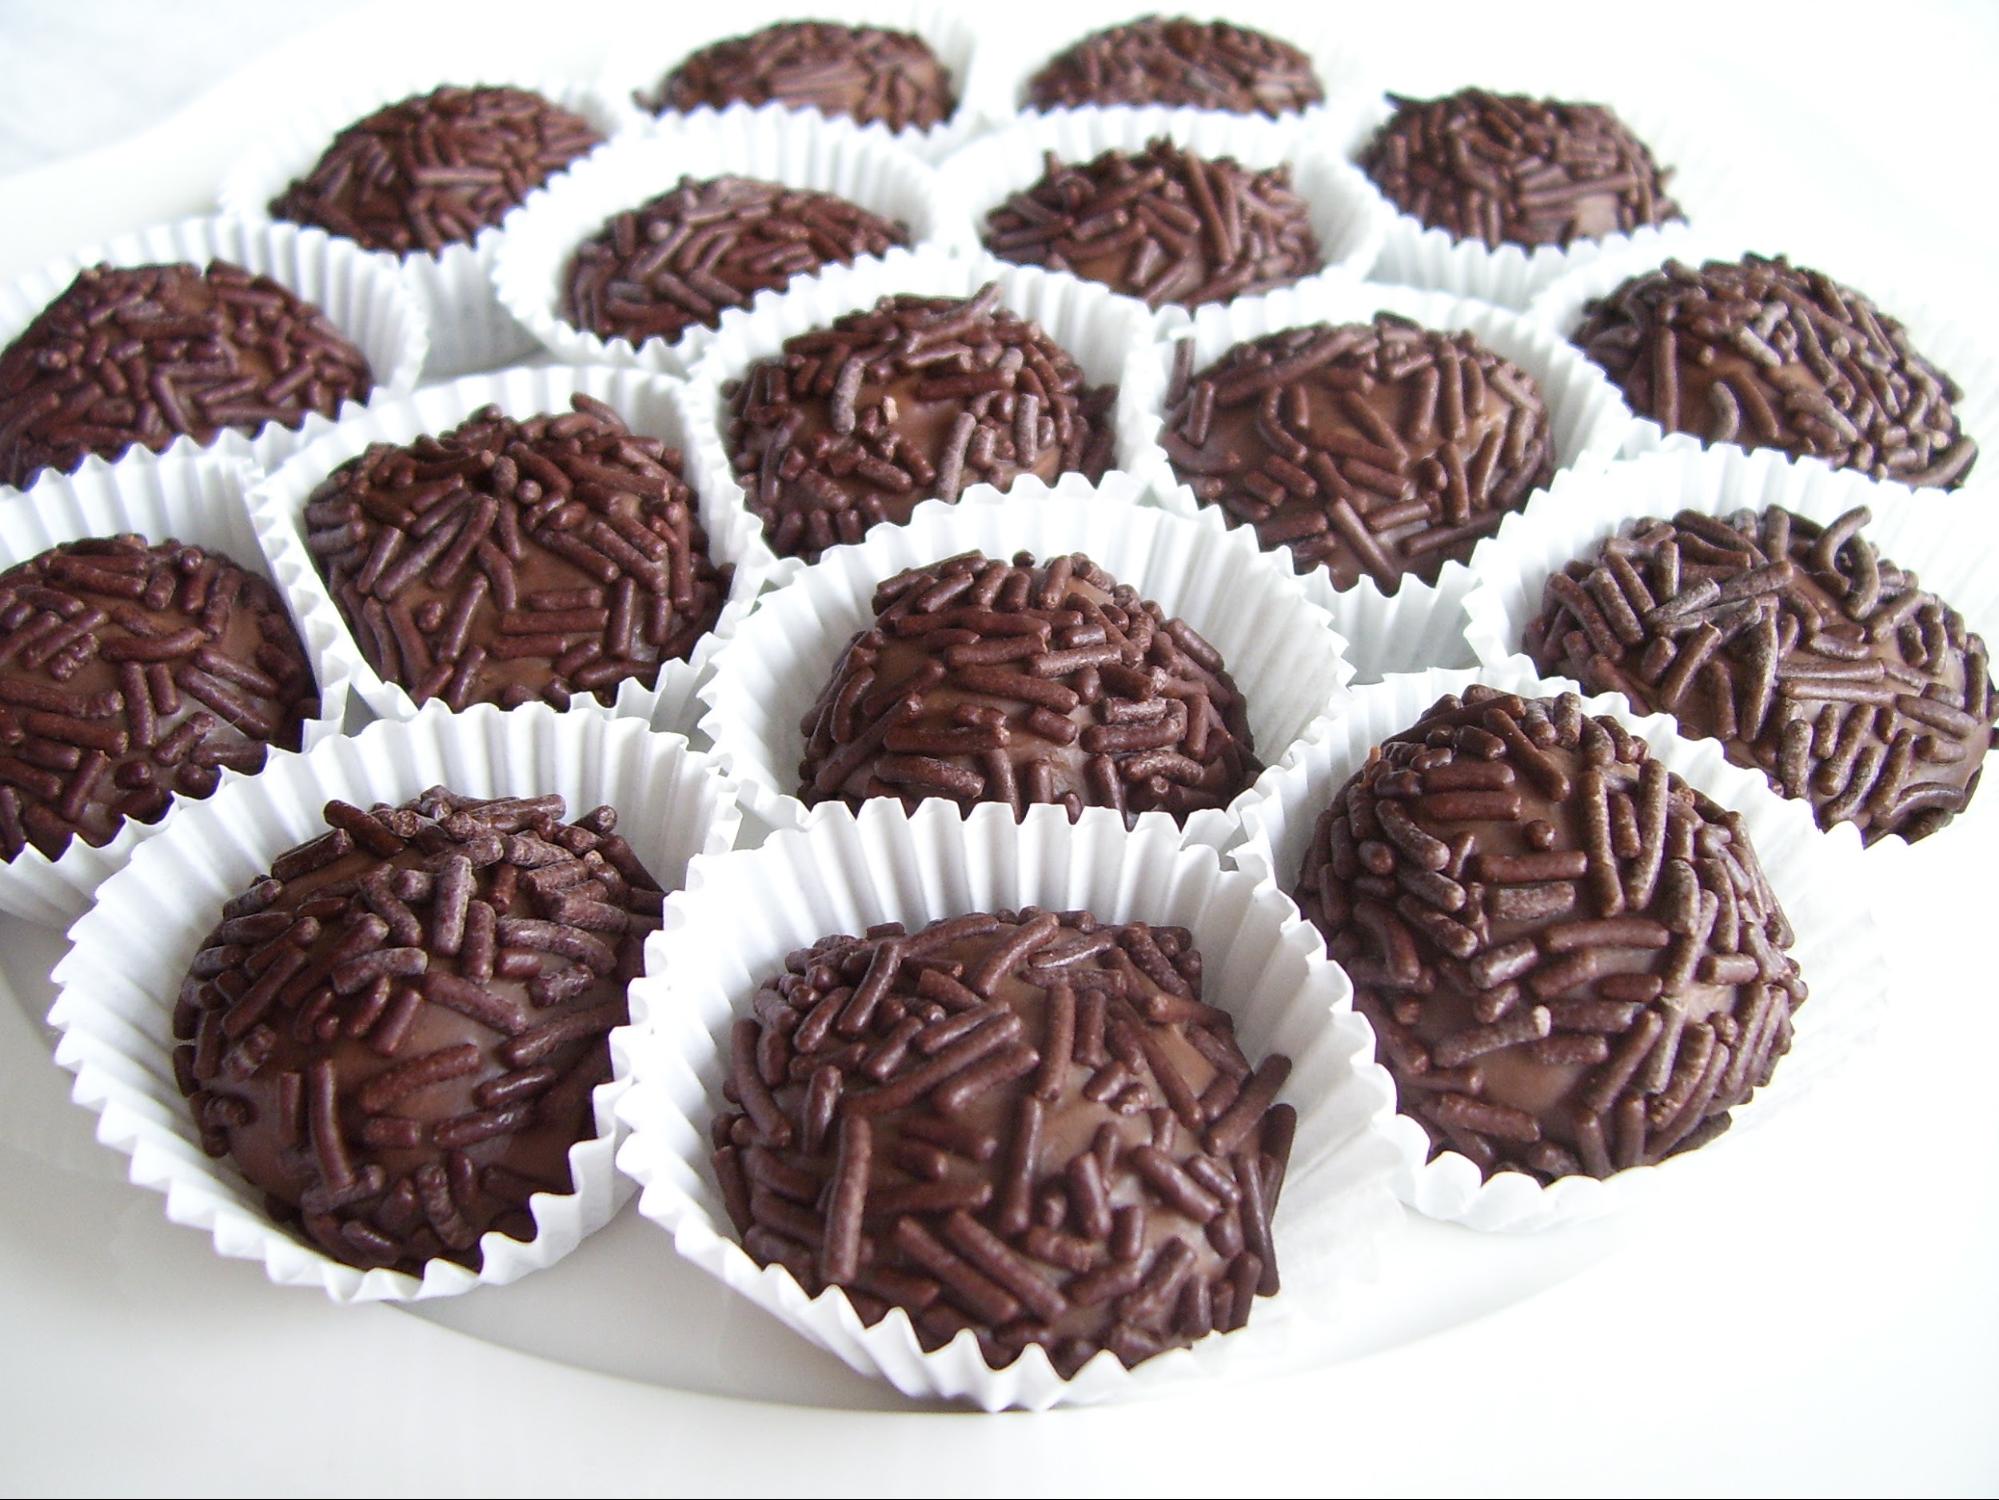
There is an enormous amount of truffle and chocolate references on the net. In the case of this project, there were lots of shapes and tastes for us to choose from. We literally spent days trying to choose this over that—it was a total nightmare!

Modeling sweetness
We like to model everything from scratch but there are cases where we use some models from other projects. For this project we took all the fruit from a previous project.
Let’s start by explaining the process. I’ll use the names of the tools as they are in Blender for easier reproduction in case someone decides to do something similar.
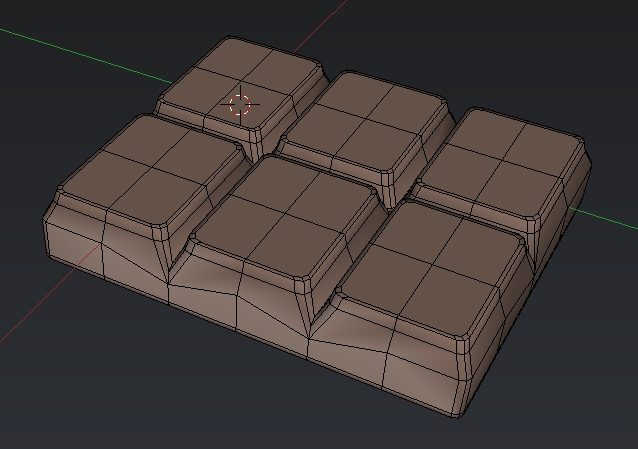
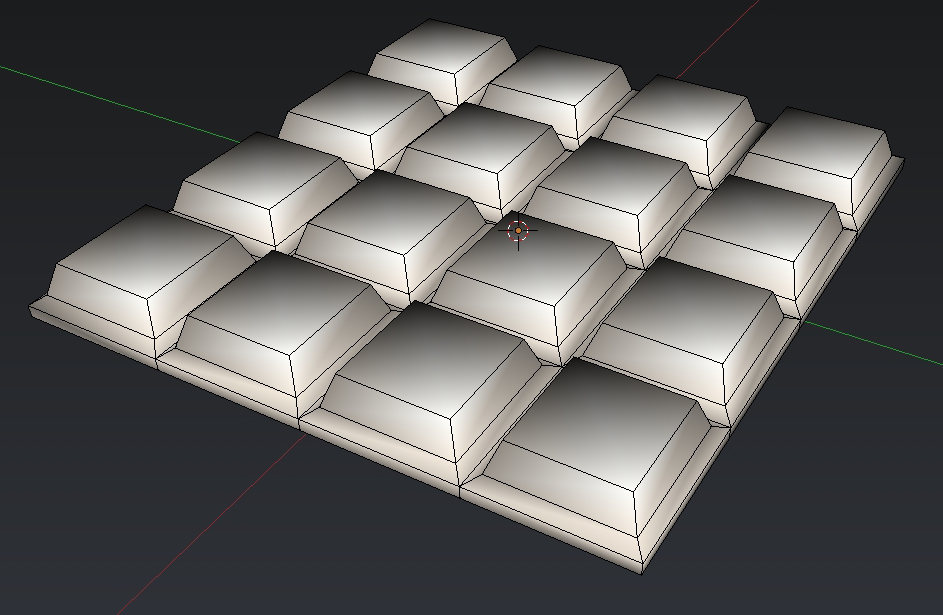
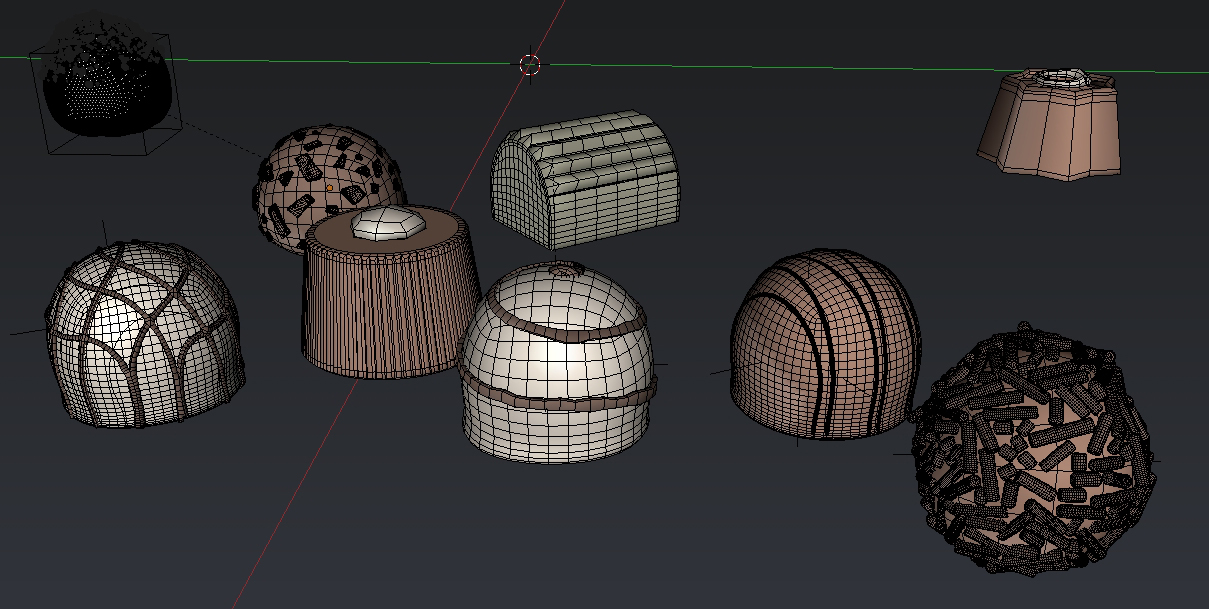
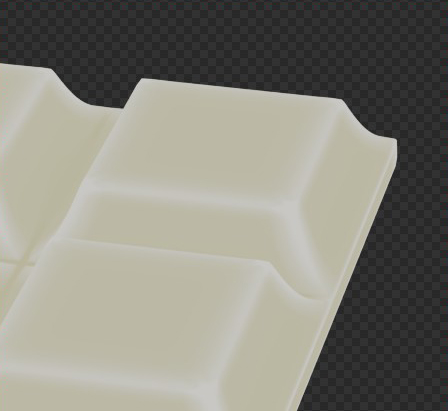
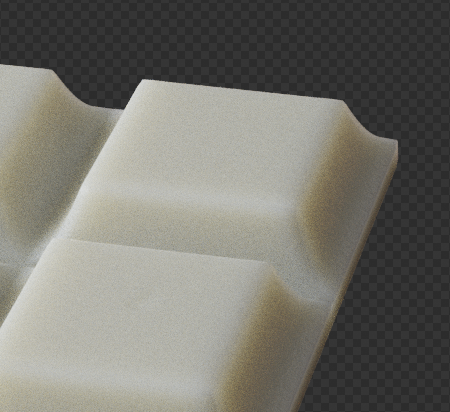
The chocolate bars are mostly a cubic shape in array. So, starting from a cube, adding some extra loops and shaping the basic piece seemed to be the best solution. The Array modifier was used to form the bar in its final size but it was applied to make the connections fit for the Subdivision modifier.

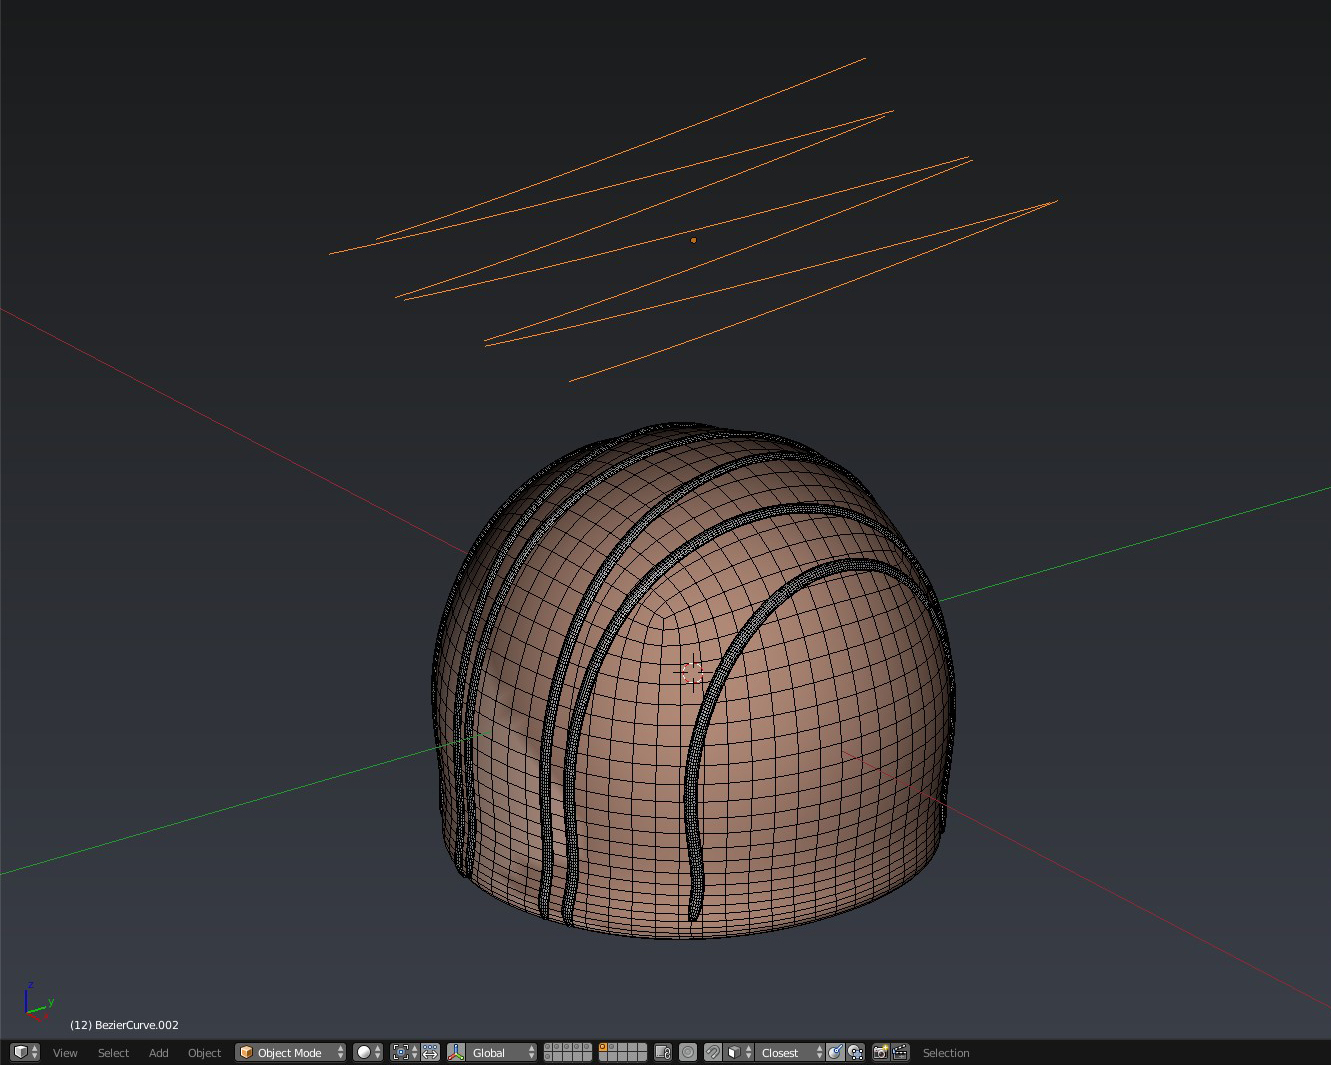
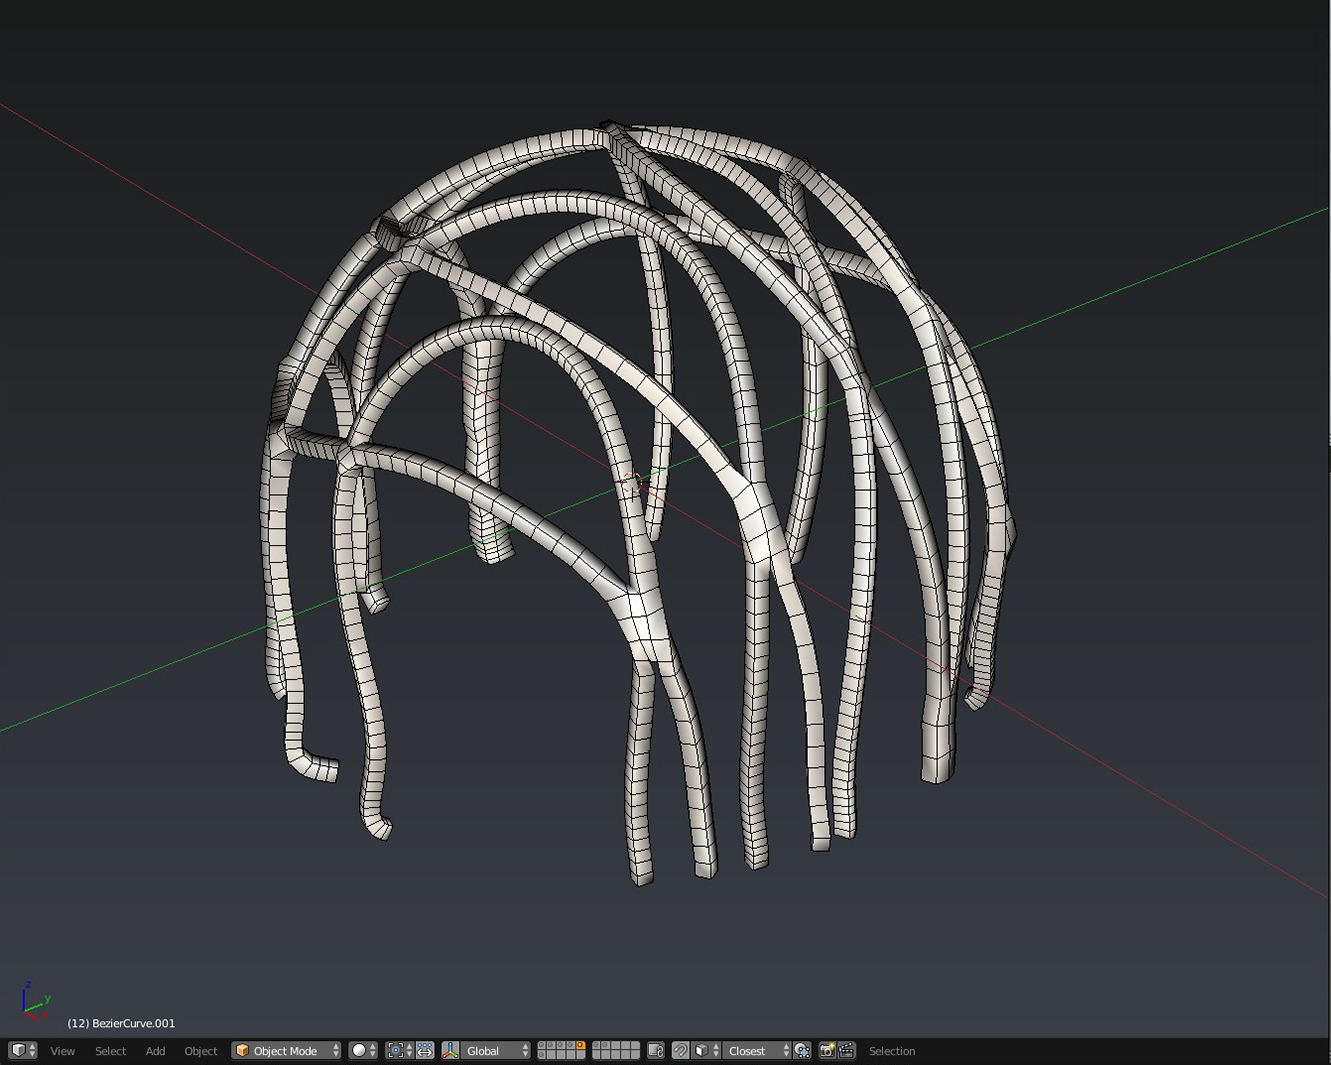
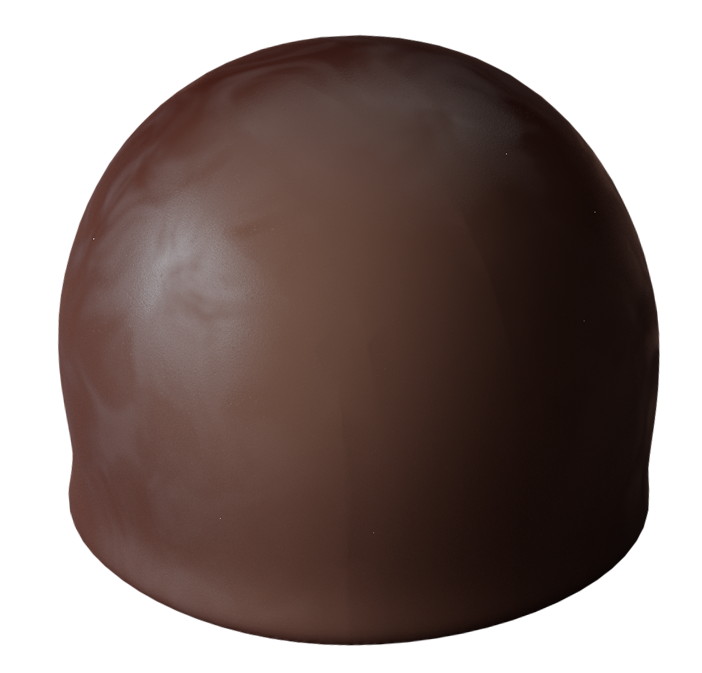
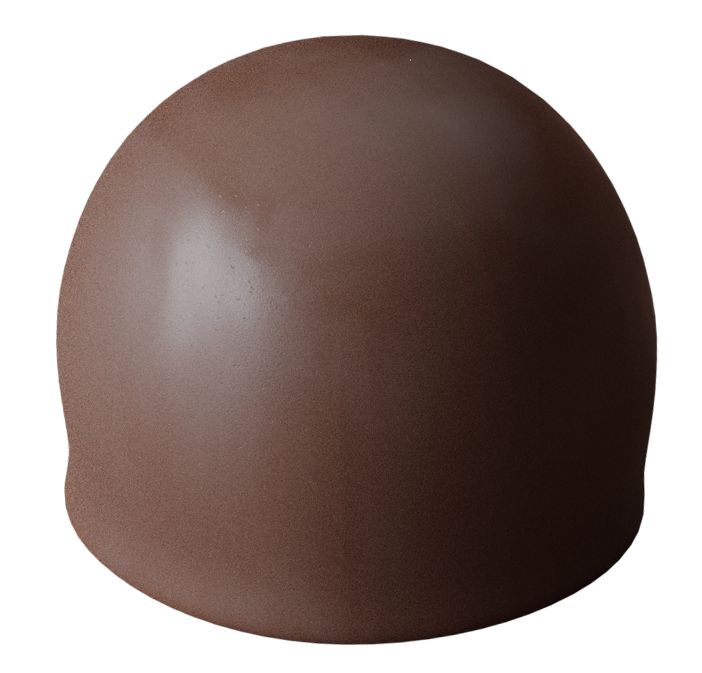
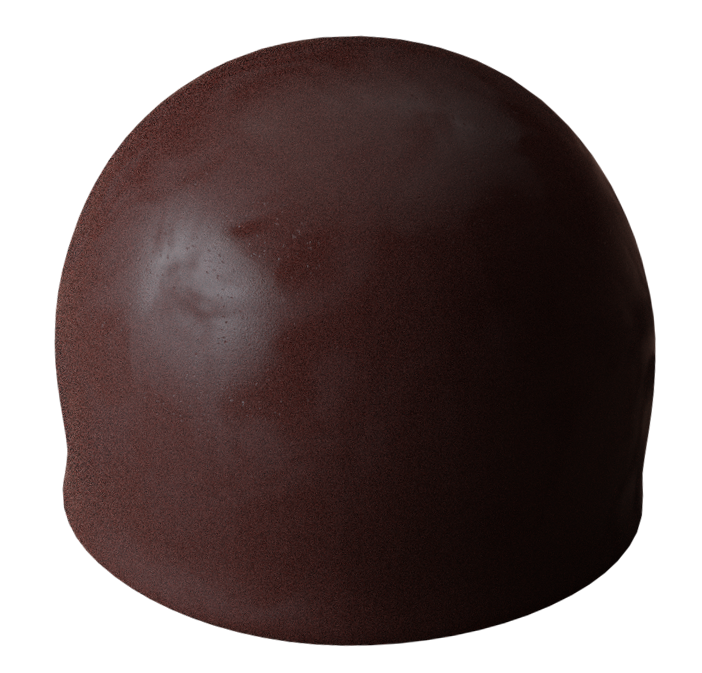
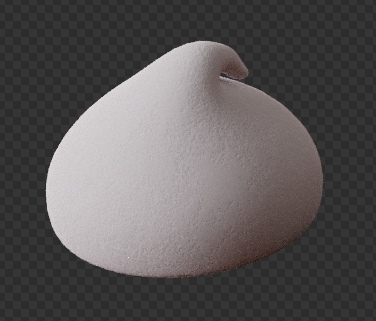
The same simple cube was the base for the truffles. We messed a little with selected loops of the cube to give a slight variation to the shapes. Remember that these truffles come out of aluminium forms, so just a slight variation will do the trick. For the chocolate lines, we drew the curves flat, selected the truffle, then switched to Edit mode and did a Knife project with cut through checked. This gave us a series of loops which we then converted to curves and extruded.
In the case of crossing chocolate lines, after extruding each direction separately, we joined the two shapes and used Bridge to make the joints look more natural with Subdivision modifier.
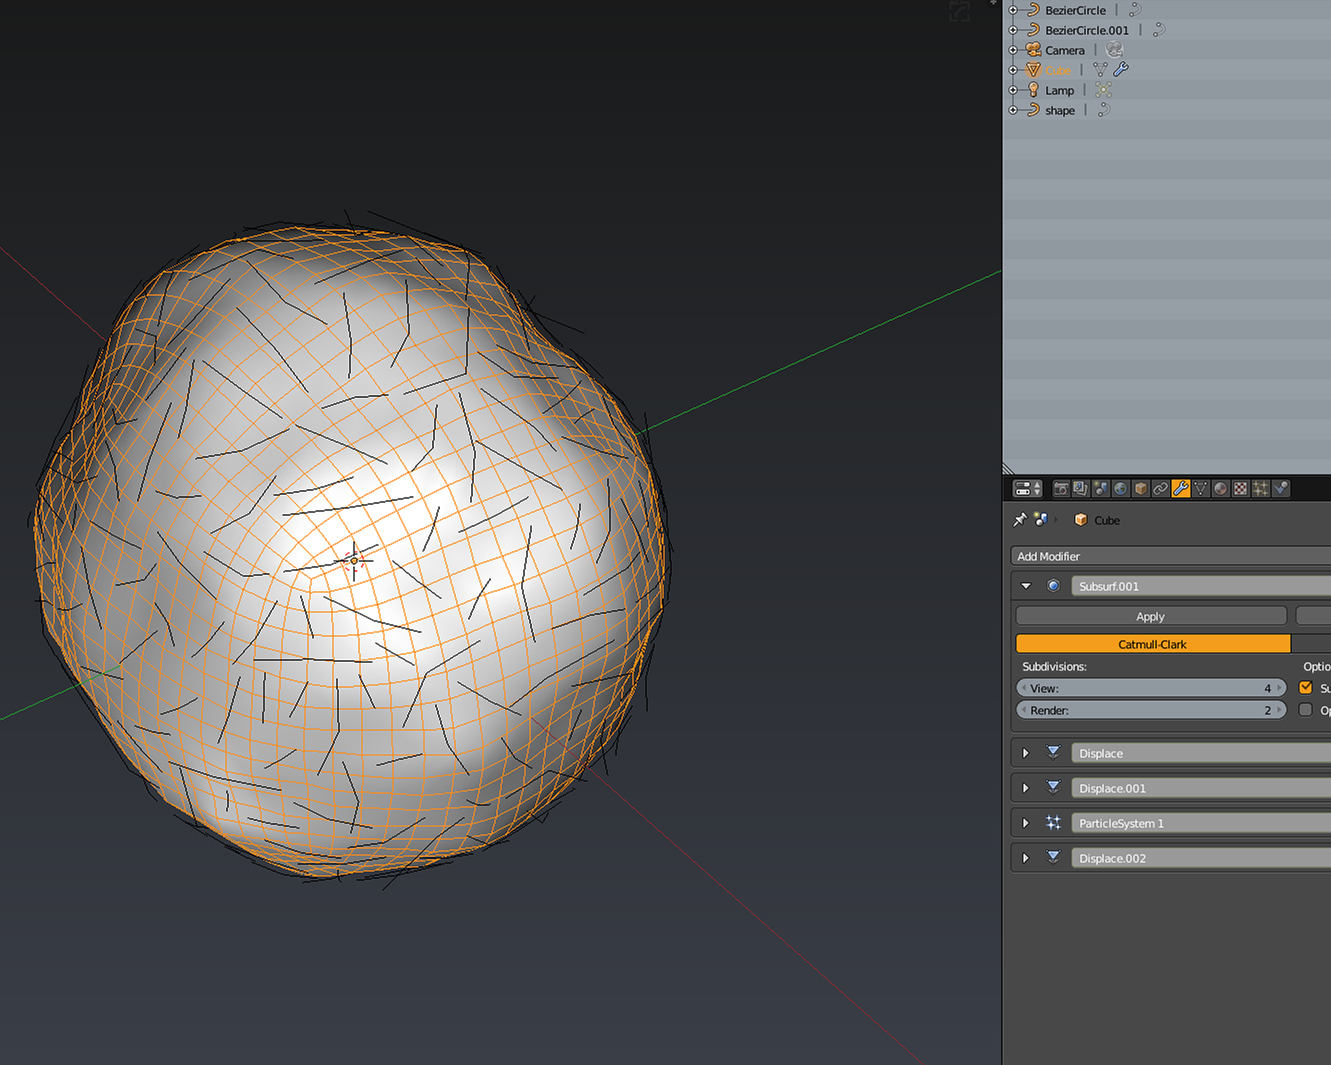
The sprinkles truffle was a bit more complicated to model. The basic shape is a multiple displaced cube. For the sprinkles, we added a hair particle to get some nice dispersion, then used Group to replace the hair with a set of lines in different sizes. Lines were then Shrinkwrapped onto the cube shape with a slight offset; that’s the trick here to make 2D shapes wrap correctly. We converted the line particles into curves, added Bevel and Converted again to mesh. We Filled Holes in Edit Mode and added a Bevel Modifier/Angle. Then we added Subdivision and Smooth Modifiers and voila, the sprinkles were ready! The same method was used for the chocolate flaked truffle, but instead of lines we used planes, which were then extruded and sculpted a bit.
Materials
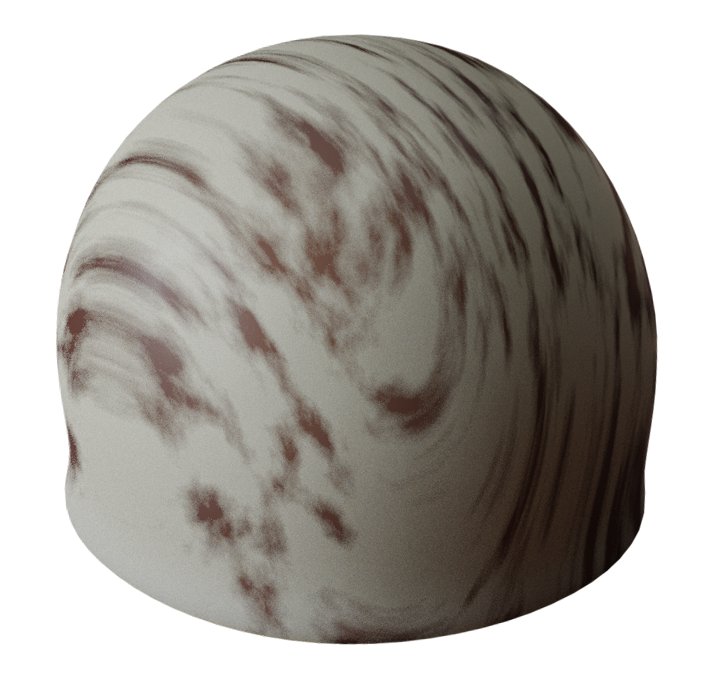
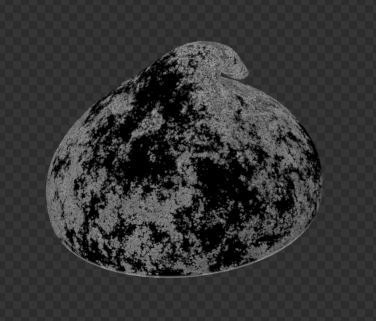
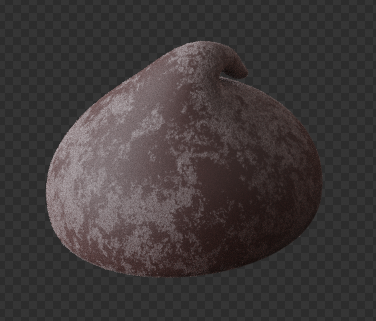
When you have to deal with so many objects with different materials it’s quite easy to lose the ball. Apart from using different layers to organise the objects, I used Groups to organise the materials. I started with a group of RGB colors for the different chocolate kinds, and a base chocolate material. Marbled material is a mix of the base chocolate and white chocolate, using distorted noise as a factor and a dedicated mapping. The chocolate material is highly influenced by String Fairy’s tutorials and uses BlenderDiplom Scale SSS node setup.


You can see I added Pointiness and mixed it with the color I used for Subsurface. Although subtle, it seemed to me like a nice addition to better define the subsurface look on the bar edges.

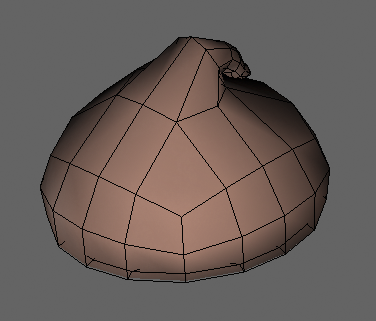
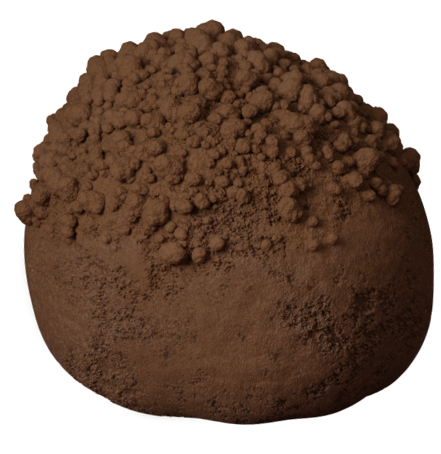 Cocoa, on the other hand, was really hard to capture and still I’m not happy with it. The basic shape has two Displace modifiers and two particles for the top spheres. The top spheres are actually an Isosphere Subdivided and displaced twice. The material is a labyrinth of noise, plus voronoi textures for Color, Roughness/Specular and Bump.
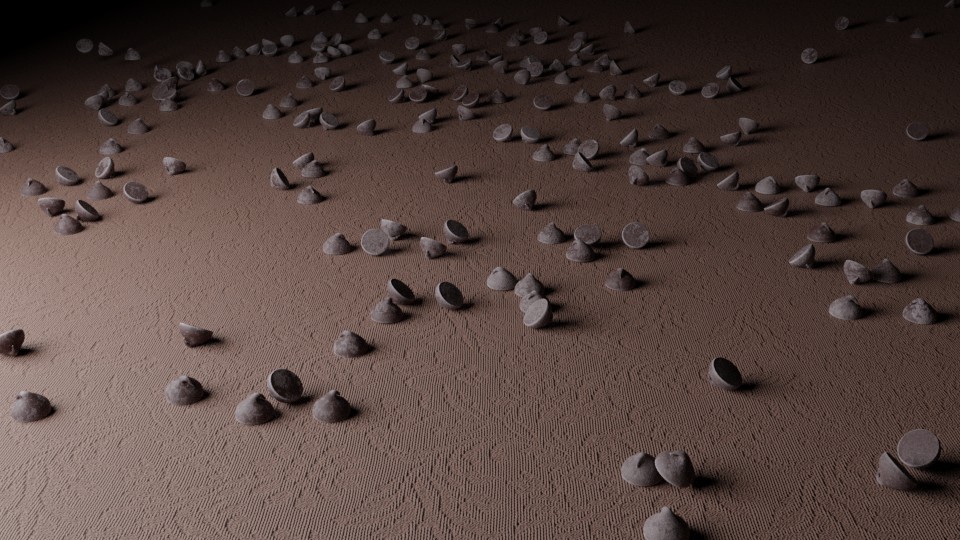
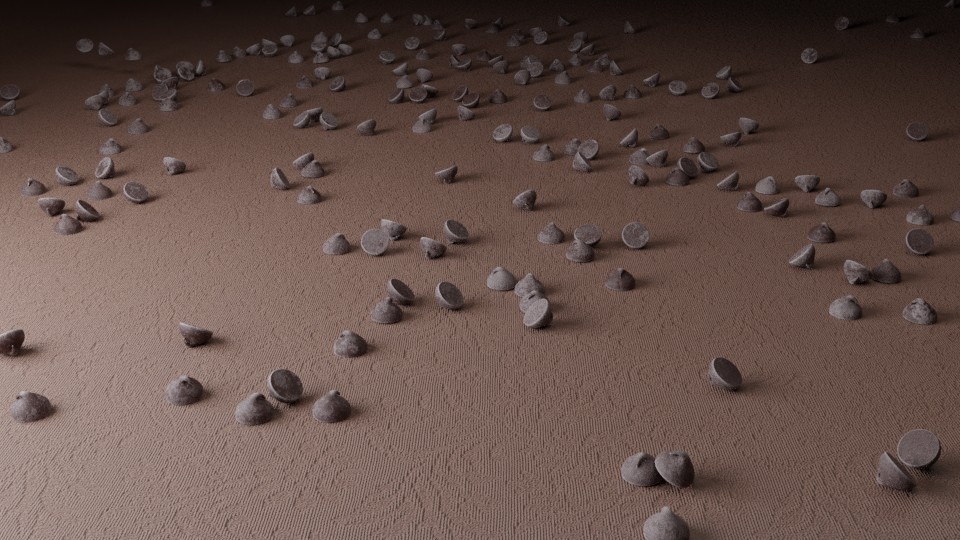
The drops
The easiest part in this part was to model the drop, and the hardest was to disperse them nicely on the floor surface. The procedure started by using a plane to generate hair particles with a density weight painted texture, then convert them to actual objects, make them active Rigid bodies and start dropping them on the passive Rigid body floor plus using the other objects (very low res!!) as obstacles. Easy? Many, many tests with different heights, rotations, concentrations, you name it. In the end, there is always need to move, rotate some around or delete some.
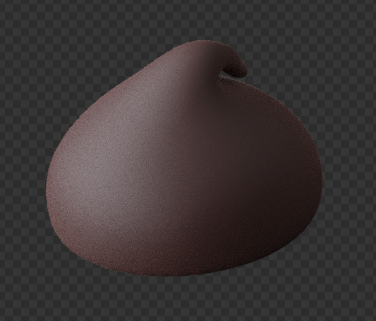
The material is a mixture of dark chocolate with matte finish and a pinkish/white, like powder material.
Lights, Camera, Render
Since it is a moody image not everything should be well lit. Two lights were used in this render. One on the left with a softbox HDR image plugged into color, and the other on the back and above uses a plain Emission shader with Light Fall off/Quadratic plugged into Strength. The back light apart from fill light makes the subsurface show just enough to add more realism and, in my opinion, fall off made it possible to keep some parts quite dark.
No special adjustments were made to the camera, we just used the default setting of 35mm and 1920x1080px at 200%. After rendering I pushed the exposure/gamma a little. I used 1600 samples (too many) but, even at that number, some denoising in selected areas had to be done inside Photoshop. I also blurred the background in Photoshop. (I’m really in the dark when dealing with the Compositor.)


Lesson Learned: Search for the similarities, not the differences!
I feel confident using Cycles despite the hard to learn node system. I was caught in the vicious circle of comparing the two renderers, Maxwell and Cycles, trying to “copy” one’s material system to the other. In this case it worked successfully, I think, but in some other trials I failed completely. After a period of frustration, I focused on my skills and not the different renderer, so everything became clear again and the nodes seemed a lot easier.
About the Author
Ioanna Papadopoulou, long time rendering artist, specialising in photo-realistic illustration for advertising. Co-founder of Studio Clip.


