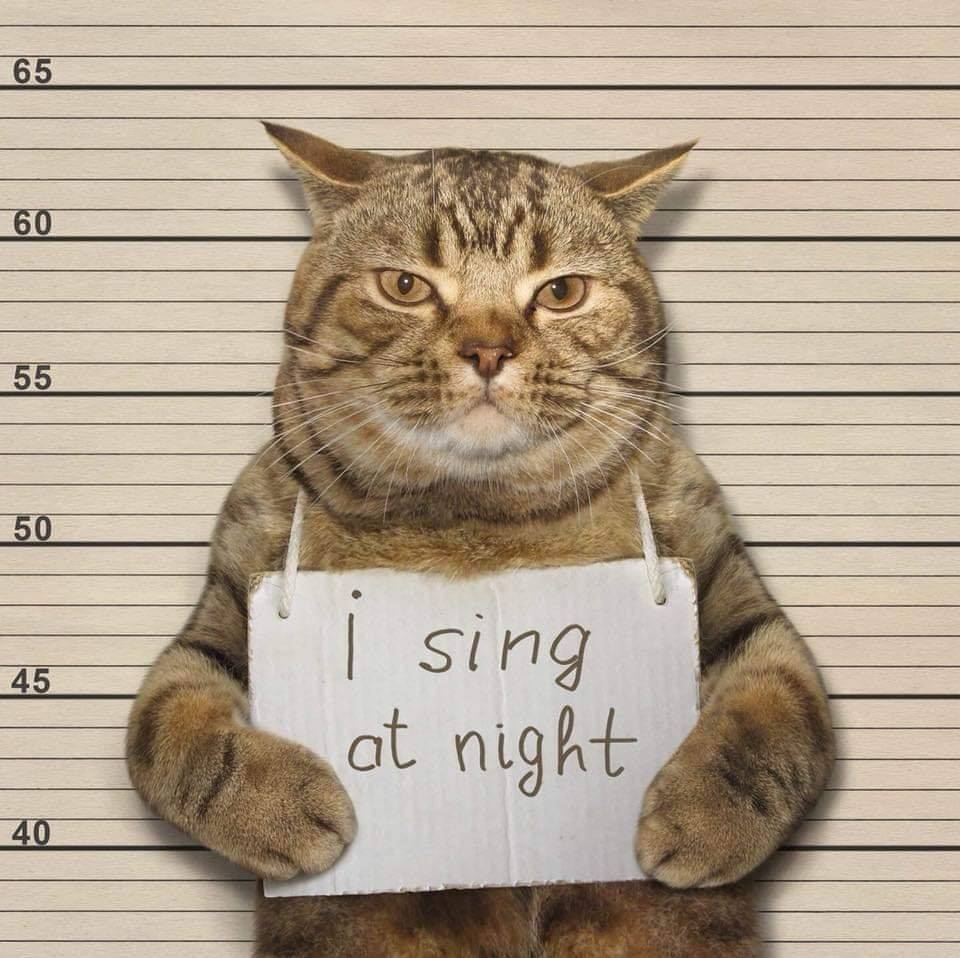
Behind the Scenes: Guilty Puss
About Me
Hi, I’m Alex Bitsadze. I live in Tbilisi, the capital city of Georgia (Eastern European country). I am a self-taught artist. It’s been 8 years since the first time I came across the CG Industry and Blender. From the beginning I was not aiming to use Blender as a professional, but after I created some basic models, I realized that I had found my passion. Unfortunately it was the time when Blender and CGI were not very popular in Georgia so I had to teach myself. The passion towards Computer Graphics was so strong that it helped me even to give up on computer games (I was addicted to computer games) and started getting more and more into Blender. All day and night I was just sitting in front of a PC and learning how anything is done in 3D. I found a wealth of Blender tutorials around the internet.(special thanks to Andrew Price, David Ward, Kent Trammell). I felt really amazing creating 3D art! Now instead of games I’m addicted to Computer Graphics, especially video game graphics.
Later I found out that I was becoming more professional rather than just a hobbyist so I tried freelancing on small projects. Later I was hired by a local gaming company where I worked as a 3D Generalist. So later on there were more and more offers from companies as time went by and I improved my skills. Nowadays I’m working for several companies on outsource (mainly Gaming). Also I’m a private teacher and teaching Blender at the University of Georgia. I can definitely say that Blender gave me a good life! Thank you Mr. Ton Rosendaal!
Inspiration
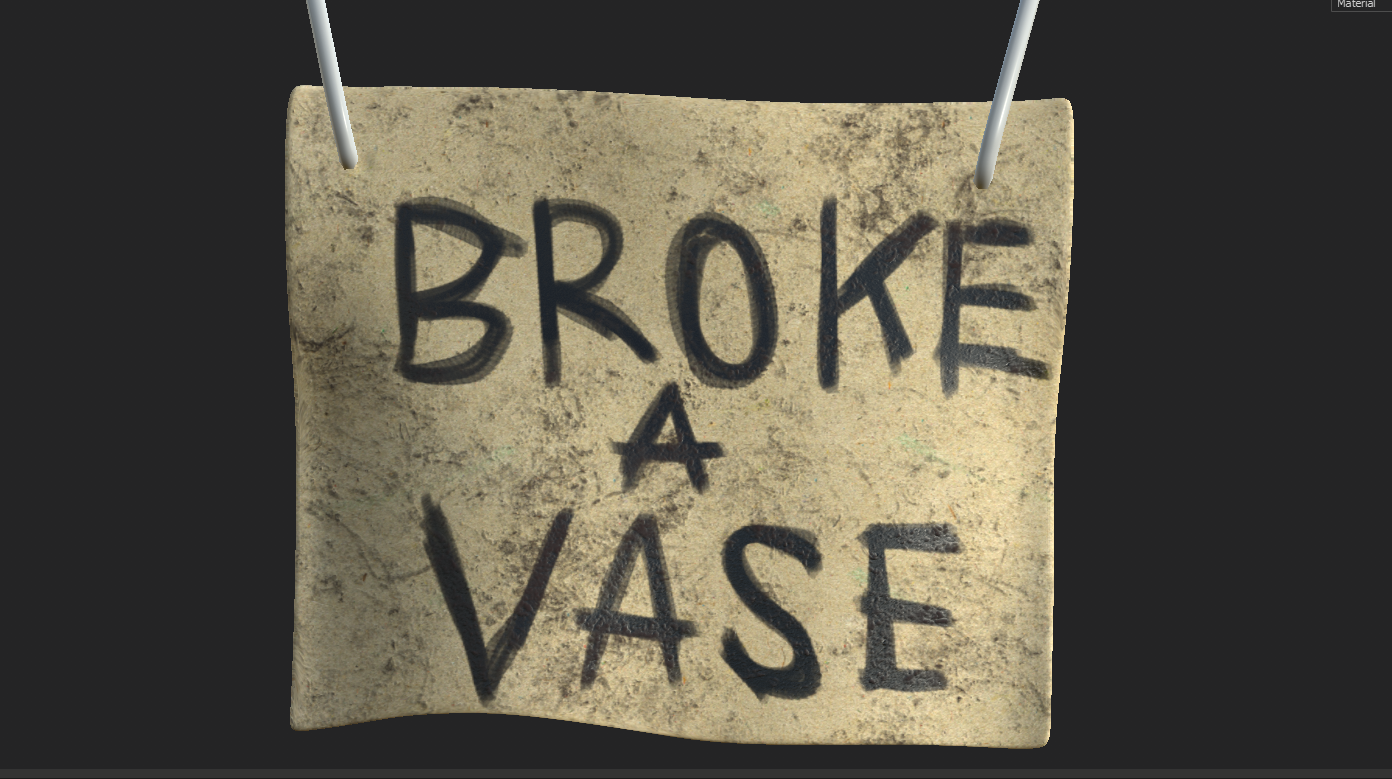
Here in Georgia we have a small kids poem about how a cat jumped on a table and broke a vase. So I wanted to create something about it with fur particles and to use sculpting. I explored some concepts and I came across a really perfect concept.
This was what I really needed! Moreover, I could use the concept as the texturing projection. So I started with sculpting the cat.
References
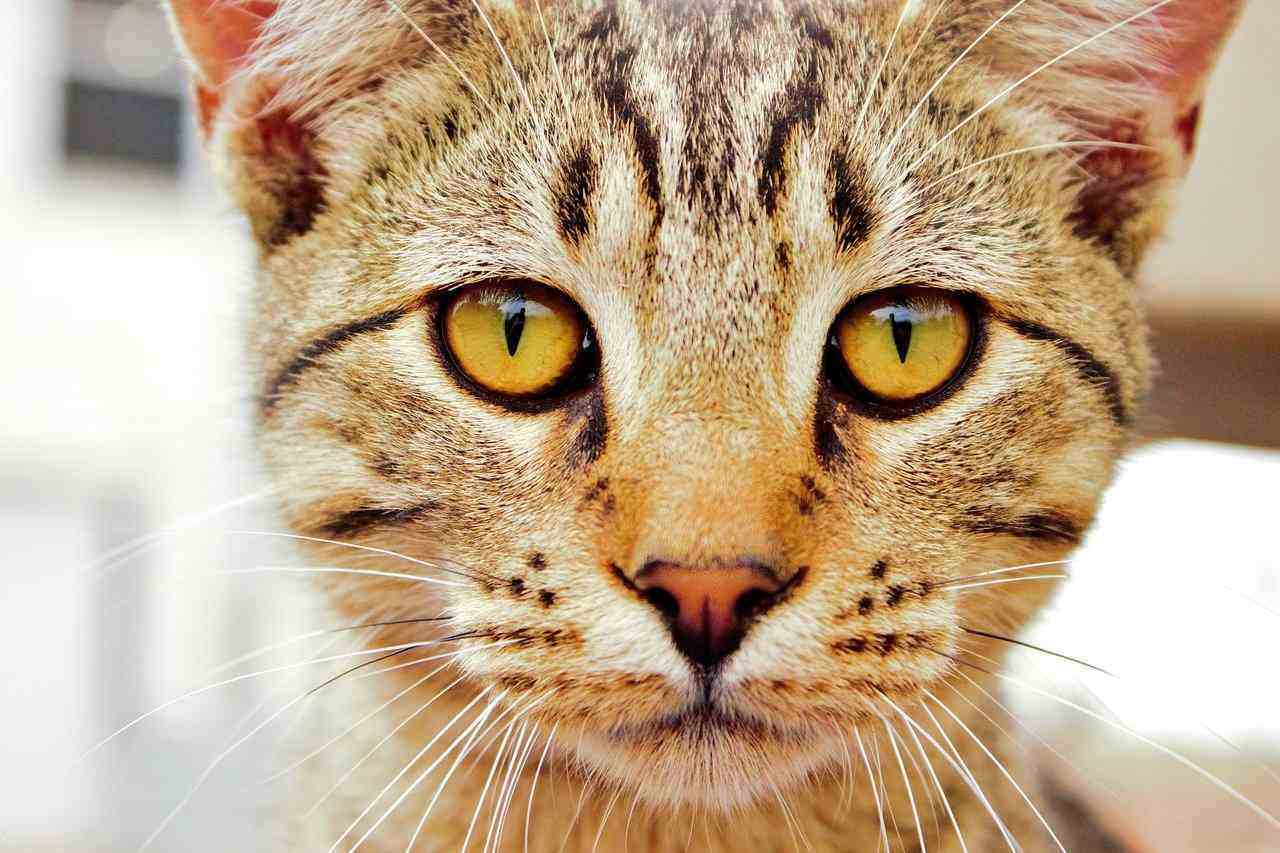
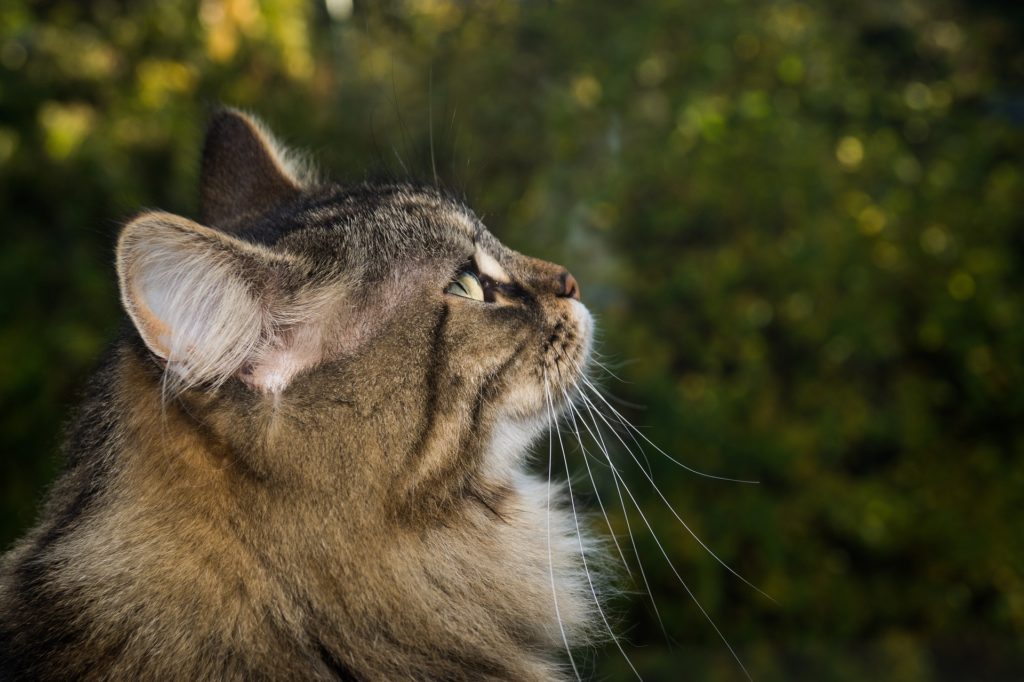
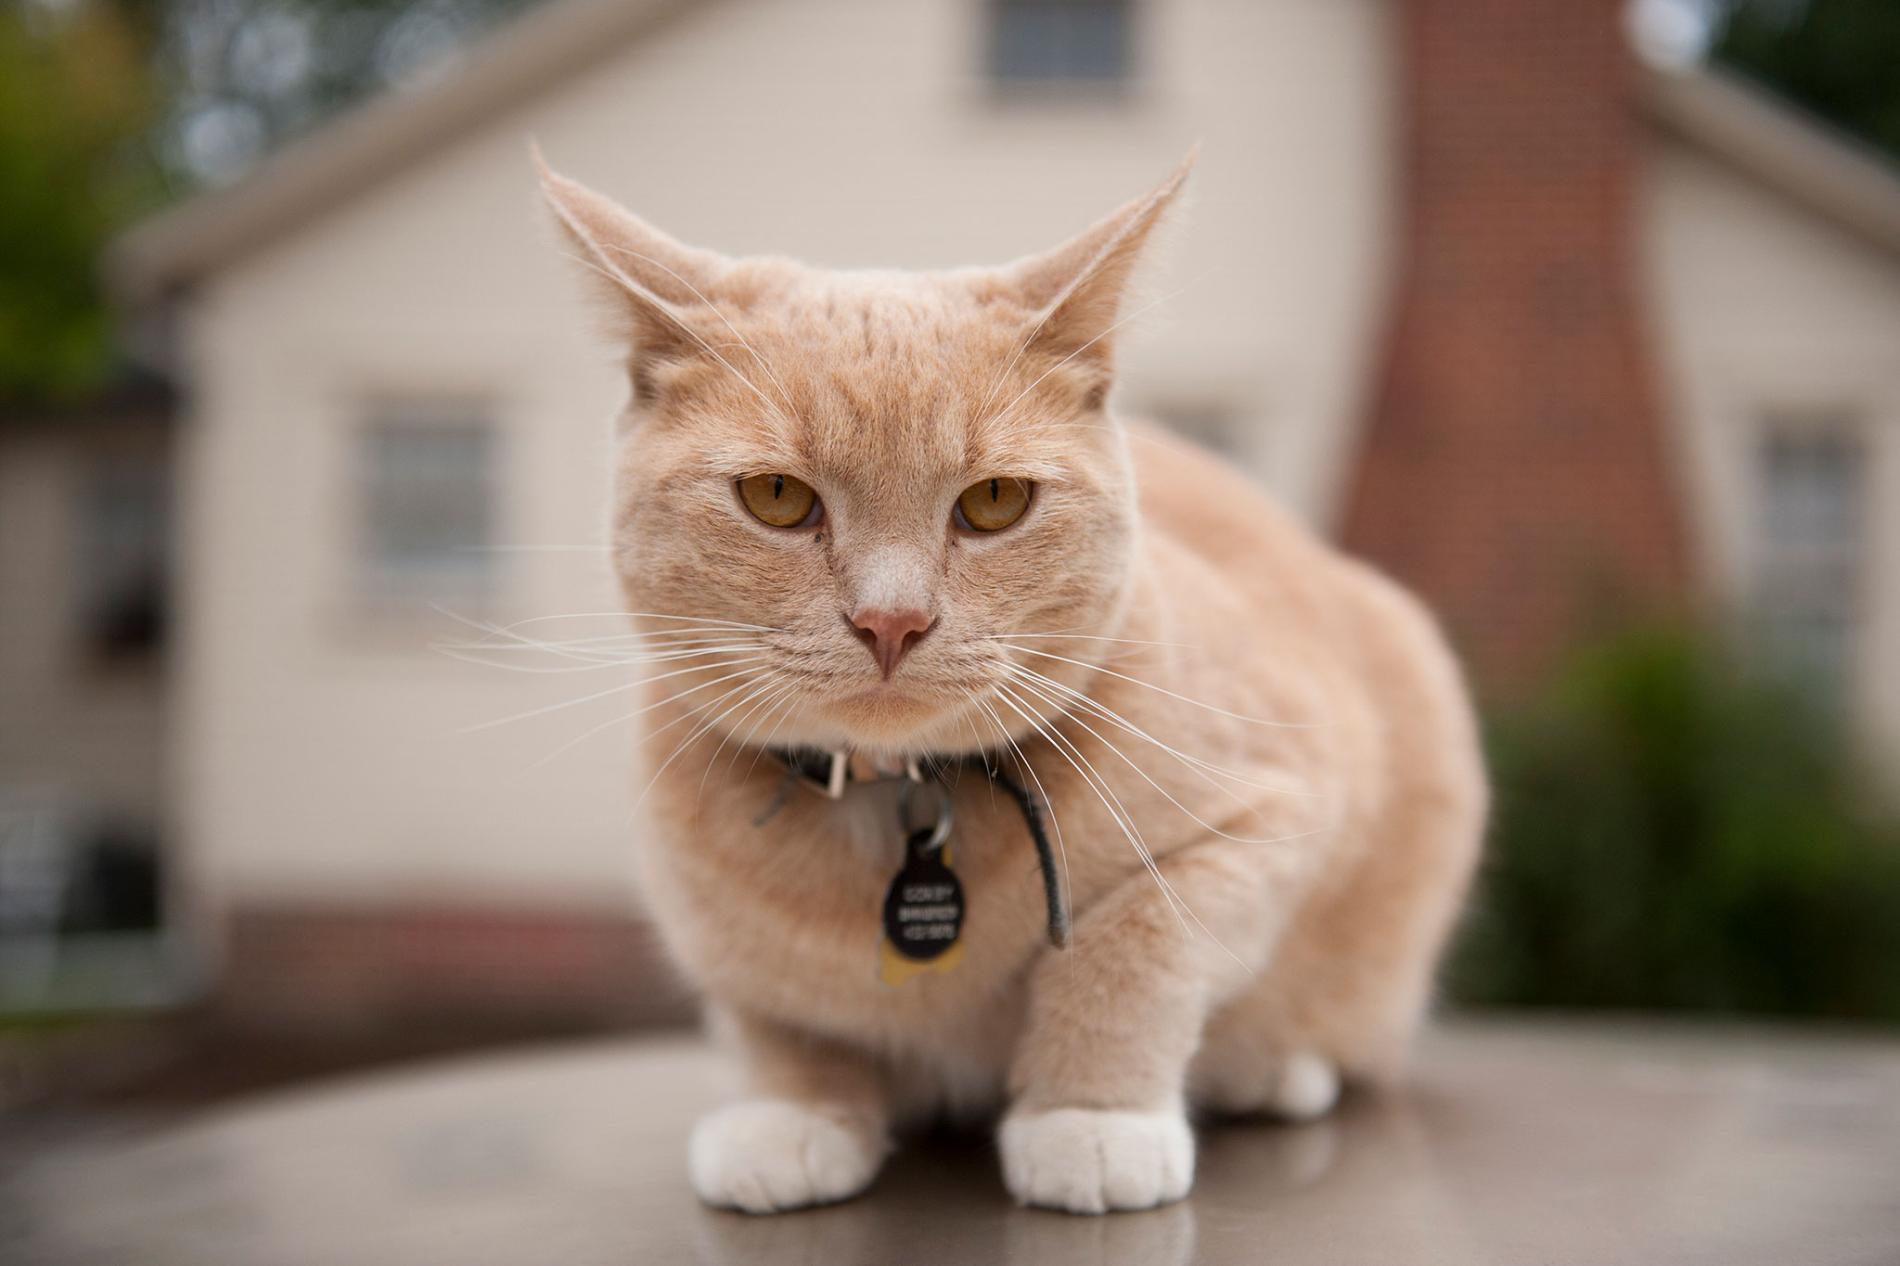
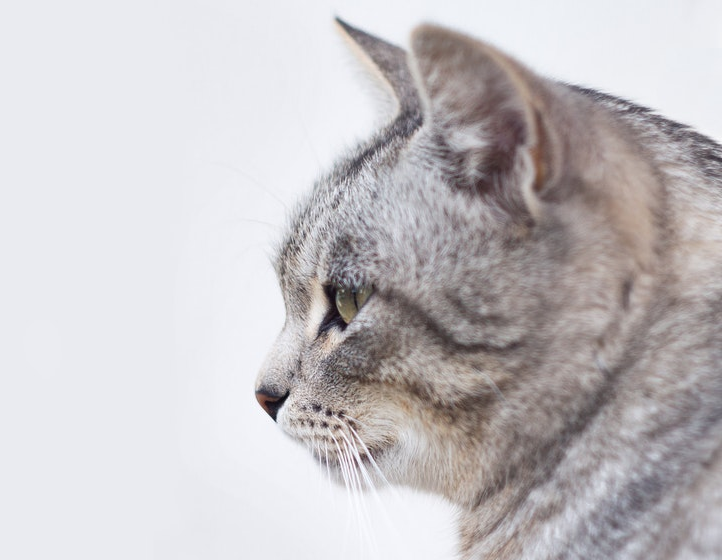
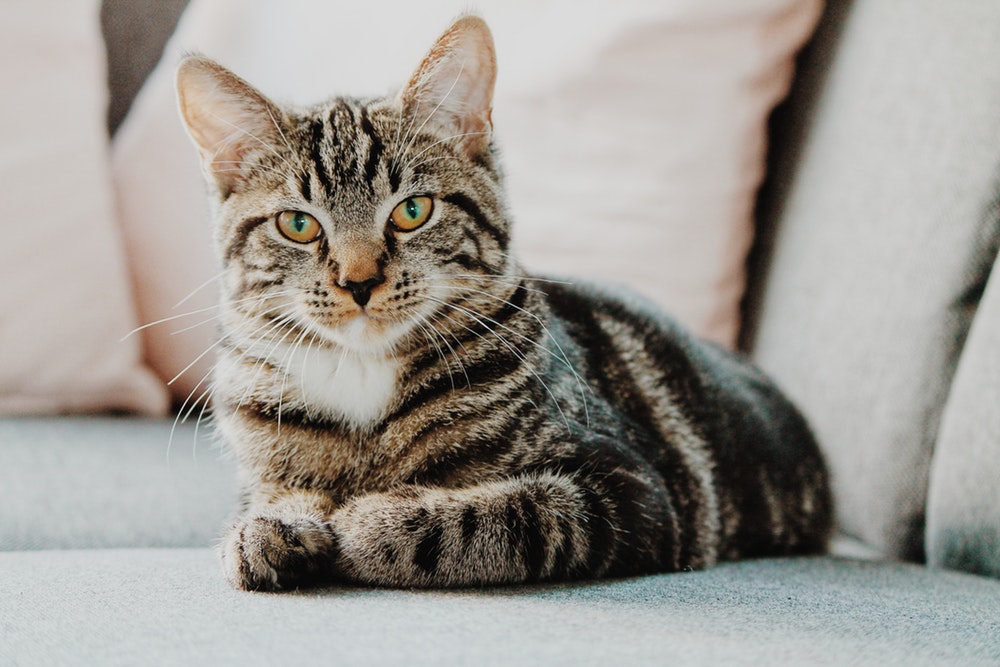
As I always say, a good work starts with good references, so I explored some more images of cats to develop the head shape of it.
Tools and Hardware
For the tools I used the following:
- ZBrush for sculpting and remeshing
- Blender for modeling and unwrapping, shading, lighting, rendering
- Substance Painter for texturing
- Photoshop for Post Processing
- PureRef for references
For the Hardware I have:
- Processor: I-3-3220 CPU 3.30 GHZ
- Installed Memory: 8 GB
- Video Card: GTX 1070 TI 8GB memory
- OS 64 bit Win 10
Workflow
When I’m going to create an organic model mostly I start with ZBrush blocking and later detailing. I use Dynamesh really often. This is how the process goes during the ZBrush phase:
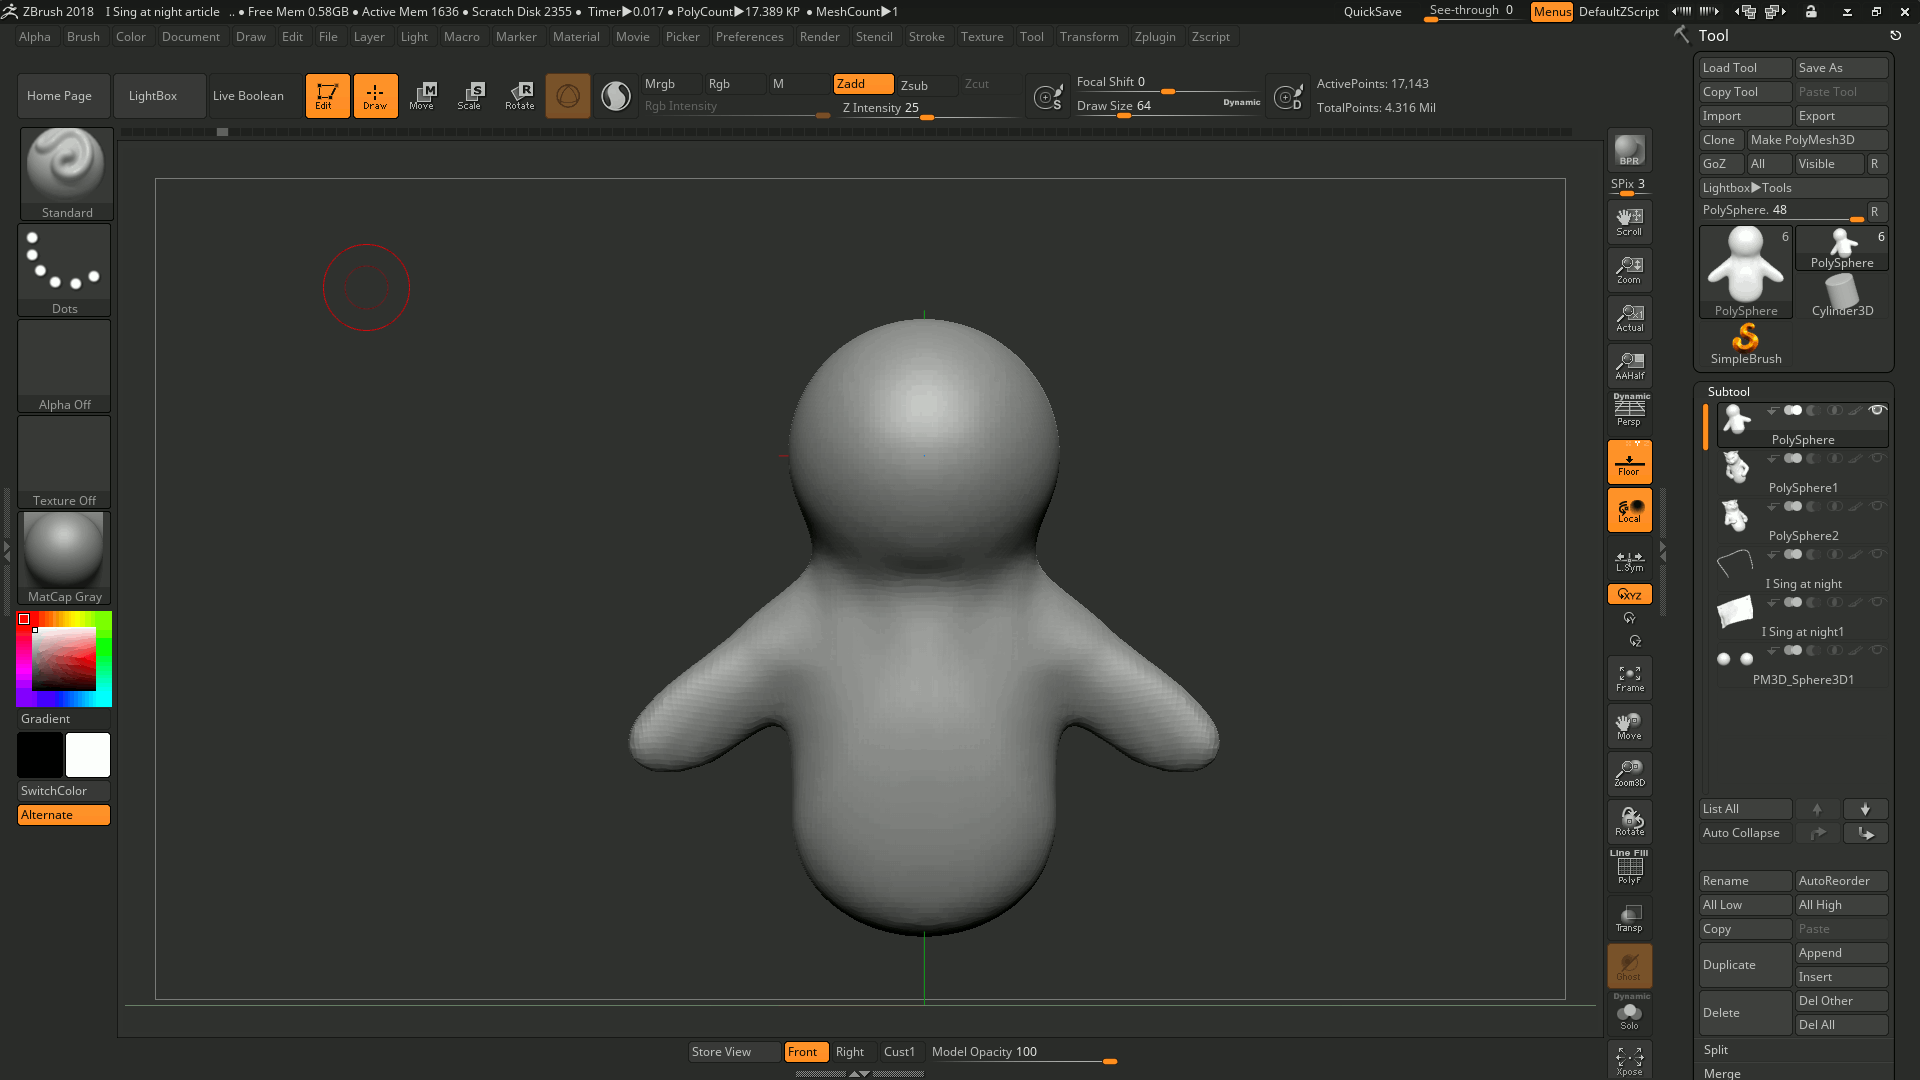
I didn’t create a lot of details, like skin, bumps, etc., because fur would cover it anyway.
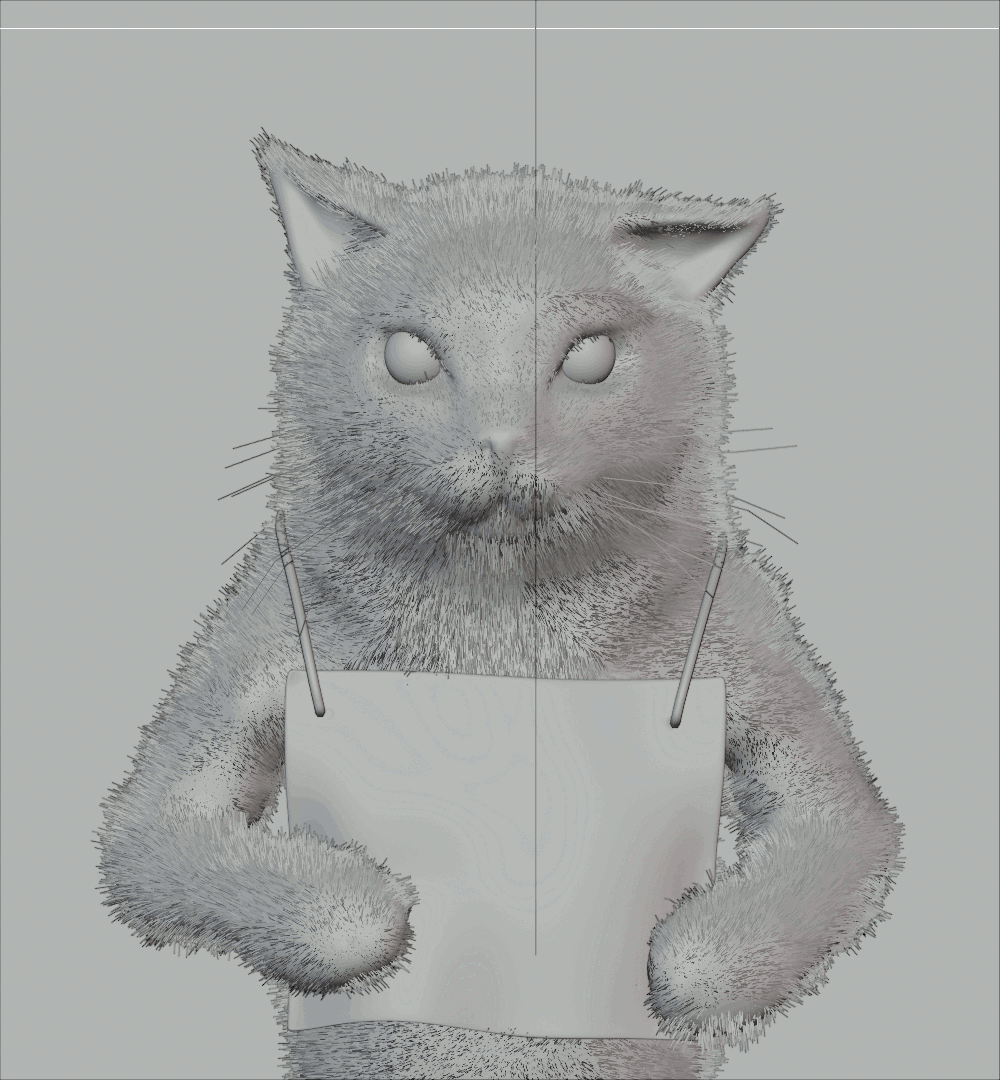
Because it’s not destined for animation or rigging, we don’t need proper topology or a T/A pose. So after creating a sculpt I gave it a proper pose; I wanted it to look right into the camera with a kind of angry/confused face. Next I added paper and rope models which I created in Blender and imported it in ZBrush. The sculpt was ready for the next phase.
The next phase was to have a lighter model with fewer vertices but to keep model detailing too, so I made a lower poly mesh with ZRemesher and made a projection on the original model.
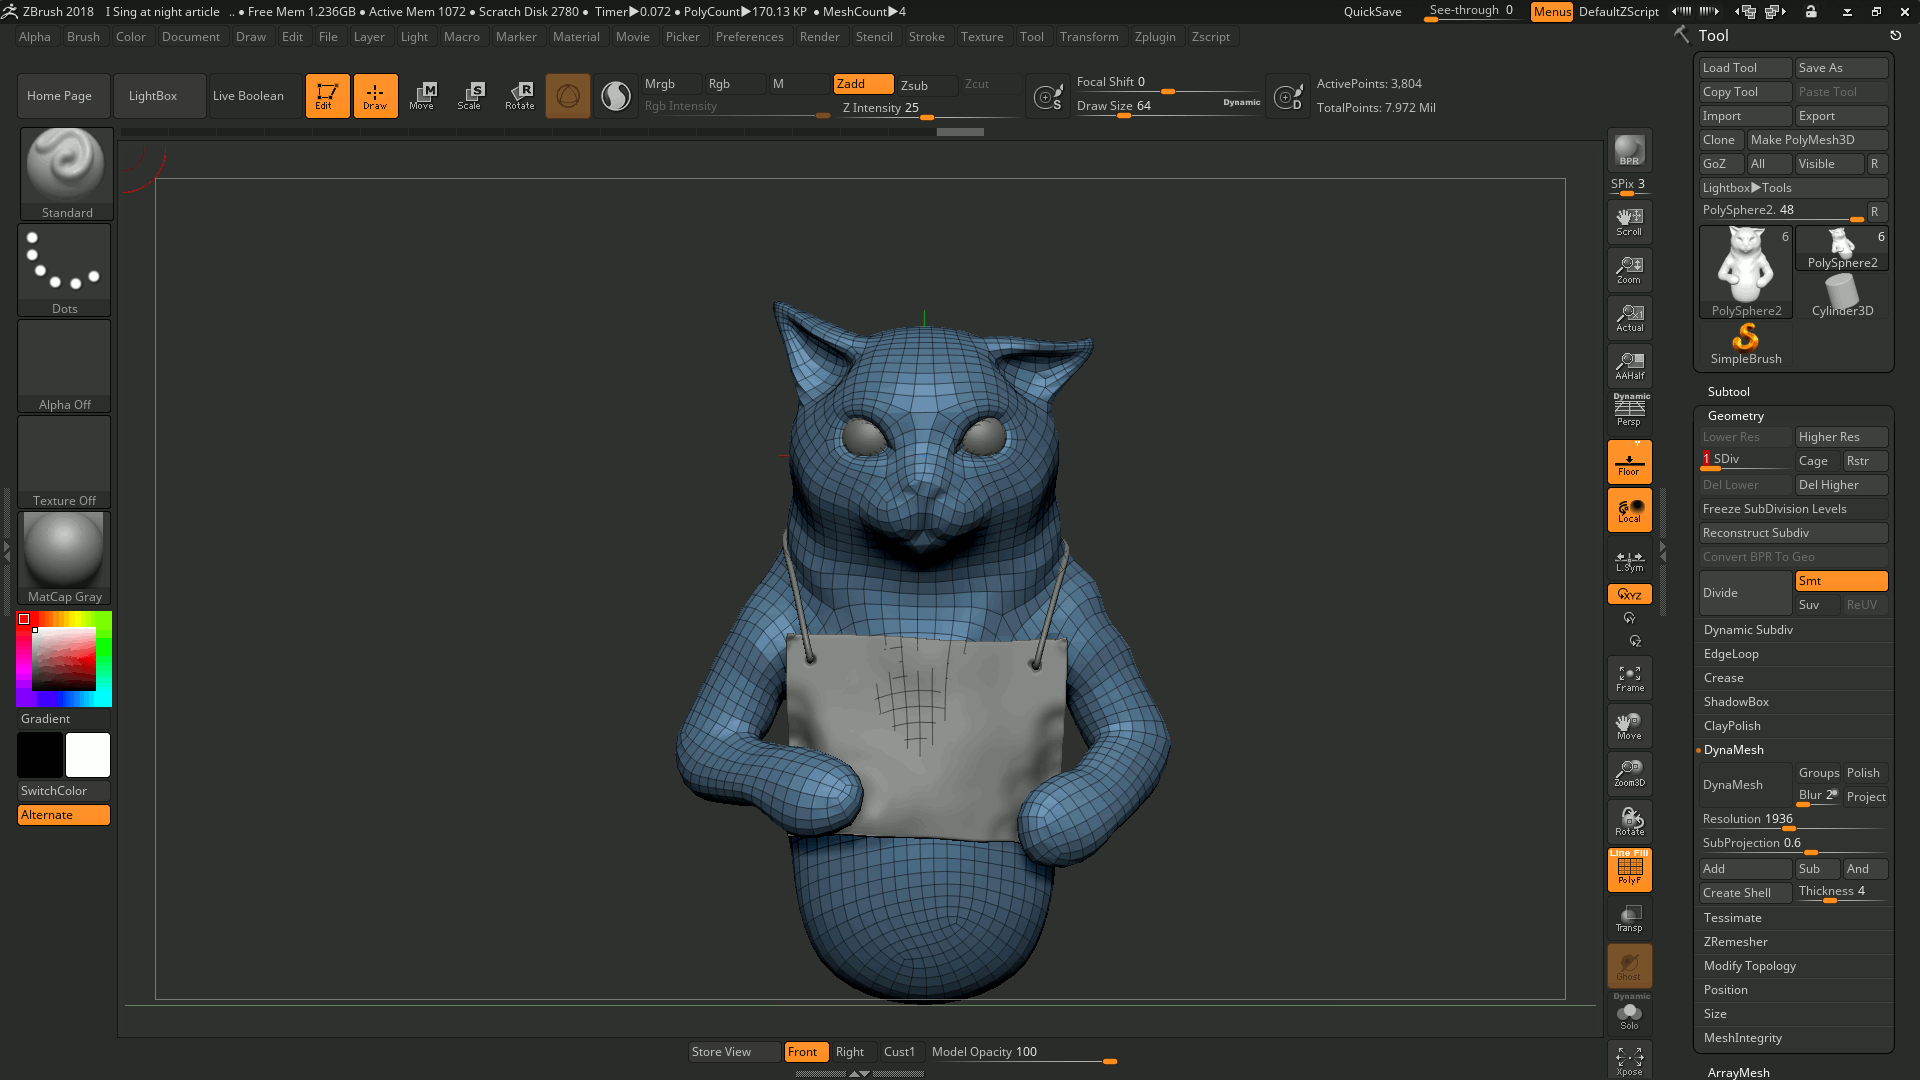
Of course I used a subdivision level of 4 so that after the projection I would have better vert count and the details would remain on the model.
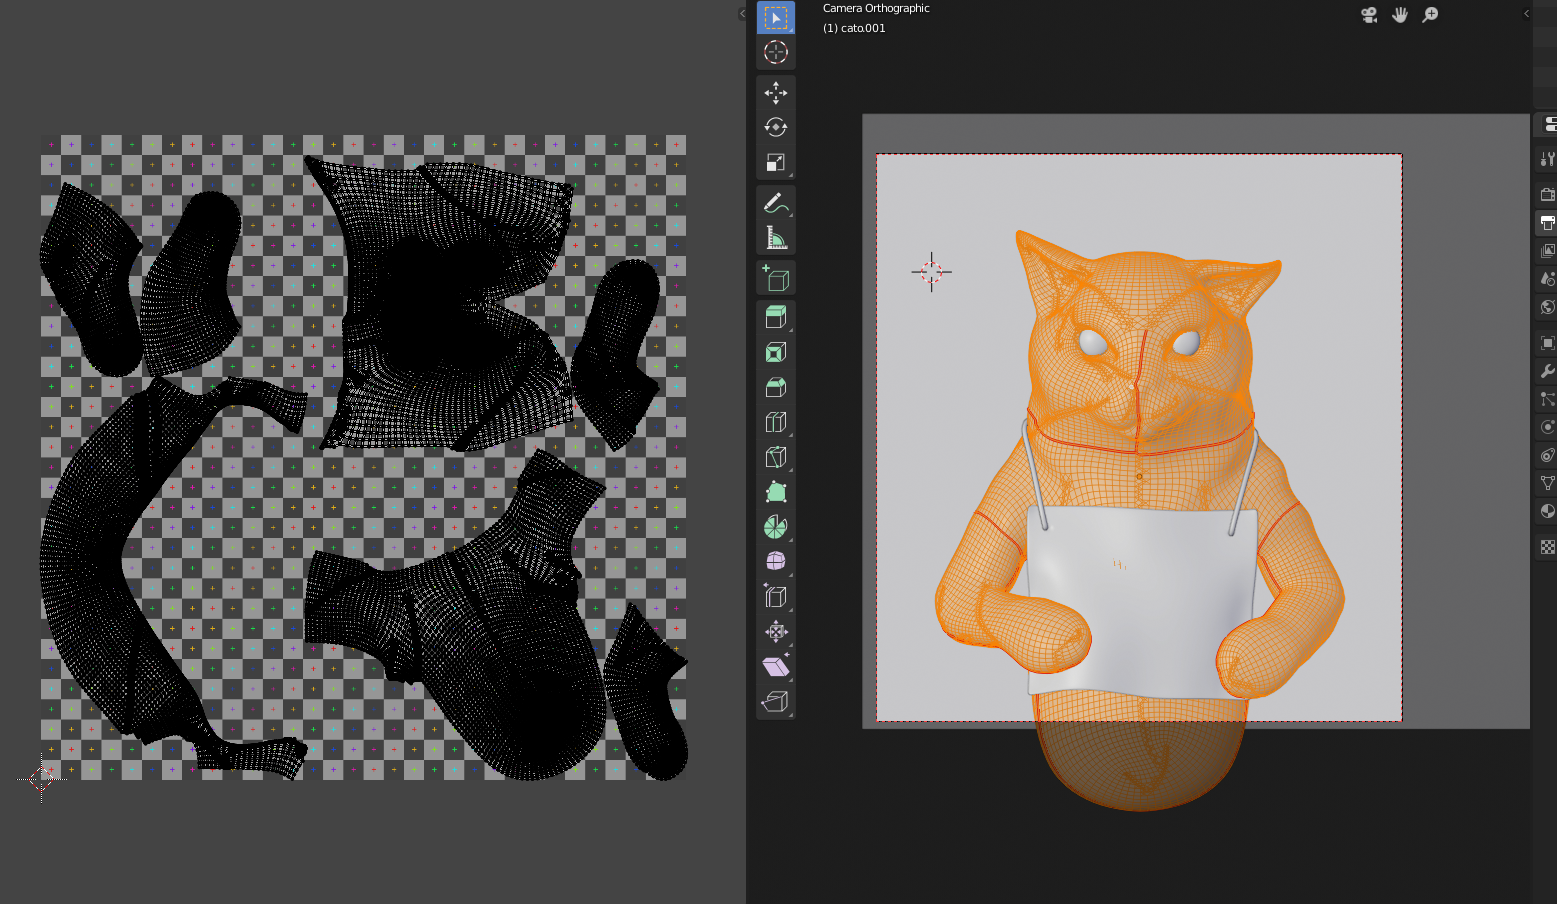
So the next phase before importing to Substance Painter was to unwrap it and give material names:
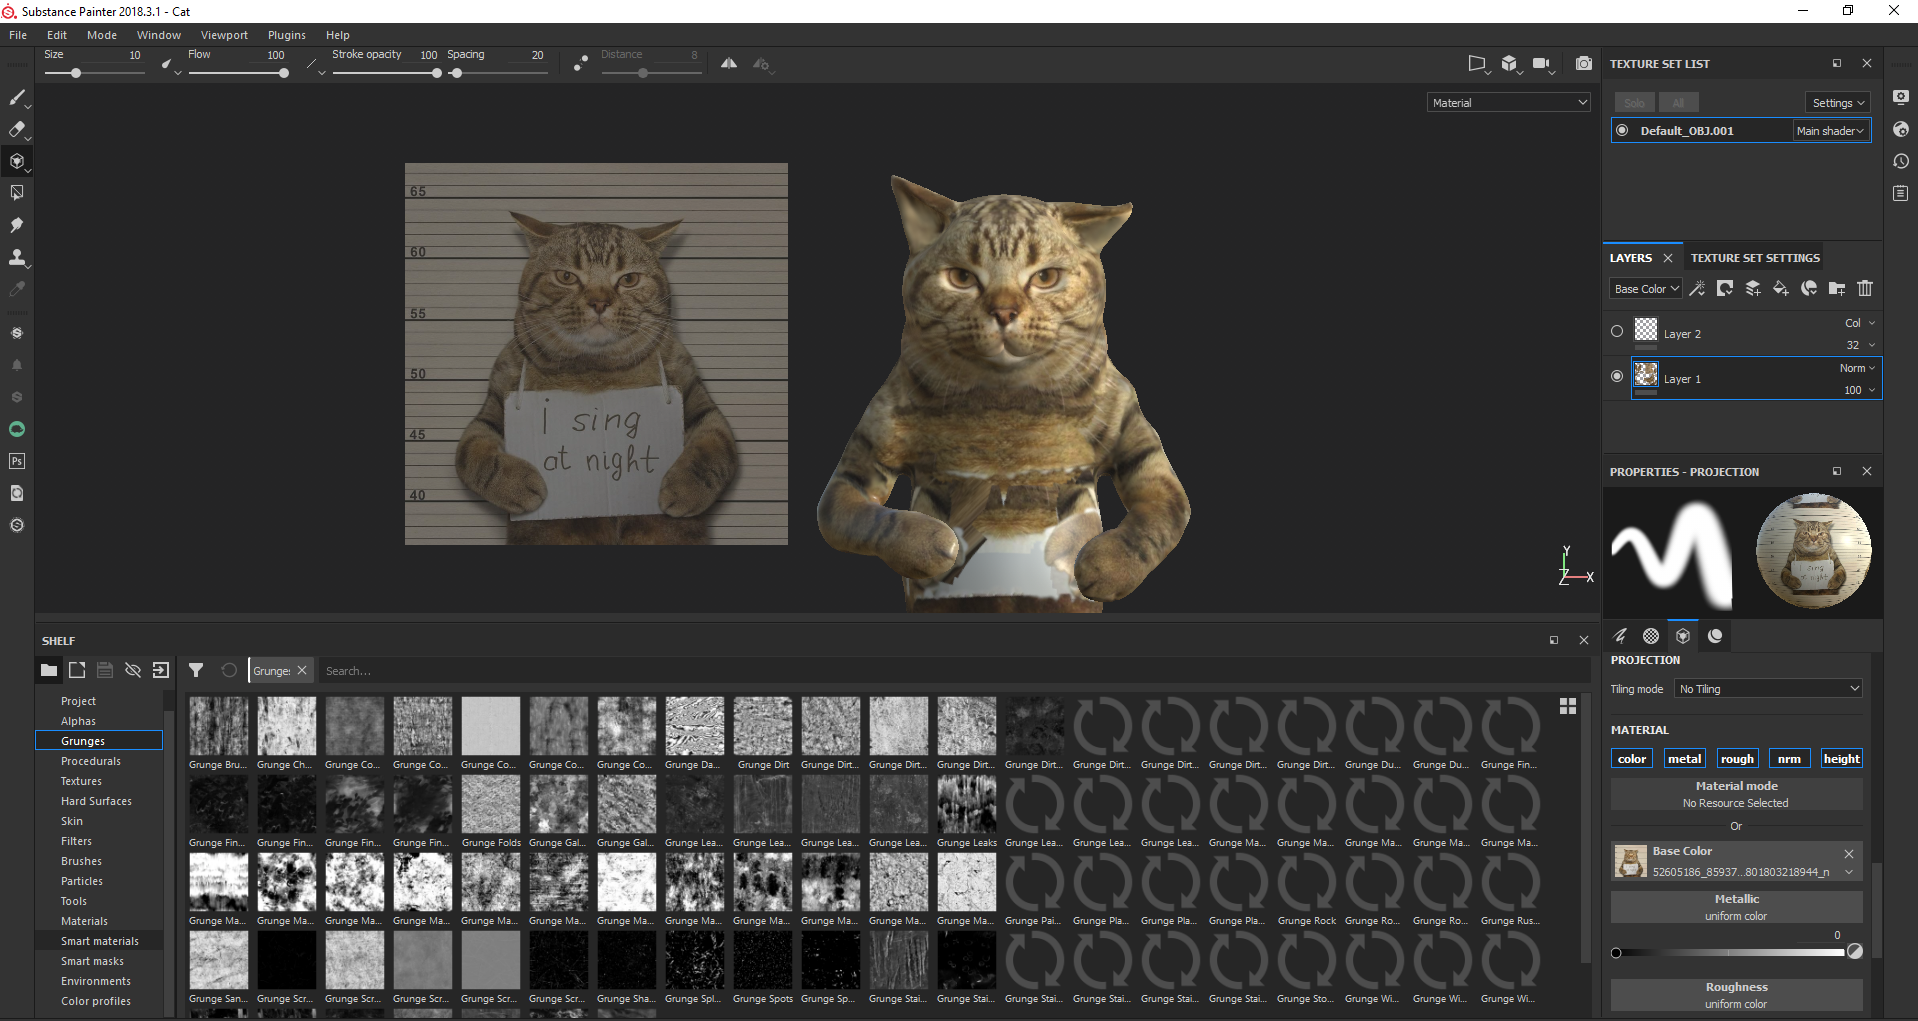
I exported the models and created textures for them. I used reference pictures for the texturing and projections:
I went back to Blender and created a model of the eyes with textures so that when I imported all the textures I had the scene:
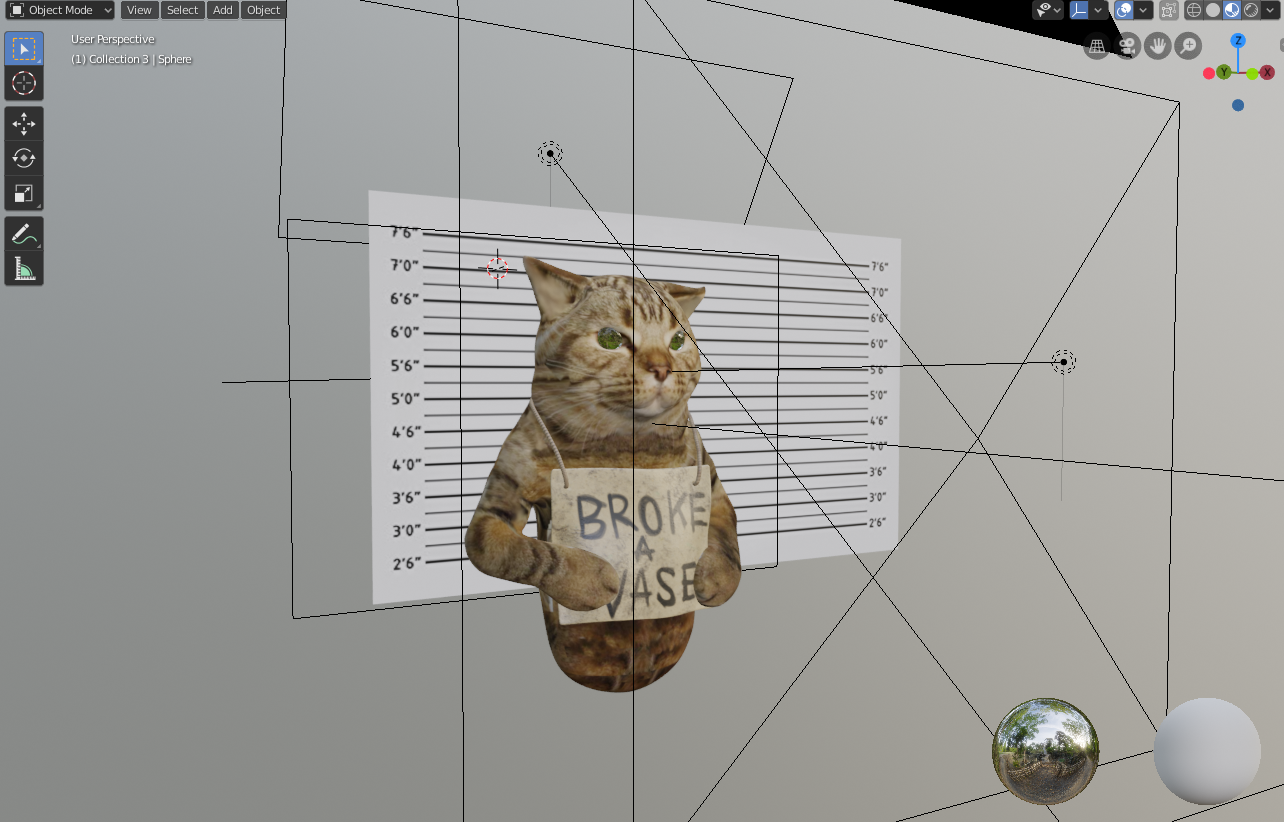
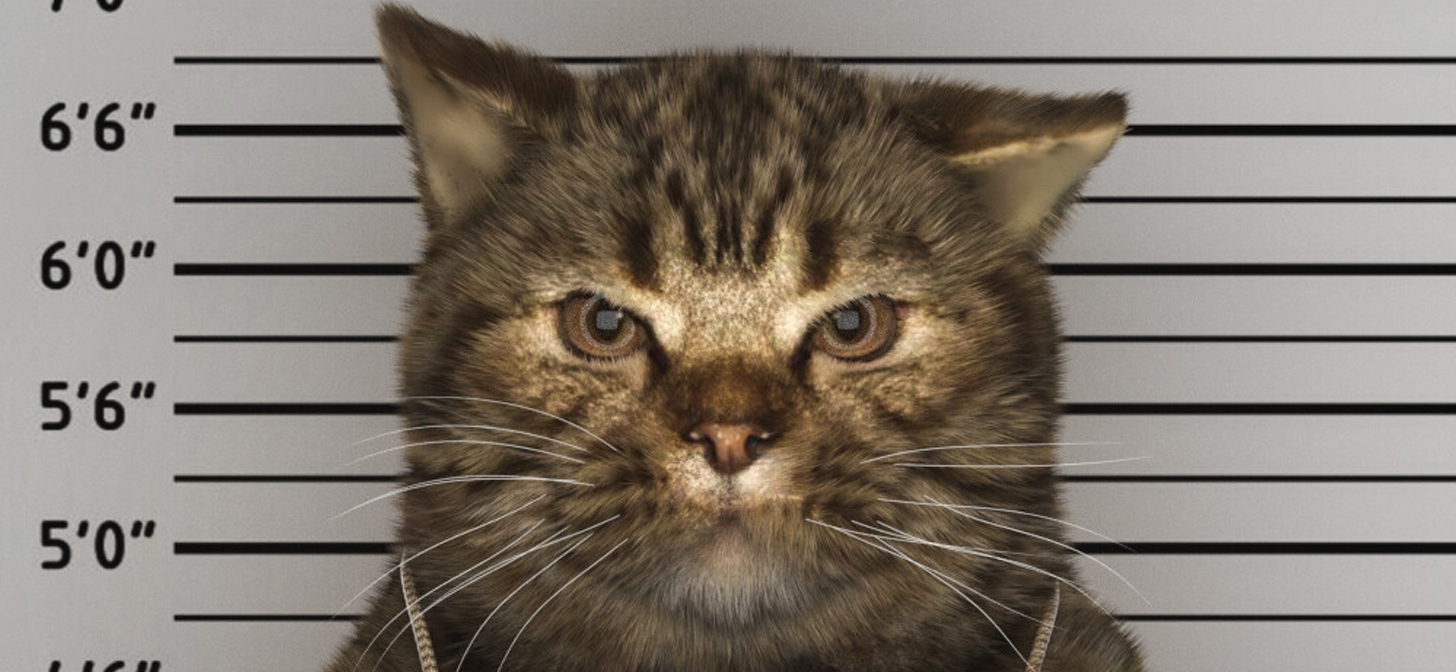
Yeah, of course the mugshot measurements…. I was mistaken because we use metric units but I could still fix it. Some people complained about it:
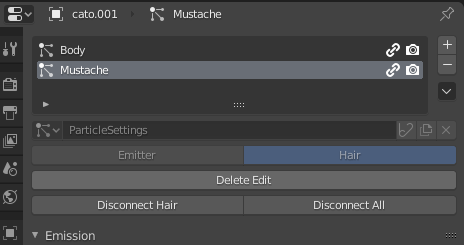
The next step was to add fur. I added 2 separate fur particles, one for basic body fur and another one for whiskers and combed them.
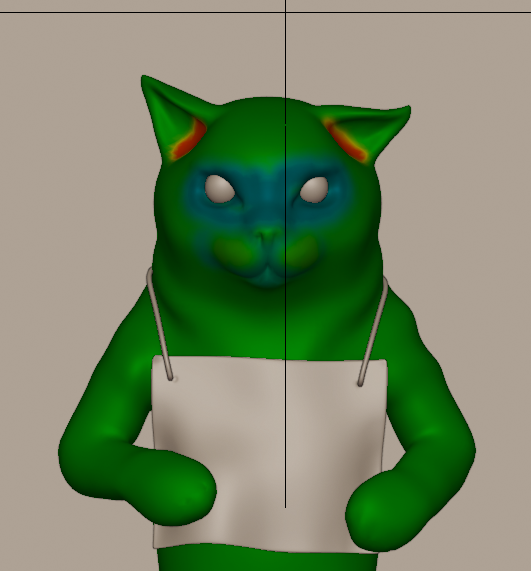
The key to getting length and density right was grouping and weight painting the model so that fur would grow longer or shorter:
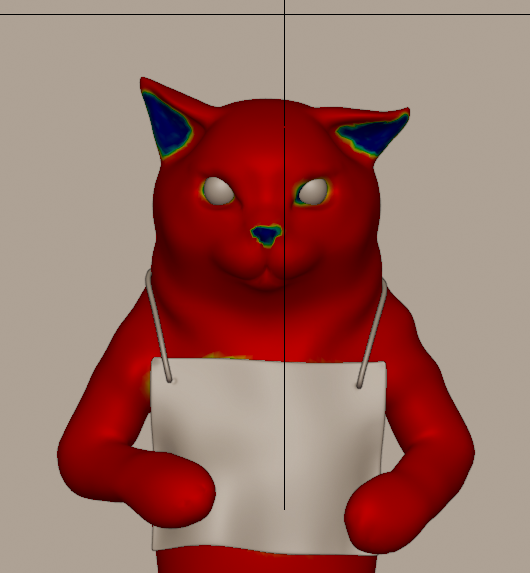
I didn’t need to have fur on the ear area, nose or on the belly, which would be covered by mugshot paper. And the fur length would have separate weights like this:
So the result I got was:
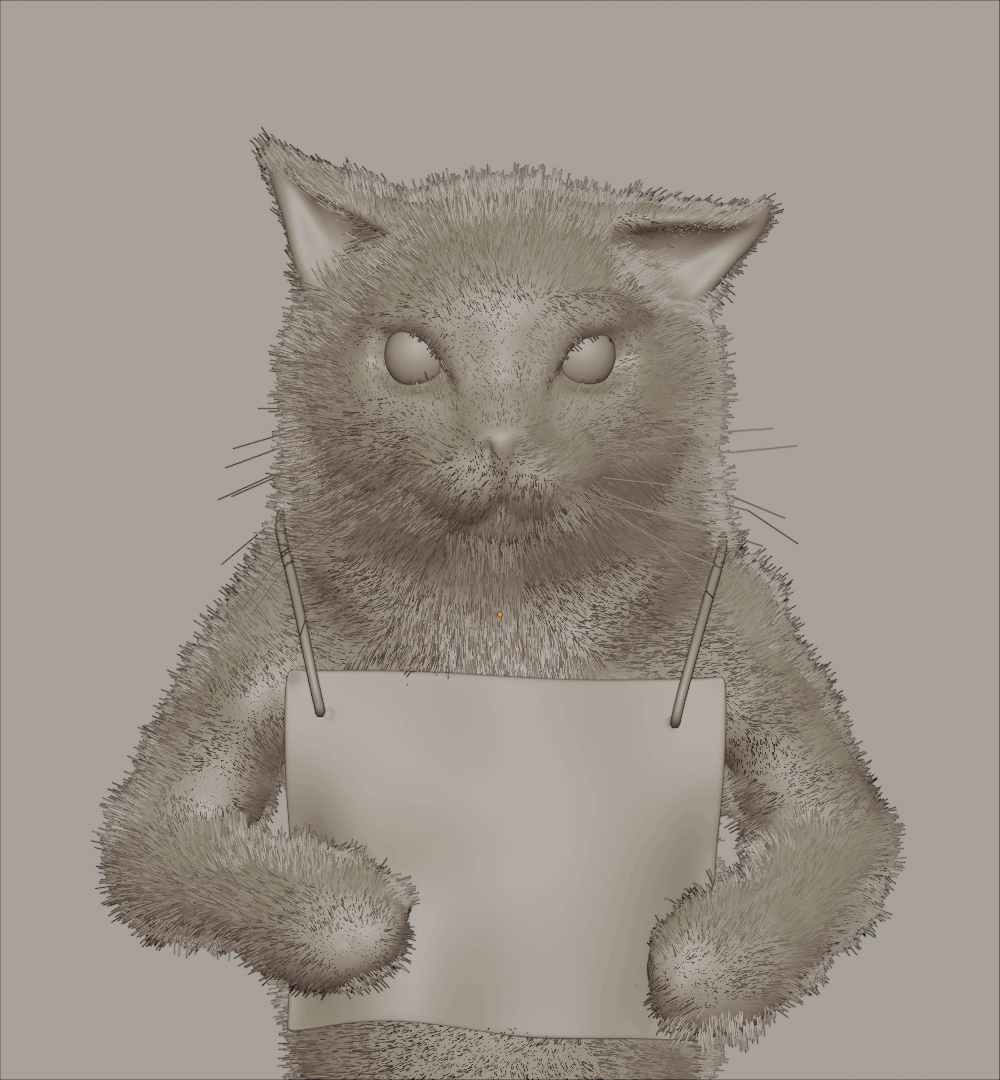
I used different materials for fur and got different results so I had to choose from all of them and had to post process it to gain more light/exposures, colour, etc.
These are several fur material and lighting renders:
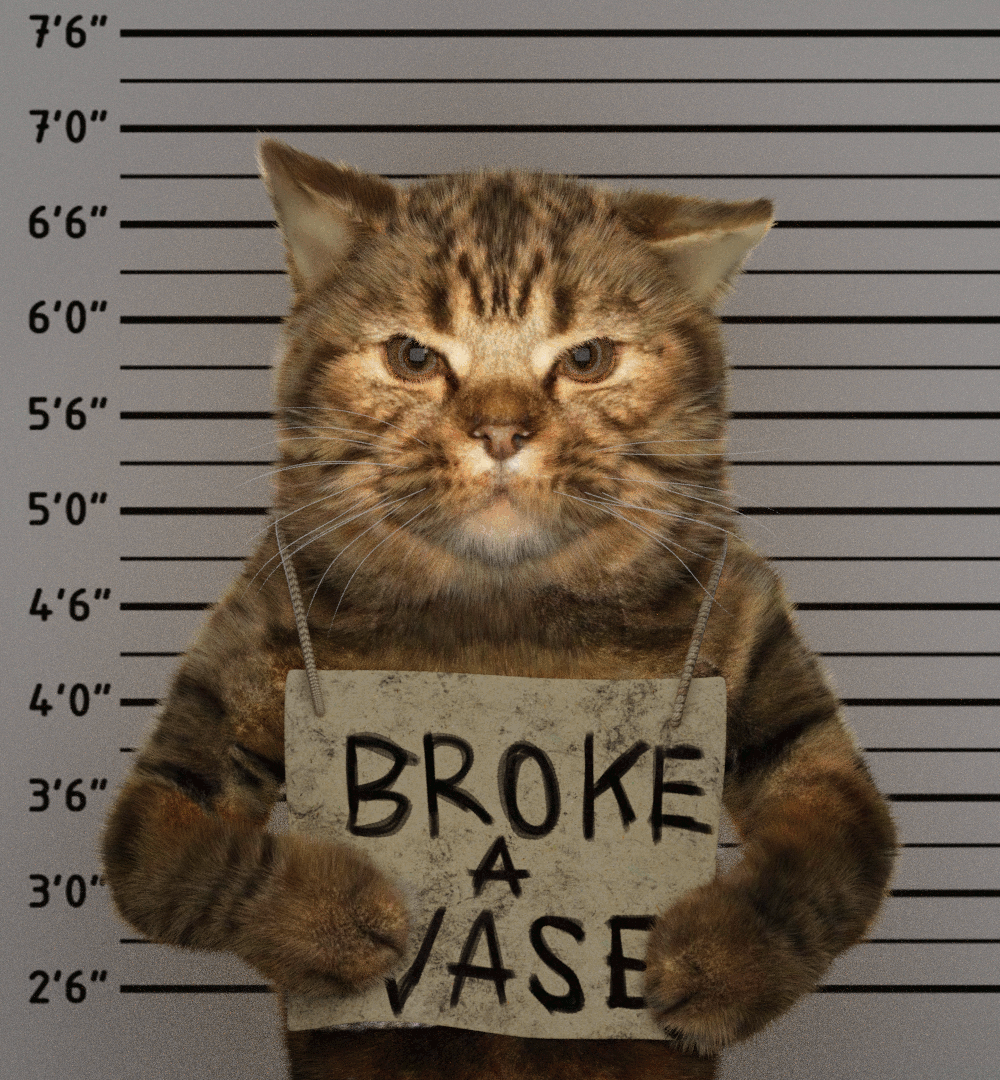
So I choose the one with less translucency because it looked much better to me. This is the last image of how it looked:
I liked the workflow and the final image but I’m never satisfied with my work. I keep learning and working on my skills constantly.
I hope you enjoyed the process. I was happy to be featured on BlenderNation and Blenderartists pages.
Cheers and keep your cats off your vases!
About the Author
 Alex Bitsadze, 3D Artist


Funtastic and funny damnnn that cat must be punished
Now there’s a cat with an attitude! lol! Amazing authenticity. Loved the tutorial. Thanks for sharing.
Where tutorial? I thing it just his workflow
Oops, sorry about that. No tutorial. Trying to do several things at one time.
Thanks for sharing That workflow can be use on my project
I hope my cat can pose like that
Thanks for Sharing!
Mate, you´re out of control. Fantasitic job.
For a sec i thought it said “Guilty Pusse”
Awesome job though!
I like the “Broke a Vase” sign better…
Brilliant….and hilarious. Well done!
That’s another great “How I got into Blender” story. I too can thank Mr Roosendaal for making my otherwise boring job worthwhile and interesting. If my cat saw your cat, she’d run off and hide. I bet he eats only rat for dinner, no puny little mouse for him!
Hahaa nice one mate :D Yeah in Ton Rosendaal we believe!