Behind the Scenes: Chimes in the Wind
Background
My name is German Pampin, I’m 28 years old and I’m from Argentina. After graduating from high school I went to the University of Buenos Aires (known as UBA). More specifically I went to one of its branches called FADU (Faculty of Architecture, Design and Urbanism) to begin Industrial Design as my main professional focus. I entered the career almost blindly not knowing or having an idea of what Industrial Design actually was.
Right from the start I knew a lot of drawing was involved. Not that I am a bad at drawing myself, but I was aware that my level wasn’t always the best someone could achieve (although this is completely subjective of course). Here I was introduced to 3D modelling and began learning 3ds Max with V-Ray as render engine, all by myself.
Near the end of my career Blender caught my attention because, and only because, of its freeware proposal. I thought learning a new but similar tool was a headache but it really grew on me to the point that now it’s my main 3D modelling, rendering and texturing tool.
Now I have more interest in 3D creation, game development, and animation (or anything 3D related to that matter) than in any Industrial Design job I could potentially get in the future.
About the piece
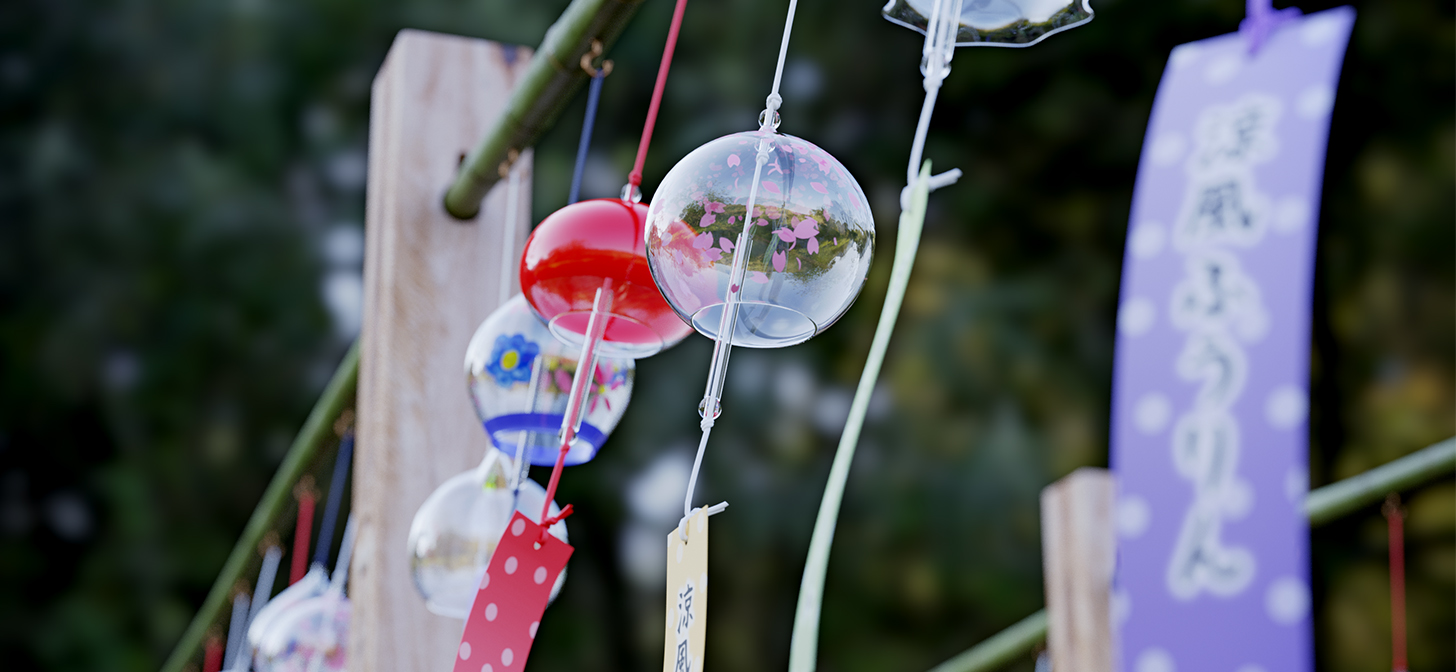
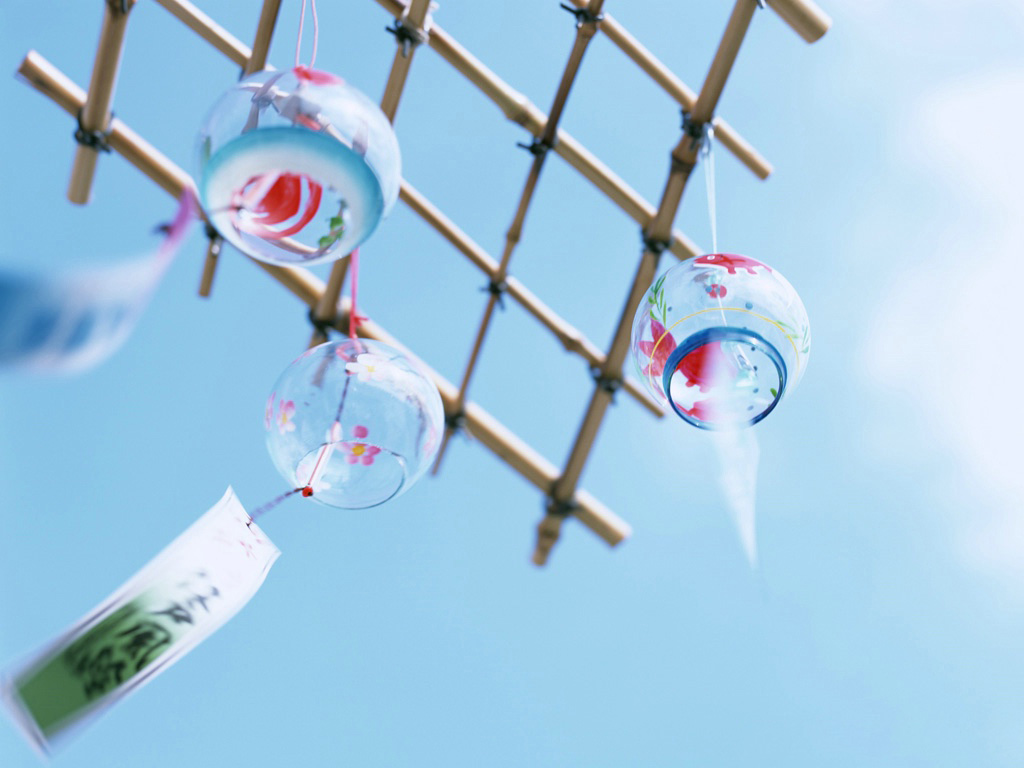
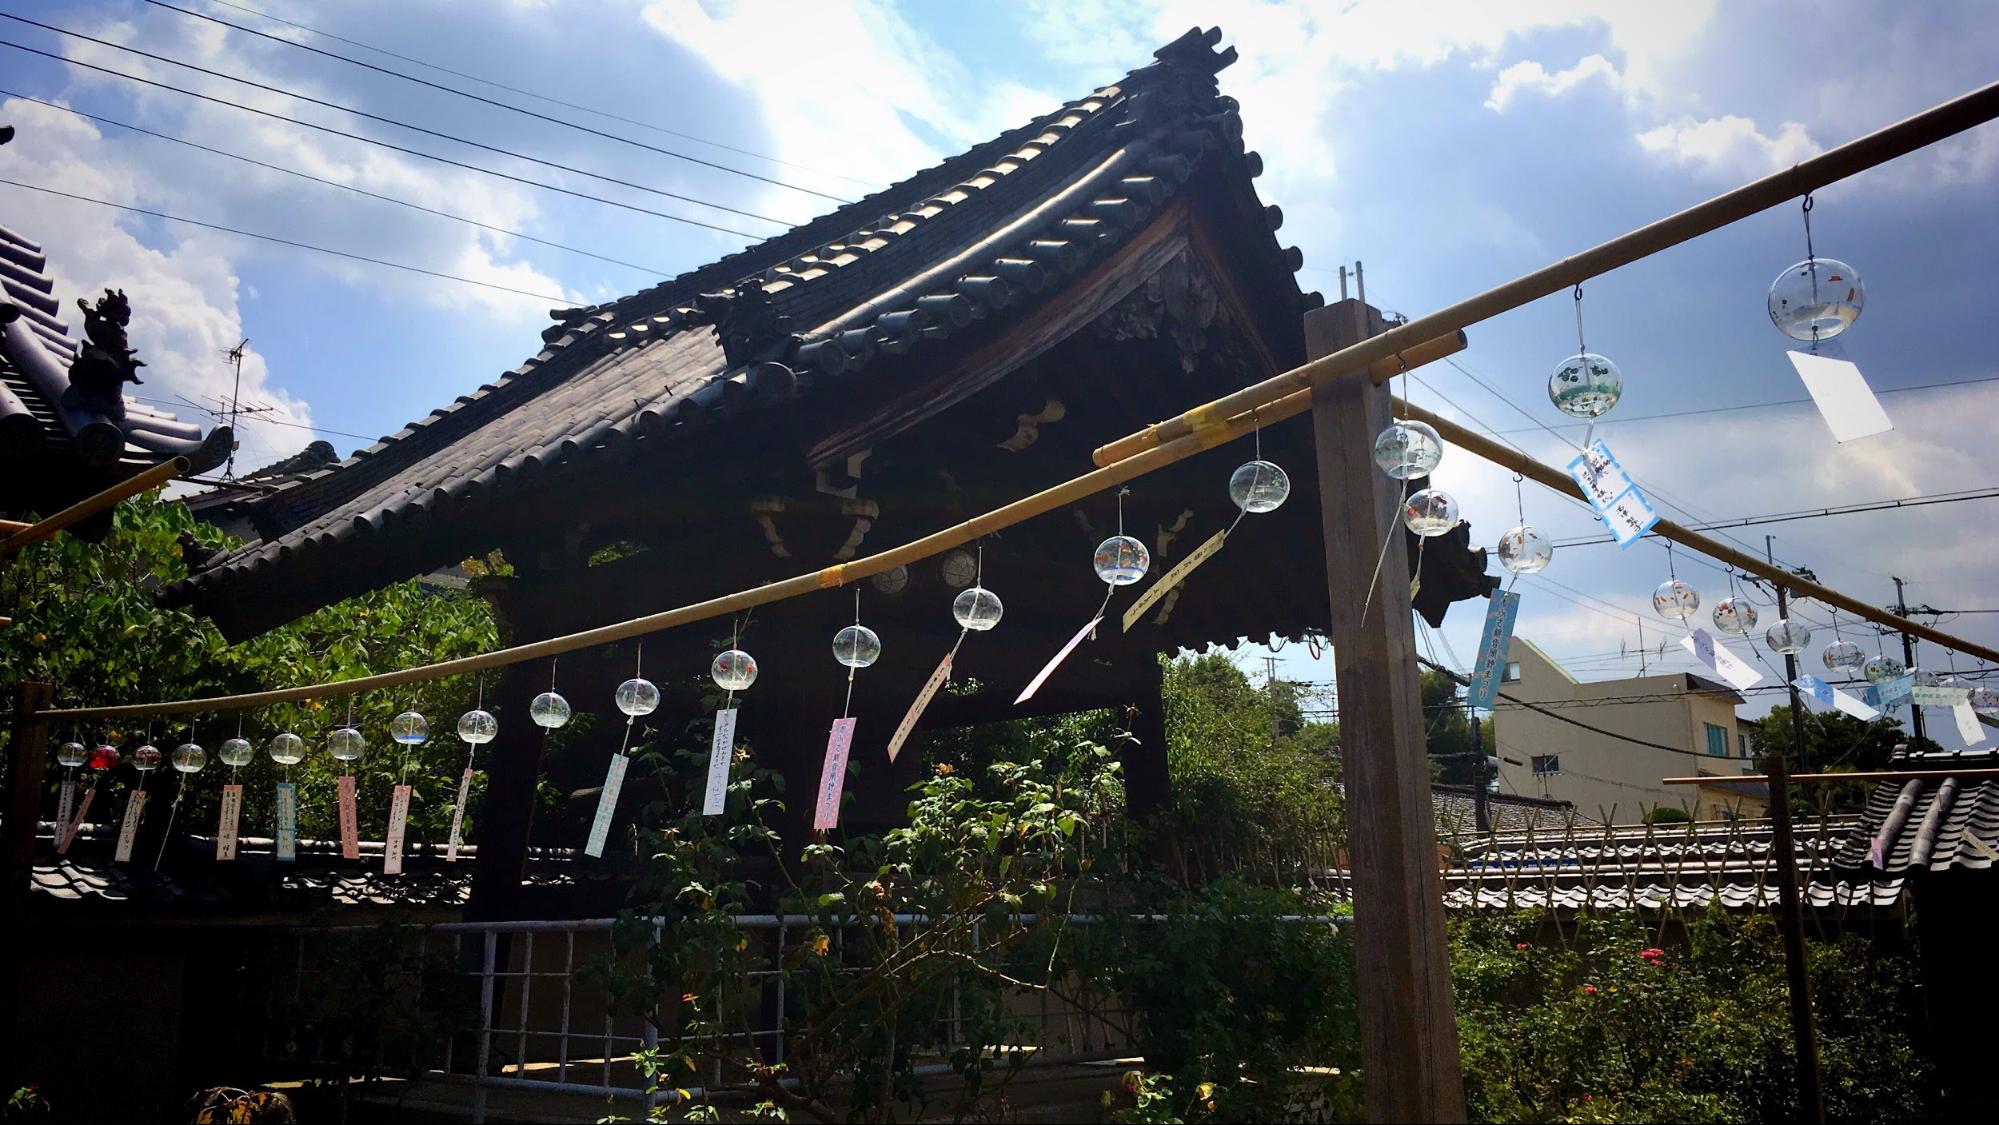
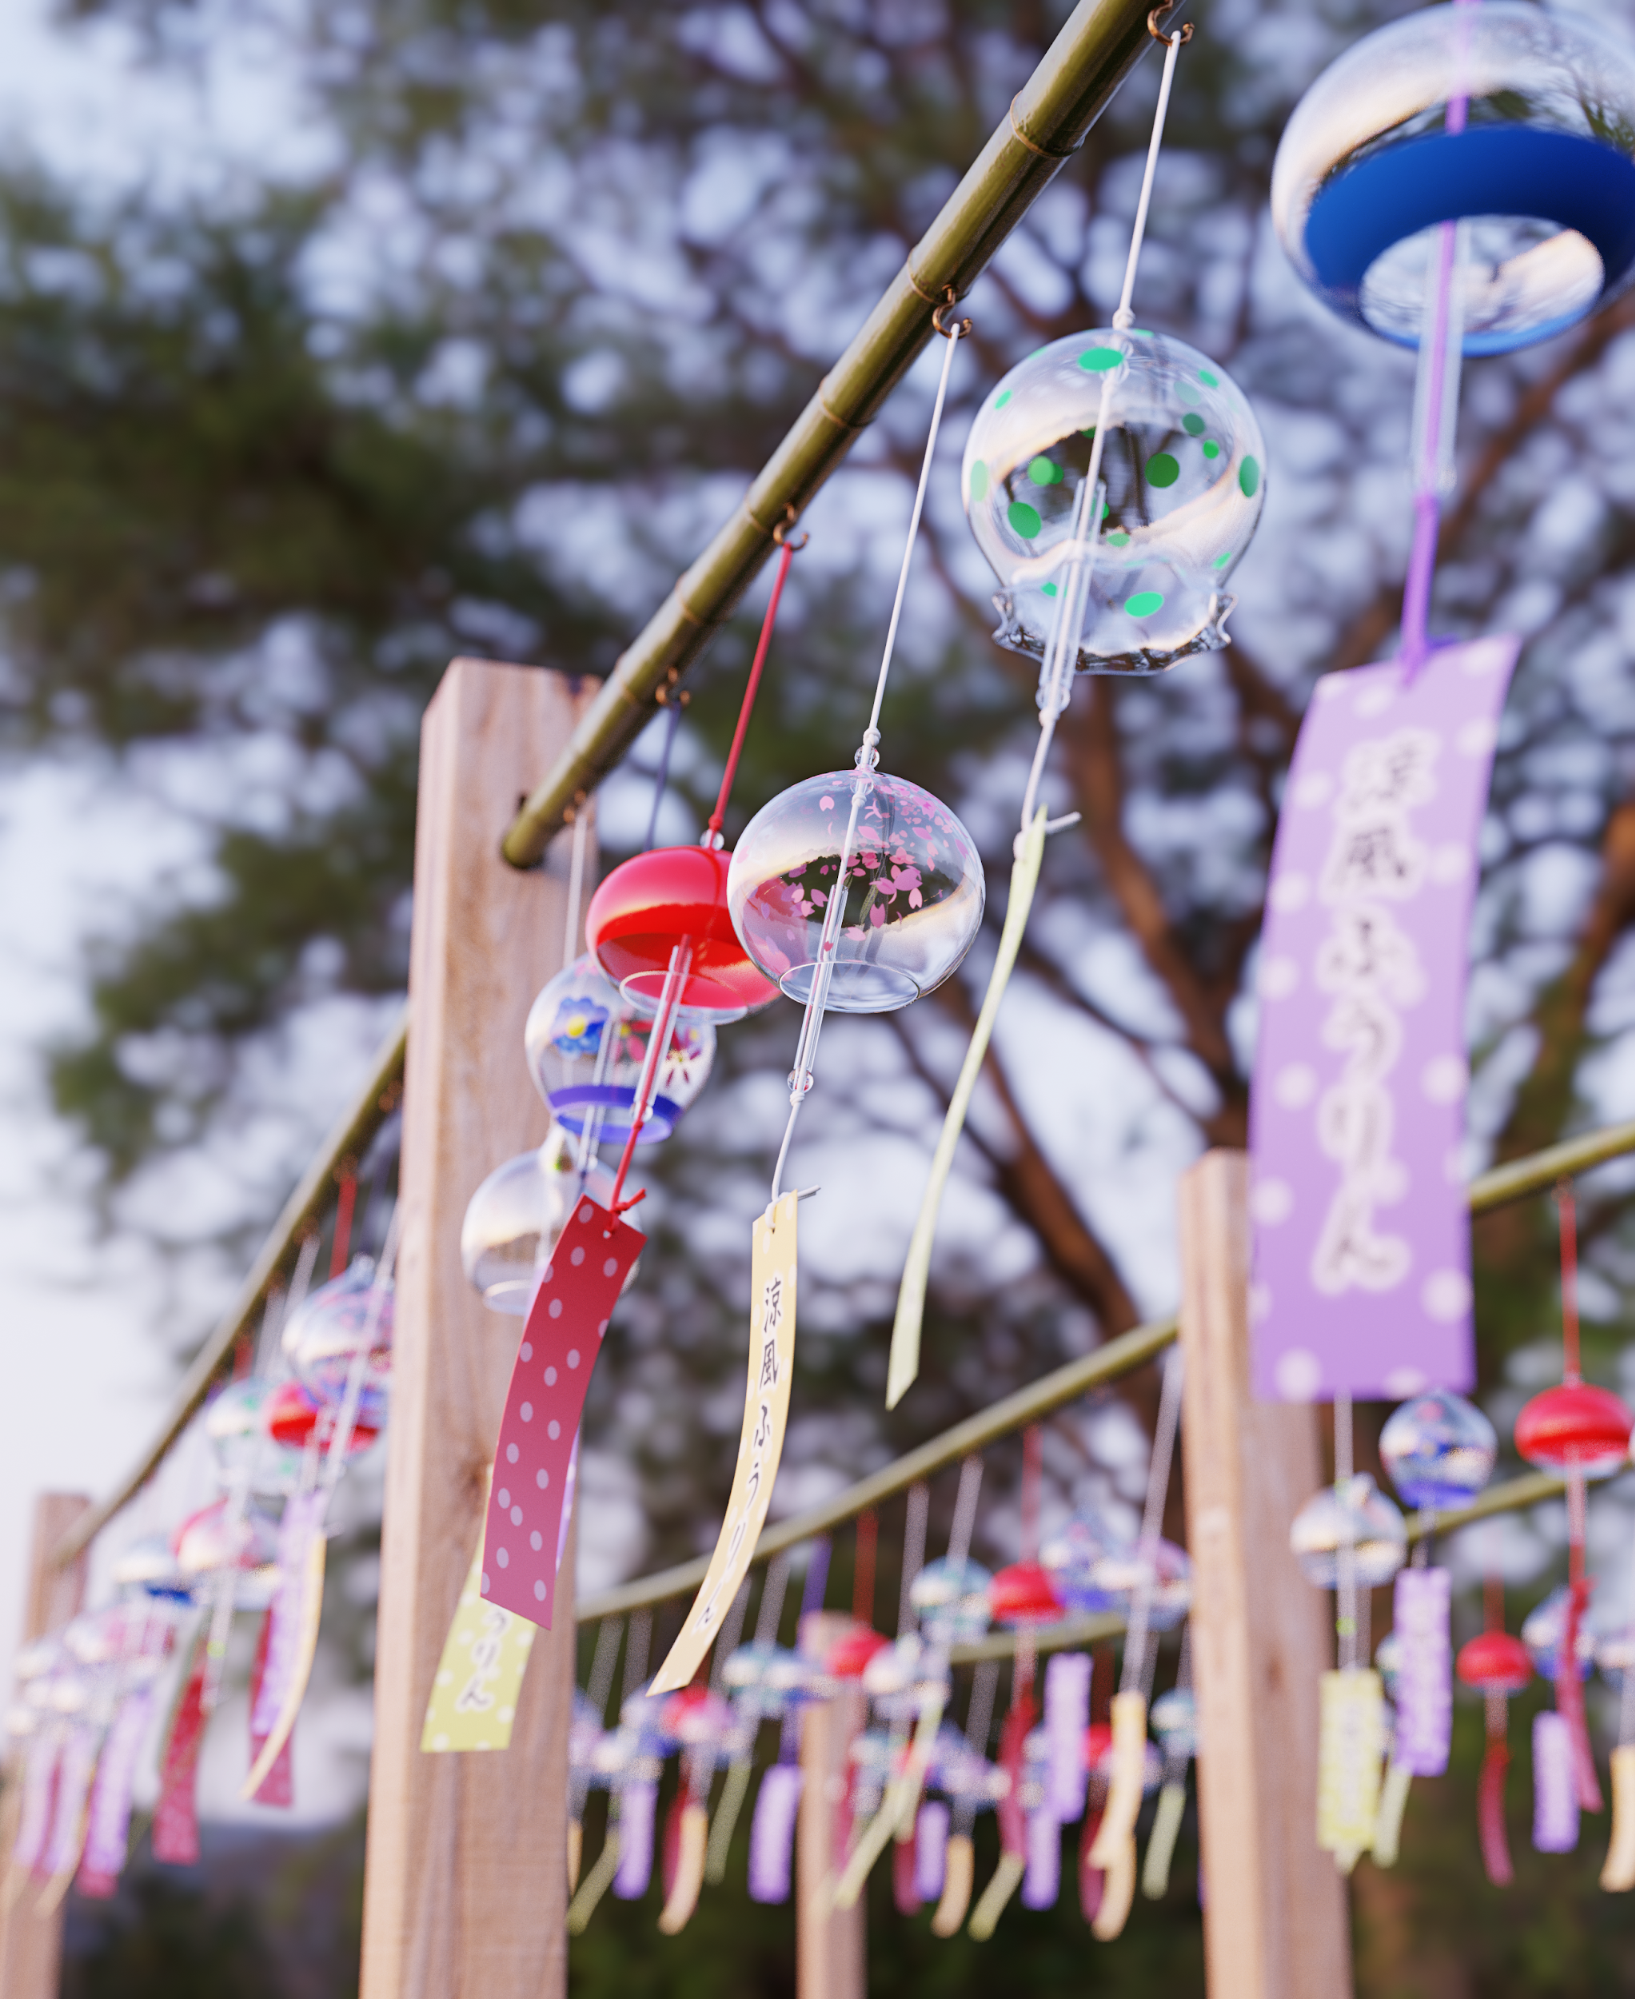
I wanted to deviate from any work related to industrial design and work on something different, something I liked but at the same time not too difficult or overwhelming. I am a big fan of Japanese culture, there’s some mystery in it that attracts me. On many occasions I’ve seen these glass wind chimes that tend to hang on windows when it’s summer to call refreshing breezes into homes. After some research I found quite an amount of photographs taken of these bells in open spaces, which inspired me to recreate such scenes in a 3D environment.

Creation steps
For a simple project like this I only used Blender 2.8 for modelling, texturing, lighting and rendering, and some Adobe Photoshop CC for the creation of custom textures used for each bell. There’s really no complex workflow considering the primitive morphology of almost all the objects used in the scene. So on to the steps:
Modeling
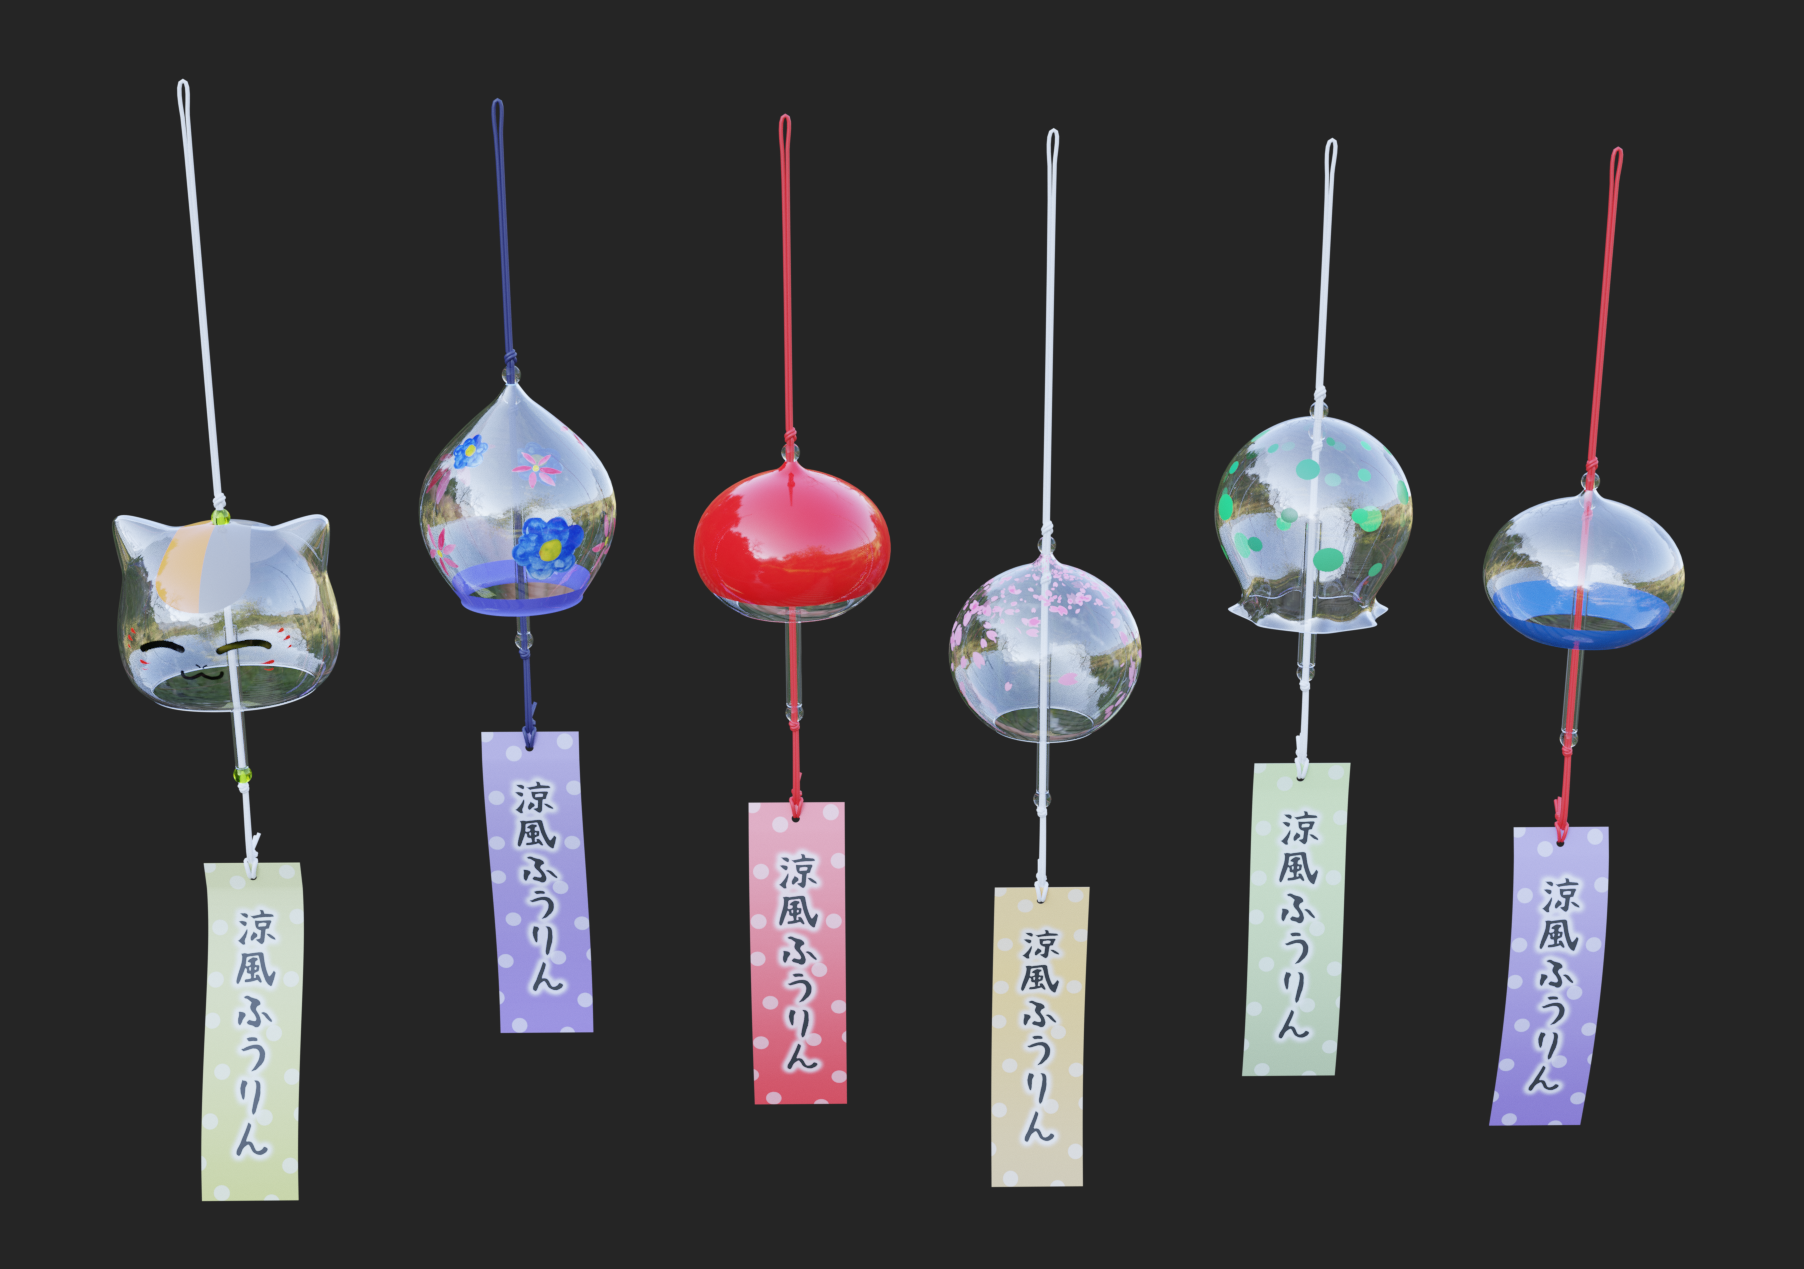
The scene is composed mainly and almost entirely out of primitive shapes. Spheres, cylinders, planes and a single rectangle. So breaking it down we have:
- Five (5) different bells in shape and size.
- Cords to hang the bells.
- Papers with inscriptions (where they normally write wishes on them).
- A single bamboo cane.
- A wooden post.
Well, that’s it. Easy right? Exactly what I wanted.
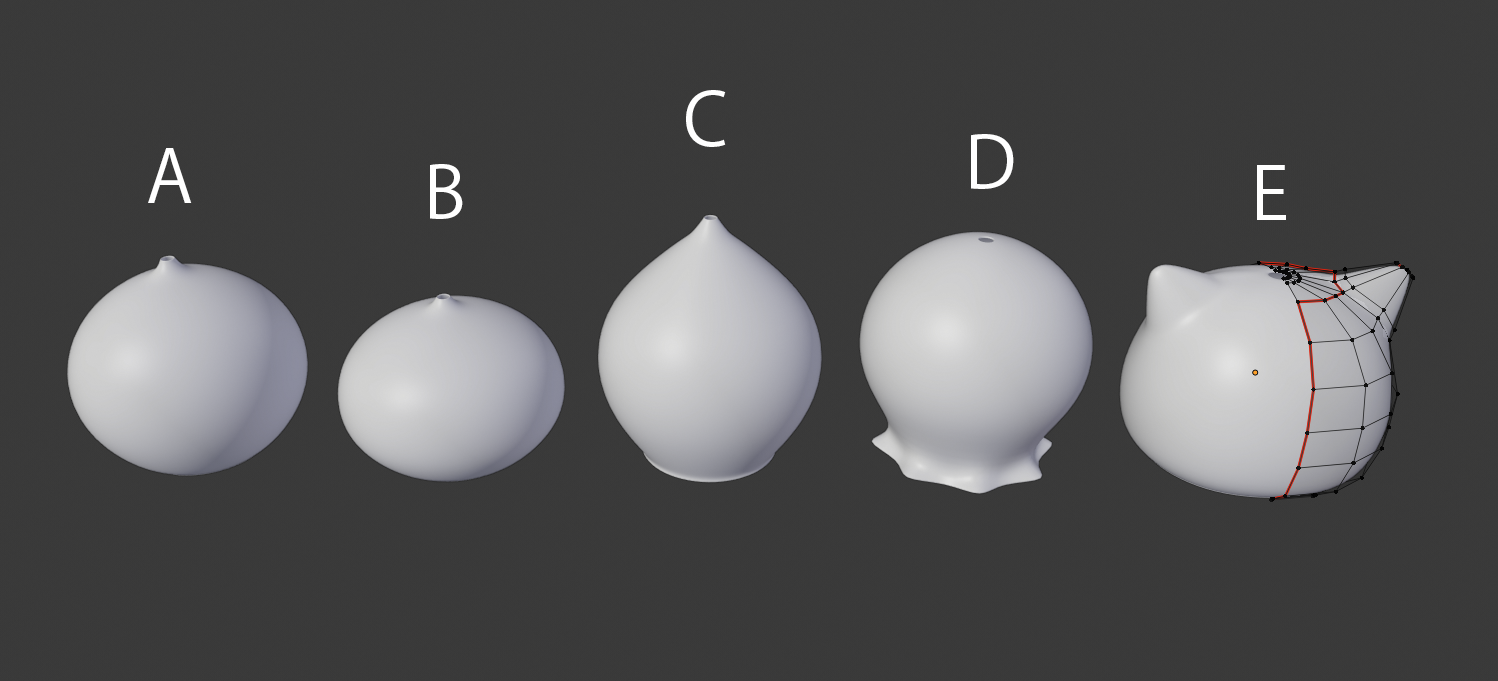
1. The bells: they are pretty straightforward. The primitive shape begins with a sphere, then you delete the bottom faces to cut out a hole. The same was done at the top and faces were re-extruded to get a hole small enough to let a double thread go through. Then, to get 5 different shapes, I scaled on the Z axis with proportional editing on.

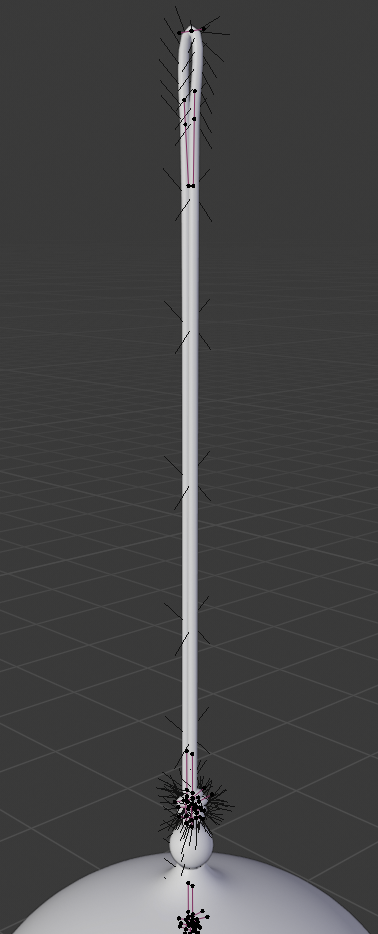
2. The cord: here I needed something easy to manipulate so I chose a bezier curve. The only tricky part that took me some time was the knots that are before and after the bells, used as stops to fasten the object in place.


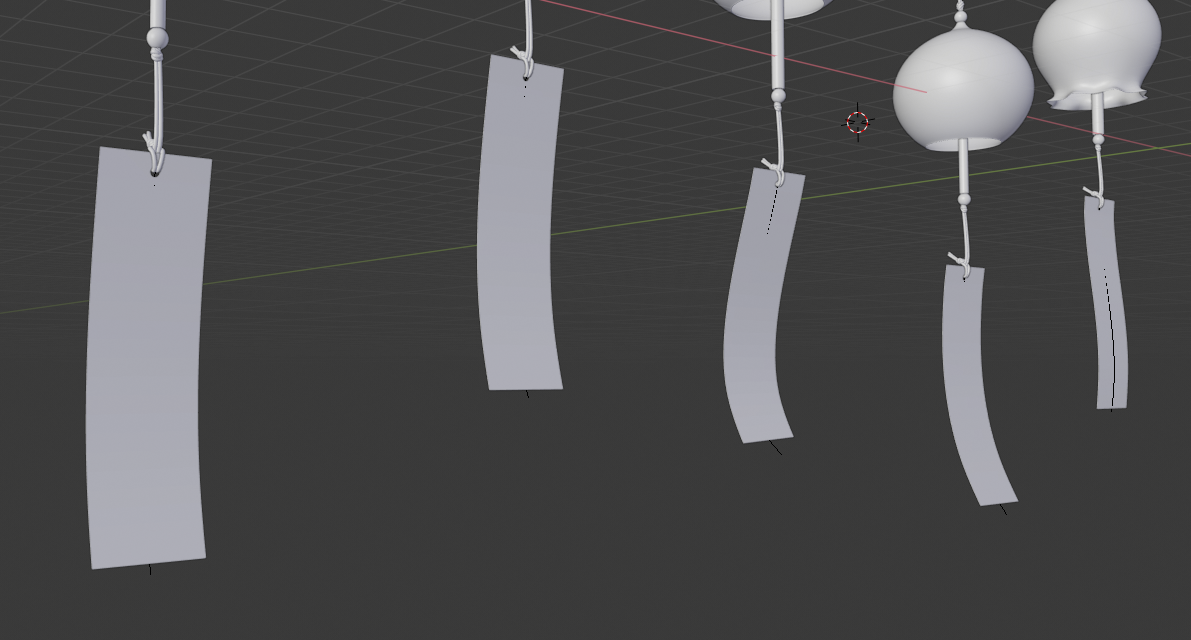
3. Pieces of paper: There’s not much going on in these, just a simple plane with enough vertical iterations that I could bend them with different curves and get more diversity in shapes.
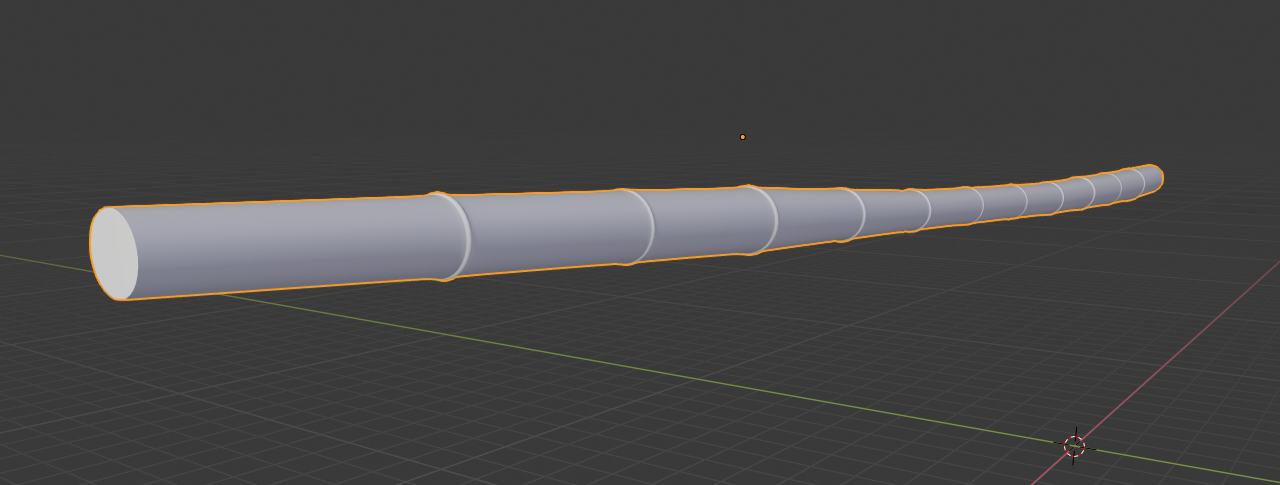
4. Bamboo cane: Another simple shape, just a cylinder with variable thickness and a bit of curvature to simulate gravity.
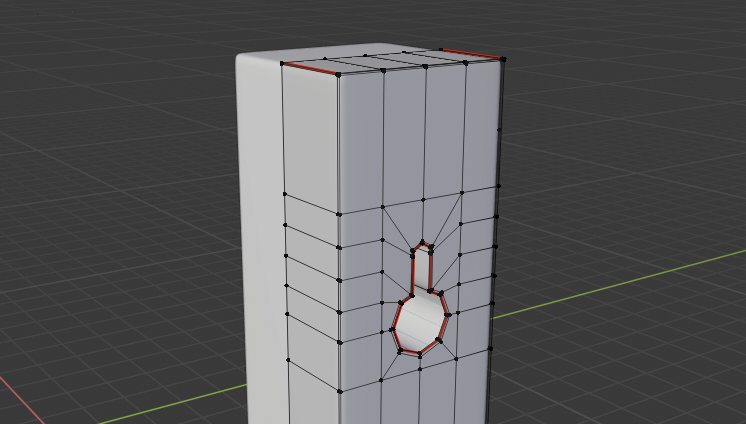
5. Wooden post: And yet another straightforward model. A cube scaled vertically with a hole cutout from what I could see in the photos to hold the bamboo.
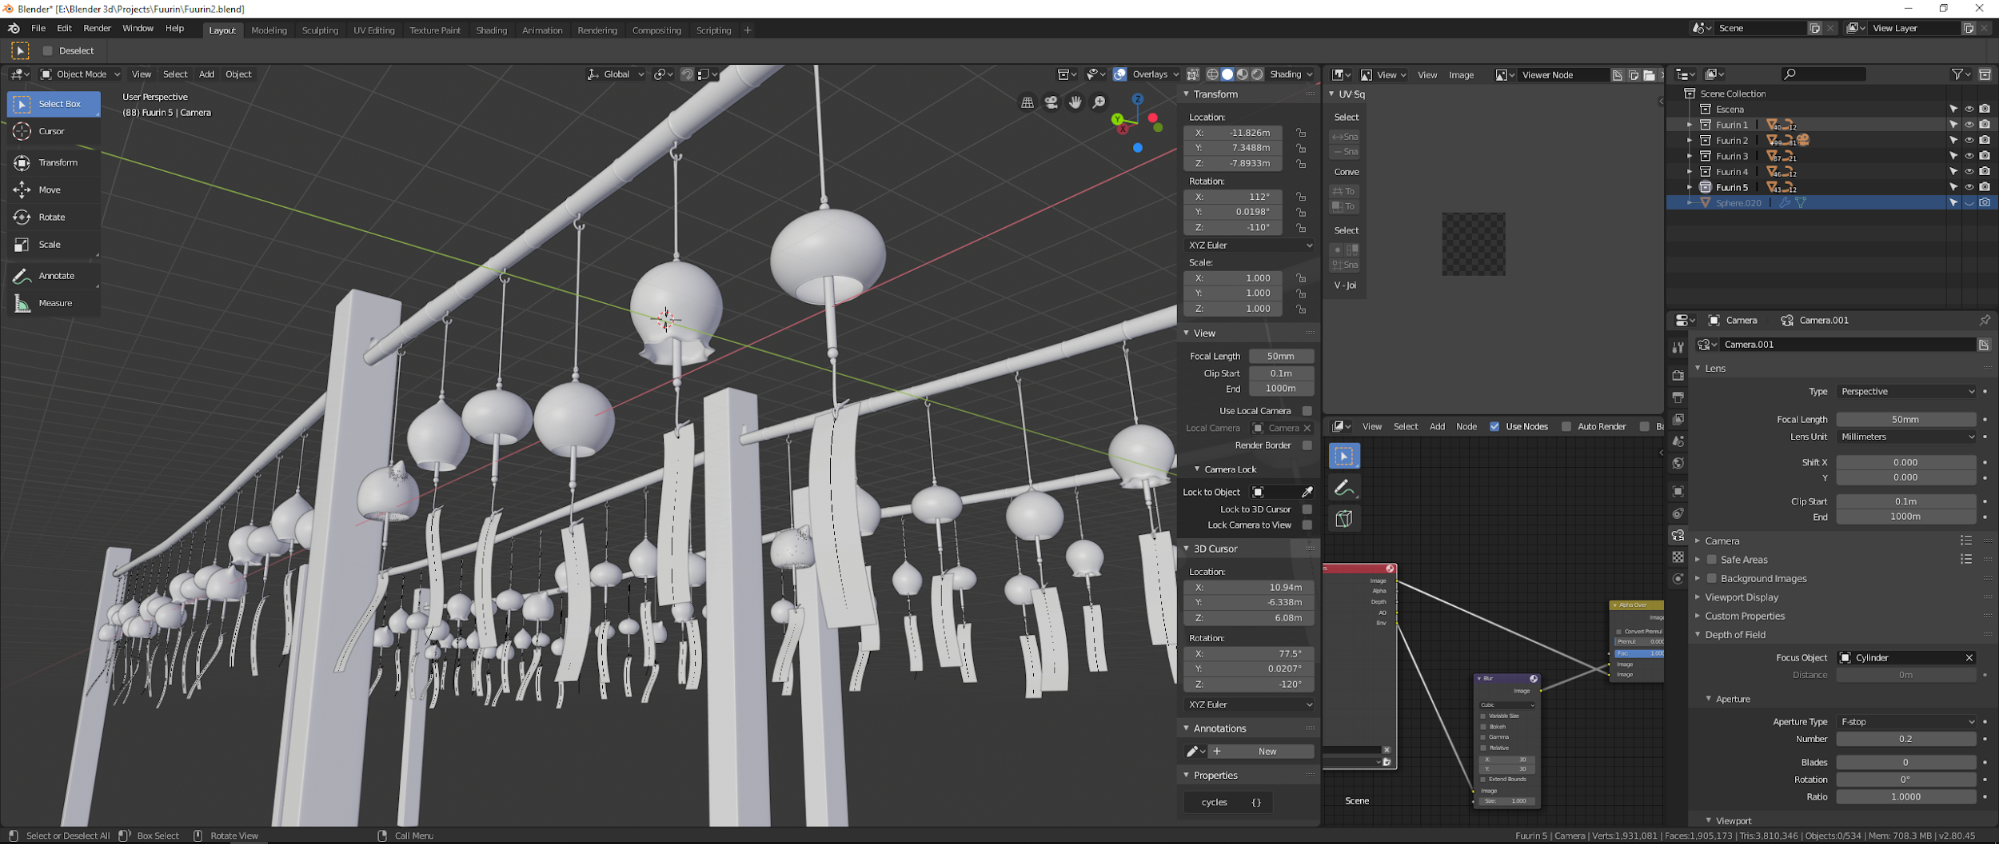
Lastly every object had to be positioned in place giving it a feeling of randomness so the image wouldn’t look stale and repetitive. I also added two more rows of bells behind to give it some depth.
Materials & Texturing
I must admit that making materials and textures through the node editor is something that I’m certainly no expert at, and honestly I would like to dedicate more time to learn since it is such a powerful and important tool. Having said this, my material and texture nodes are nothing worth checking since their setups are the ones you may find in tutorials from YouTube to help posts in Blender stack exchange.
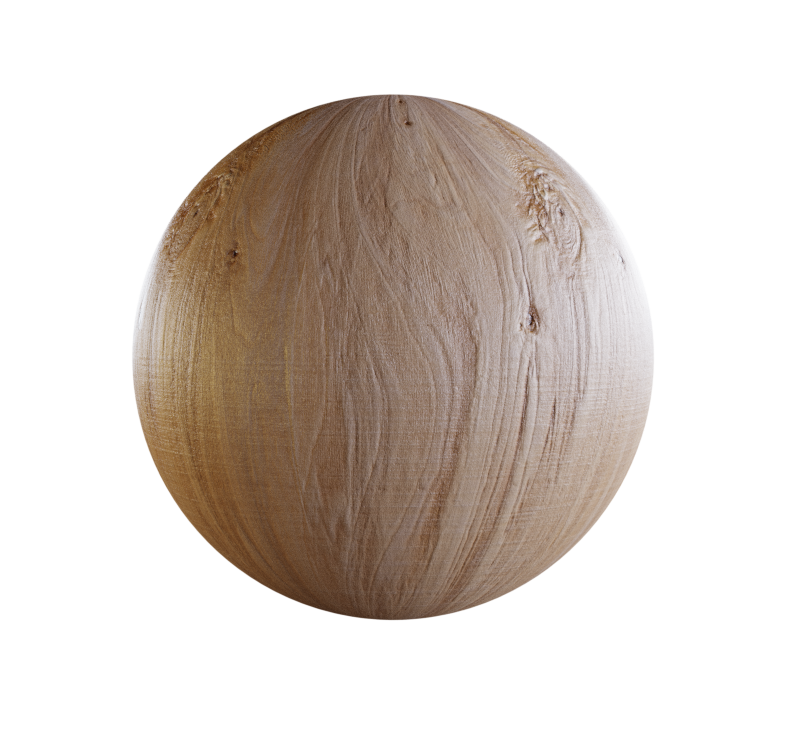
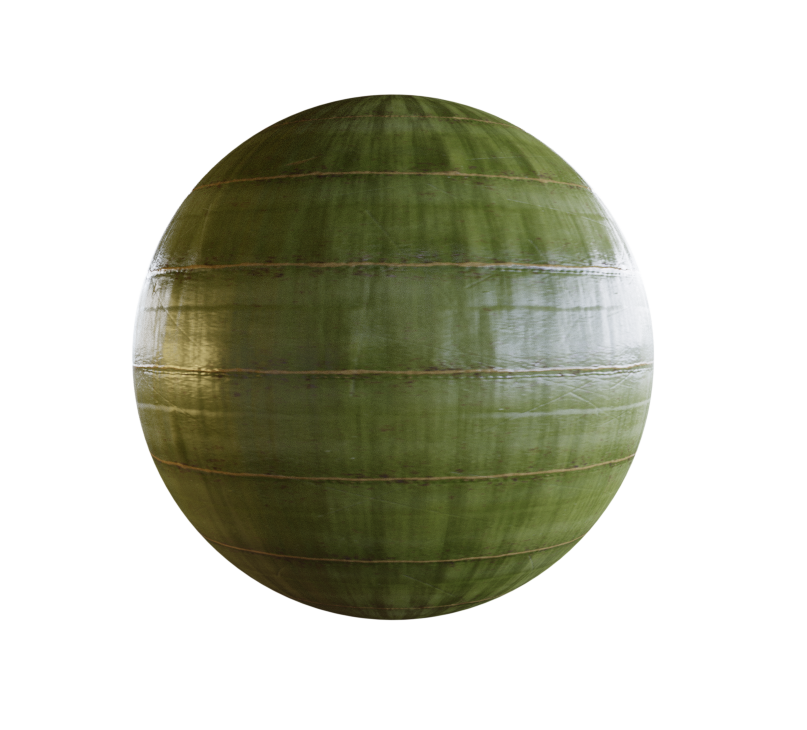
Here I used a mix between poliigon textures and texture haven mainly for the wood and bamboo textures. The bells were really easy since they’re only glass with a texture on top. For the cord I didn’t want to bother UV unwrapping to simulate the “rope texture” since it was not going to be noticeable from the angle and distance they were going to be seen, so I just went with simple diffuse colors.

Lighting & Post-processing
Lighting for this piece wasn’t particularly special. I used a simple HDRI lighting setup, although it took me some time to decide which HDRI I was going to use not only as lighting but also as background, even though it was going to be highly blurred. The first finished render I posted presented an issue between the bells and the background; the tree in the background didn’t have too much volume and it unbalanced the whole image. I took that feedback from a few users and decided that changing the background was not a big issue, so I changed the HDRI and the final result changed completely. The finishing touch was to modify slightly the curves of brightness and contrast, and add a subtle vignette effect.
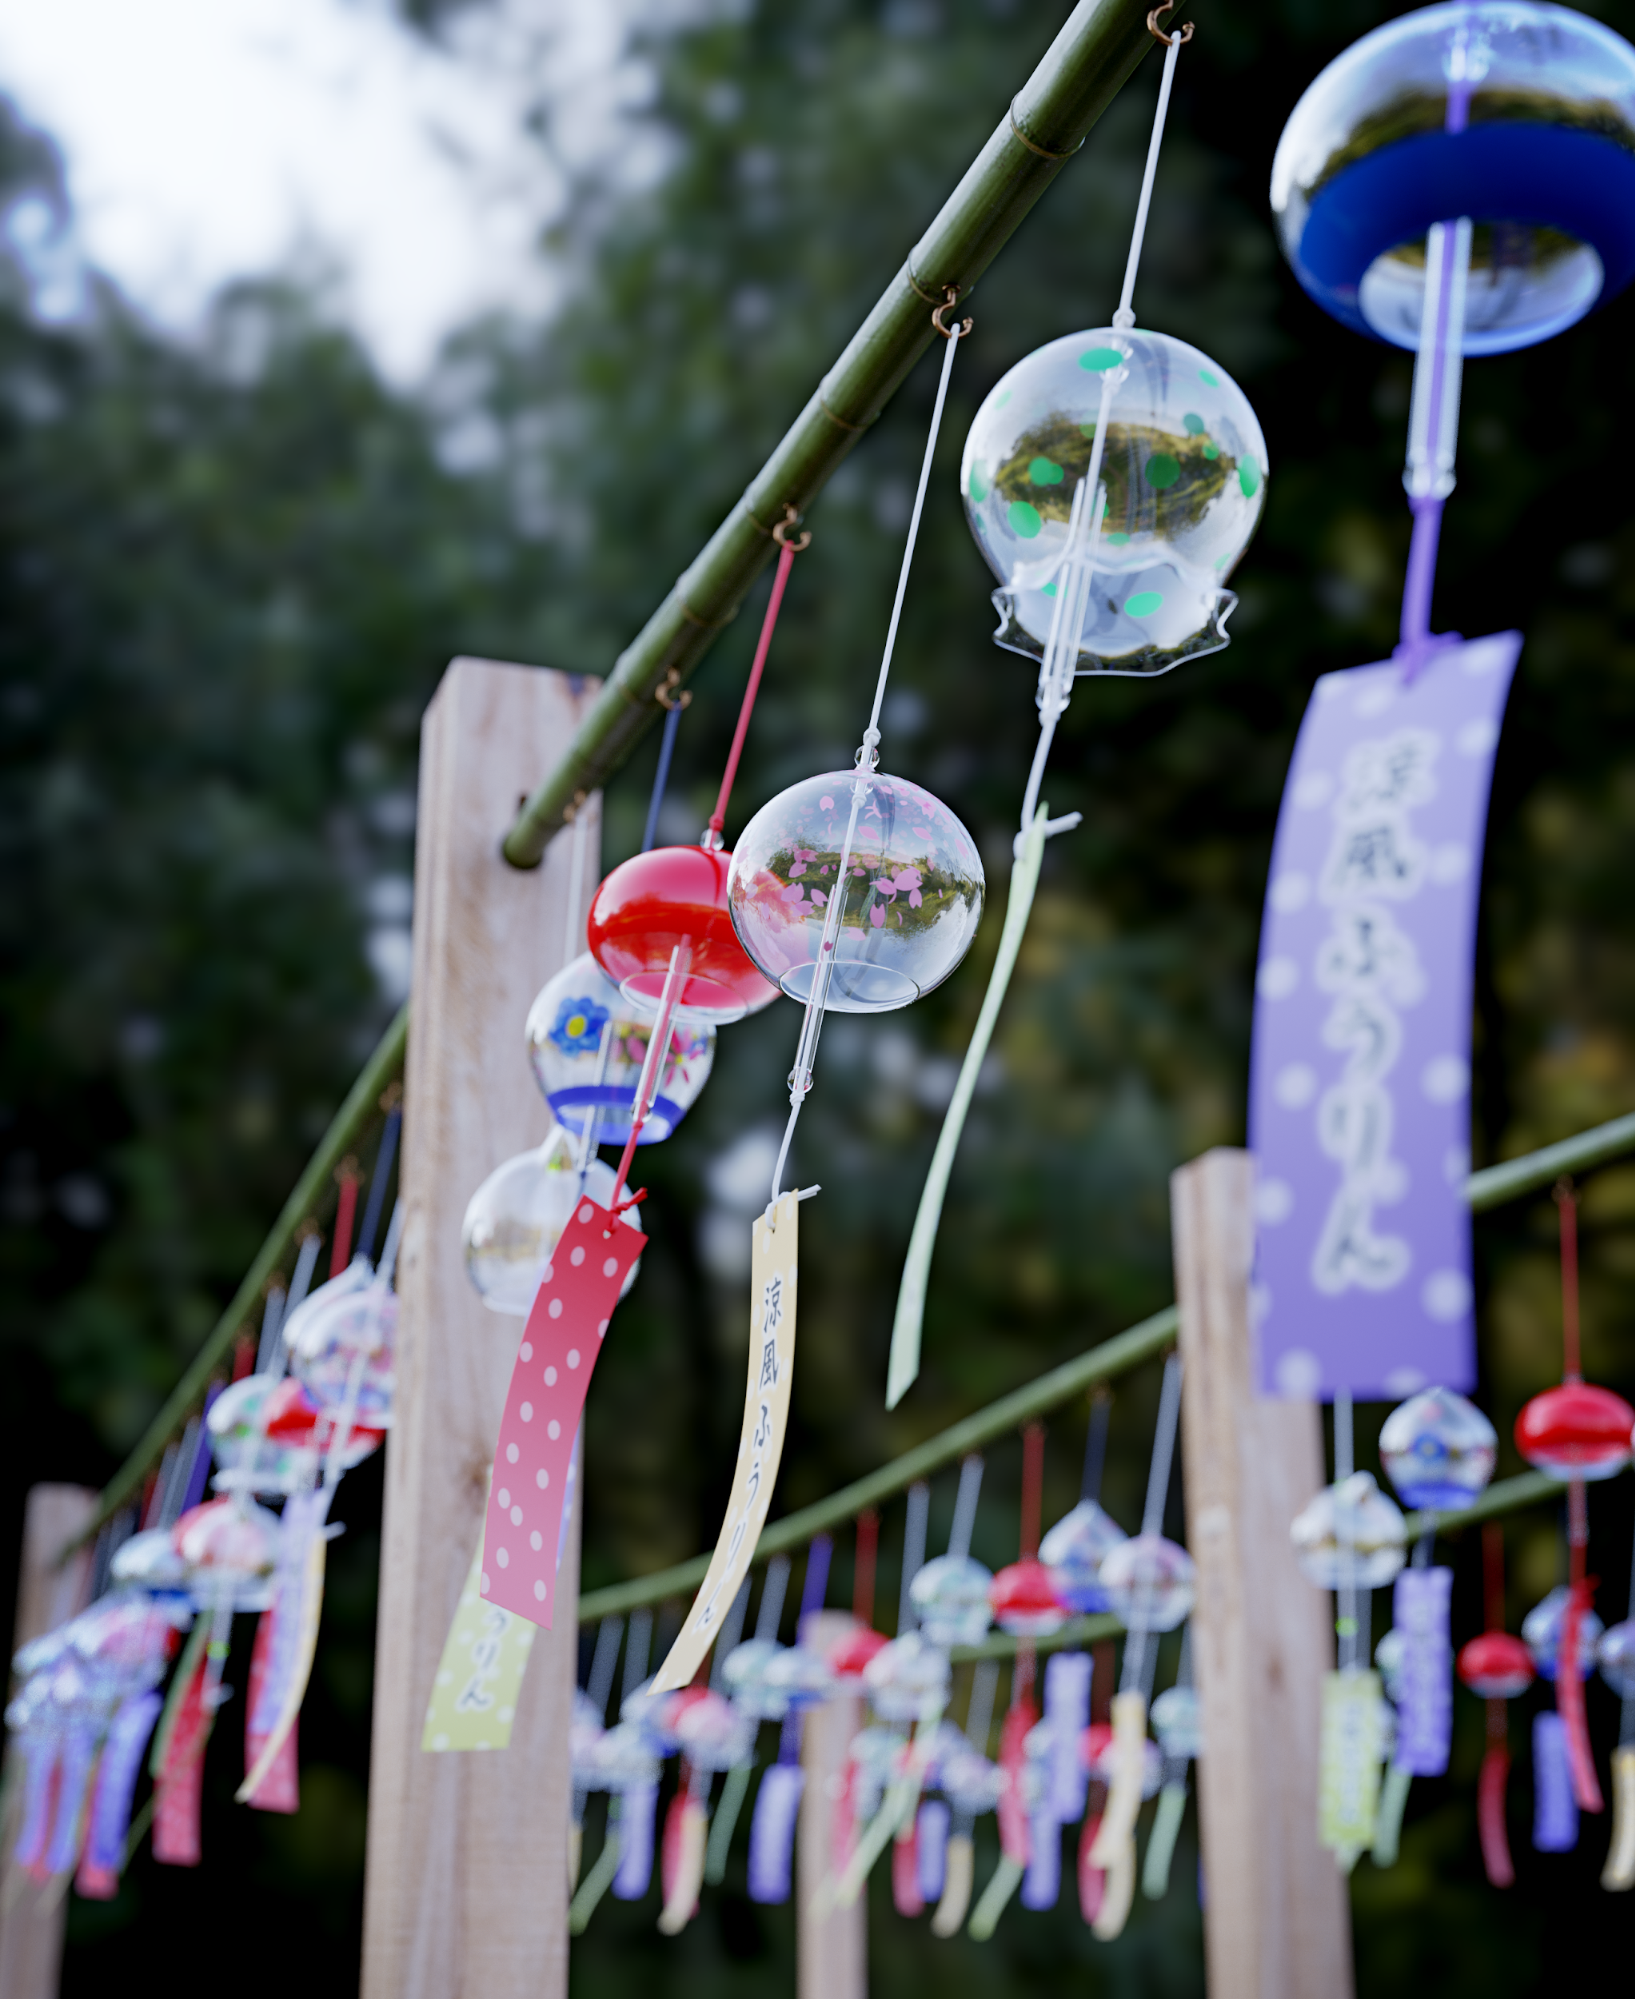
(These final renders (2595 x 3172px) took me about 21 minutes each with 800 samples, no denoiser and a CUDA setup of an Nvidia GTX 1070 (Zotac Amp Extreme) and Ryzen 7 2700x.)
Hopefully I will be able to dedicate more time to personal projects, since there are many things I would like to try in different themes and areas of what Blender can offer.
About the Author
 German E. Pampin, Industrial Designer and 3D artist.


Thank you for a very good and well presented description of your project. I am fairly new to Blender and so to see a clear description and pictures of what and how you did things and the stunning result is very encouraging.
Hope you present more.
German – very compelling work here, beautiful and “to the point”. Thank you for sharing the outline of your work, that’s an interesting read. I wish you well with future works.
I love this kind of images, so very evocative and recalling cultures far from ours. Ah, thanks also to your precise explanation of the creation process.