Behind the Scenes: Zorki
Background
My name is Łukasz and I live in Poland. I’m a 3D artist specialized in hard surface modeling and technical art for games and real-time solutions. With over 12 years of experience I was able to work on many projects for various clients such as Porsche, Mercedes, and MIT. Currently I’m working as Lead 3D Artist at Beffio where I was able to establish Blender as our standard tool.
About Zorki
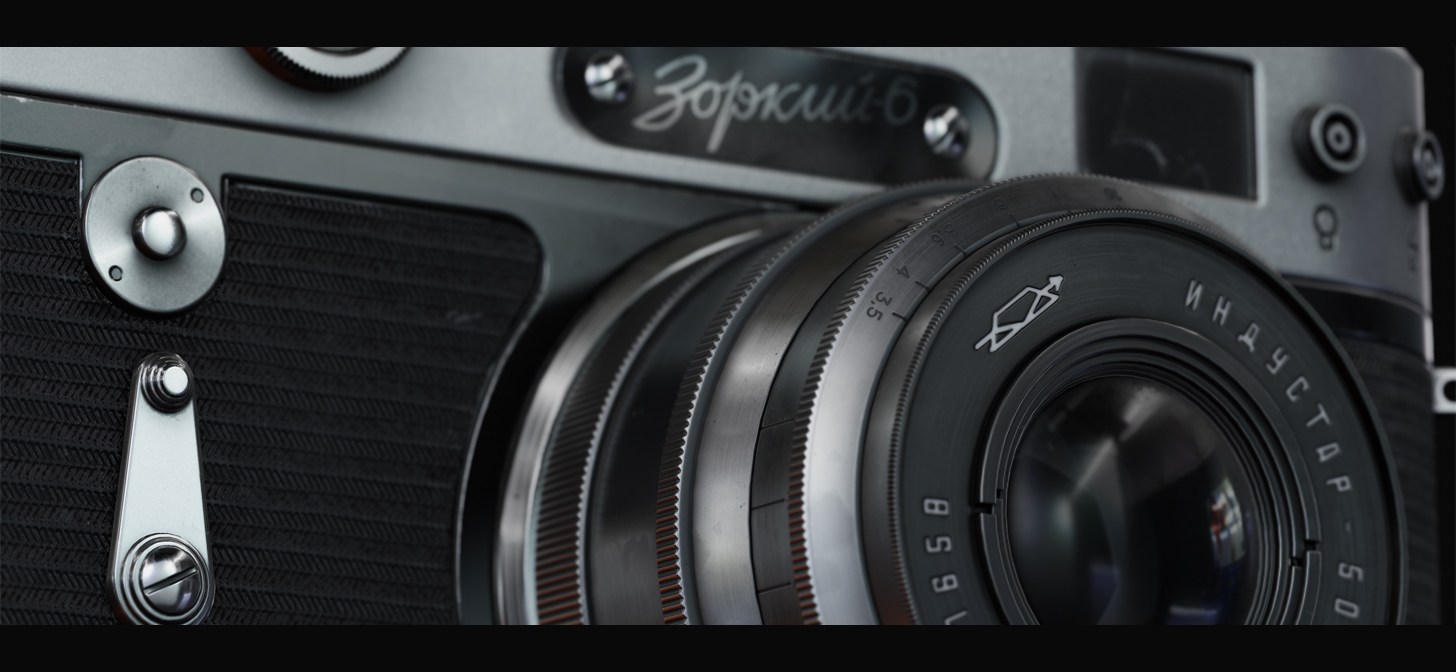
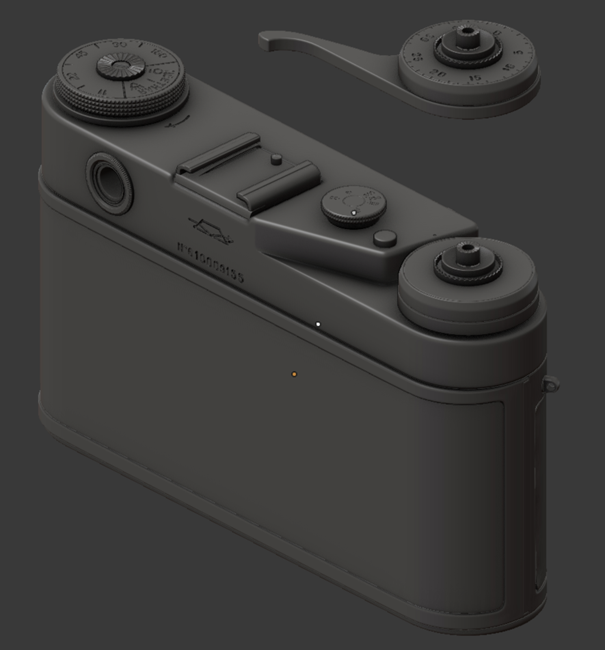
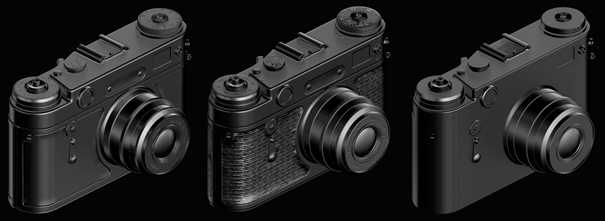
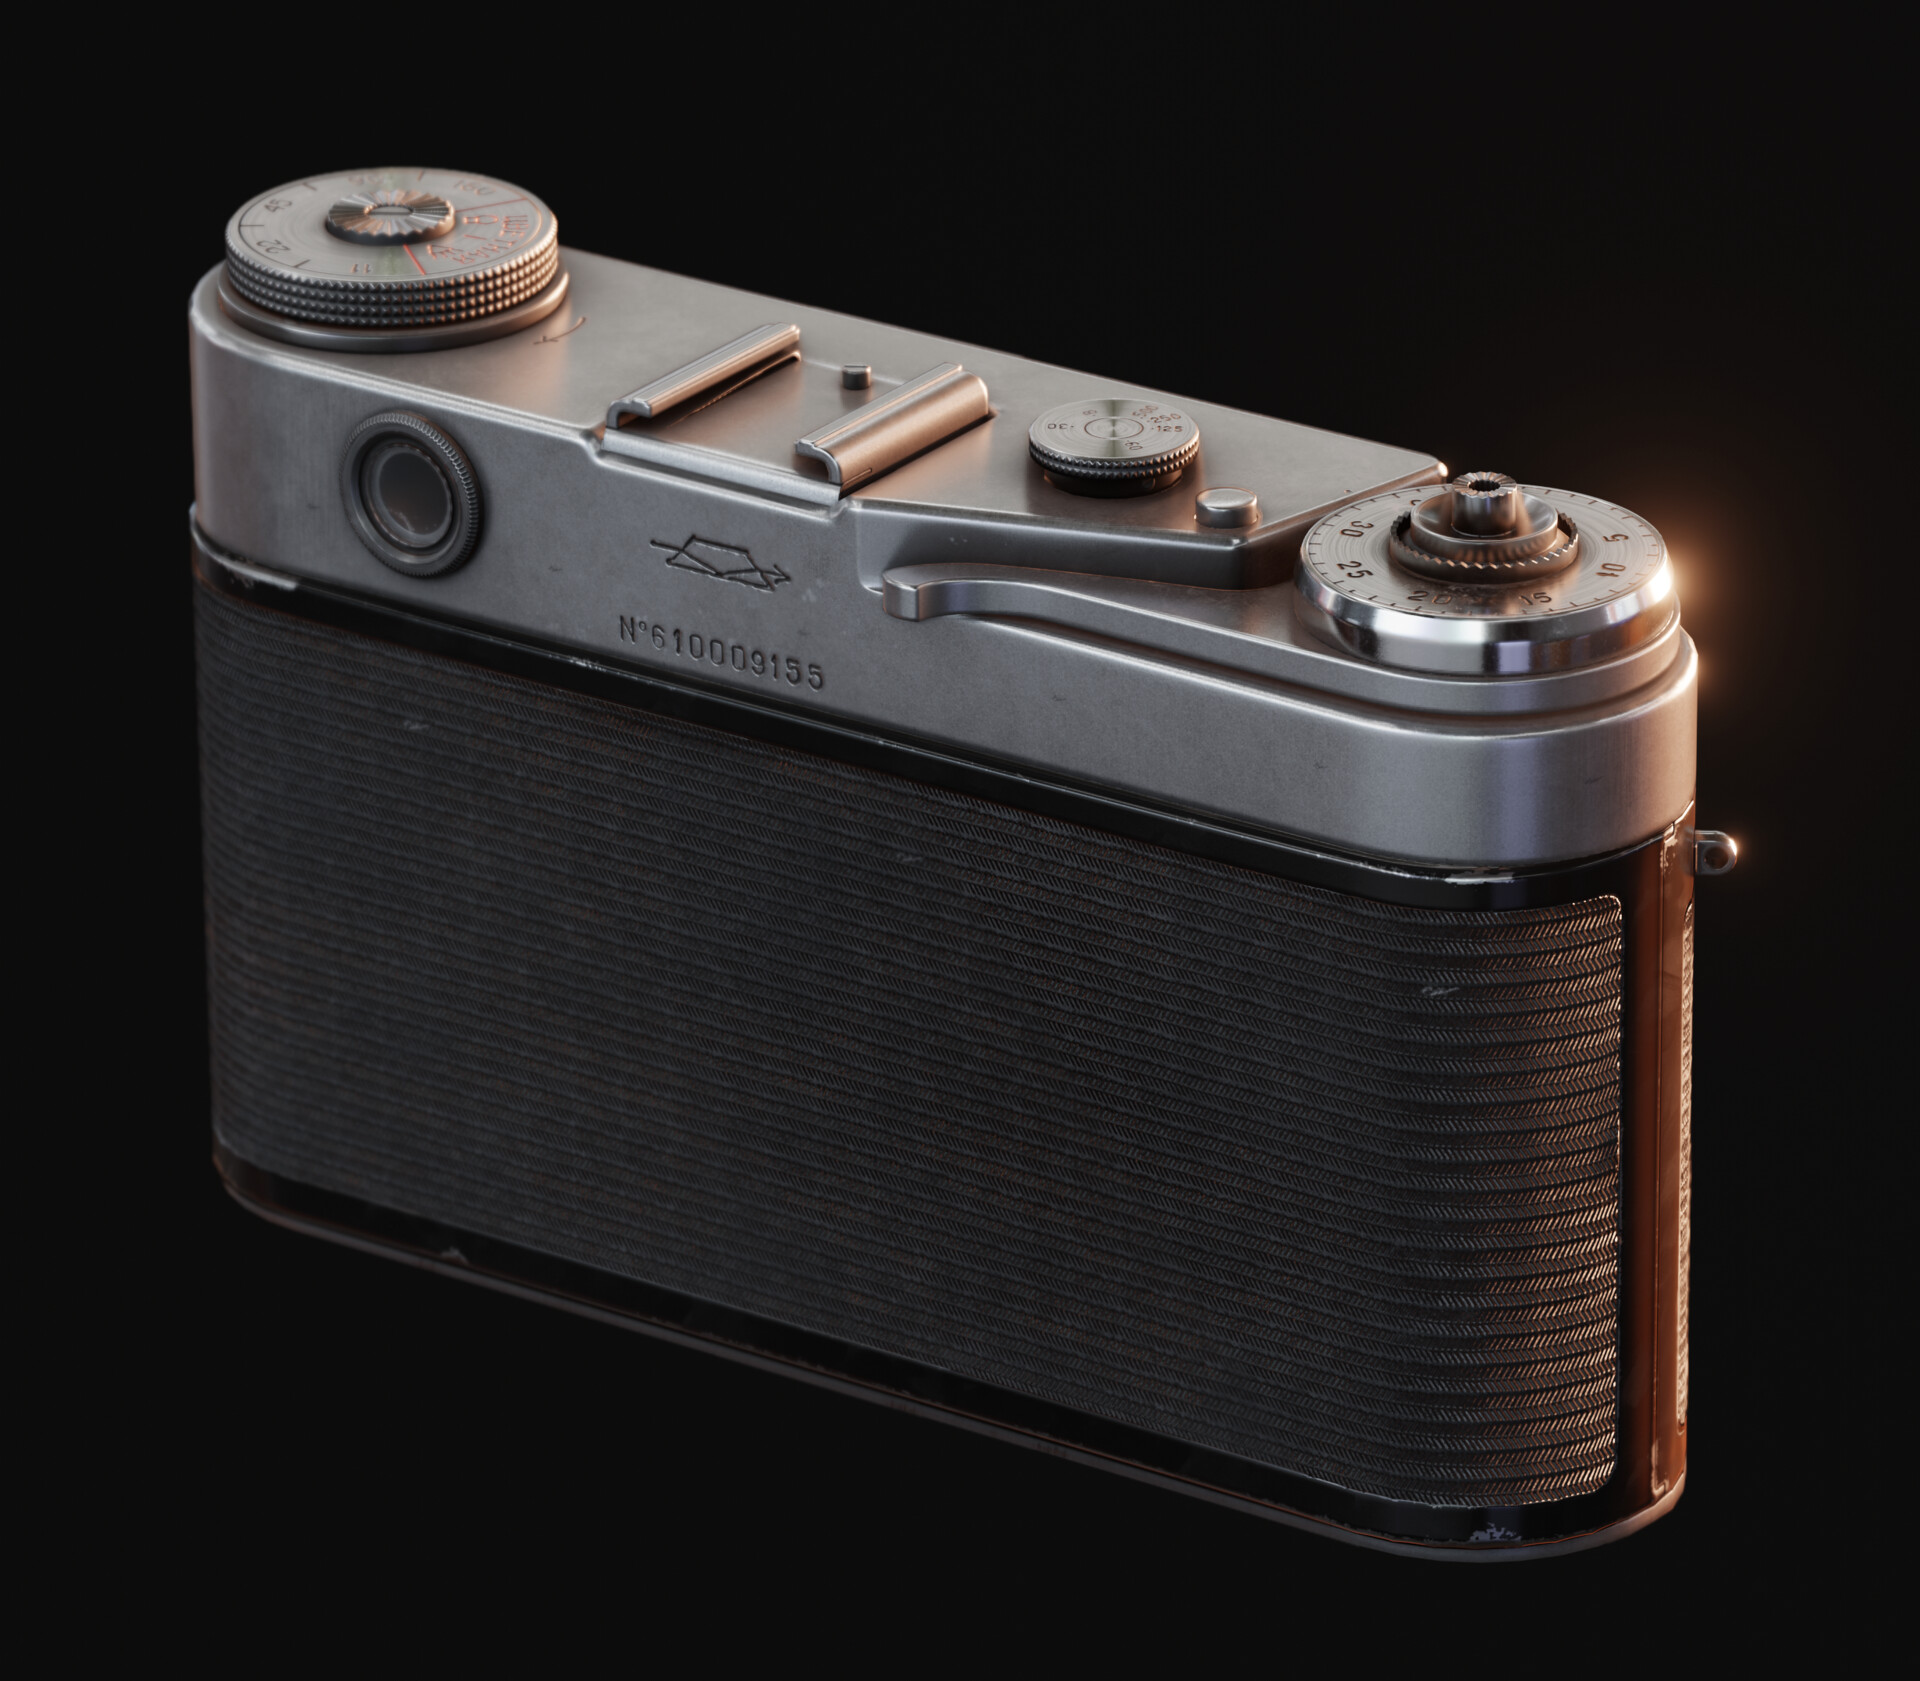
The idea behind Zorki was simple. In order to explore more efficient techniques in the creation of real-time assets I wanted to model a fine realtime prop, using various methods and tools to both improve the quality of work and shorten the time of its creation. Also I considered this artwork as an opportunity to test the EEVEE engine and render some captivating images with it. I was always fond of retro and industrial motifs, which is why I chose Zorki as my piece. Since I have my hands on one of these nice mirrorless cameras I didn’t have to collect many references and it helped me a lot with measuring proper dimensions and creating the textures.
Modeling
Modeling is a crucial stage as it lays the foundation for the entire artwork. It has to be done neatly, otherwise the results will be poor even with decent texturing and rendering. There are a couple of different workflows in modeling; the 2 most common are sub-d and boolean workflows. Before jumping straight into modeling I always try to analyze which approach will work best for this specific model and its parts. I also choose between various set of tools and techniques depending on the purpose of the model. Since Zorki was intended to be a game art prop, its high poly model did not require clean and optimized topology as it only carried baking information for the low poly model.
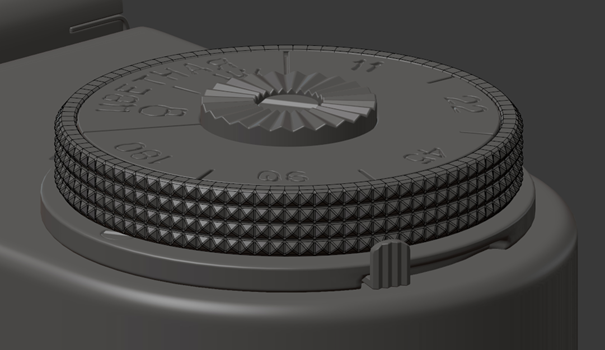
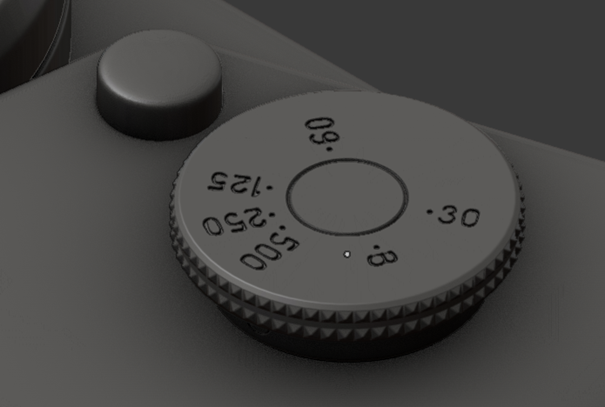
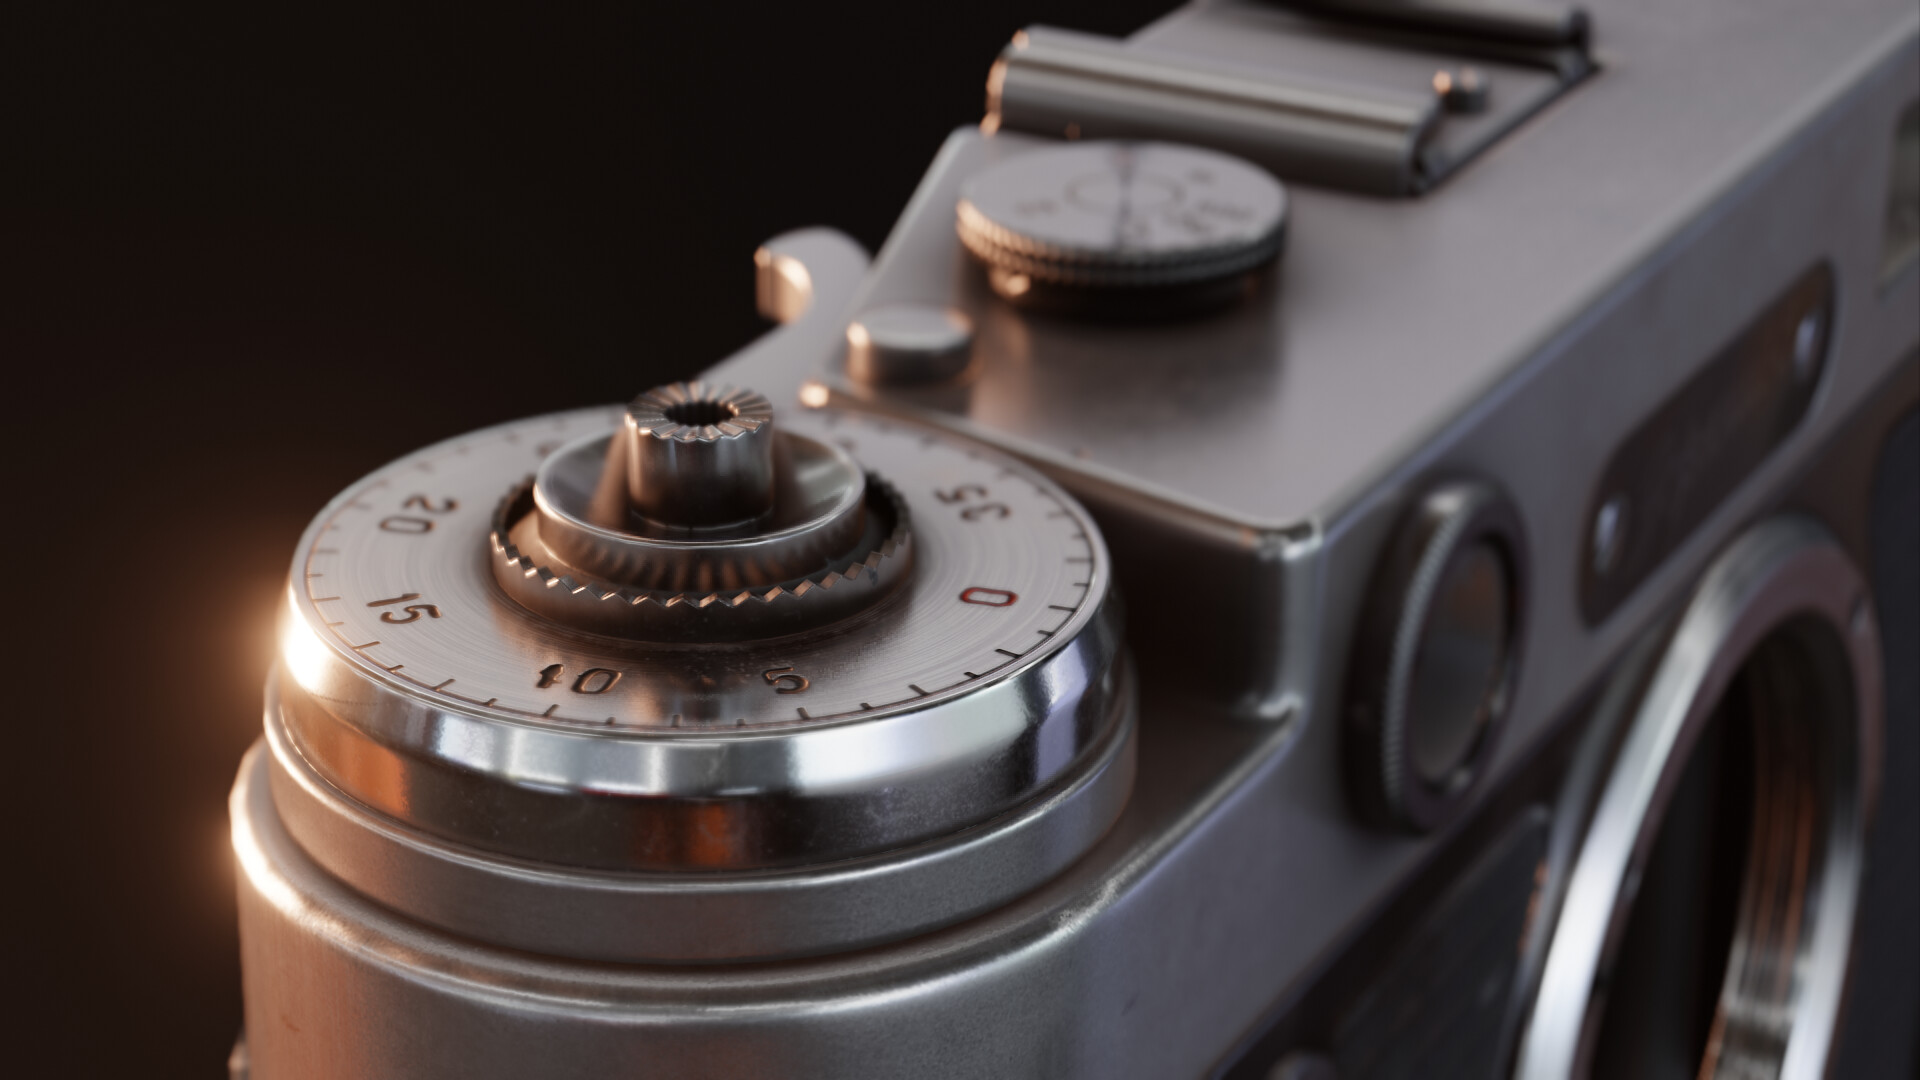
For the high poly model I went with a mix of sub-d and boolean, wherever the given workflow was faster. More complex shapes (which could require time consuming topology cleanup if modeled using subdivisions) were done using booleans and bevels. In some cases, like on dials with knurling, modeling without subdivision allowed for saving a lot of geometry and time, which would otherwise be wasted on managing support loops. Nice shading on single bevels was acquired thanks to the Y.A.V.N.E. addon (fig.1).
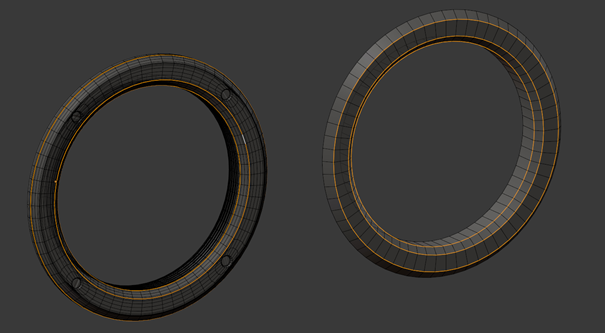
Every part of the model was designed keeping in mind baking for the low poly model. For example, lenses, dials and other circular elements should have the same distribution and amount of vertices around their perimeters as the low poly model would; that way baking won’t produce artifacts near the edges.
In the example below the selected edge loops of the high and low poly models share the same number and distribution of vertices (fig. 2).
For a proper AO bake, especially for rigged parts which are movable, some elements of the model were exploded away for the time of baking. If exploded parts happen to receive some occlusion shadows after all, the occluding mesh or its simplified version were duplicated and moved alongside the exploded part. This approach proved to be useful for the shutter dial; it’s rotatable around the z axis so it should not occlude some parts of camera, but since it’s always attached to a body it would cast a shadow onto the parts below. The solution was to explode the dial but leave in its original location a simplified version without the handle (fig. 3).
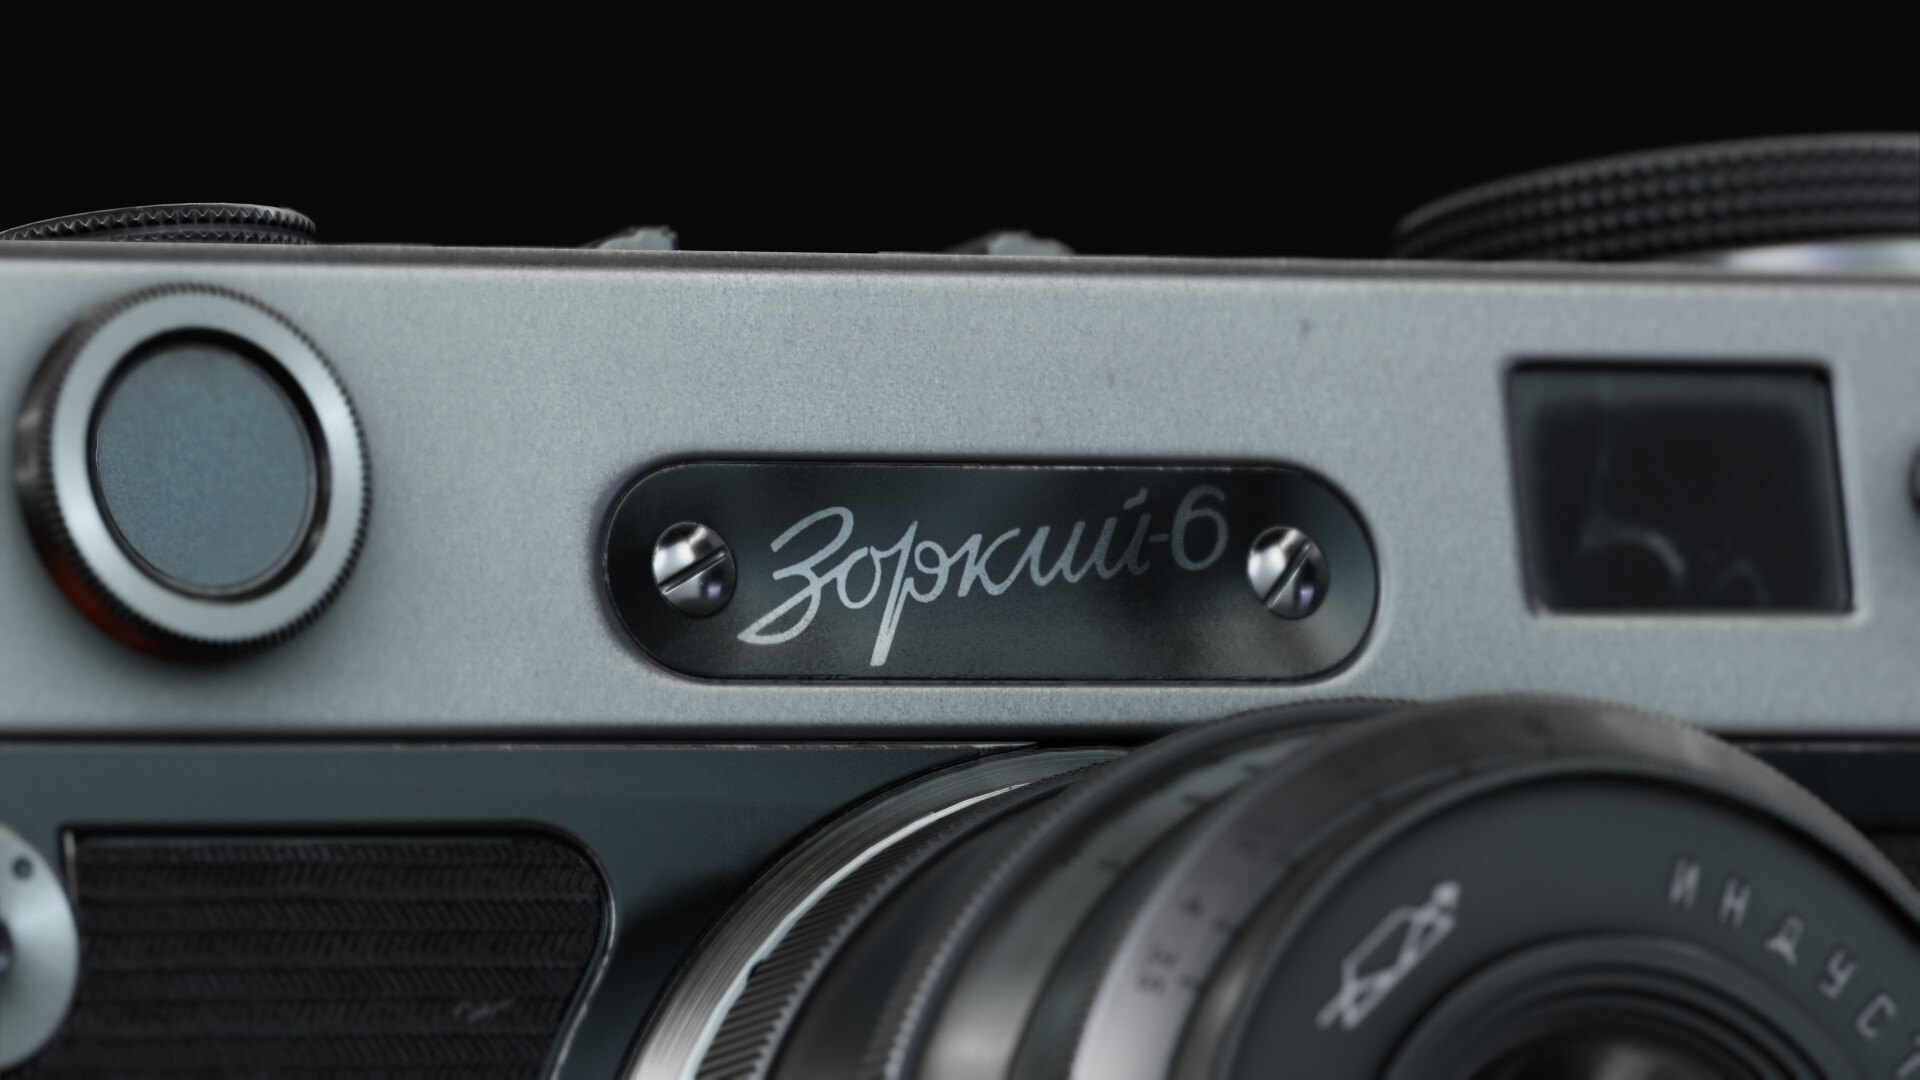
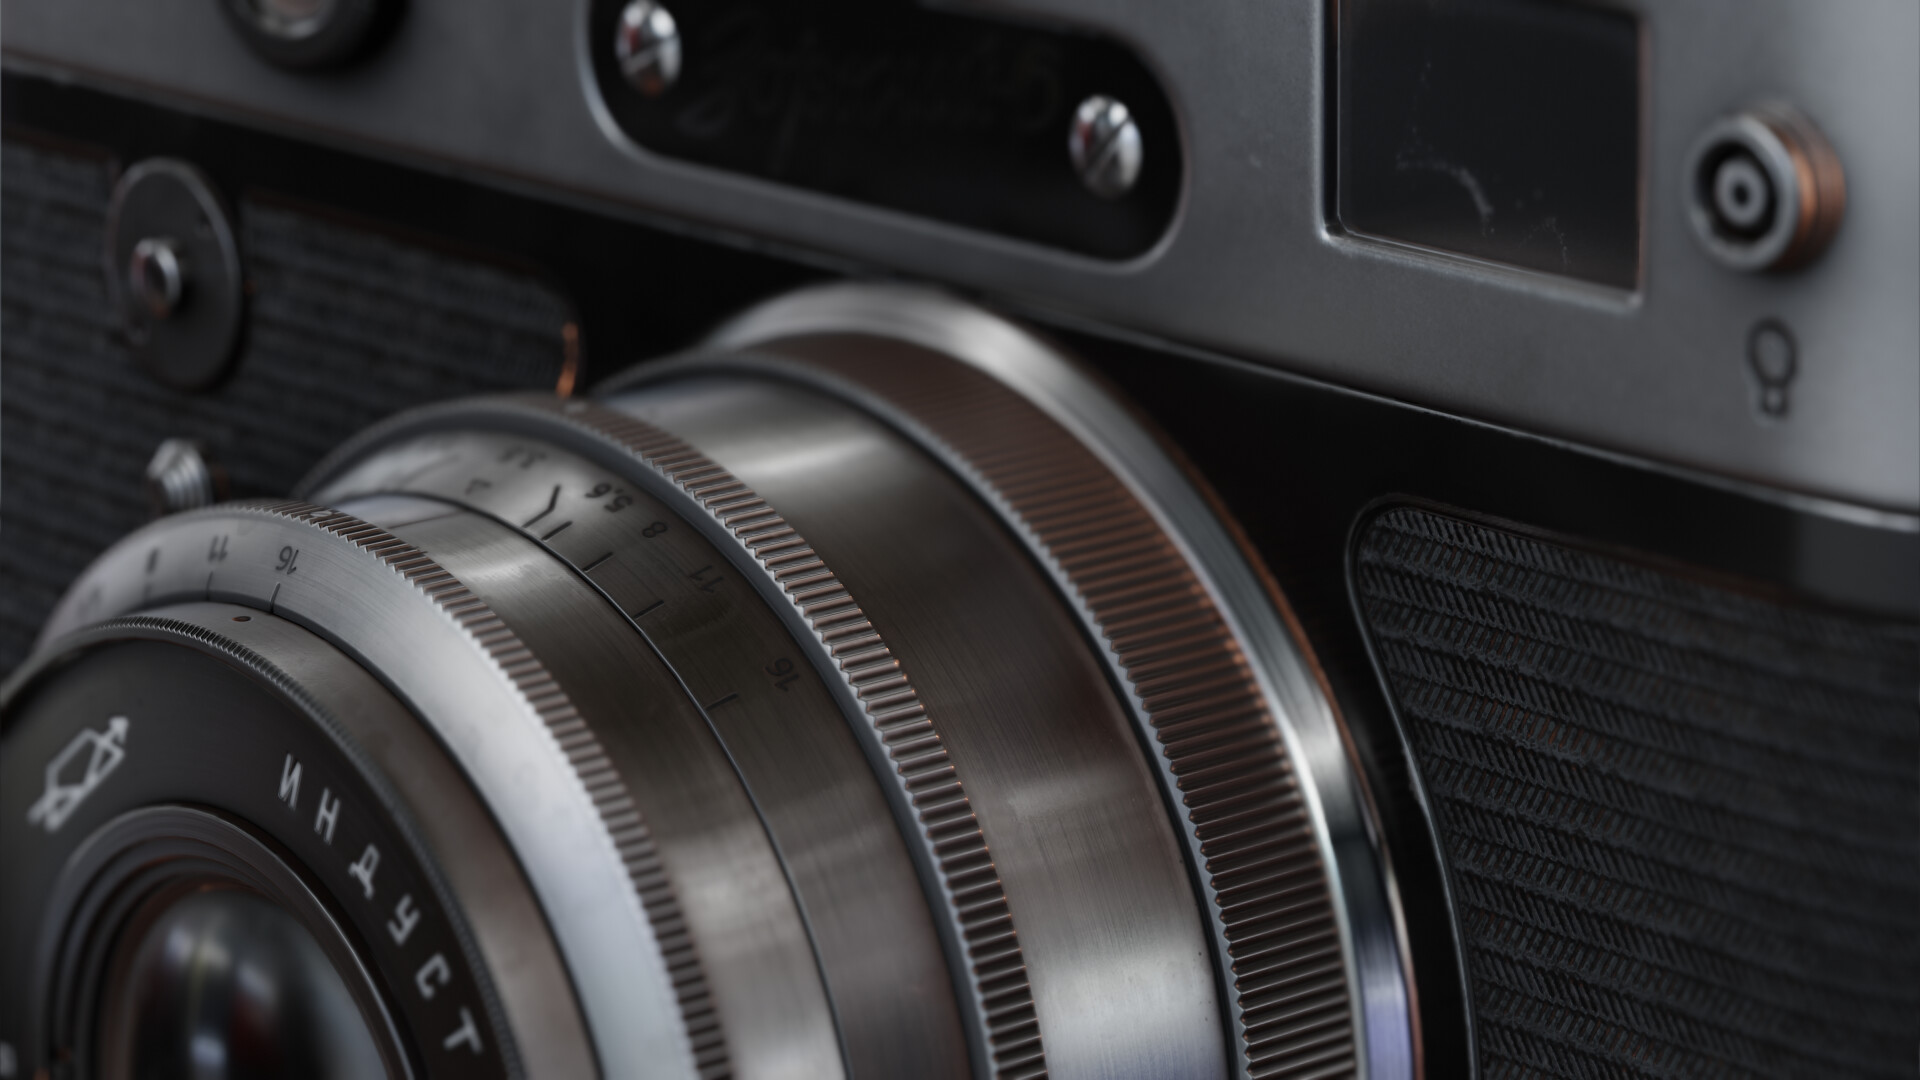
A common approach when preparing high poly data is defining details in the form of floating geometry. This is ok for relatively flat surfaces and as long as the floating model will not cast unwanted shadows in AO calculations. A slower, but in most cases better, approach is to model proper, concave details directly on the high poly surface. In order to maintain the best quality and save a lot of time in the process, engraved text and symbols were cut into the Zorki model using my “Engraver” addon which is available to download from Gumroad (fig. 4).
For best results and optimization of the lowpoly model I used a mix of custom normal modeling technique (with the help of Y.A.V.N.E. addon) and baked normal textures. My goal here was to create a low poly game-ready asset which would be indistinguishable from the high poly even in close-ups.
Texturing
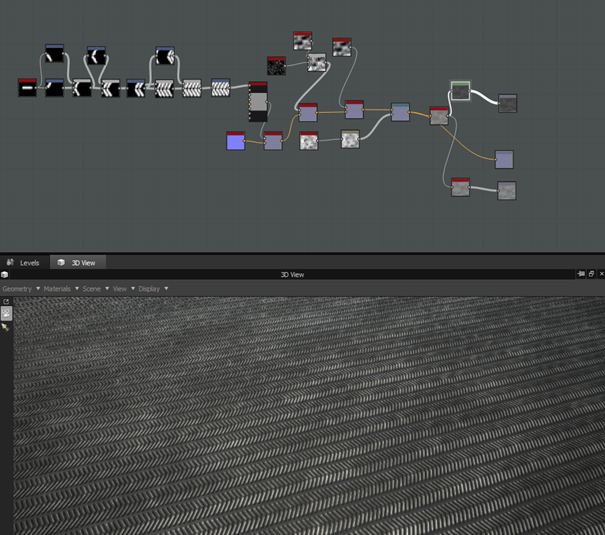
All of the textures were created using Substance Painter, with the exception of the plastic pattern covering the body of the camera, which was done using Substance Designer (fig. 6). In order to break its repeatable look, it was slightly overpainted with additional detail afterwards in Painter.
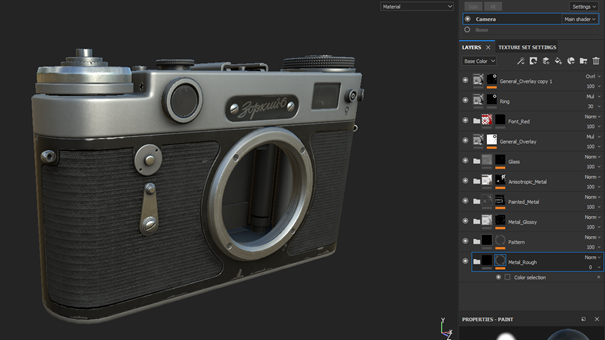
Normal, AO and Curvature maps were baked in Marmoset Toolbag. I prefer it over Substance Painter mainly because it’s faster and it gives more control of cage settings, ray cast distance, and it offers instant feedback. Additional maps such as Material ID and Position, were baked inside Substance Painter. Material ID is very useful for initial definition of different materials, each under its own layer group. This way it’s possible to have clean arrangement of layers even with very complex materials (fig. 7).
Having the real object was very useful at this stage. It allowed me to revise the behaviour of the material under different lighting conditions as well as find even the smallest details that could be missed when working only with references.
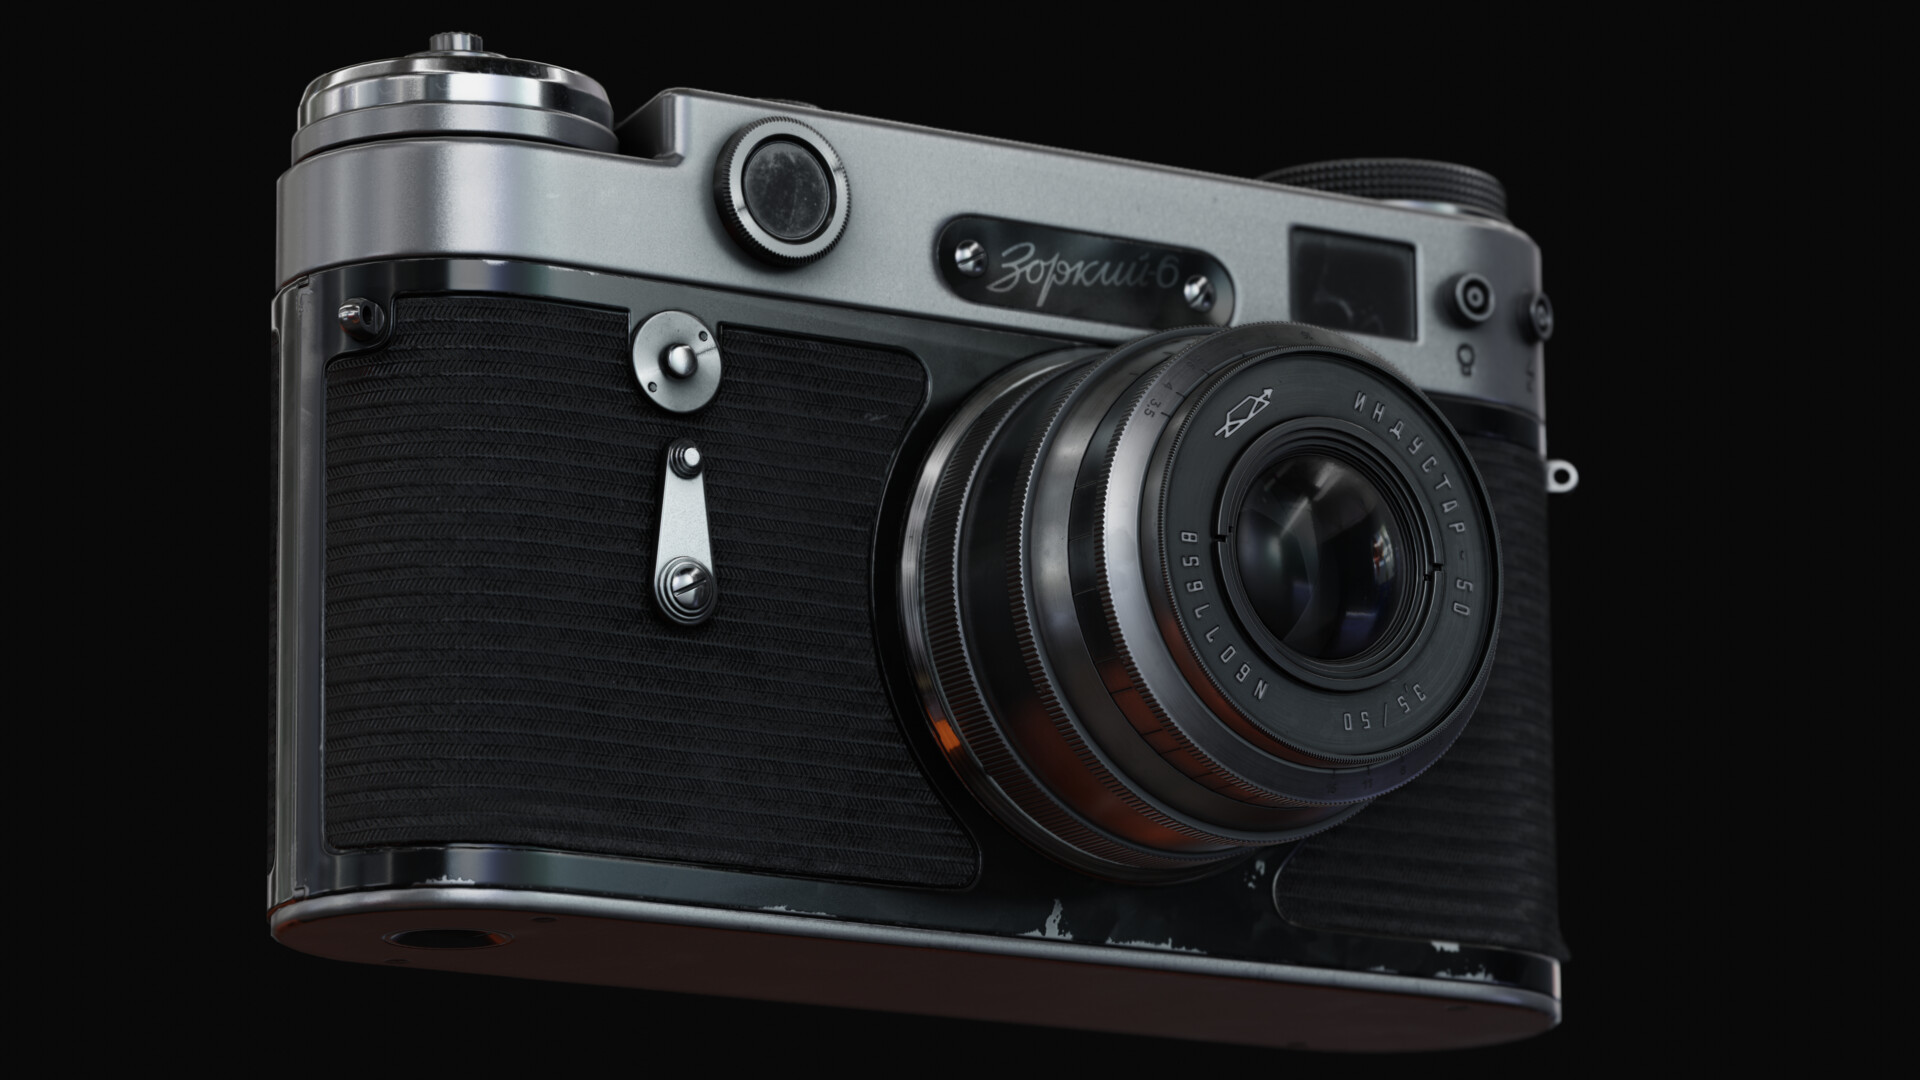
Rendering
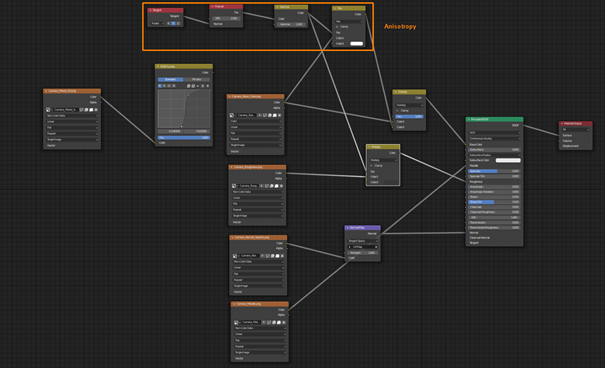
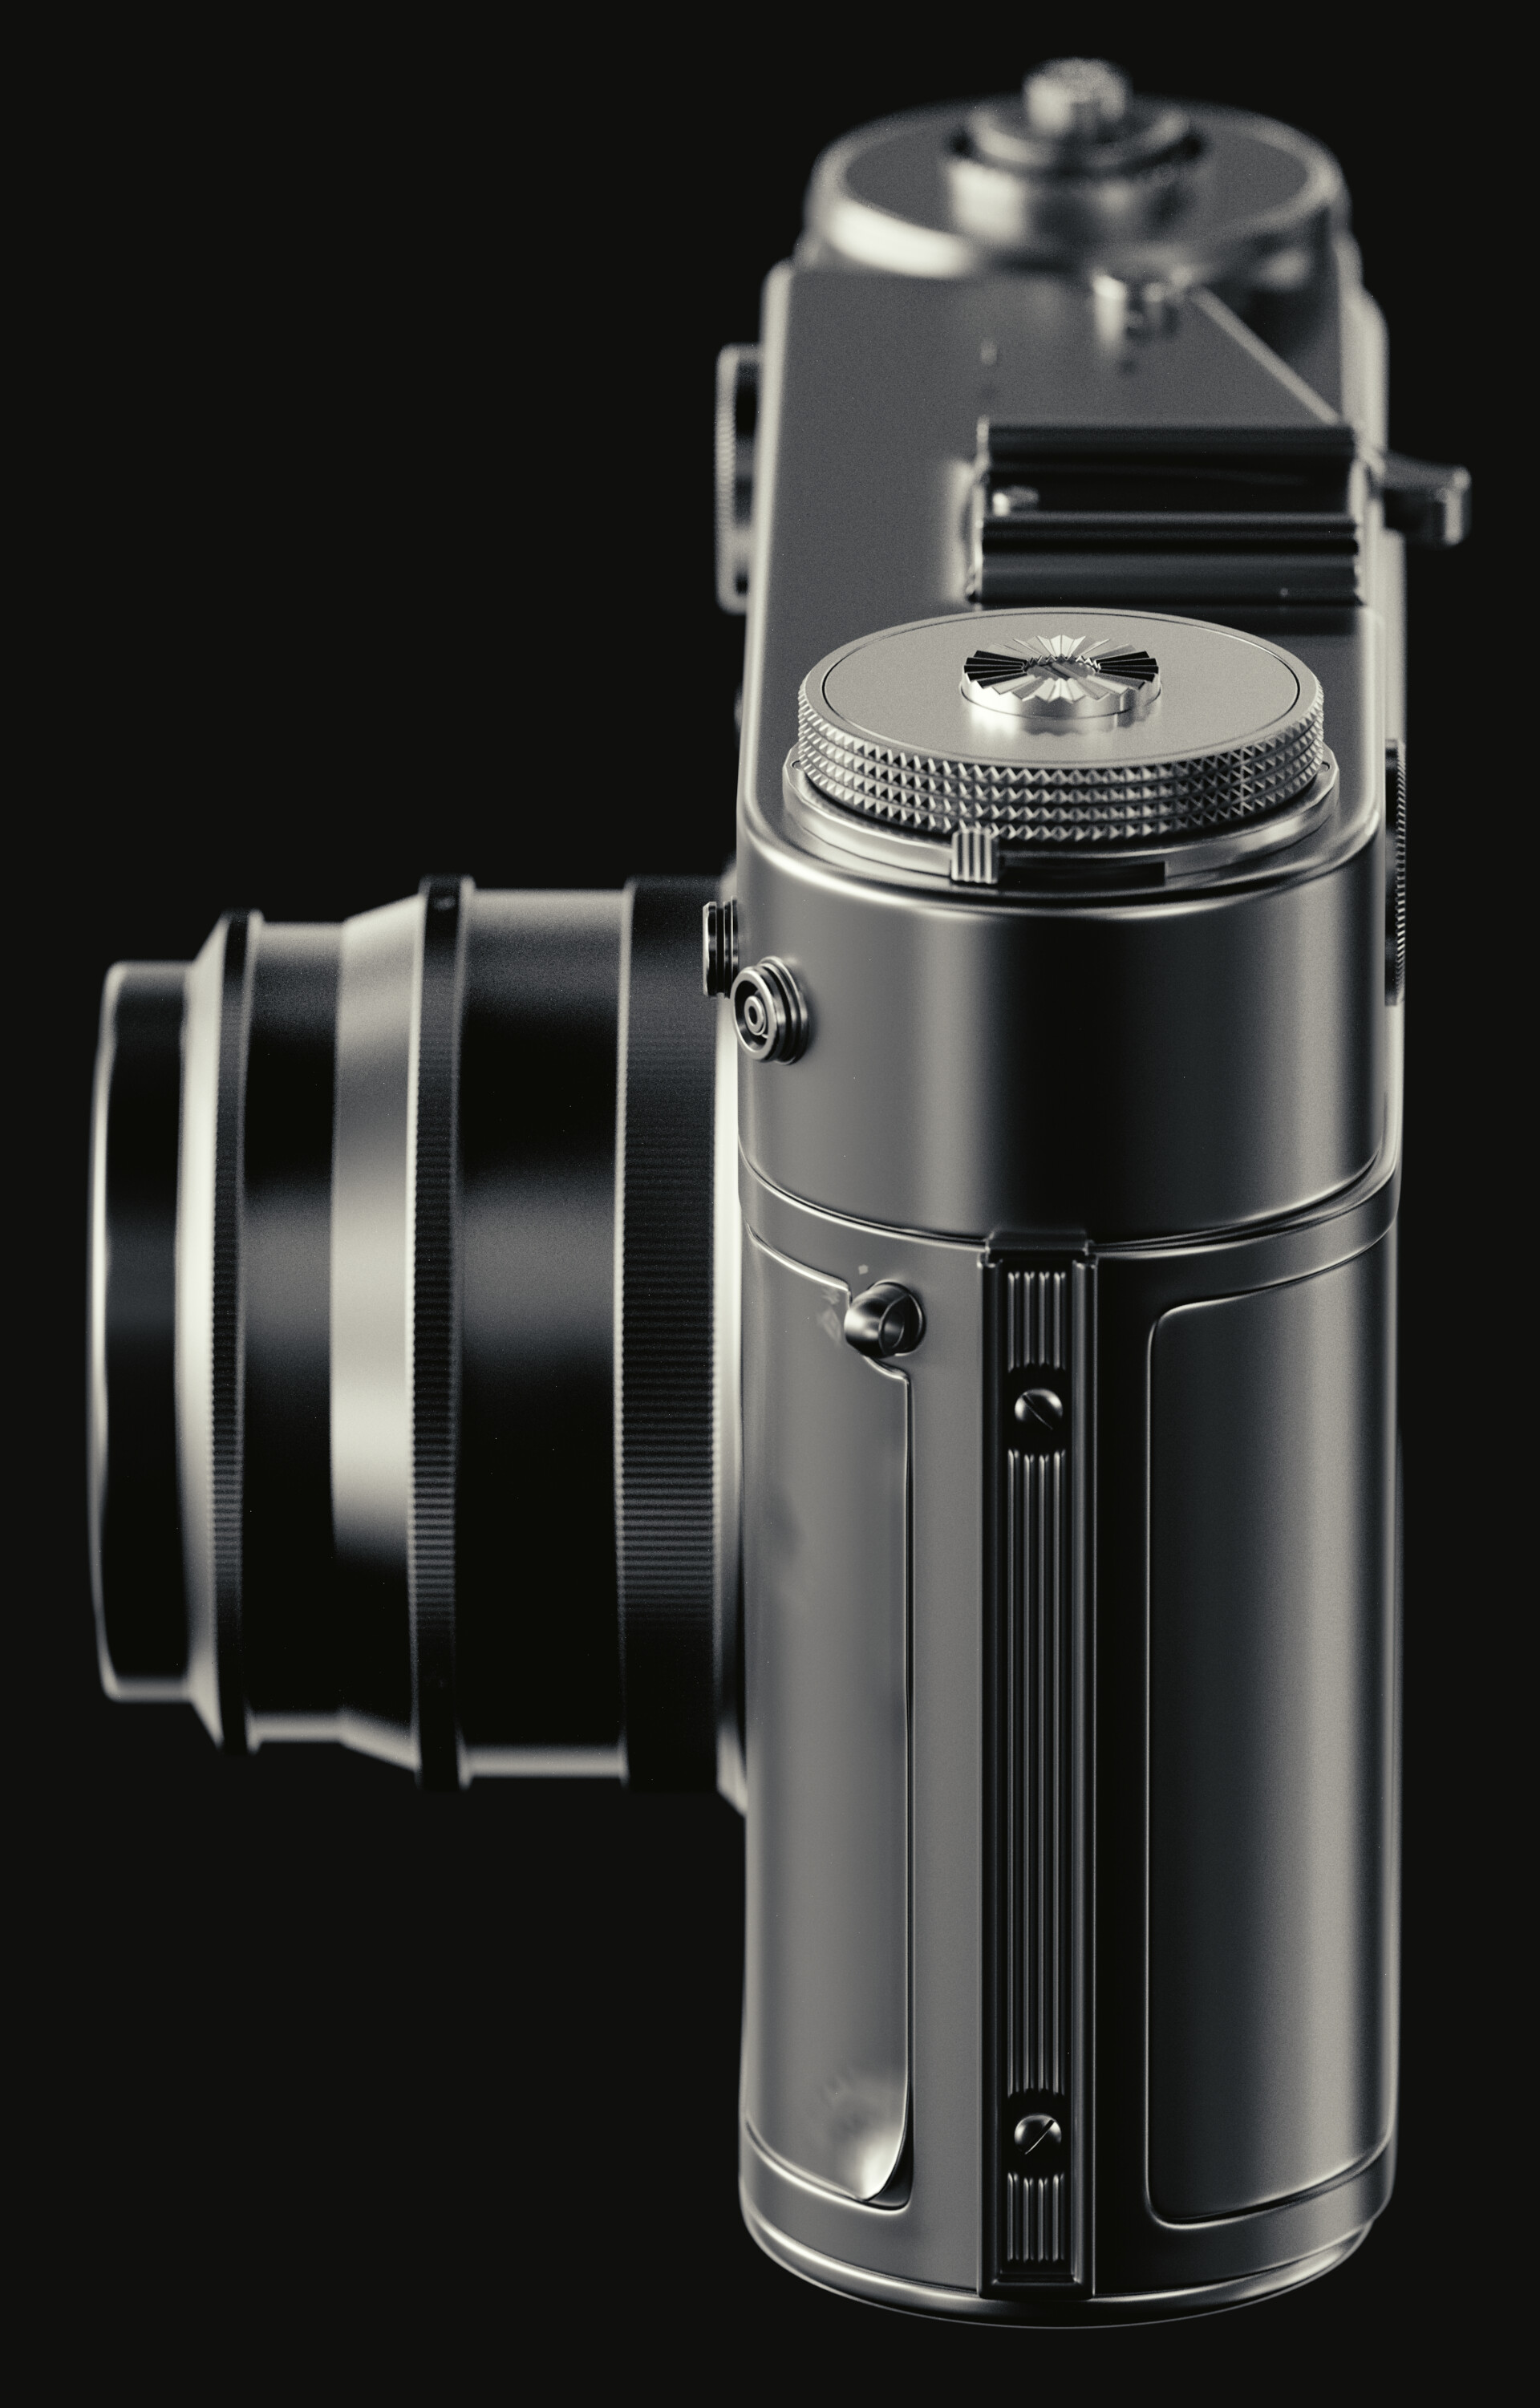
Since both model and textures followed the PBR standard, I mostly utilized Principled BSDF shaders for rendering. One additional, custom material was created for the dials in order to achieve a faked anisotropy effect (fig. 8).
Light setup: 1 HDRI with some color correction under the Environment node-tree (fig. 9) and one point light.

The model with Blender scene is available for purchase on Gumroad.

About the Artist
 Łukasz Hoffmann, 3D Artist


Awesome work.
Great work! Stunning details.