
About
Hello, I’m Seth Deming. I’m from the midwest (near Chicago) and am married with three little kids. I love art, specifically writing and filmmaking. The filmmaking process typically is one that pulls me away from my family. I have three littles (all under the age of 9) and have realized that they’re only going to be so little for (not) so long. The idea for The Legend of Lucas came from my desire to make something cool, but to do so with my family.


It was also a chance for me to learn Blender. I’d used it here and there, but the UI and the learning curve kept me in After Effects where I do a lot of film compositing work. Blender seemed like this un-learnable amazing tool. And to be honest, I still don’t quite feel like I understand it. But, many thanks to the YouTube Community (Andrew Price is to Blender what Andrew Kramer is to After Effects - these Andrew’s have taught me so much!). There are so many people out there that are way, way, better at it than I am, and I’m still very much a student. Probably always will be. That’s okay!
Nearly all of the creatures were modeled in Blender, textured in Substance, and then composited in After Effects.


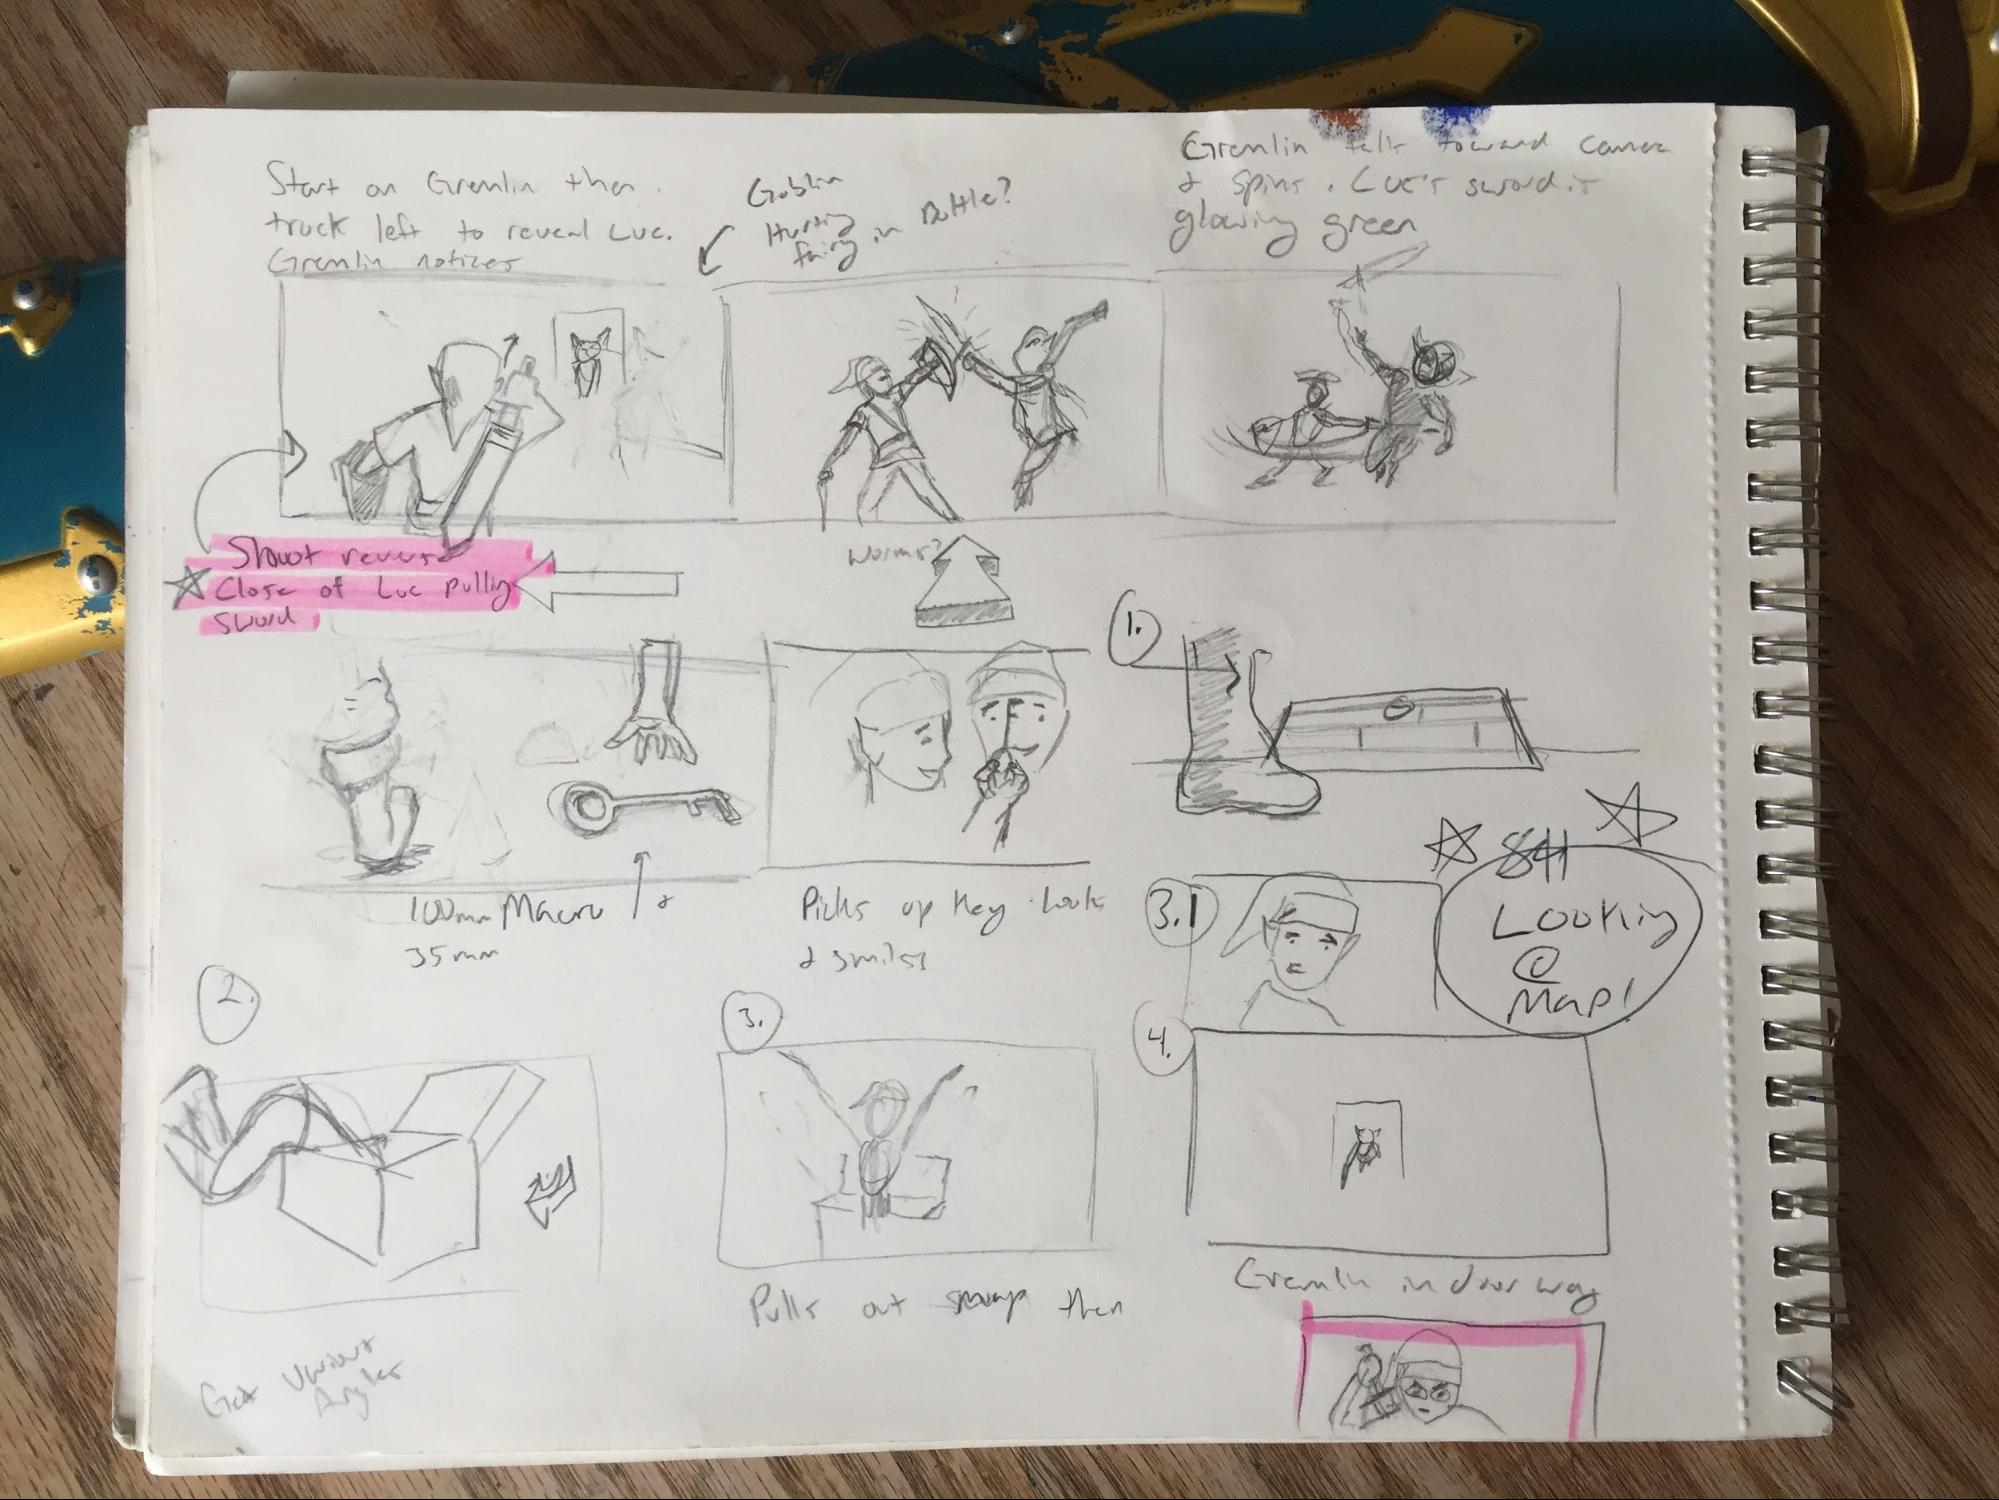
I live near Chicago, IL and run a video shop called Anomaly Video. We make a lot of different stuff, but my main love is story. I want to make and tell stories that capture people’s hearts and imaginations. This project was really made over two years, so we had a lot of shots that were just spontaneous. A lot of it was storyboarded (because that’s how I think), but a lot of the creature fights were made up on the spot.
The Project
So, for The Legend of Lucas I had a few goals with it;
- spend more time with my family
- learn Blender
- tell a fun and simple story
My oldest son loves Link and the world of Zelda (and is always annoyed with his parents because we heavily limit his “screen-time”), and can still be found playing ‘make-believe’ Link in our backyard, or when we go hiking. So I just bought a camera and started capturing his play initially.
The first thing we filmed was at Matthiessen State Park, where all the shots were just impromptu “Hey go do this, pretend you're fighting like this, pretend you see a castle in the distance, etc.” type shots. You can tell which shots those were because he’s actually holding a ‘foam’ sword (these happen about ⅔ of the way into the video).
After I started tinkering with those shots in Blender, I had the idea to tell a whole story, instead of just a few random monster shots. So I storyboarded the opening with the rock in the backyard, meeting Navi the fairy, finding the treasure chest, a few more monster fights, finding the master sword, and the end fight sequence, which, since we play-sword fight all the time, was super fun to practice.
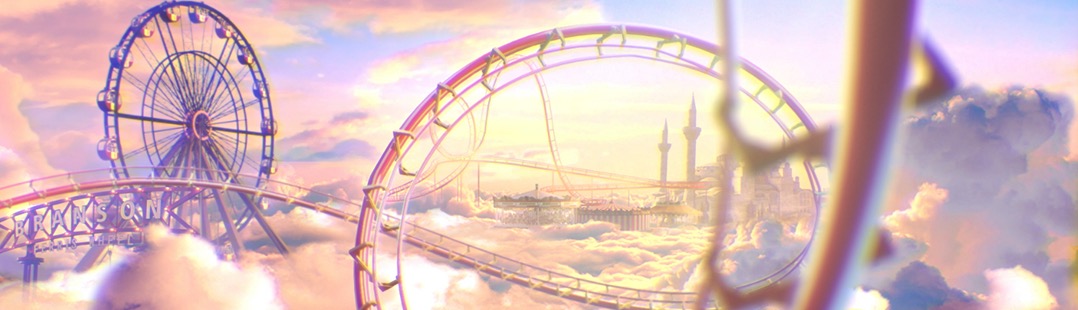
Environment
I used a lot of different resources in Blender. For the grass, I used this wonderful free plugin called ‘REAL GRASS’. This was really key because most of the objects you see in the short live in dirt or grass. This approach allowed me to put a rock in my backyard, and blend it in with something a bit more sophisticated and ‘real’ than a feathered mask.
Here’s a bit of my workflow and a confession: I have no idea how to use the Blender compositor. So, I made my grass from Blender super-green so that I could isolate that color in AE and change it to match (told you I don’t know anything!).


For a lot of the shots, a zpass was key to getting the smoke, fire, and 3D elements all mixed up nicely.
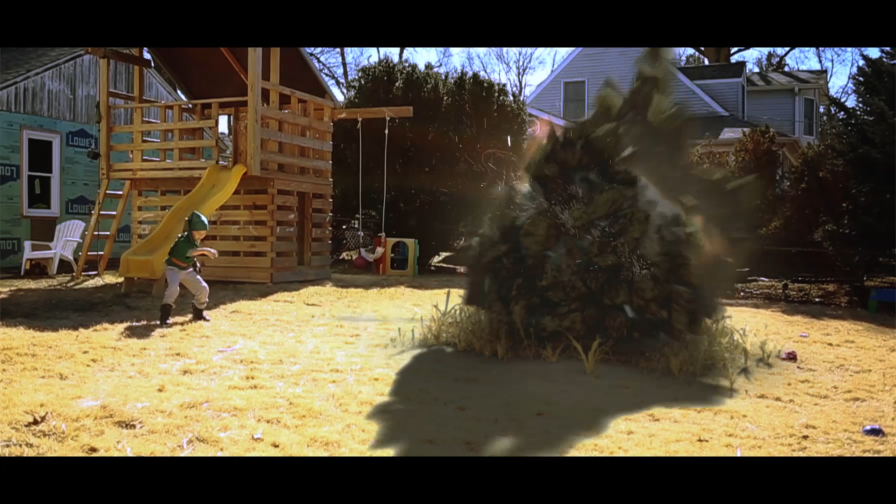
I used the ‘cell fracture’ modifier and followed 2 or 3 ‘bullet’ tutorials on YouTube to find out how to make it ‘blow up’.


The Fairy
The Fairy was a good example of learning a lot of new things: modifiers to the curves for her wings, simple rigging, particle simulation (for the fairy dust that follows her). Again, all these shots were tracked in Blender, and because the Fairy was a light source, I had to simulate that, which generally meant either using compositing tricks in AE or exporting a light-pass from Blender using planes as walls and screening the result onto the final shot.


The shot was tracked in Blender, and I attached a light to the fairy so as to avoid fireflies.


It’s a little hard to tell in the still, but the walls behind the fairy (above the treasure chest), as well as the chest itself, were all ‘relit’ in AE/Blender. Finally, I exported the info for the camera and objects from Blender to AE via the awesome “export to .jsx” add on.
Rigging, Physics, and More
Man, there were a lot of shots here and I don’t want to bore you with all of them, but in general, all of the rigging was done in Blender. I learned the dopesheet as well as Blender's physics engine a lot, both for hair and objects. And, I saw a lot of improvement! The first shot I did in Blender was the Deku Baba fight, which took me a month. The final 3D shot I did was with the dragon, and that took me a day or two.


This Deku Baba was so much fun, though. I modeled it in Blender with a combination of the software’s amazing sculpt tools and traditional modeling. When the ‘nut’ pops out of him after he’s killed, I got to use the physics inside Blender. No keyframes! Also, it was really satisfying modeling this character and then seeing it all lit up by Navi (the fairy). Oh! I used the CMV textures for that. (Note there are two models in the above picture so when he’s cut in half I muted the one and switched to the other. Special thanks to Dan Brown of Dan Brown CGI who helped me learn a lot through this shot! Dan is an AMAZING Blender user who makes astonishing spaceships and is just a great person to work with.
Here’s that dragon shot before/after:


The model was made by 3Dhaupt and was probably why it didn’t take me as long :) - For this shot, I was learning how to animate - again, it’s not perfect but I learned a lot. One big mistake I made was that I didn’t use the ‘main control’ of the dragon, so moving him around was a huge pain. Next time, it’ll be easier :) Otherwise, everything else was just a composite.
The last thing I learned was to just take advantage of moments, and be flexible. Even though I had planned a lot, I often was forced to change my plans, because Luc was tired, or we just ran out of time. For instance, we had an entire other section of the end fight sequence we had to modify and cut on the night of filming because it was a few hours past Luc’s normal bedtime and he was gassed.
Also, when filming look for golden moments. They really do happen, like in the shot when Luc is hanging on the boulder, he looks completely terrified, and he was! He was climbing around on a big stone, and started to climb down. In this picture, he’s literally hanging an inch above the ground, but he thought he was going to fall 20 feet. So, like a good dad, I filmed him!


Thank you so much for this community that is so helpful and kind. Someday, I hope to be a person that helps others like so many have helped me.
Blessings!
About the Author
 Seth Deming, Filmmaker from Chicago, Illinois.
5 Comments
cute video! great you got your kids involved. You never did mention what your son thought of the finished video.
Bravooooooo!!!!
Wow. Incredible work!
This is really impressive!
Thank you so much for sharing the "behind the scenes". You all did such an impressive line of work here on this trailer. I am so new to 3d realm and this is definitely a help in the proper direction. The steps you've provided were really insightful. Watching the entire video brought the young me out. I remembered playing ocarina of time for the first; one of my favorite games of all time.
Thank you so much!!!