Behind the Scenes: Samurai Girl
About
Hello, my name is Bruno Marzochi Lopes. I was born in Sao Paulo, Brazil but I grew up and I lived a great part of my childhood in Malaga, Spain.
Since my childhood I had always been interested in art. I was curious about how animated films were produced, and I wanted to get in touch with it somehow. In 2012 my father showed me Blender (it was love at first sight), and I worked with it on and off for a few years. I only started to work in Blender seriously in the second half of 2016, the same year that I also started to work on ZBrush (I thank my Professor Paco Mendoza, for showing me this incredible tool!).
And I would like to say that my mother has always been a pillar in my life, always encouraging me to keep moving forward.
In early 2017 I returned to my home country (Brazil), to study at Melies (technology and animation school) where I learned the proper way to create a character, from the concept to the final render.
But I can say that I’m very self-taught; YouTube has always been my school, you can find everything there! The channels of Blender Guru, Pixologic, Rafa Souza, André Castro, Libel Studios all helped me with the process of creation! I am very grateful for these channels.
Using Blender I tried to find myself, to know what I really liked, and I saw that it was sculpting. As I have delved into it further, I can say that I love modeling characters.
I work as a freelancer today.
Inspiration
I was looking for a 2D concept to be able to transfer it into 3D, because I wanted to improve my 3D vision more. So I went to ArtStation where I found a great artist, Alberto Camara! I really liked a sketch he did of a Samurai, I really liked the concept of this Samurai and I wanted to represent it in 3D, so I did not even think twice about doing it!
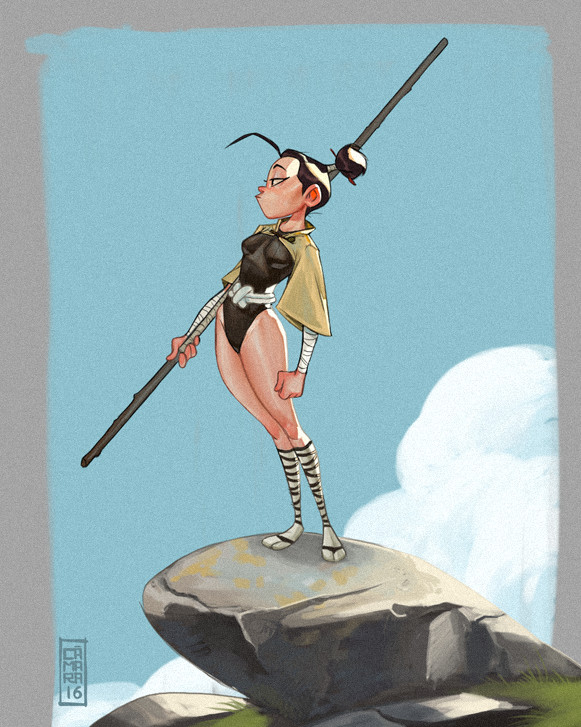
In it I wanted to use all the learning I had acquired on YouTube and at Melies.
References
I started looking for references everywhere.
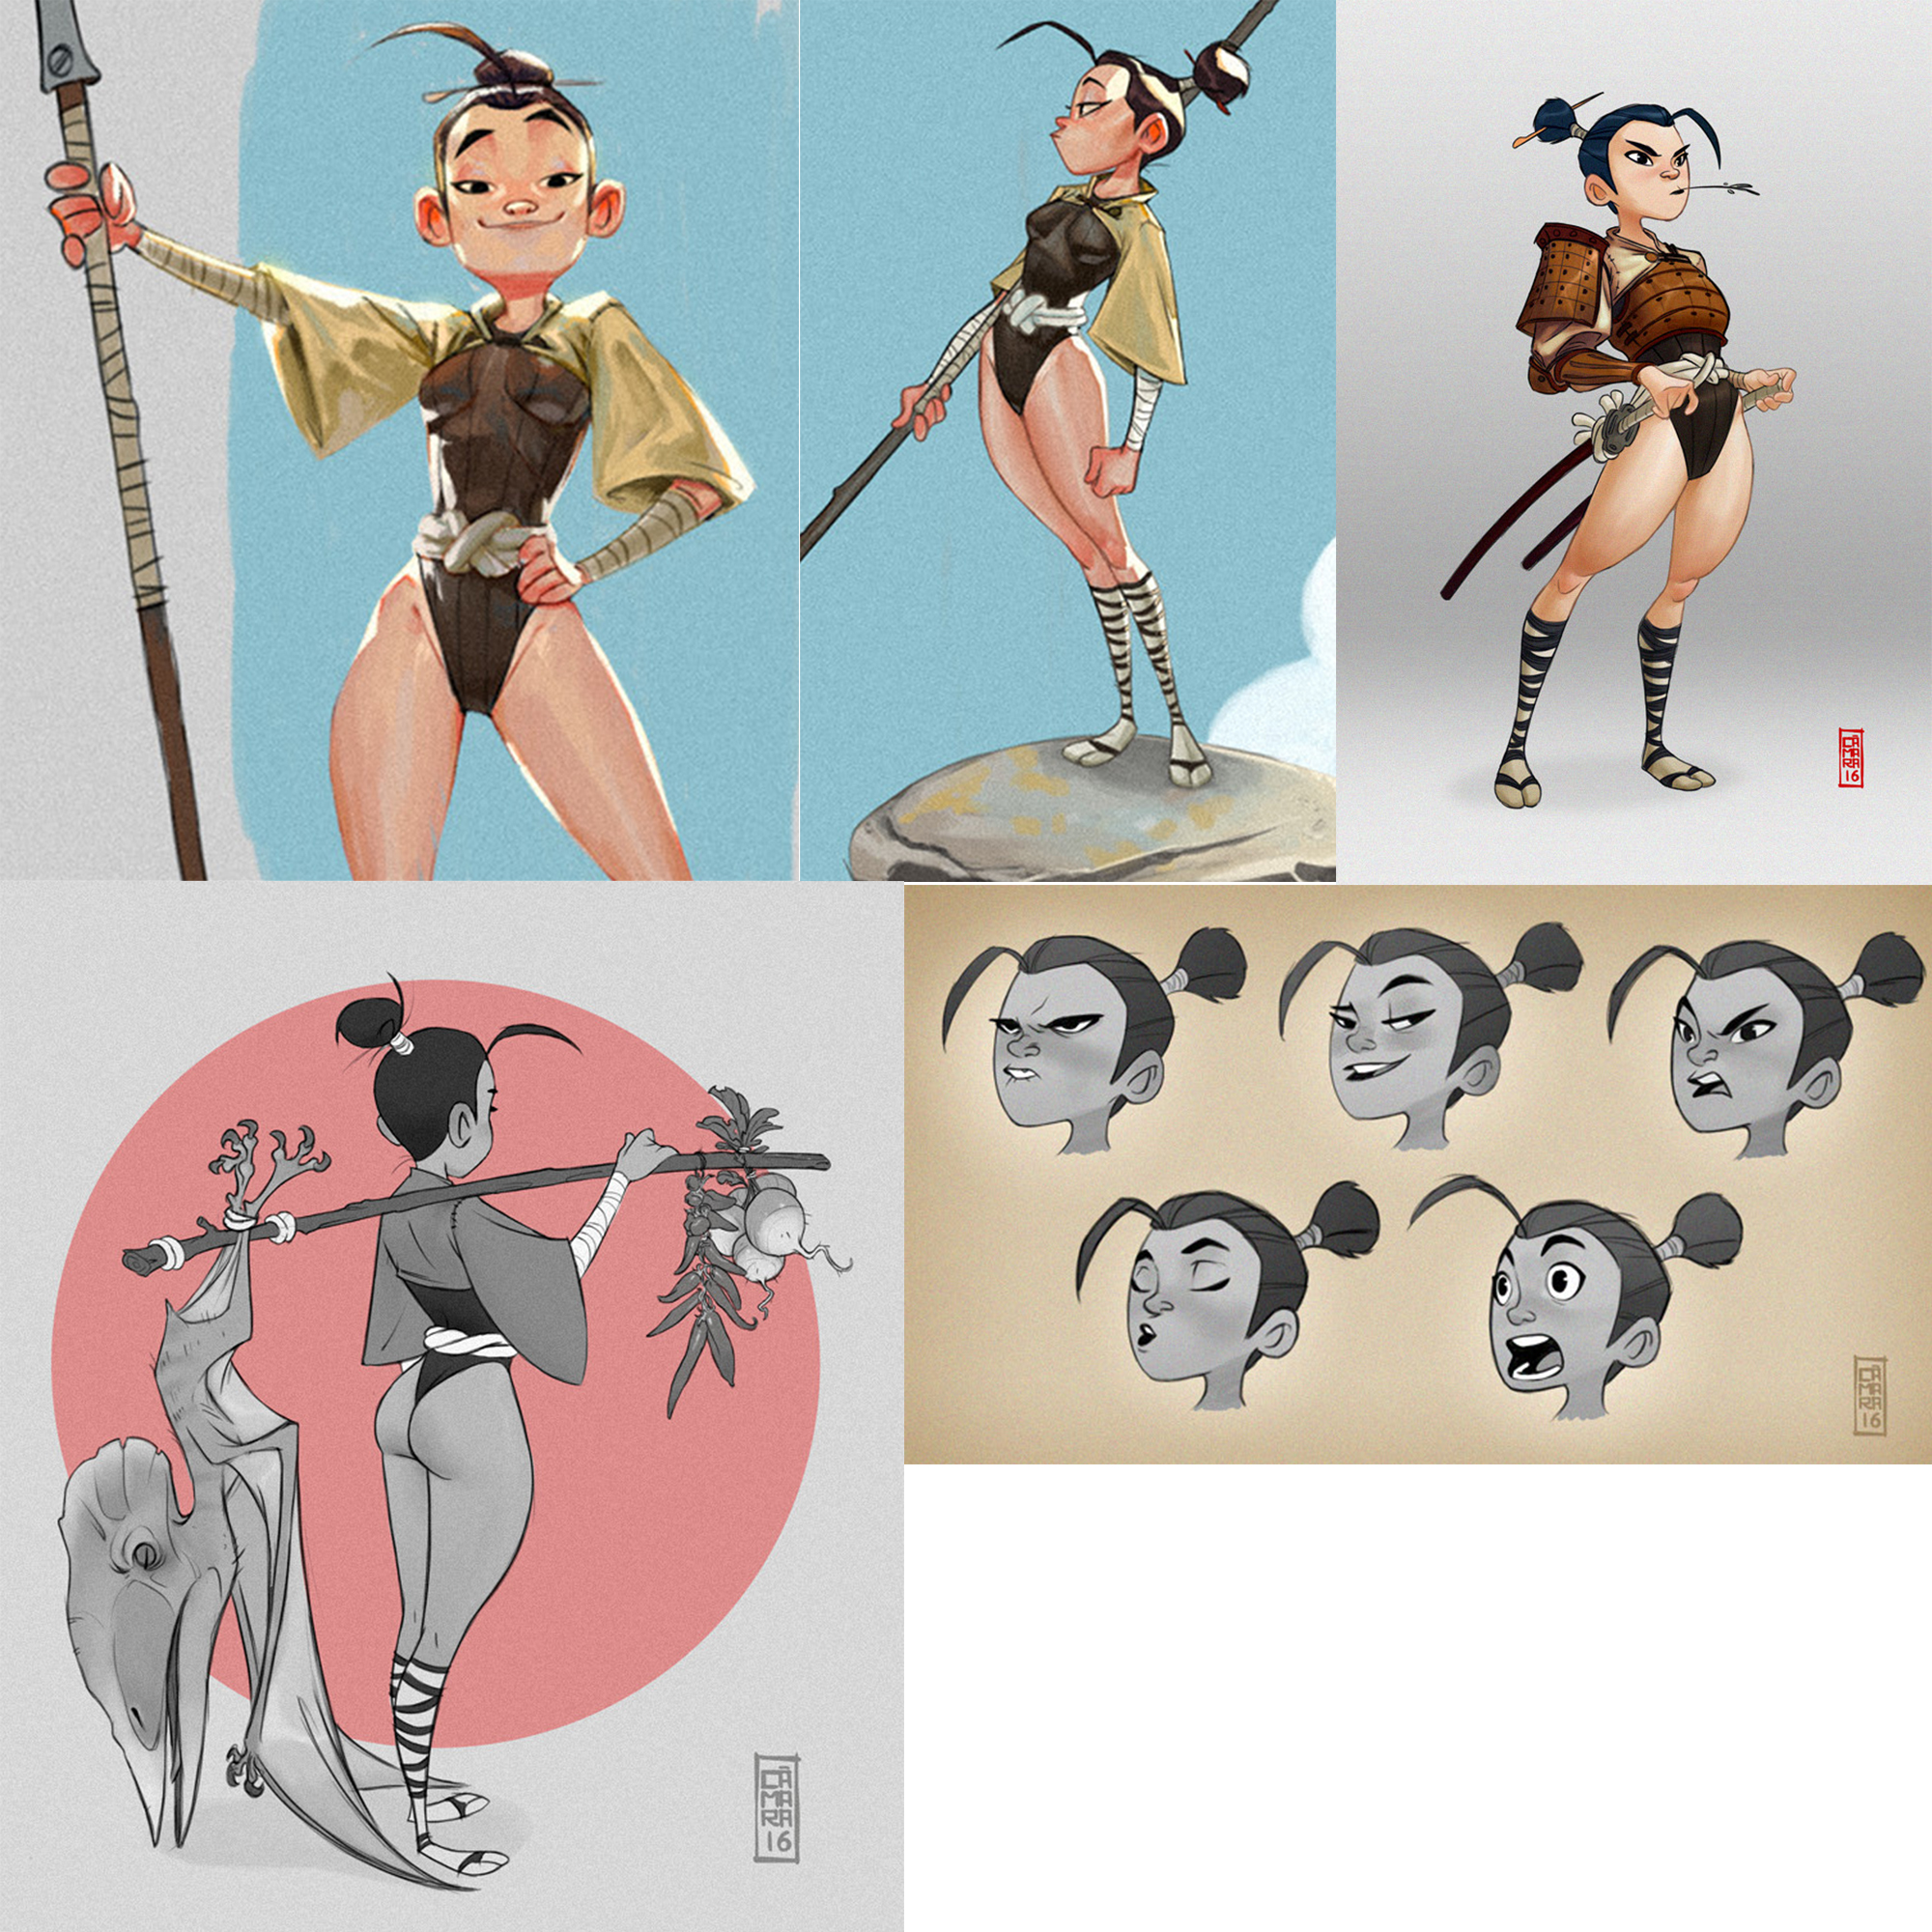
With references on the screen, it increases the speed of production.
Hardware and Software
My notebook is an Asus, model GL552VW DM141T.
Specifications:
- Processor: I7 – 6700HQ
- Ram: 8GB ddr4
- Graphic board: Nvidia Geforce GTX 960m 2GB
Softwares:
- ZBrush and Blender (Modeling)
- Maya (retopology)
- Photoshop (post-production)
- Substance Painter
- Cycles render
Character block
I started to block the girl in ZBrush. The blocking step is very important!
The focus on blocking is to use simple shapes (spheres, cubes…) to develop the silhouette and proportion of the character, so that you avoid problems in the future.
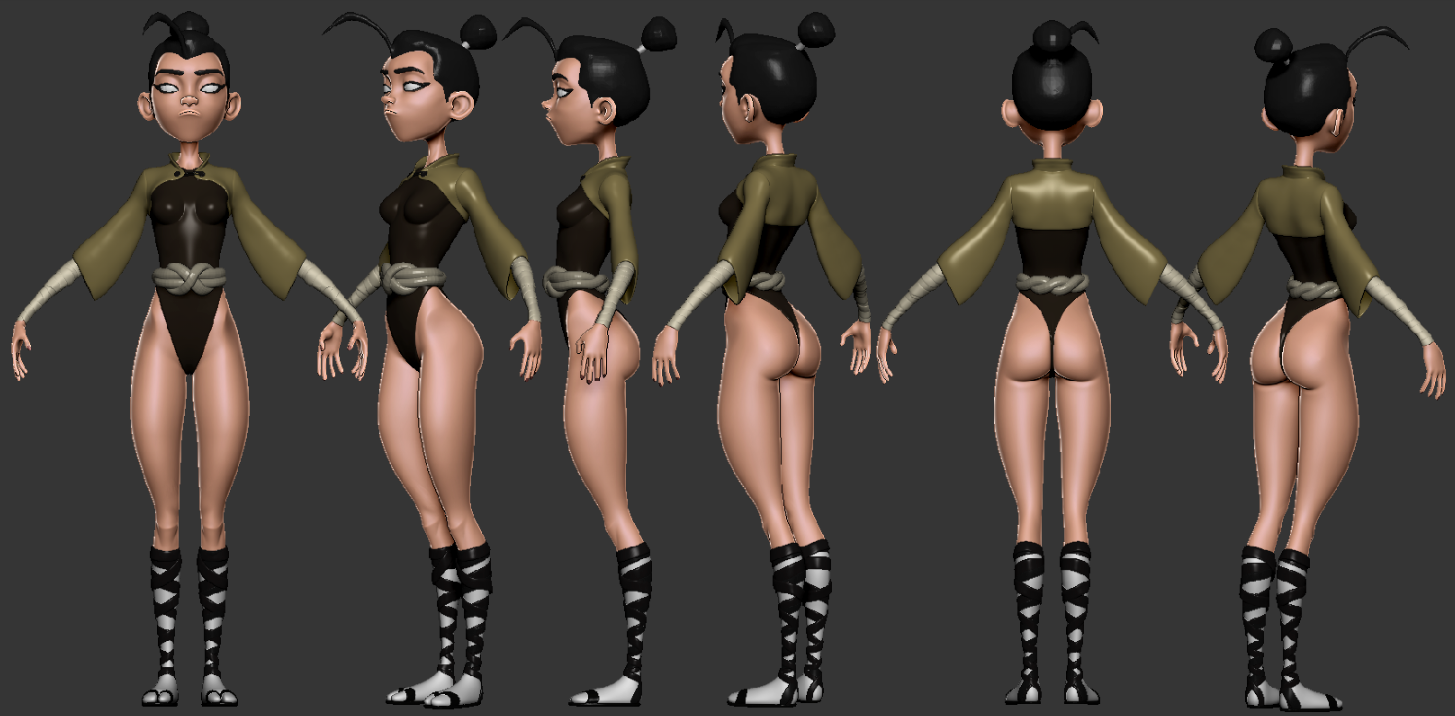
Take time to block. Work on it until you get the result you like.
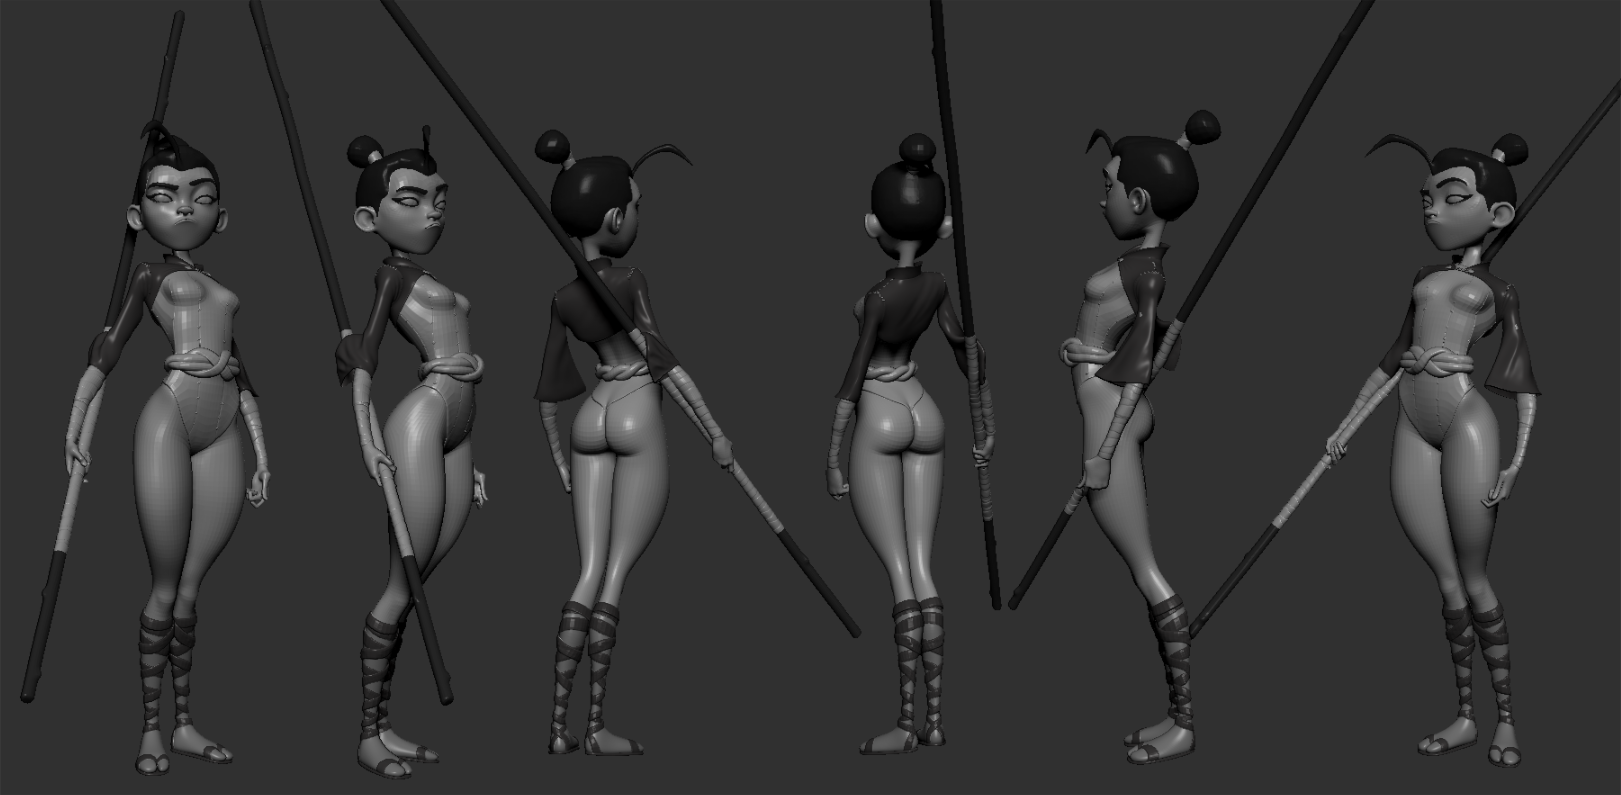
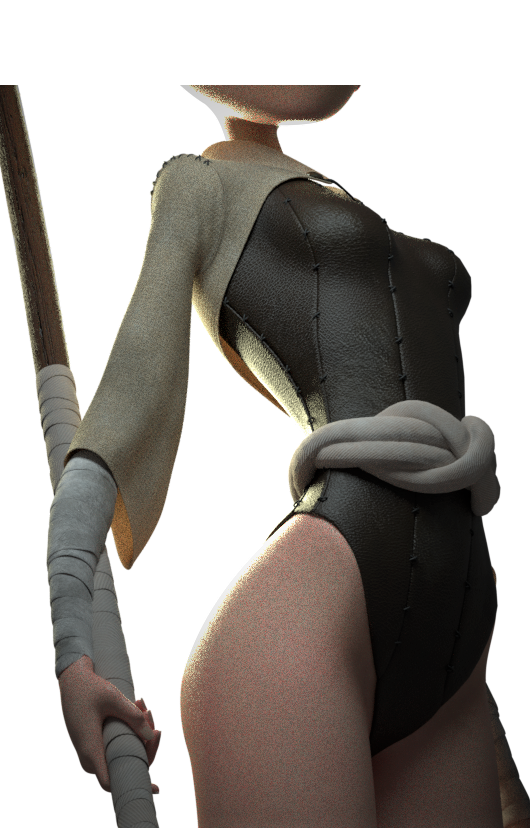
Sculpting
When I was satisfied with the blocking (clothes were modeled in Blender), I refined the shapes. This is actually my preferred part of the process.
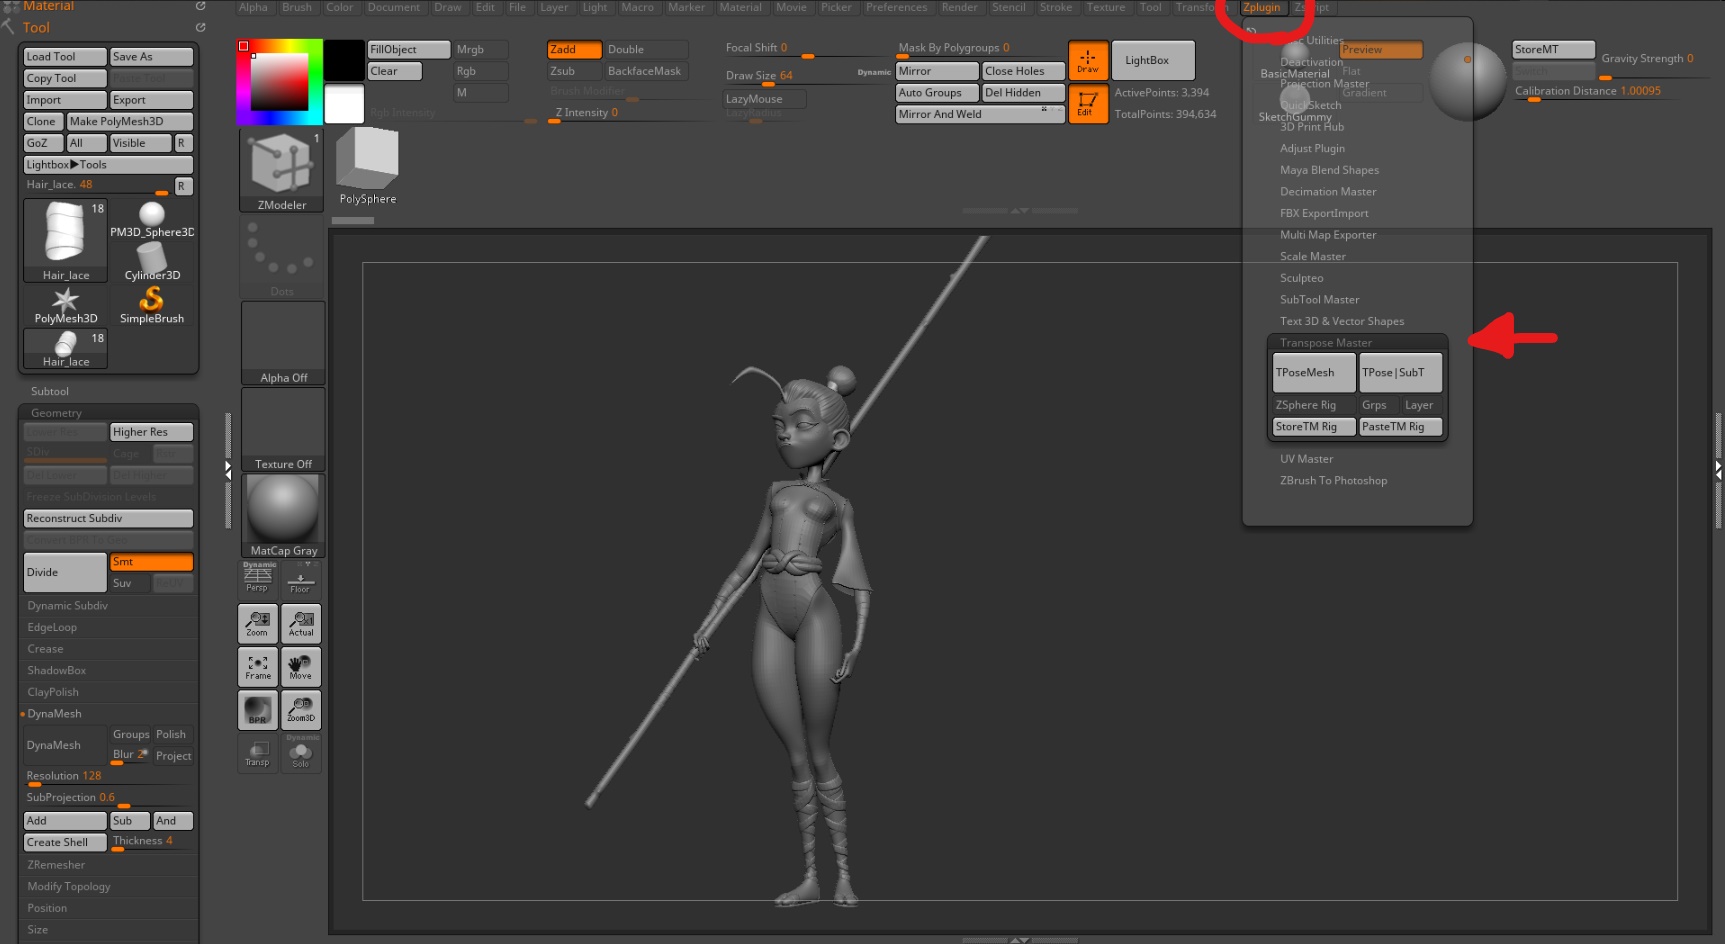
Regarding her pose, I did it with ZBrush using the “T-pose master” tool.
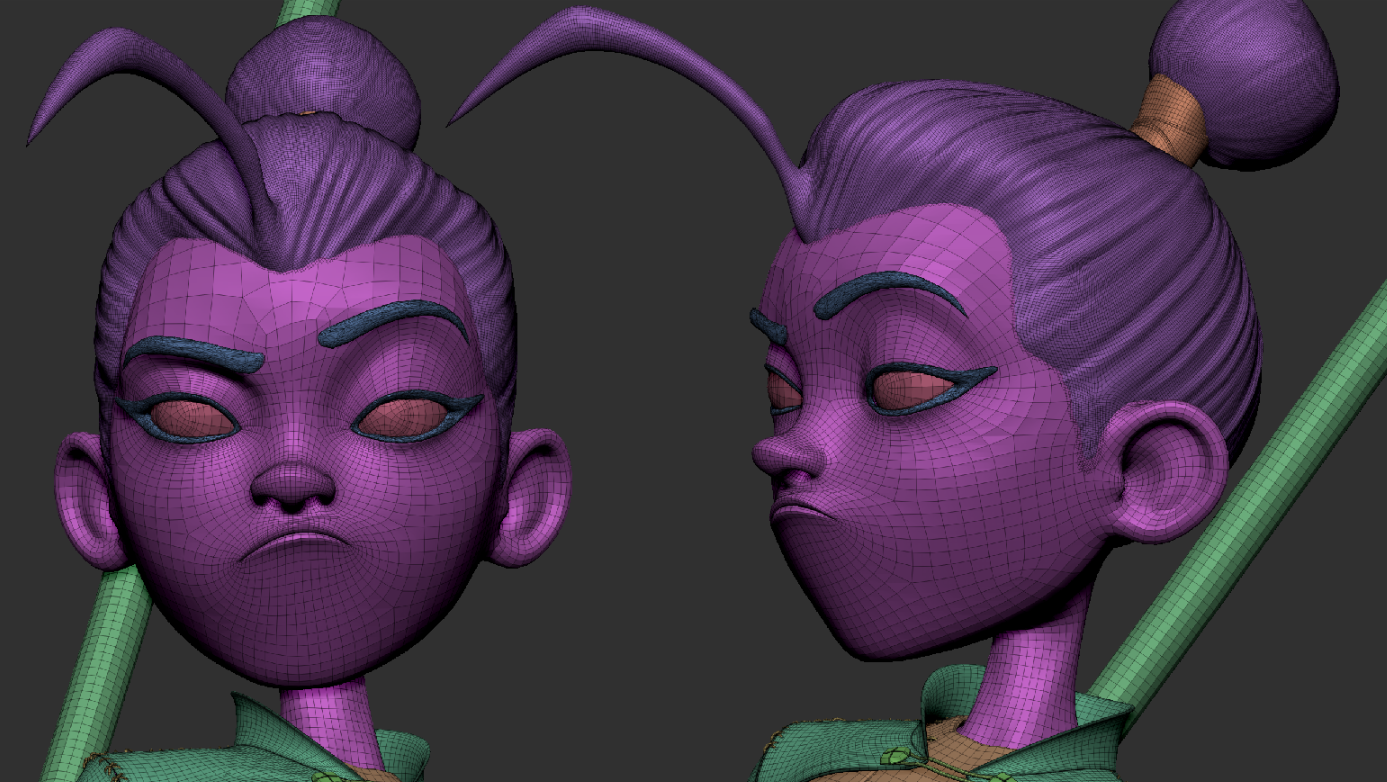
The retopology I did in Maya, using the Quad draw tool; it is fast and intuitive.
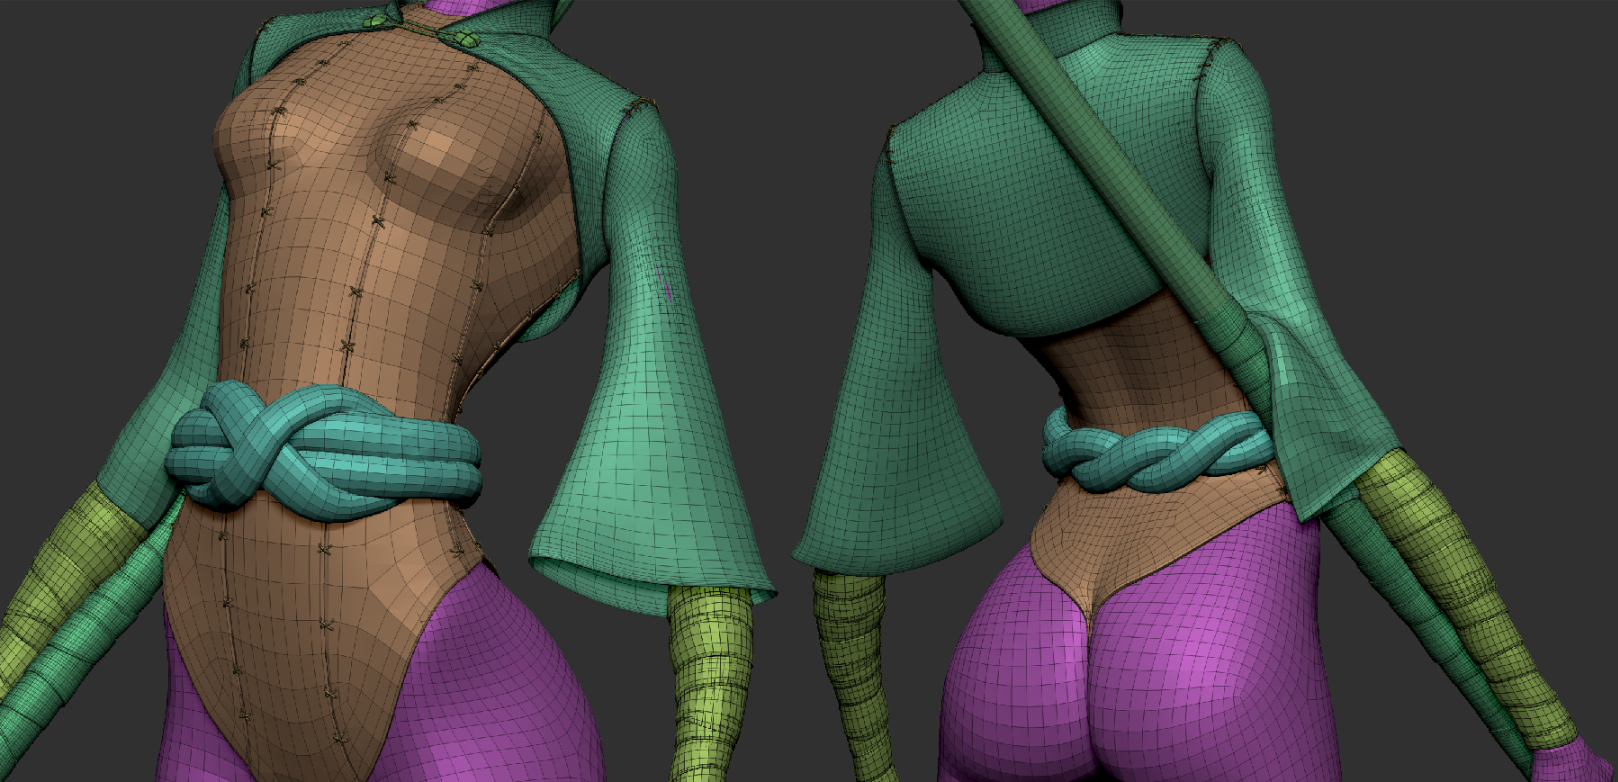
Unwrapping the UVs in Blender is fast and easy to use (at least for me).
After unwrapping the mesh, I generated the normal map and AO in xNormal or Substance Painter (which are good, too), between the high poly and low poly mesh. I alternated between Substance and ZBrush when I was painting the character.
Blender
We finally get to Blender!
After importing everything into the scene, I started working with shaders, lighting, and hair. This was the first time I had used a particle system in a project.
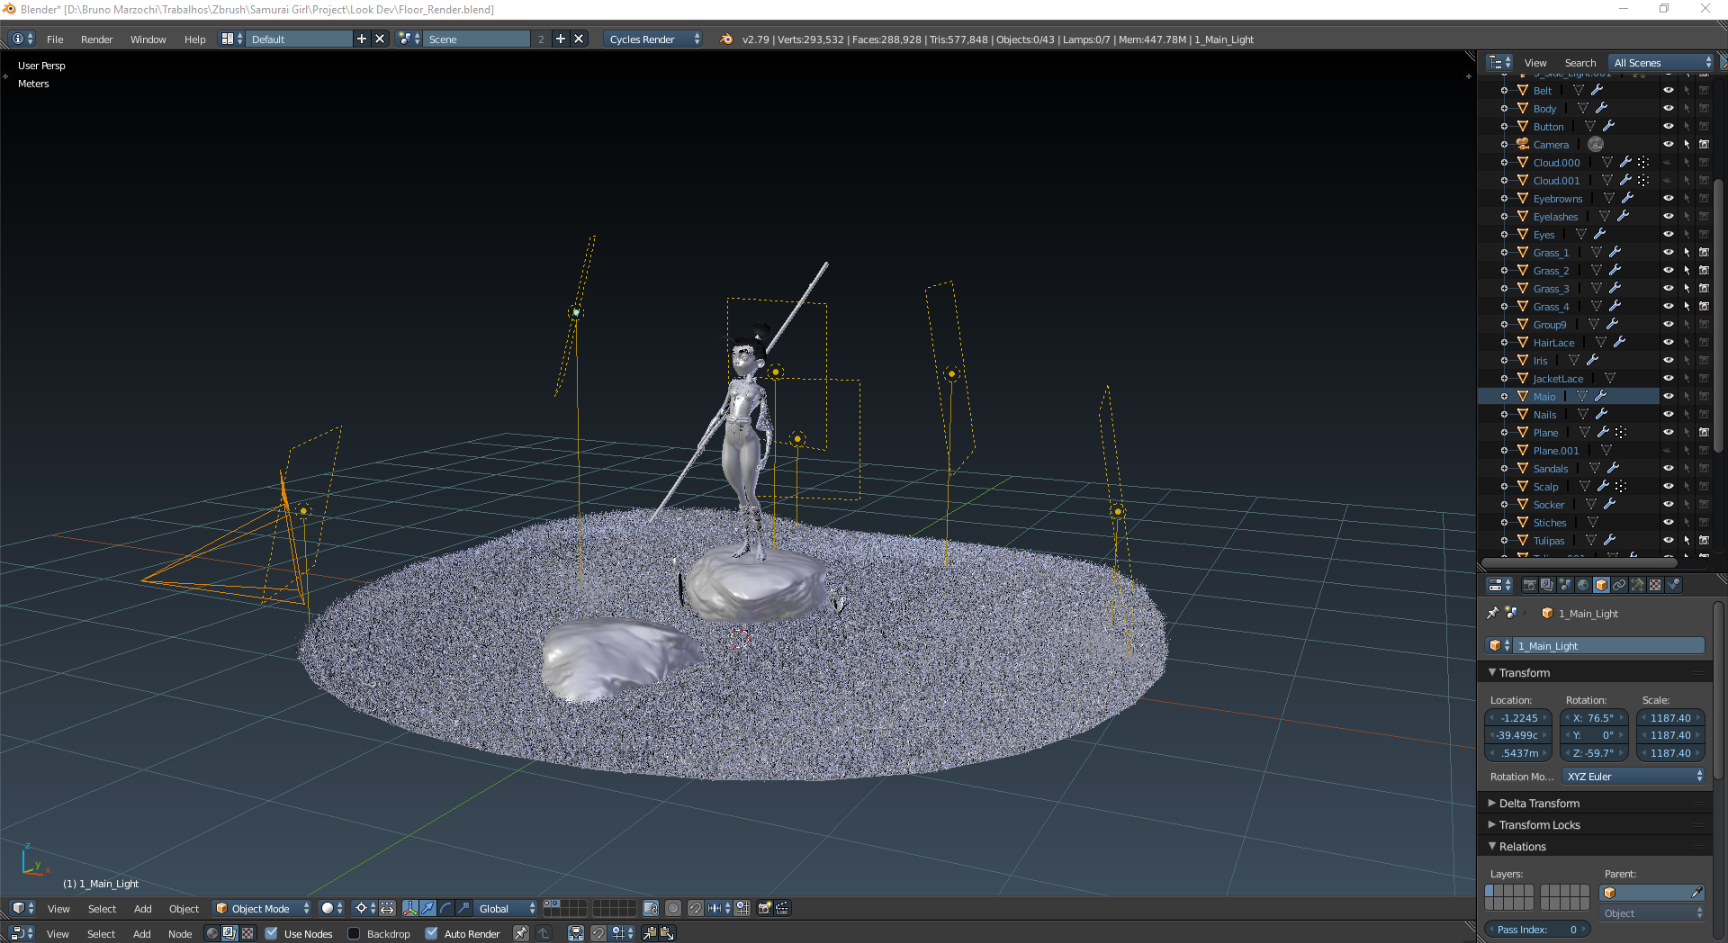
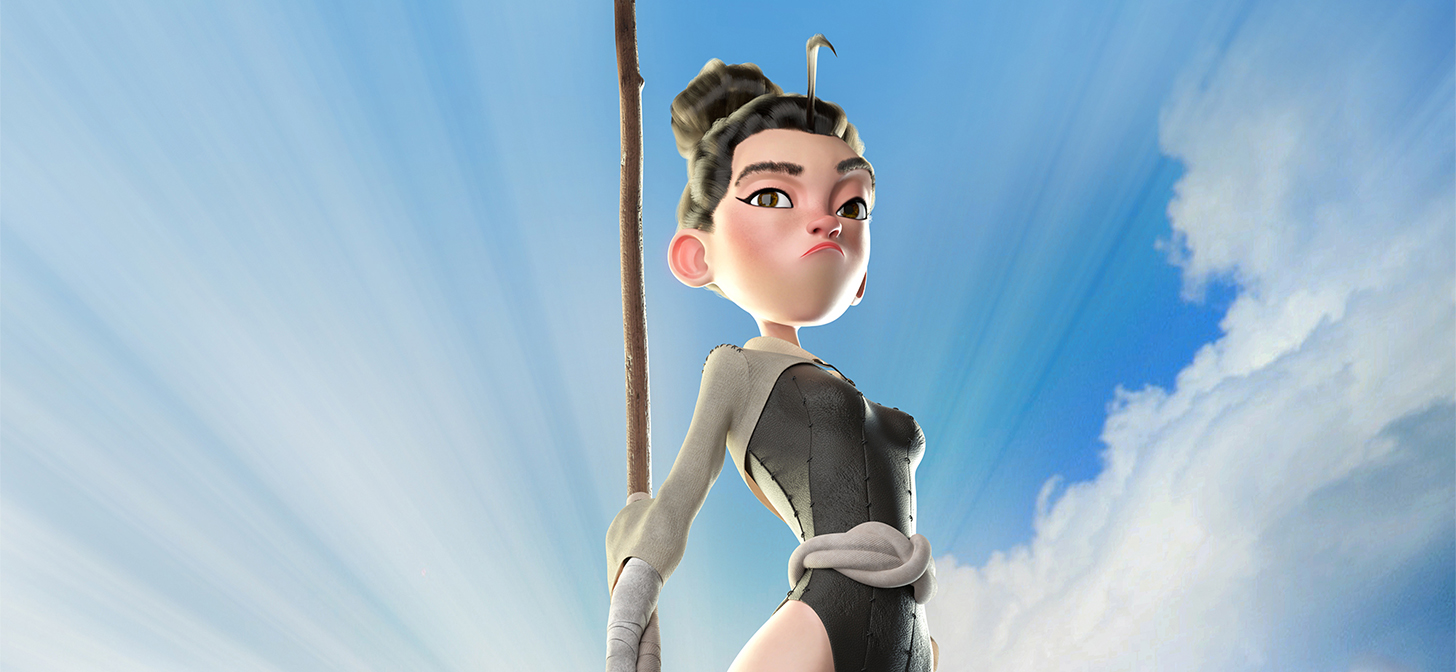
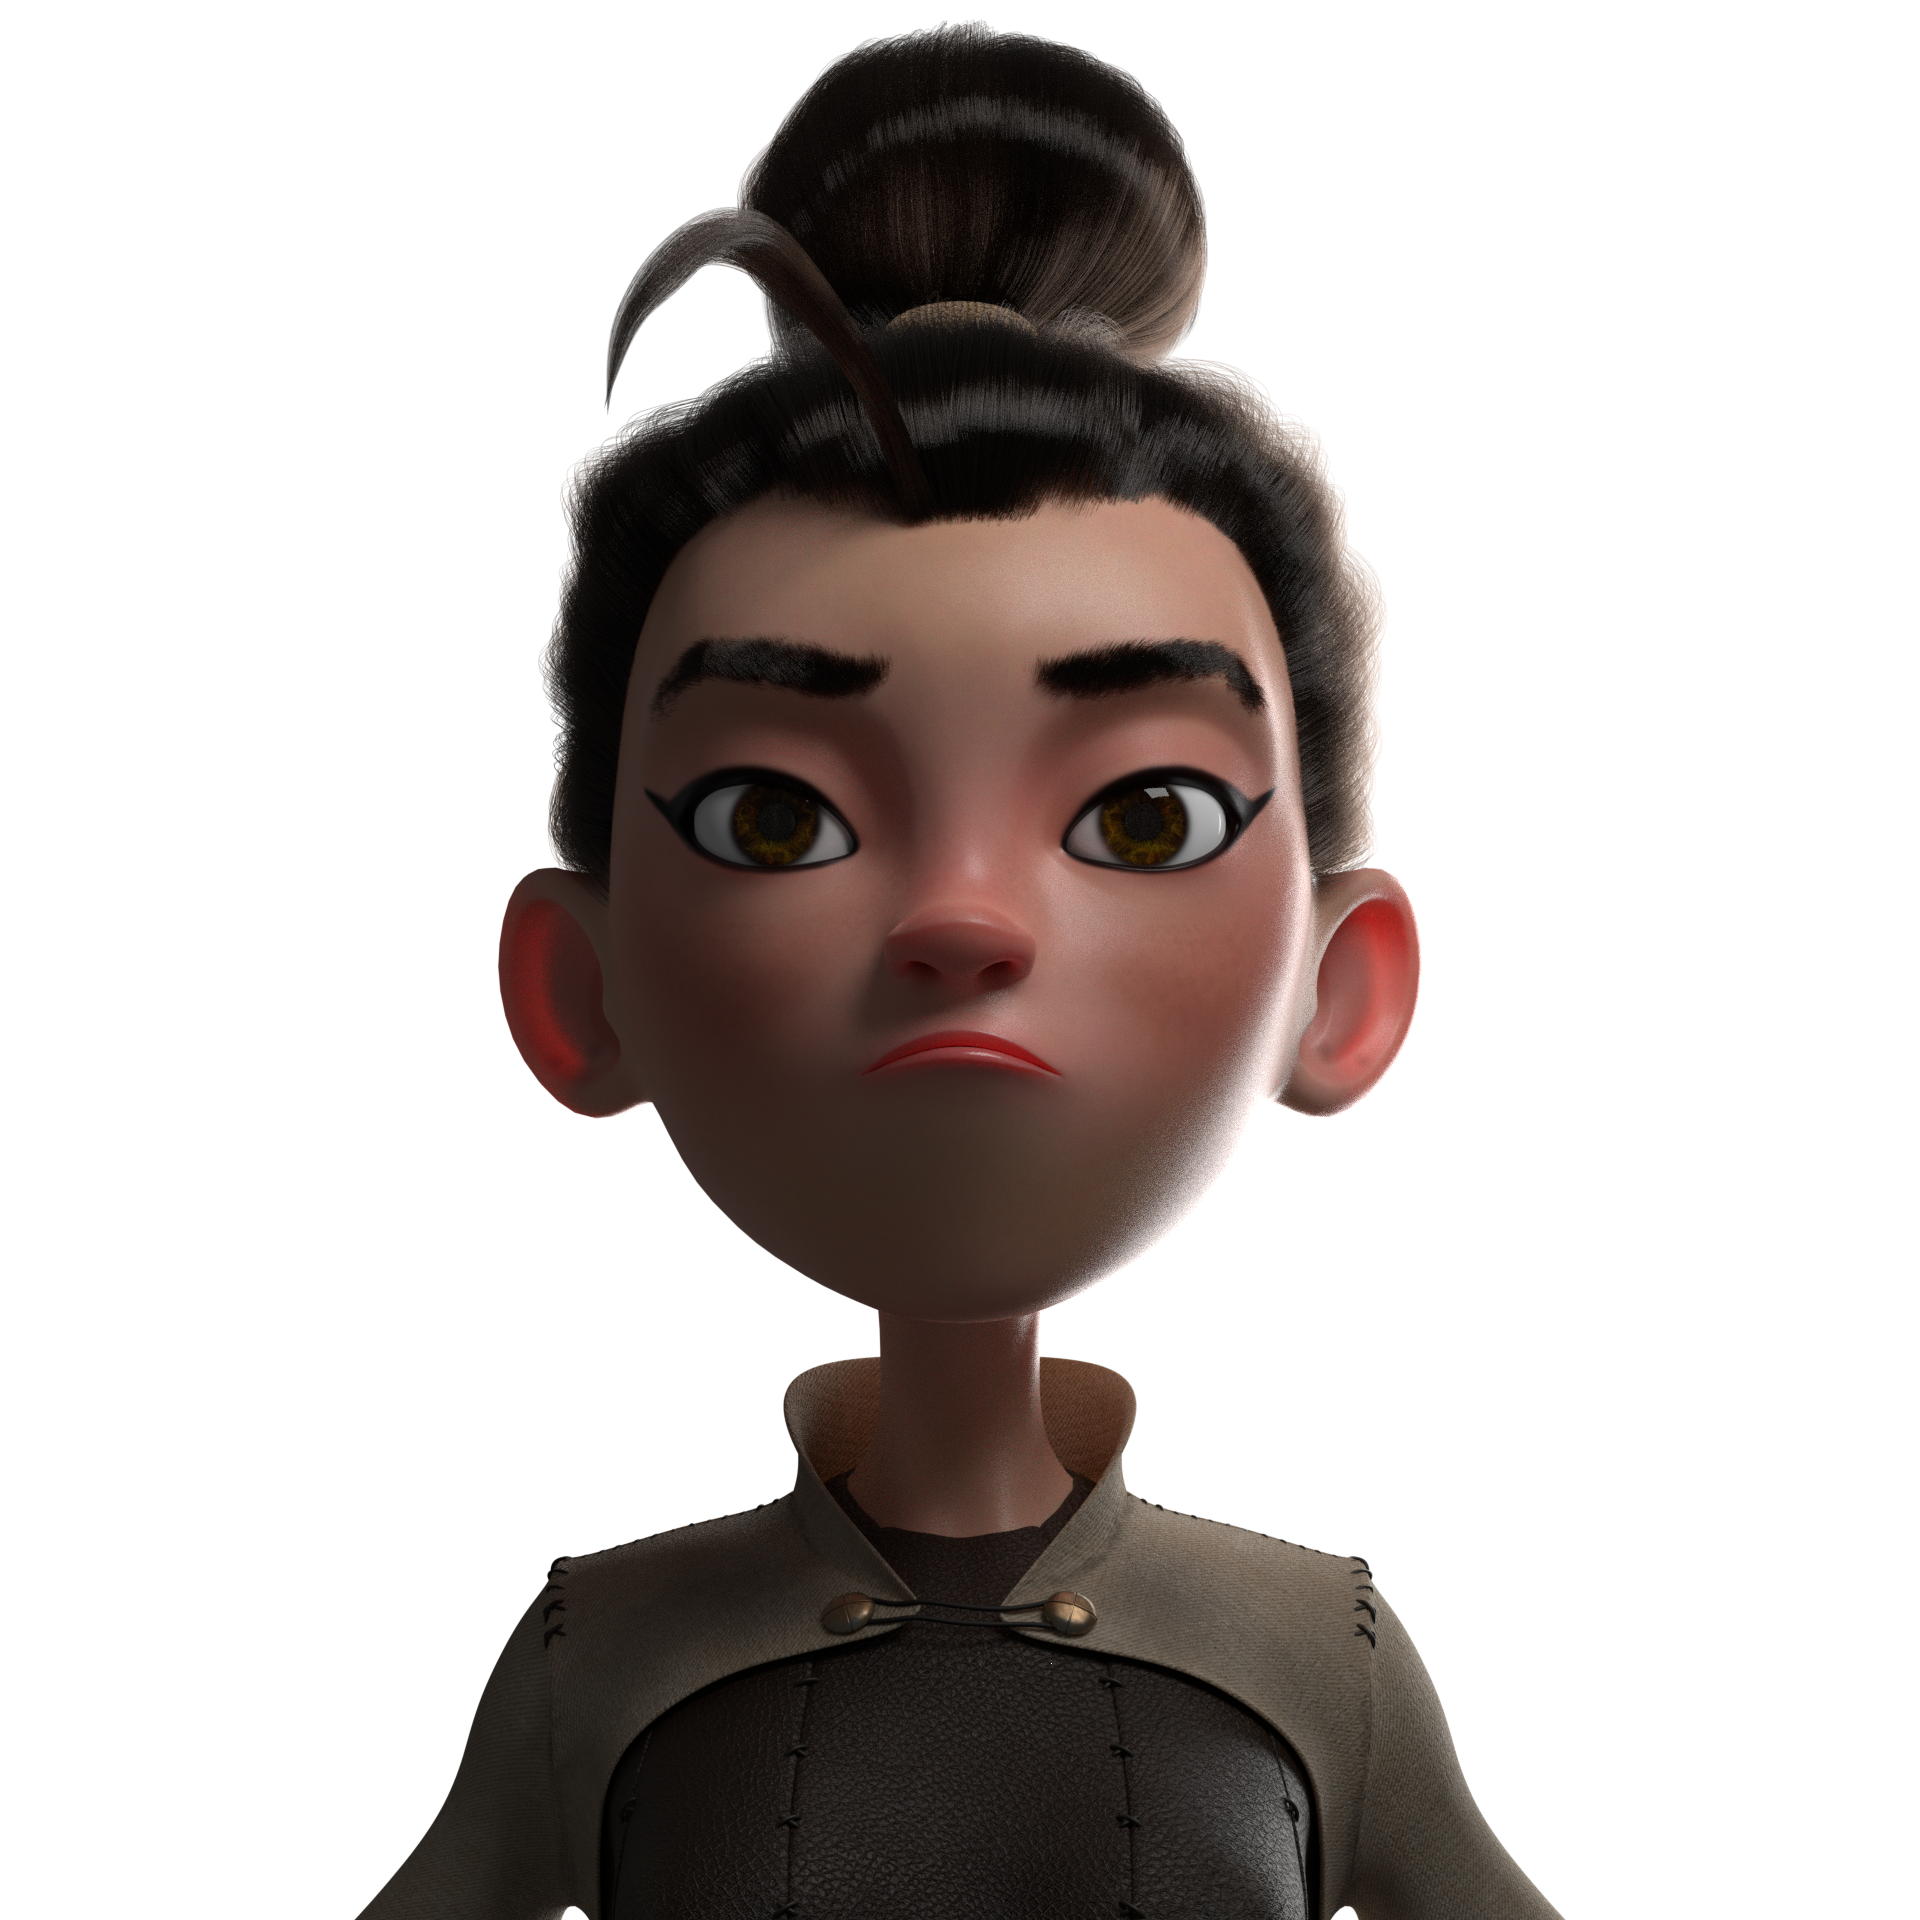
I put the camera in front of her, because I wanted to show her face. I wanted her to convey an air of confidence and determination to conquer anything.
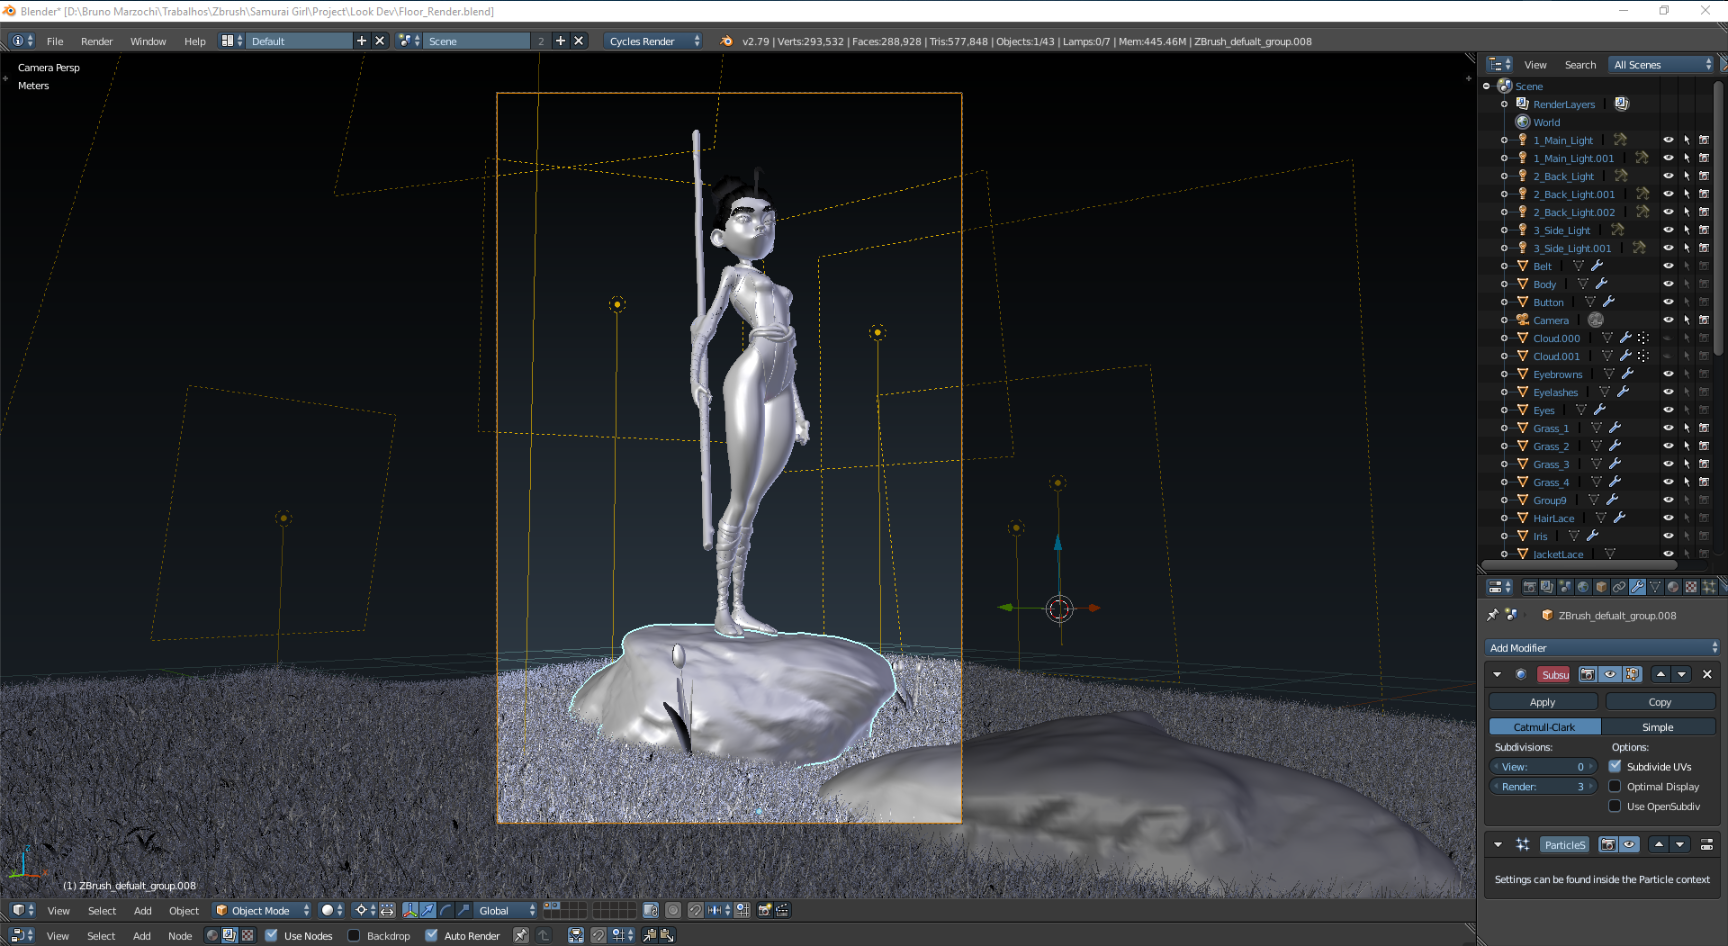
I used Blender 2.79 to carry out the process.
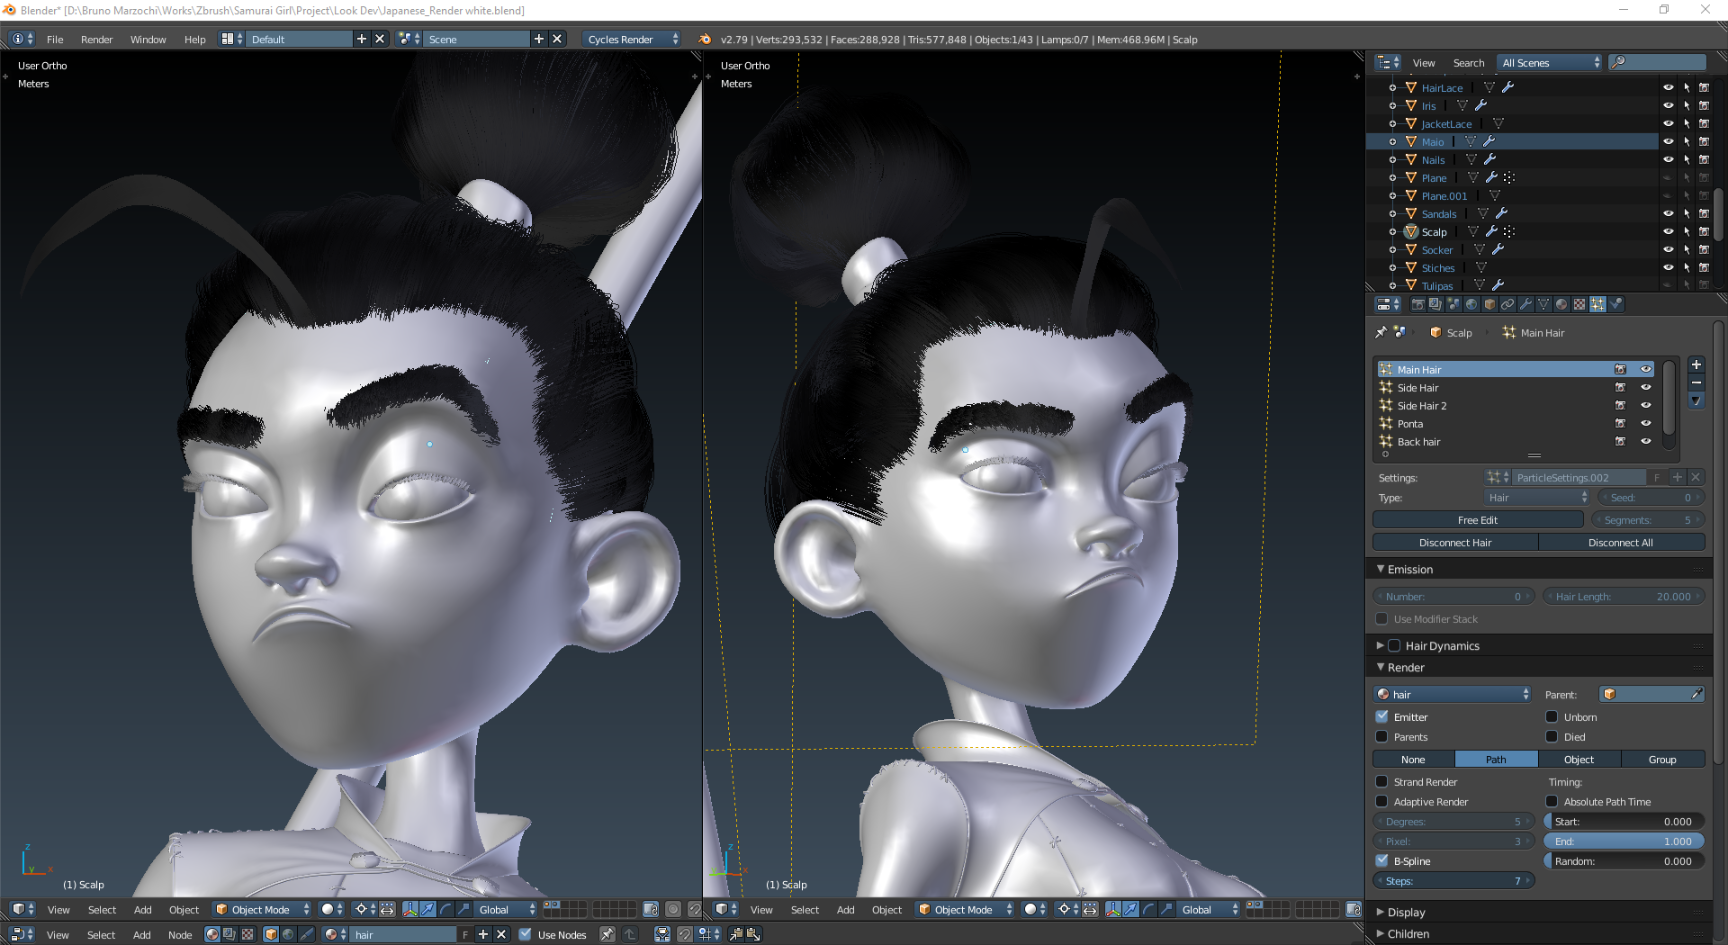
Hair
Her hair was a very fun process. Nazar Noschenko’s video shows how to use the Blender particle system. The tutorial helped me a lot.
And about the hair shader, I downloaded it from gumroad. This video shows the operation of the shader as a cable.
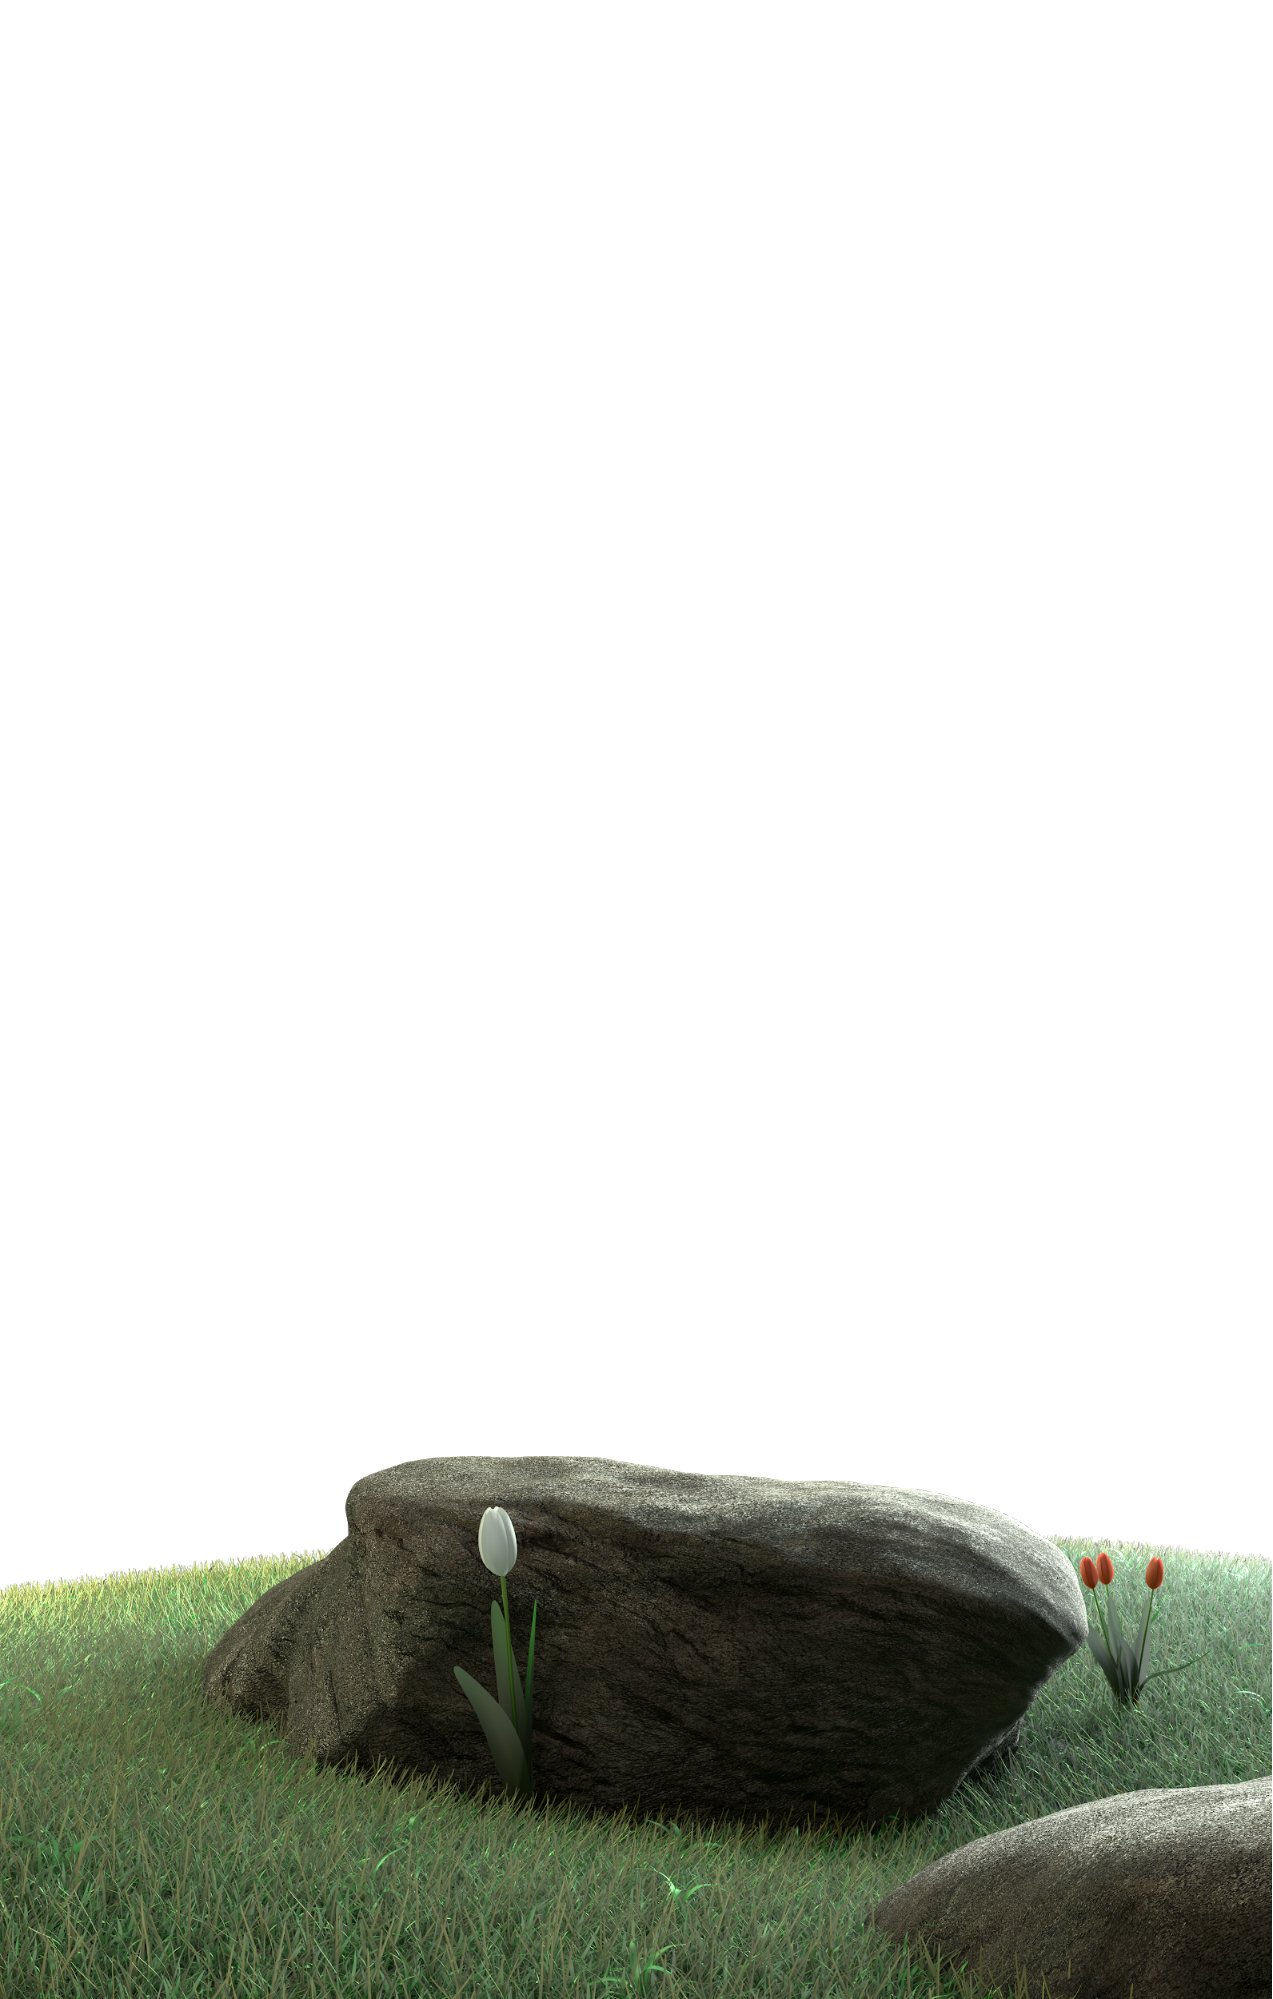
Representation
I divided the render into two parts, rendering the character and the environment separately. Then I would tweak it in Photoshop later.
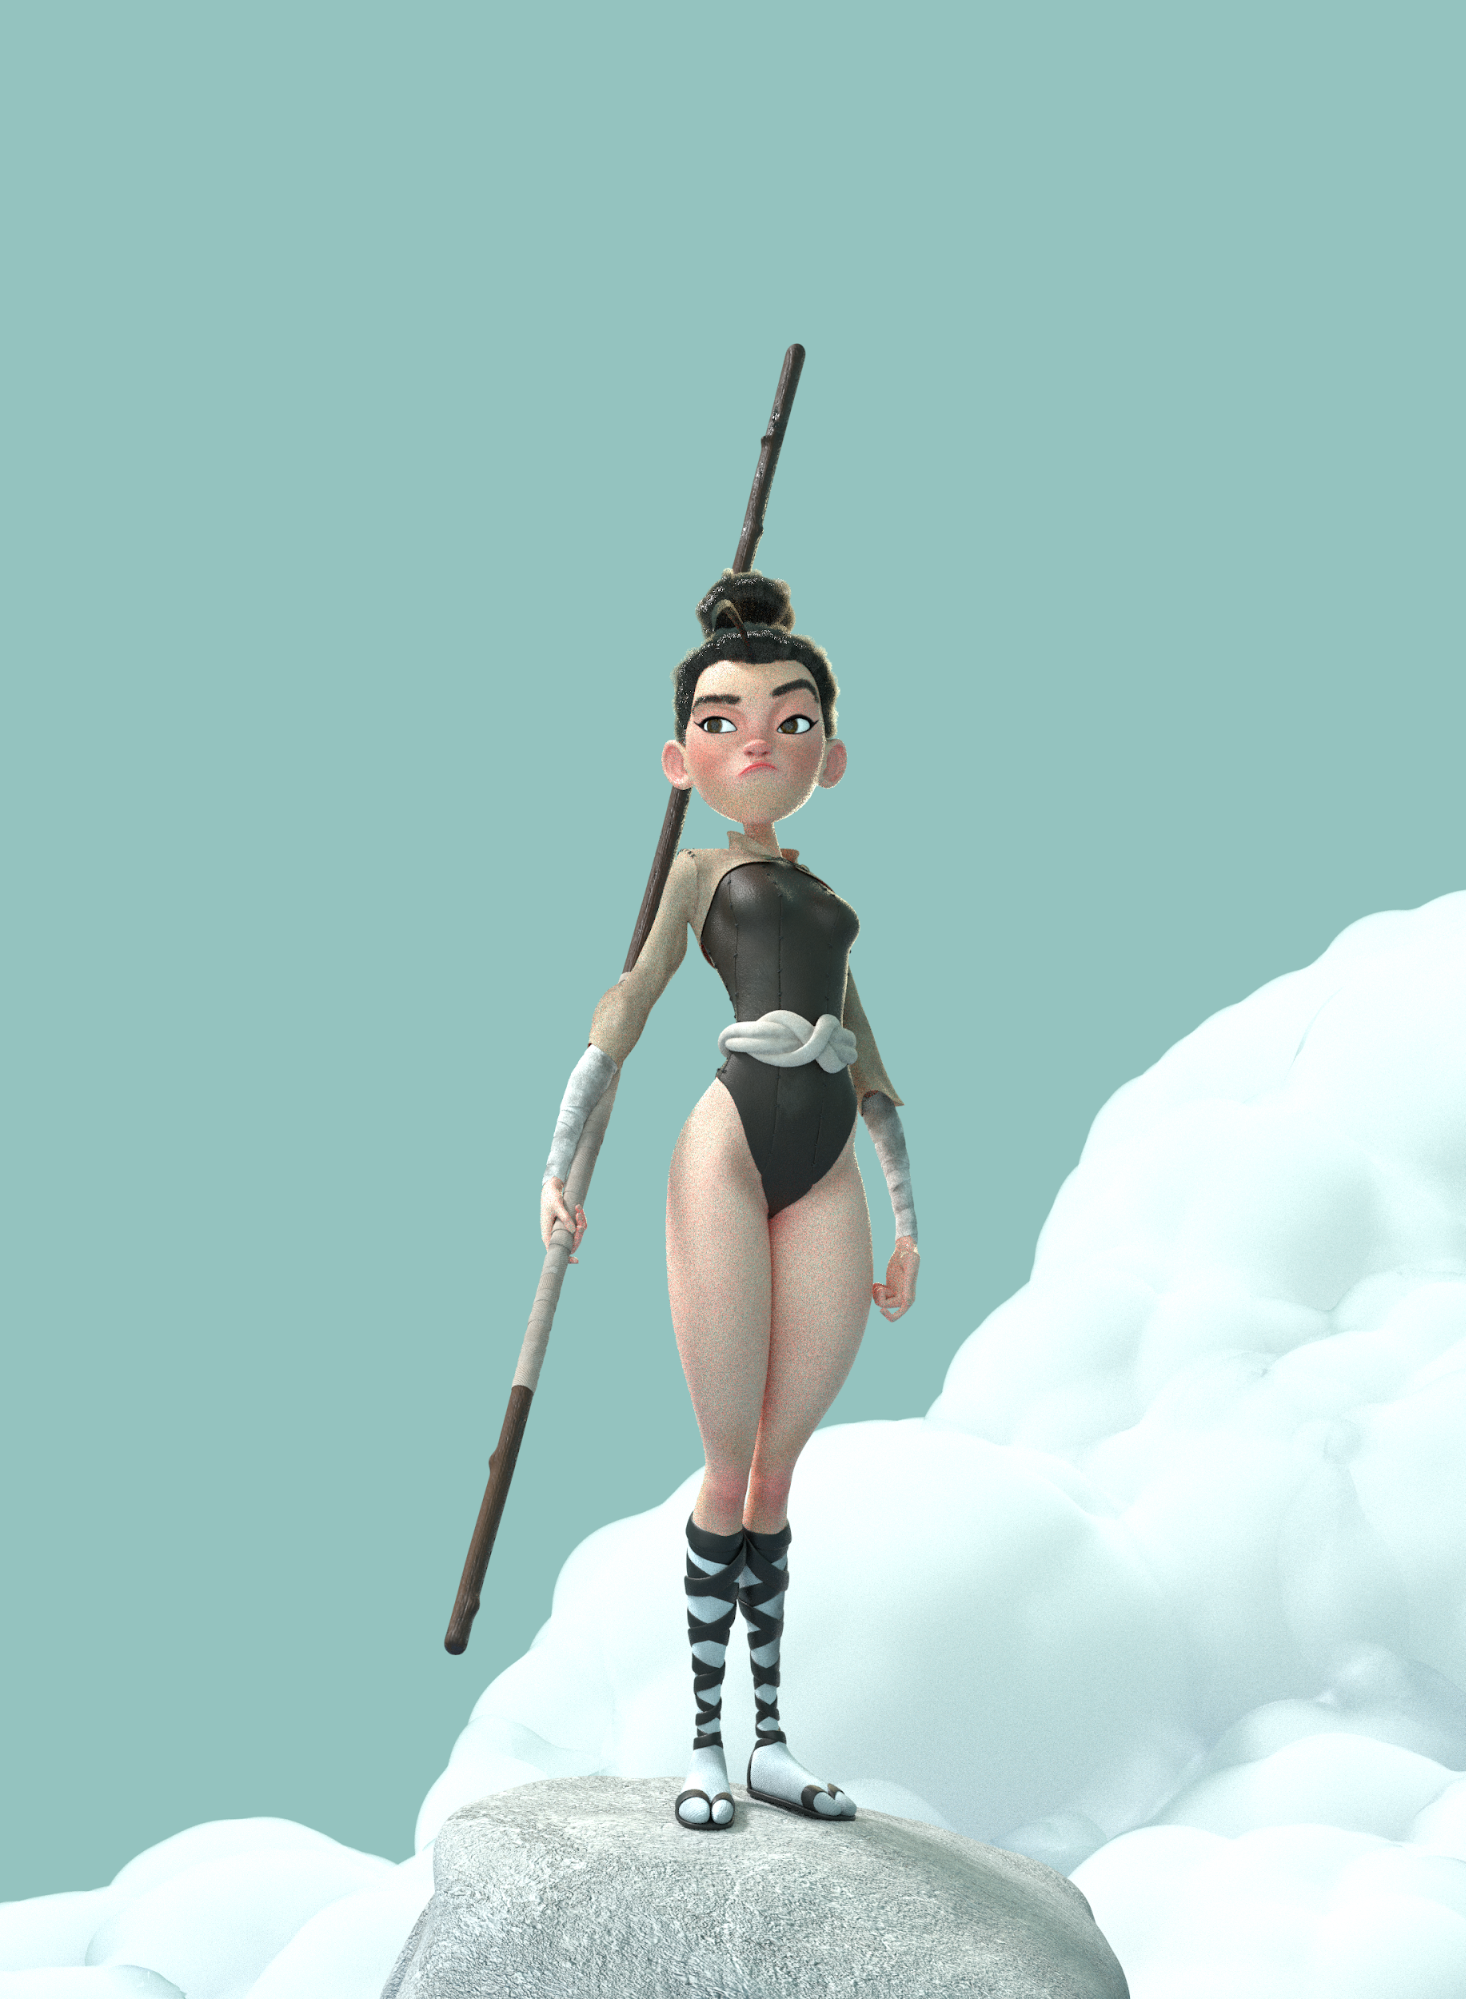
Here I show some first renders I did … but they were not good. I moved on to get the result I wanted.
This was the first render of it in the pose, and which I initially thought was good … but later decided I wanted to improve it.
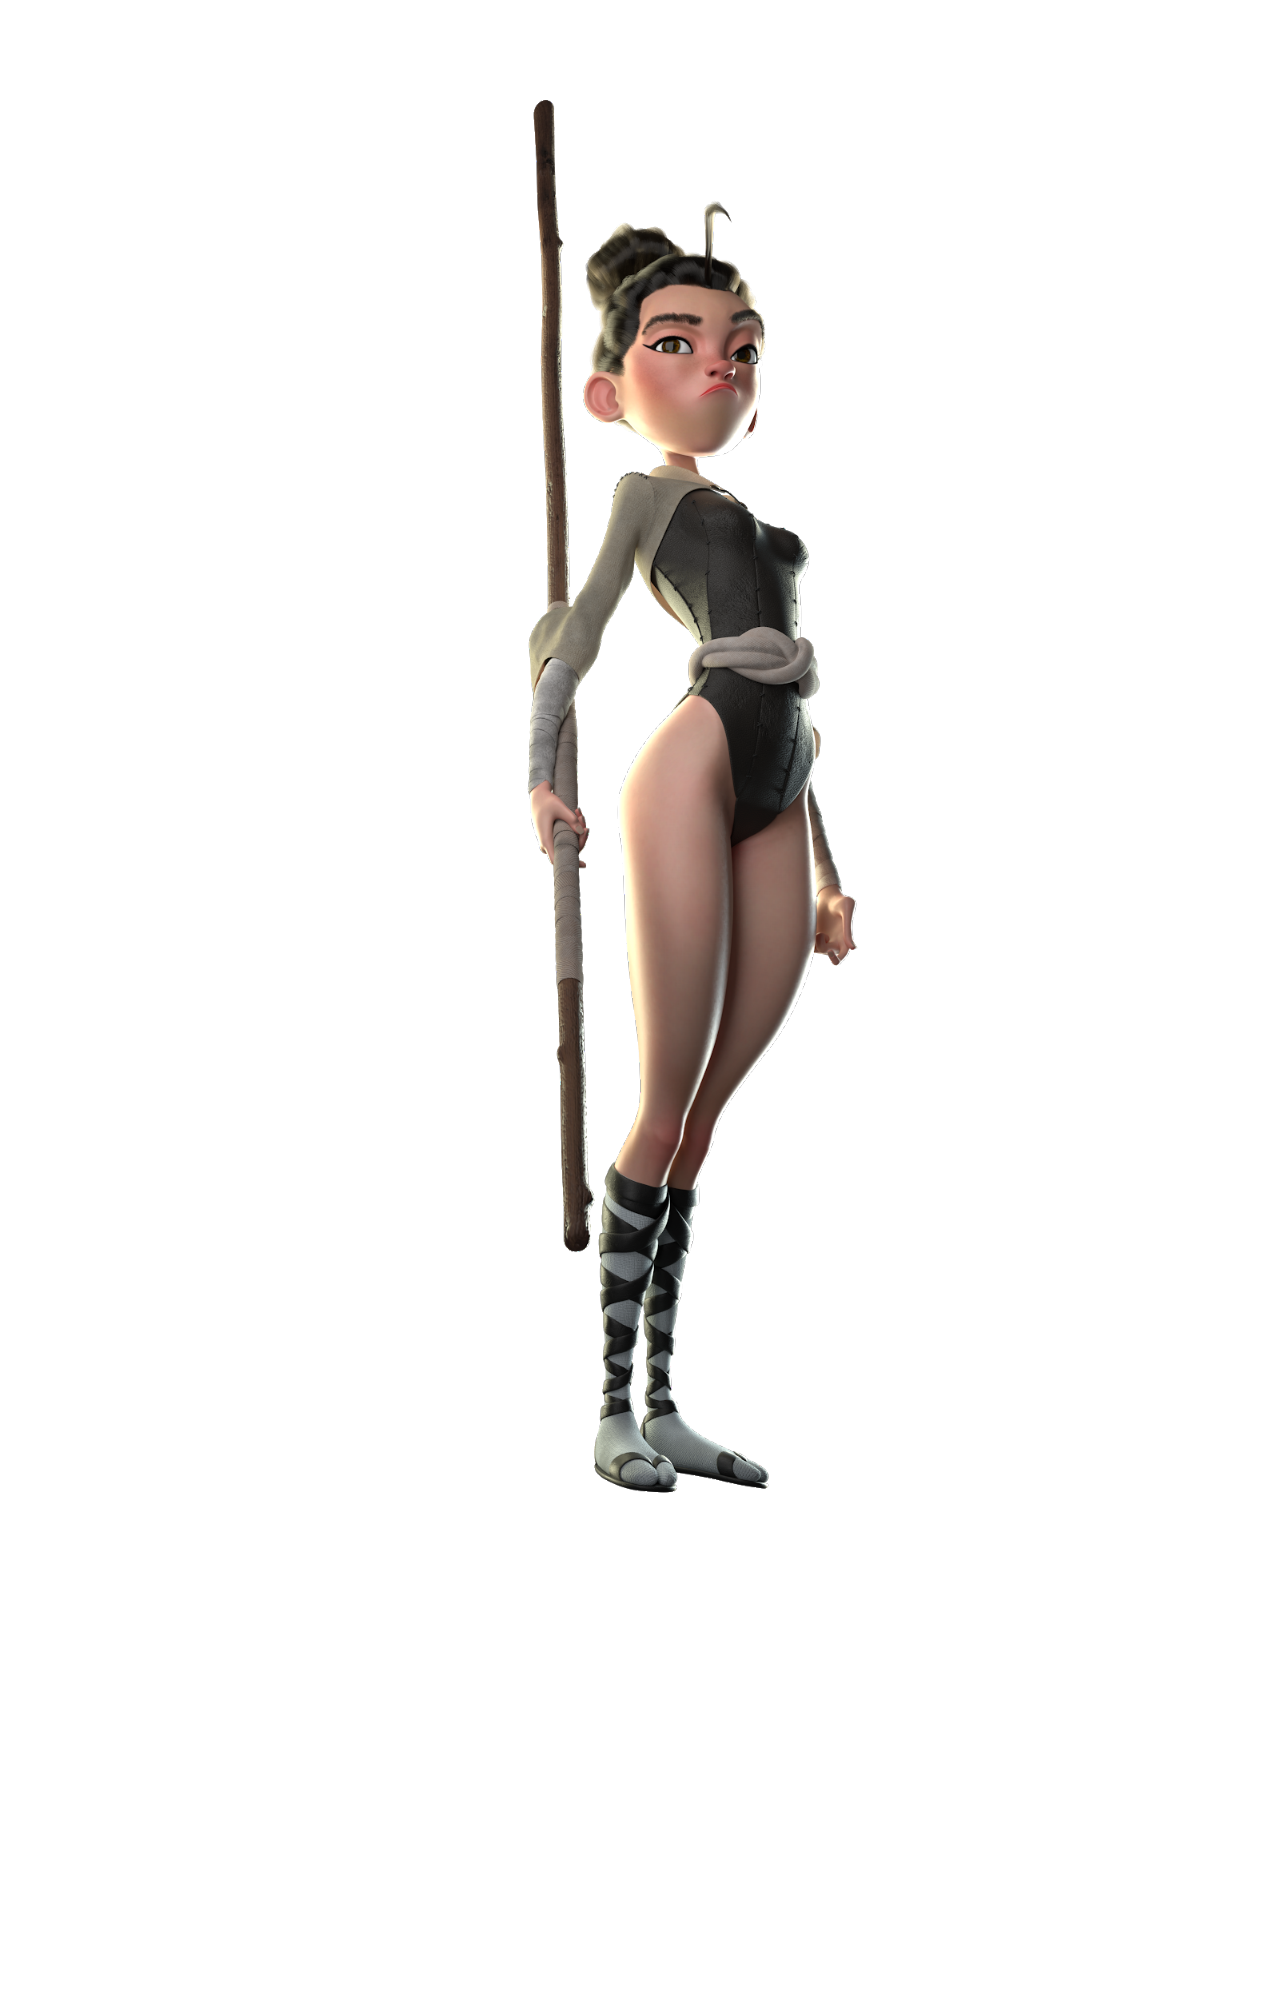
Final Image
And here we have the Samurai Girl finished. In the end I did post-production in Photoshop.
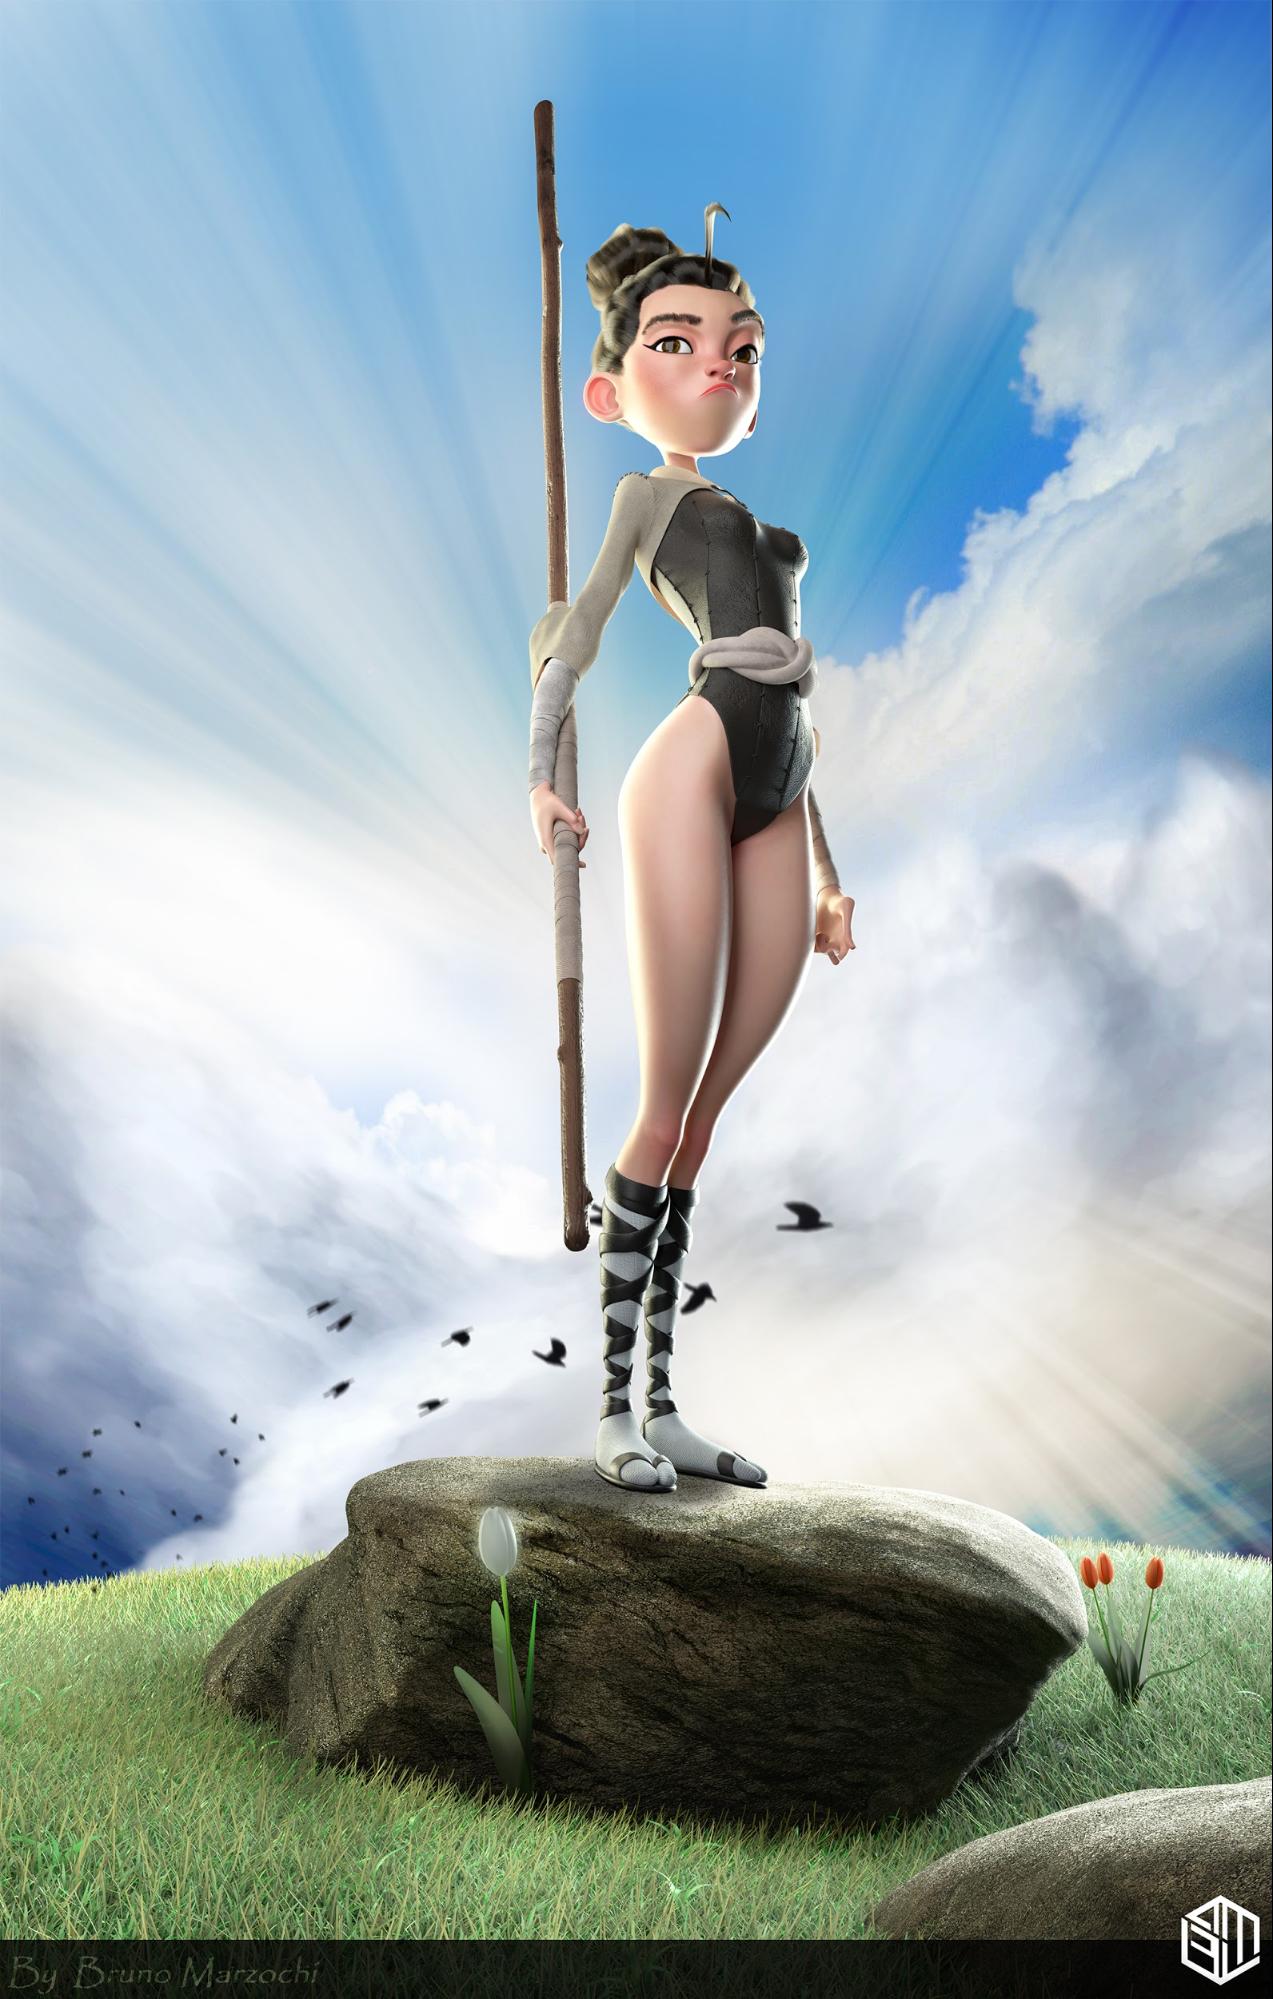
It was so much fun working on it, I had the opportunity to get out of my comfort zone and learn new things.
I hope you have enjoyed it and it has been useful! That was the path I took to get to that result. I always try to be better than myself in every job I do!
Study always and keep progressing!
About the Author
 Bruno Marzochi Lopes, 3D Character Artist and Character Design


Wowwwwwwwww
Thank Youu very much!!
W O N D E R F U L WORK!
I have no words!
Fantastic!
really compliments.
Vincenzo
Thank you so much Vincenzo!! :D
Respect