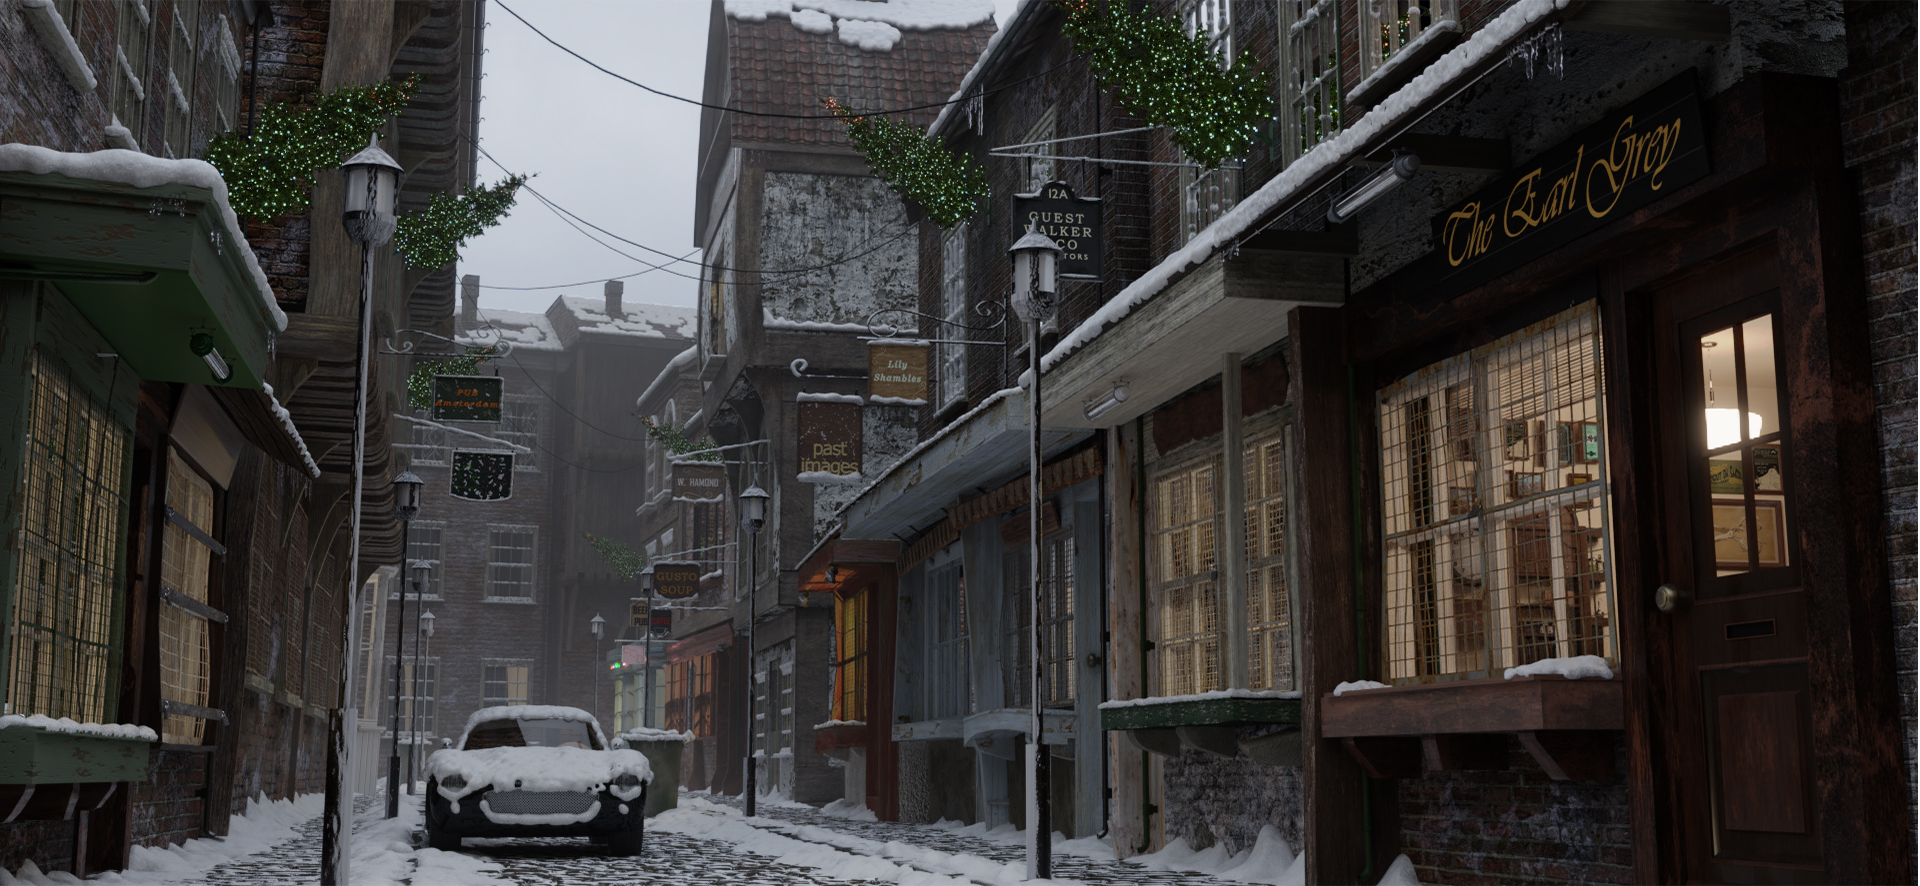
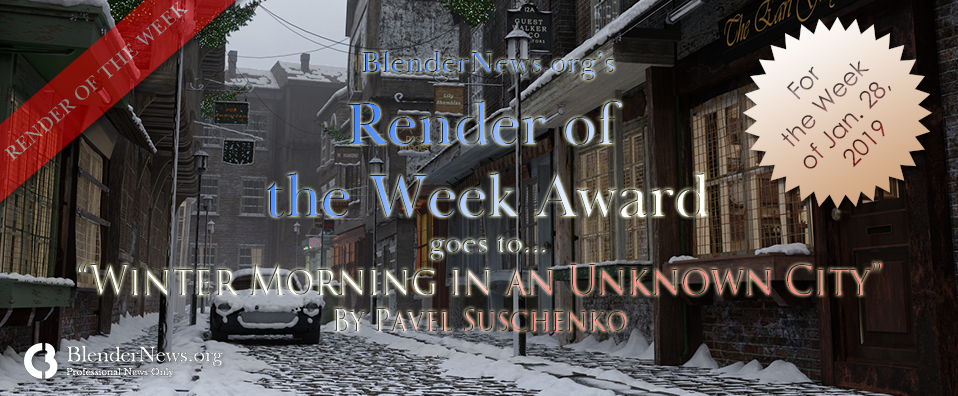
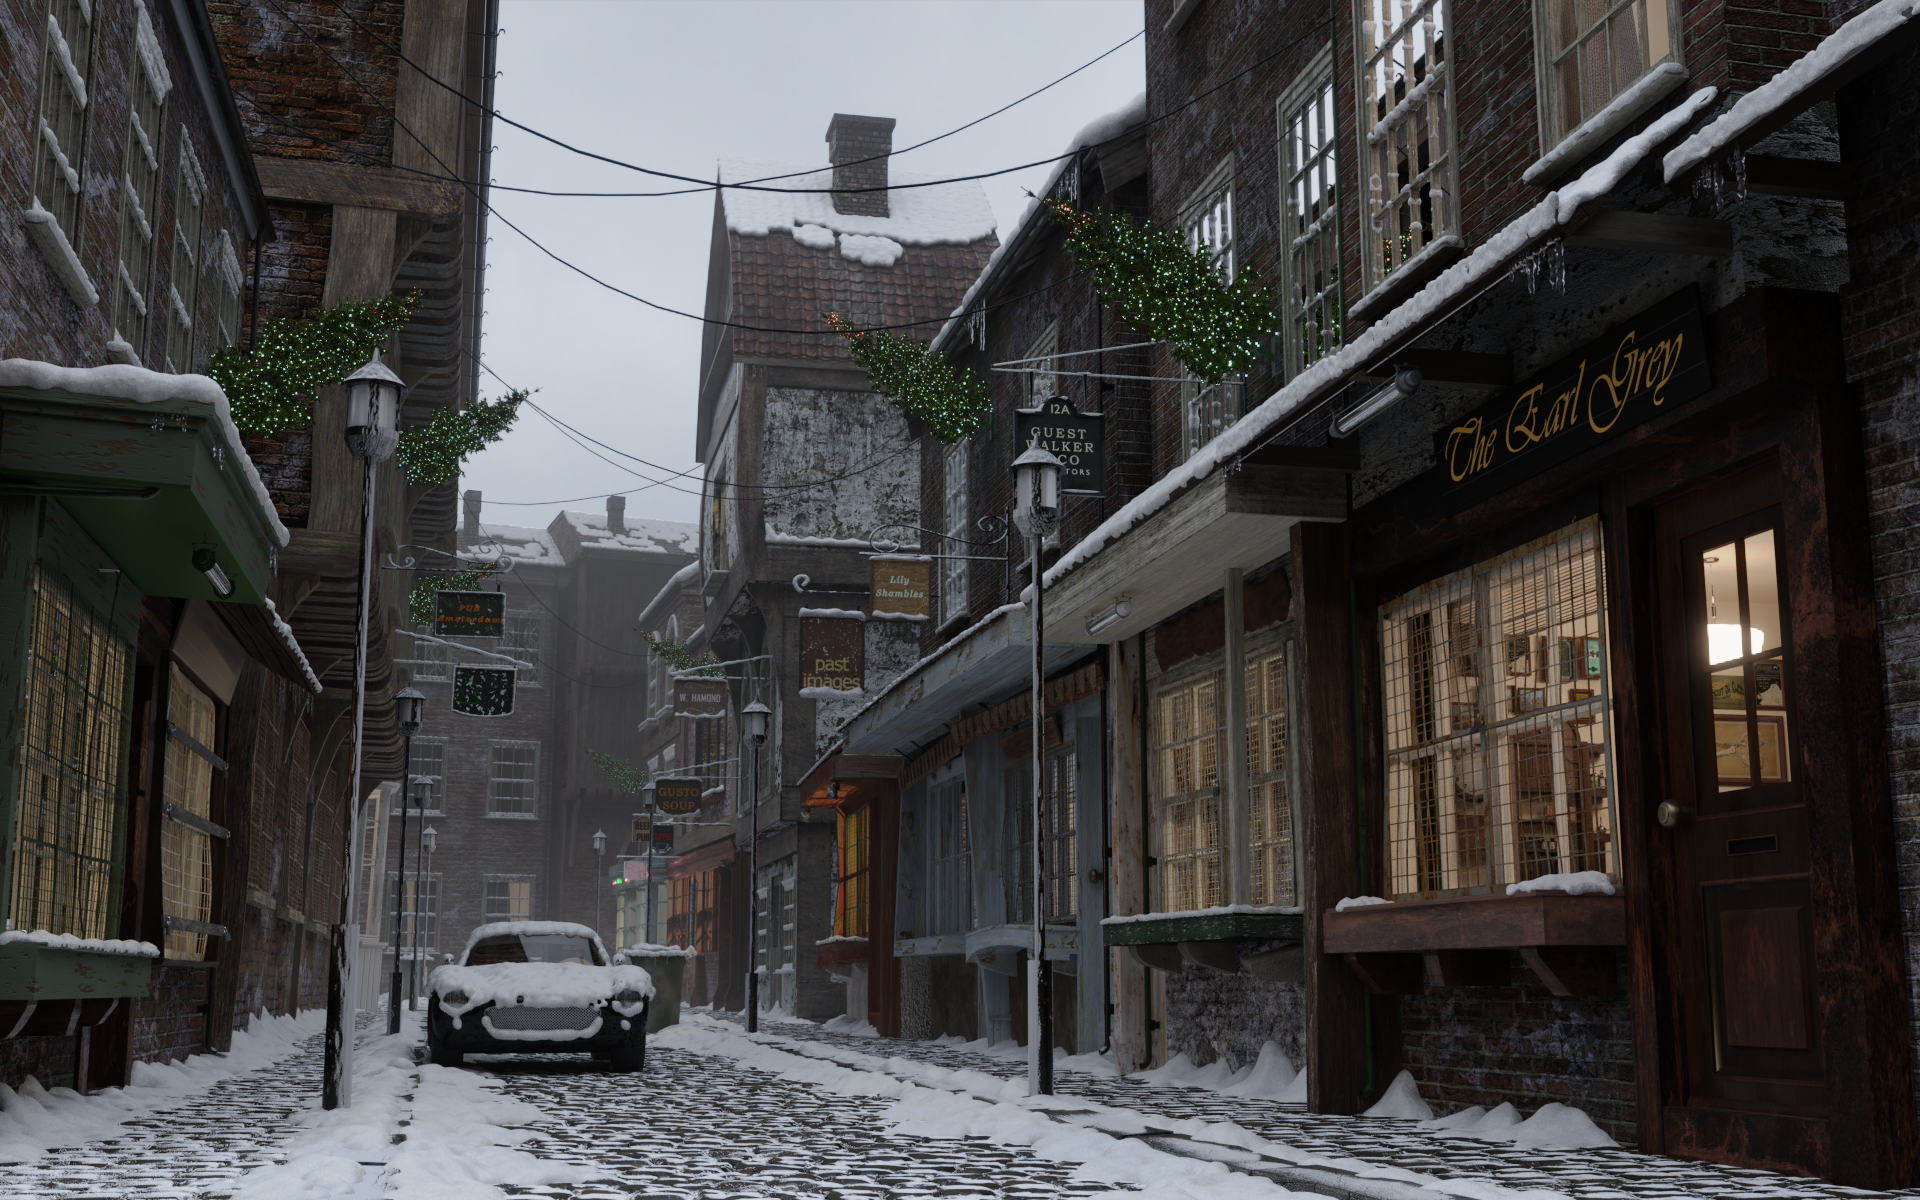
Behind the Scenes: Winter Morning in an Unknown City
About
My name is Pavel. I am from Kiev, Ukraine and exactly a year ago I started working with Blender. I am self-taught. You can say that I fell in love with Blender at first sight. I am very grateful to the creator of Blender. He is a great guy.
Winter morning in an Unfamiliar City is my best work so far. I put all my knowledge and energy into it and was very grateful to everyone for the pleasant reviews and thank you very much for appreciating my work.
Now, going forward, I promise you that I will be even better and will try to raise Blender to the skies.
Inspiration
Since childhood I was interested in science fiction films and I always wondered how people managed to do such special effects. Thanks to the Blender I now know. It has taught me a lot and now I can create imaginary worlds and anything I want. Thank you, Blender.
I always liked old streets, old houses. I always felt comfortable in places like homes, and especially when I drink coffee, these are the best places for me to enjoy my soul. I thought of a street and I wanted everyone who follows my work to feel inwardly all the delights of this street. I wanted my viewers to want to be on this street.
Process
It is very easy to create old houses. I was thinking about making a road or sidewalk, and I decided to do both. And textures.com helped me with textures, so I was able to find the right texture of paving stones and applied it to the road and the sidewalk. For road and pavement, I used the displacement map plus nodes.
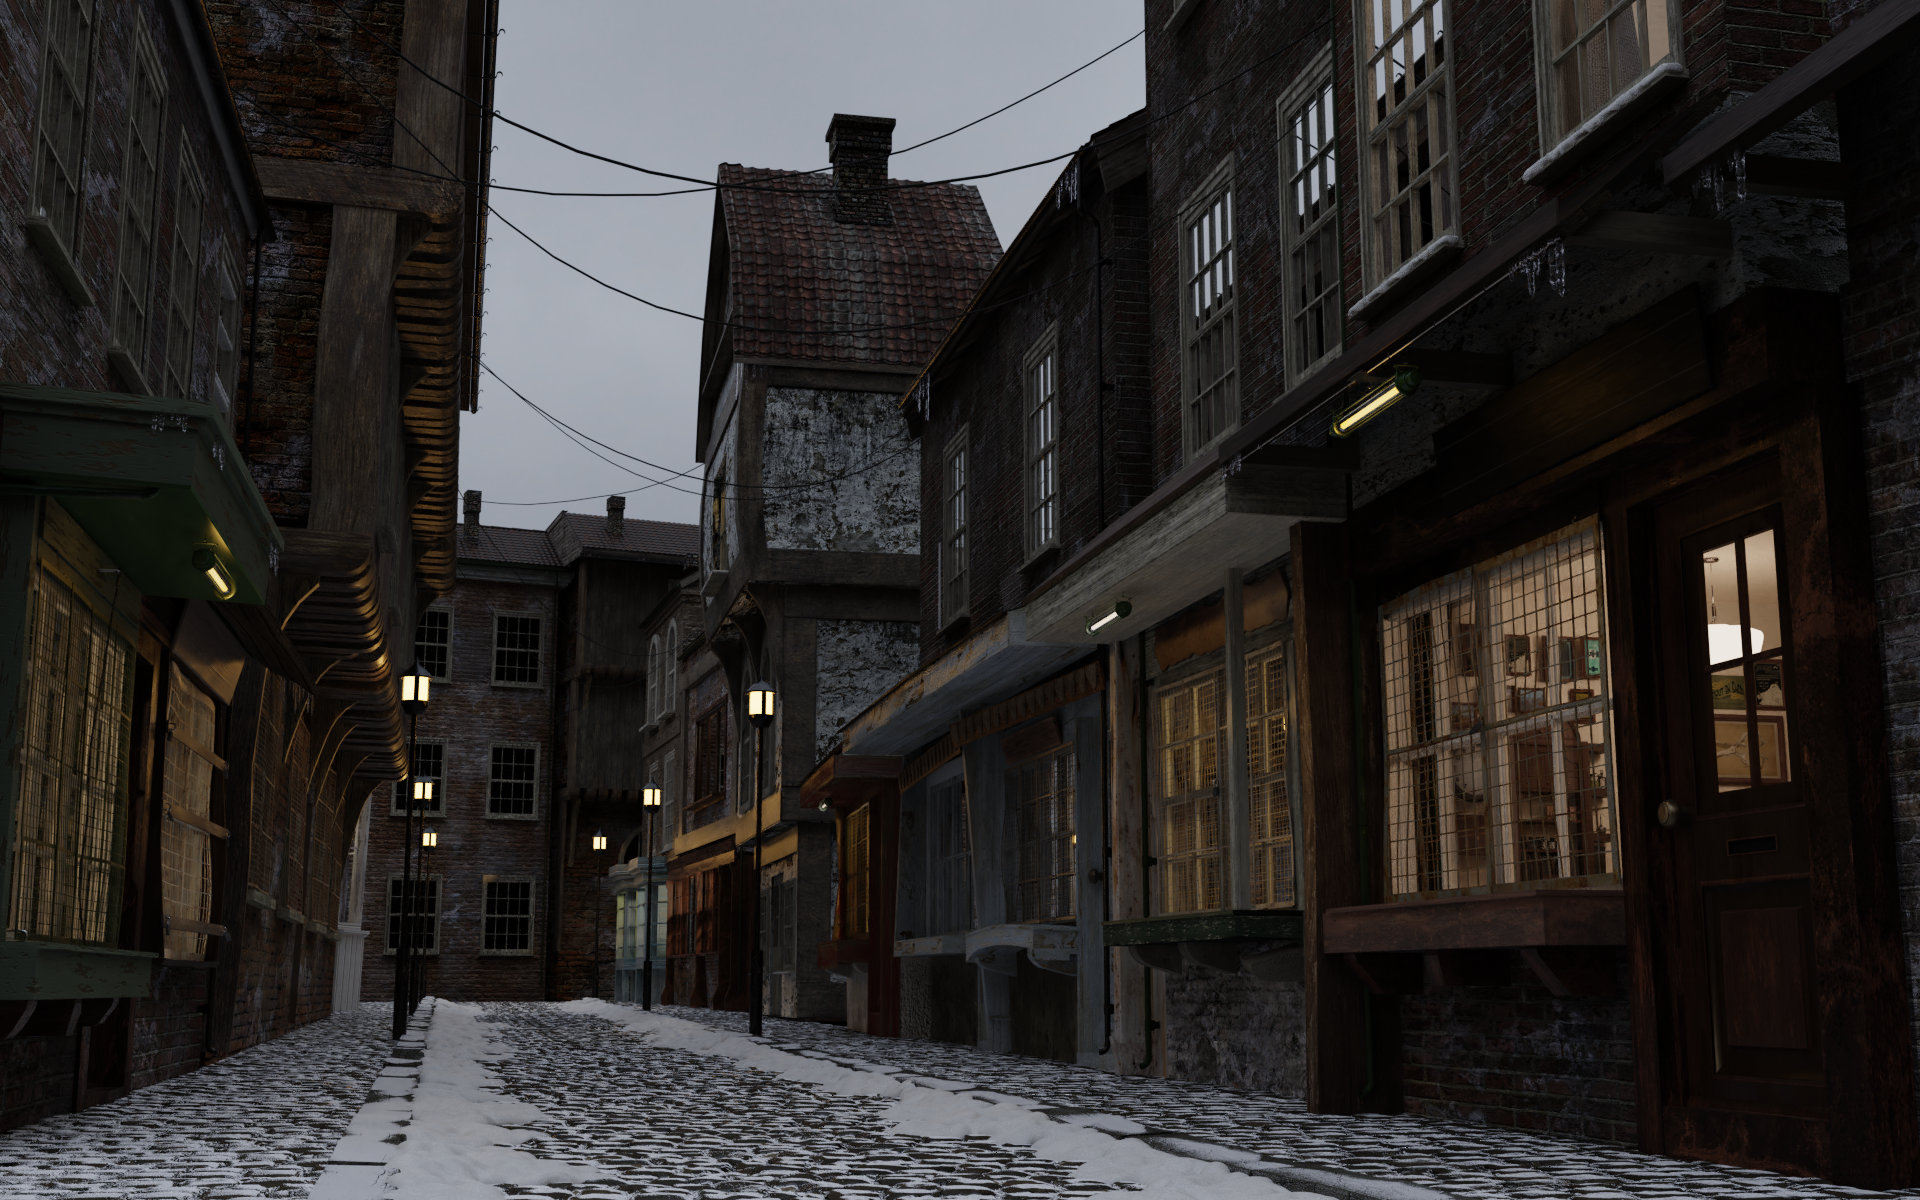
I used textures.com for the objects, windows, lights, and so on.
For the pines, I made branches, then set them as particles. All textures were taken from the same site, by the way. I recommend it because it is a very good site for textures.
There was a problem with the snow that I made, unfortunately. I made it but then I had to delete it due to lack of memory on my computer. Let me explain. I took all the snow textures from the same site that I mentioned above. To put the snow on the edge of the road, I took a cube and stretched it across all axes, divided it by about 30, chose Subdiv level 3 and performed practical editing, and began to simply stretch it along the edges of the road and pavement. I was still thinking about how to make the snow that had recently fallen, and then Steve helped me. He has a YouTube channel where he describes in detail how to properly adjust the snow on mountains. After thinking about it, I decided to use his technique, and I worked well.
Lighting
For illumination I used the HDRI map here.
About the Author
 Pavel Sushchenko, 3D Artist


Really nice work Pavel.
I am very pleased with your words, I am very grateful to you
Great job Pavel
for textures, try these sites:
CC0textures
Texture haven
cgbookcase.com
sharetextures.com
I will definitely try your textures, thanks
That is a wonderful piece of art!
It finds the balance between photorealism and the limitation of a computer perfectly. Well done Pavel!
Thank you very much, I did not expect such comments, I am very pleased