Behind the Scenes: Dragoon
About
My name is Adrien Rouquié, I’m a CG artist and illustrator from Avignon, in the south of France. I studied in Estienne School in Paris and Mopa (Supinfocom) in Arles, both for CG animation. I’m the co-author of the short film Outdoors, recently broadcast by Canal+.
I am passionate about drawing, especially character design.
I started to use Blender at the end of my studies. This is, for me, the perfect software for visual development. It allows me to create proposals quickly and keep a professional quality.
Where the idea came from
My goal for this artwork was to adapt a 2D cartoon design in 3D and at the same time to practice my knowledge of Blender and CG techniques in general.
The challenge was to stay accurate to the design while finding interesting volumes.
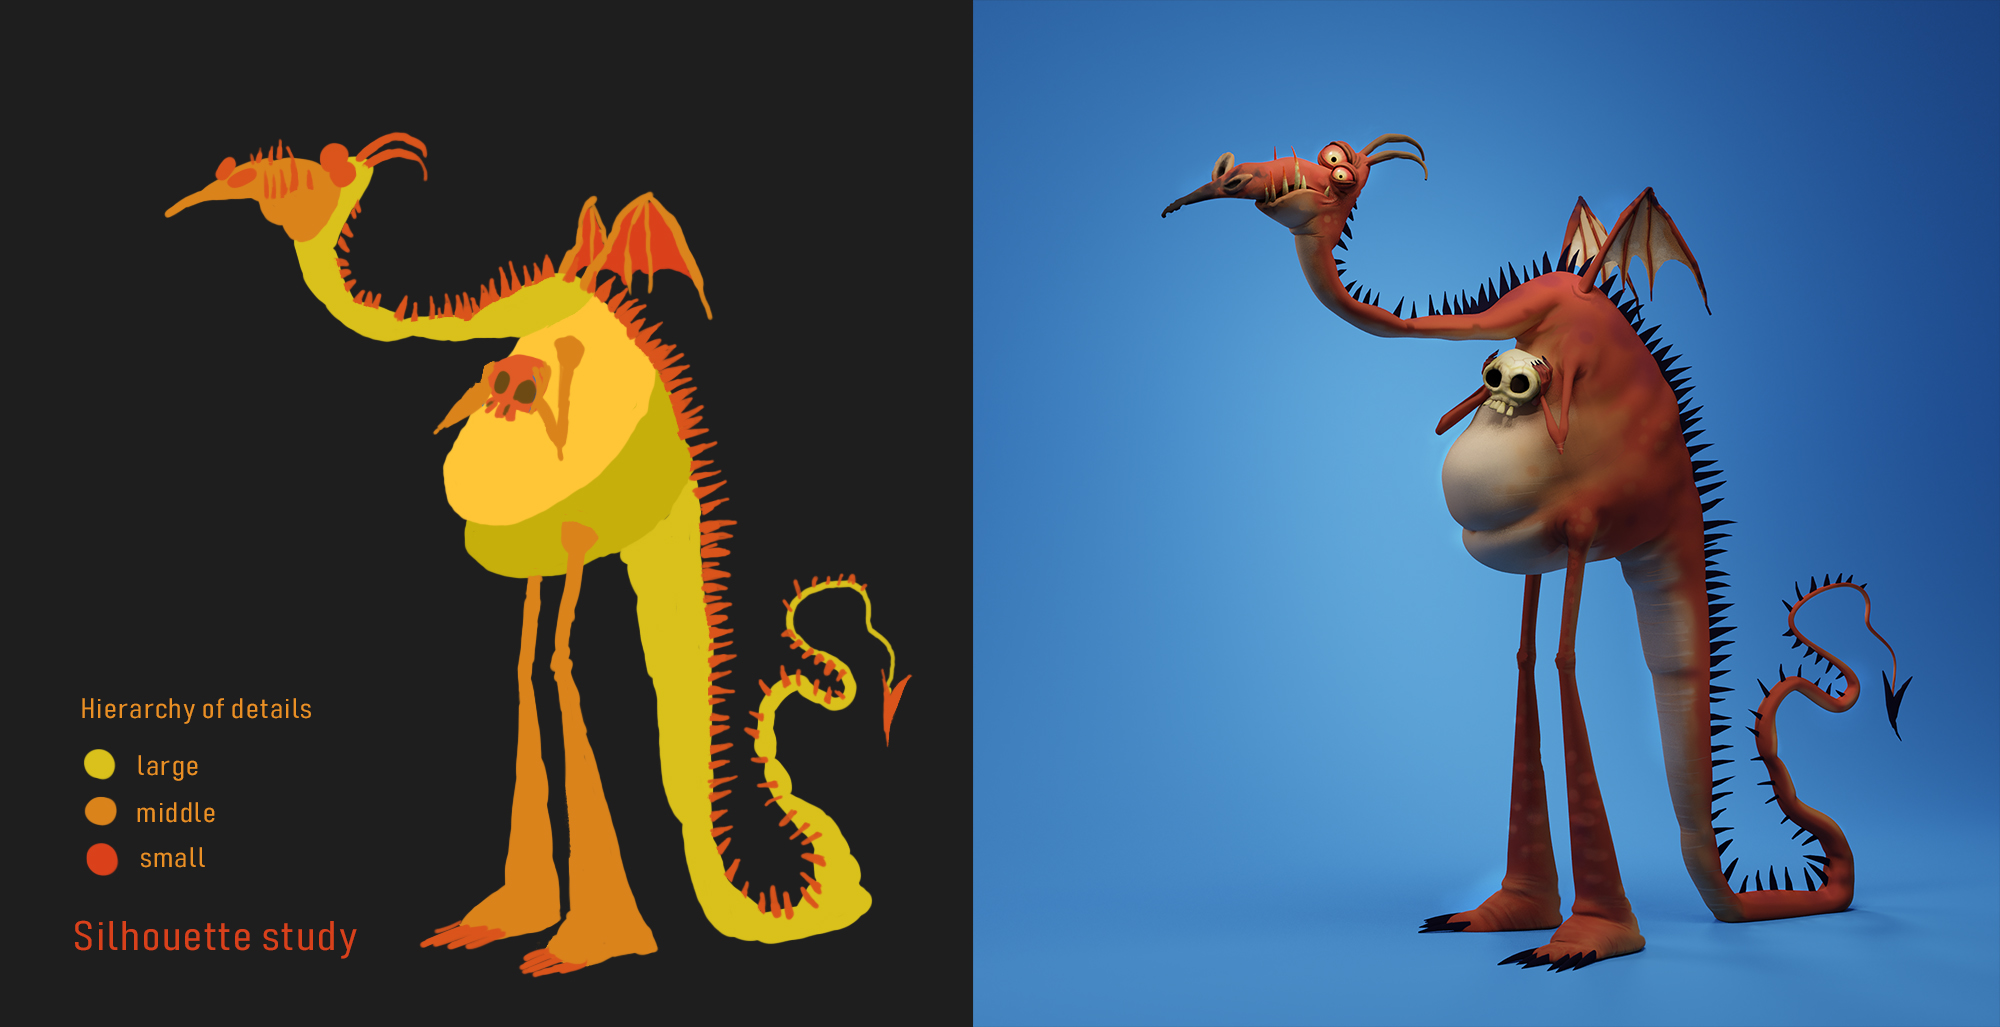
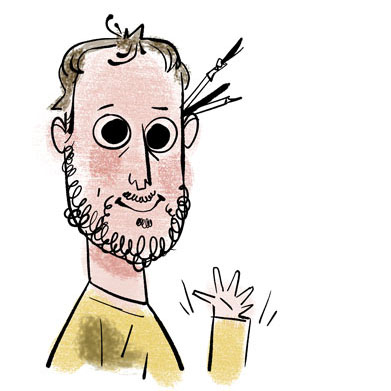
I took a design found on the internet. It was made by Francesca Natale. You can find it here.
I love this drawing; it has a lot of life and it captures the personality of the character. The style inspired by Ronald Searle gives a lot of expressiveness.
Step by step
In theory here is my workflow :
1 – Set up the scene (set the image background for example)
2 – Build a blocking (the whole character with separate simple volumes)
3 – Refine each piece homogeneously and merge them.
4 – Clean the mesh with retopology
5 – Unwrap the geometry
6 – Texture/shade and light the scene
7 – Render some views
8 – Clean with paintover and color grade
For lack of time I wanted to accelerate the process to finish it quickly. Two aspects that would have added a lot to the character are a further working of the texturing and the adding of fur (maybe one day!)
Let’s look at all this in more detail!
Blocking volumes and proportions
A good tip for the neck, the tail, arms and legs was to use the “Hair With Curves” technique:
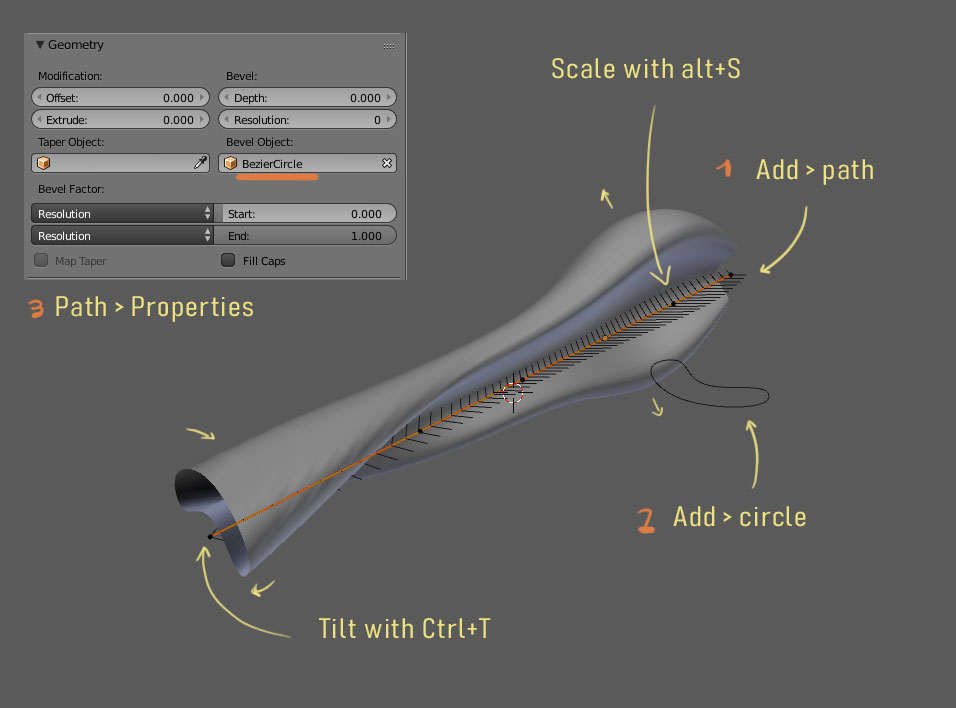
More information of this technique in this tutorial.
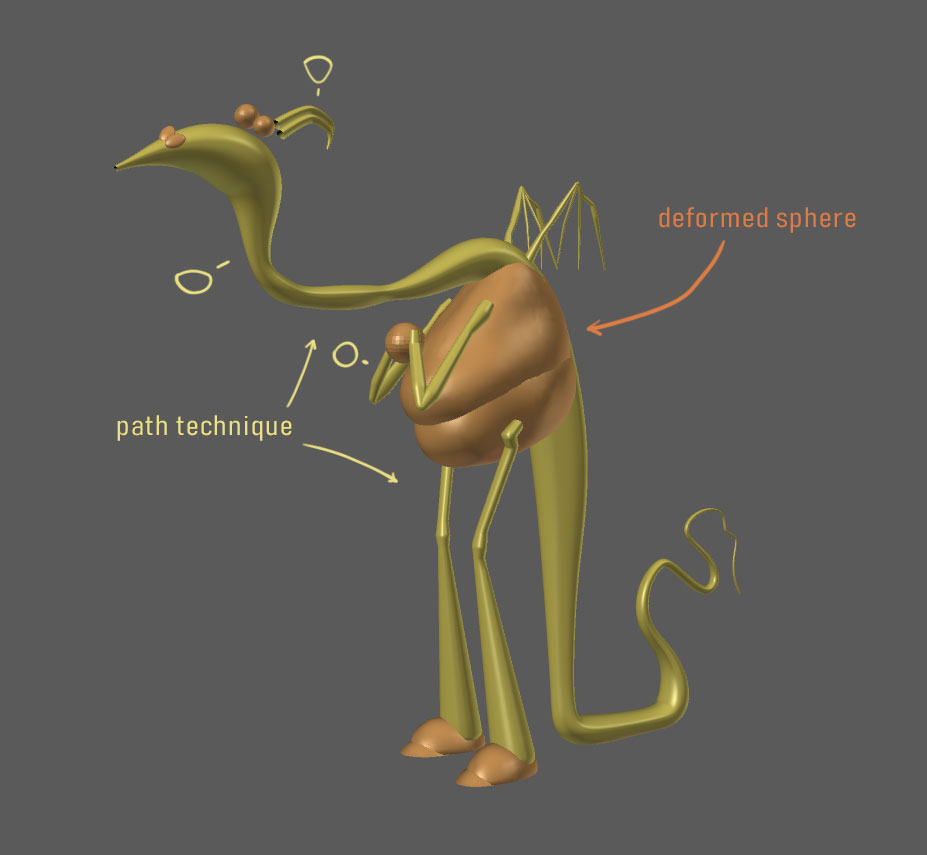
There are a multitude of techniques to help block quickly. Blender is great for that, just as much as ZBrush (Isn’t Blender the best modeling software?).
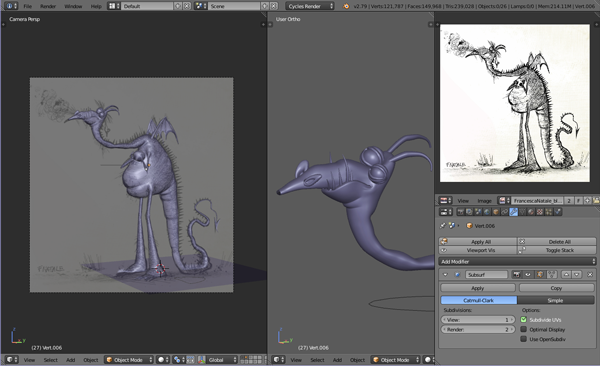
At first I worked volumes without a model sheet to focus on volumes. Then I corrected the proportions using a background image through a locked camera.
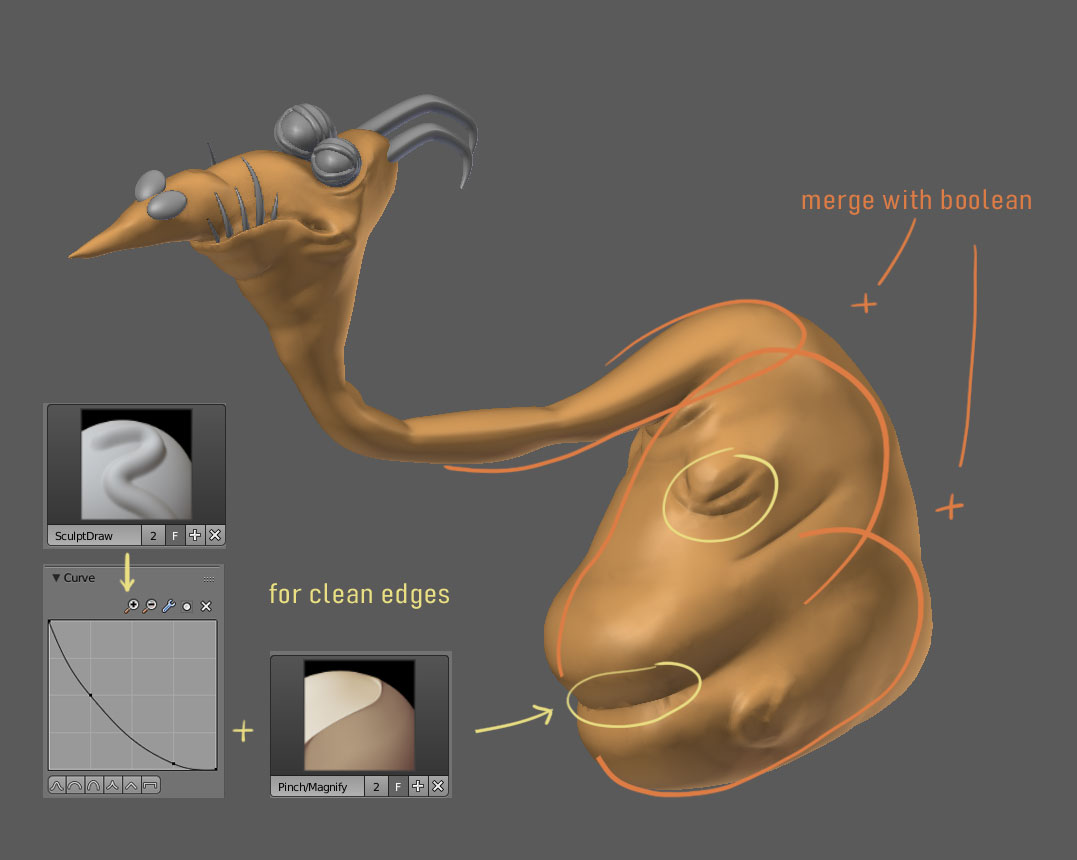
Then I started to sculpt each part and merge them with boolean operators.
The next step was retopology. I think the retopology tool in Blender is great, but it lacks in my opinion an automatic retopology tool as efficient as ZRemesher in ZBrush. This is, for me, the biggest lack of Blender to be the ideal sculpt tool.
Texturing, shading, lighting
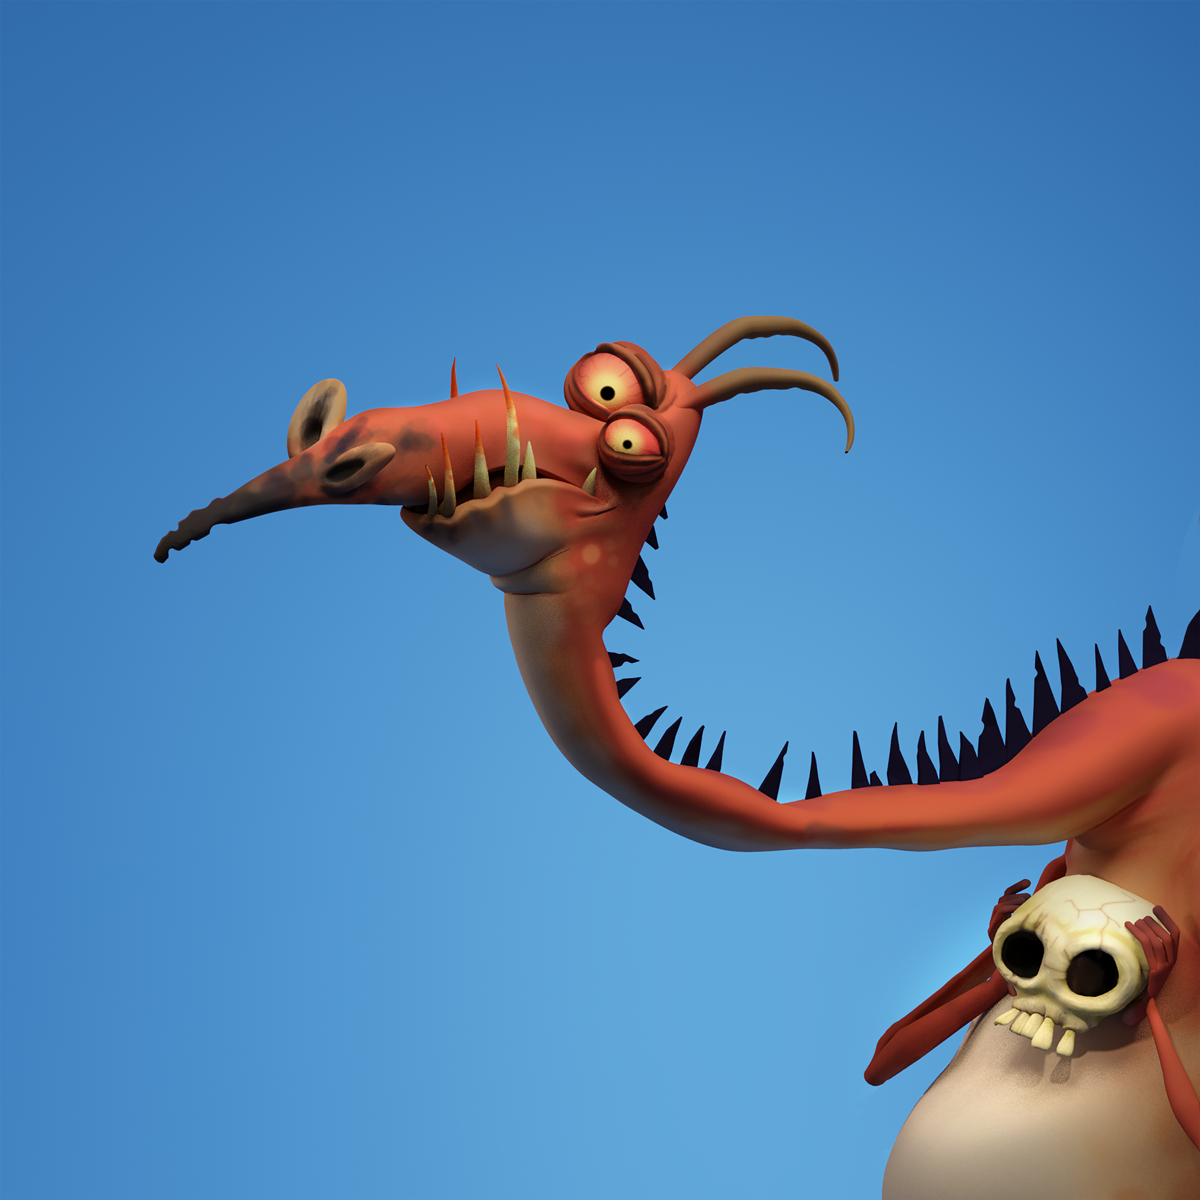
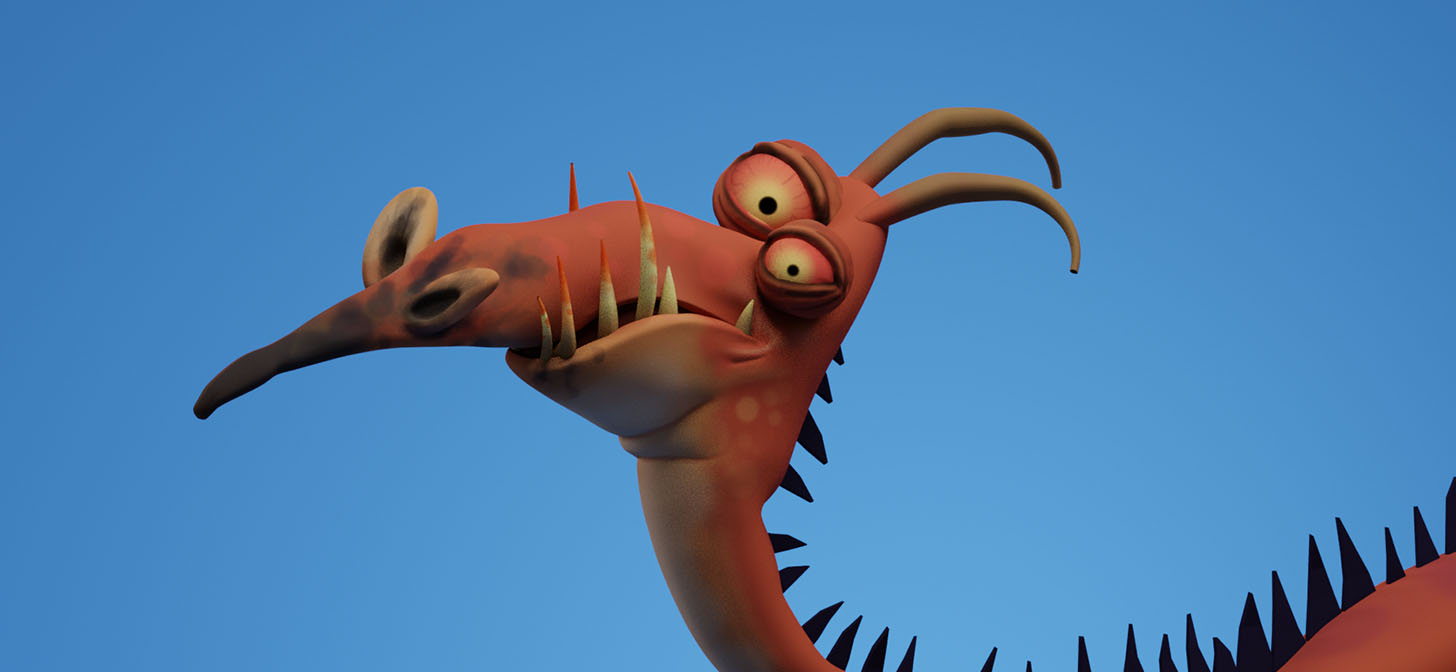
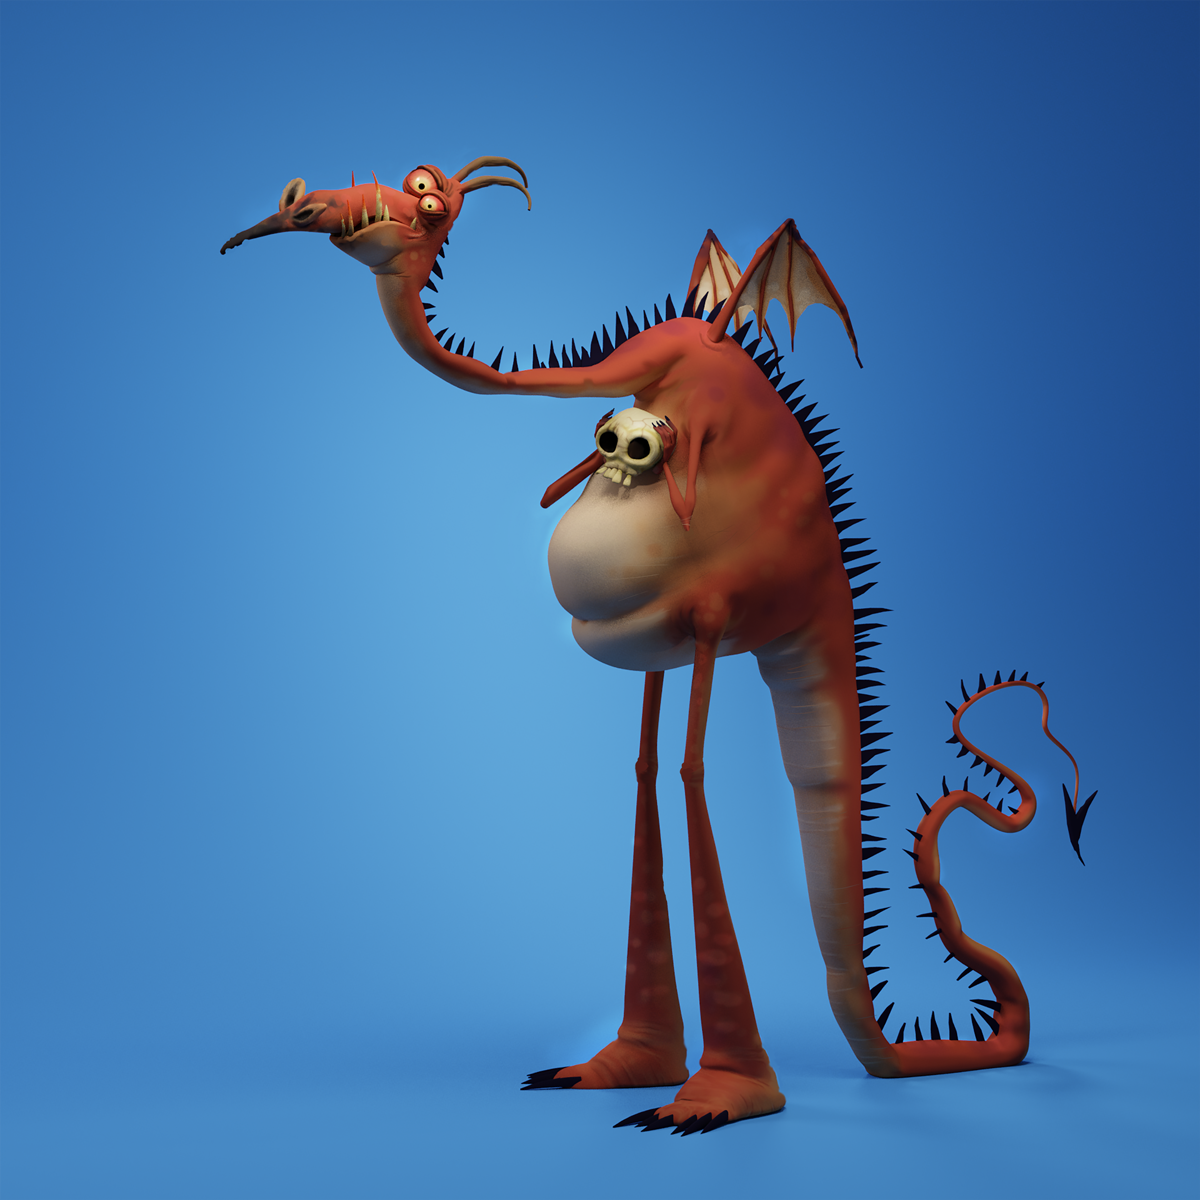
The most important thing for the texturing is to keep in mind what you want to tell. For example the blundering aspect of the character gives me the idea to ”roast” the tip of his muzzle. The saturated color of its skin goes in this direction as well.
I often do PBR texturing. But for once, paint by hand allowed me to find the general concept more easily. I think it’s an interesting step, even if I then use it as a base or reference for more advanced PBR shading.
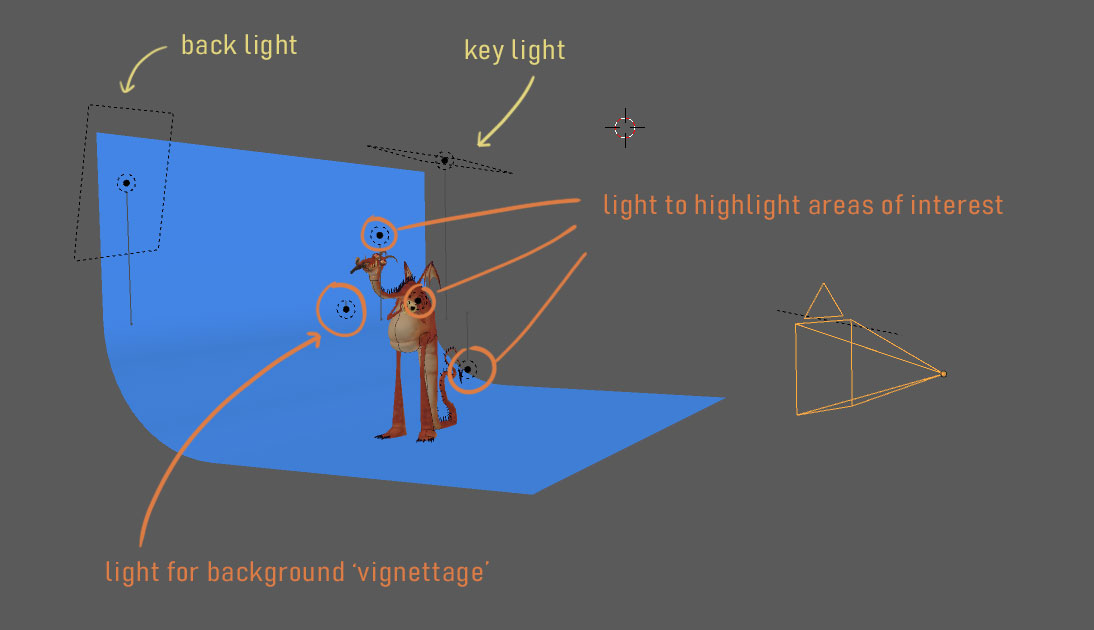
Here is the setup for the lighting. I made it simple to stay clear and clean.
Conclusion
Blender is a really great software. The possibility of not switching from one software to another for sculpting, texturing and rendering accelerates the workflow and encourages creativity.
The lesson I learned while doing this picture is to take more time to ask artistic questions. Who is the character? What is his attitude? What is the main idea I want to communicate?
I had a lot of fun creating it! I hope all this has been helpful.
Do not hesitate to ask me questions in the comments!
I’m available for freelance, contact me by email if you are interested!
About the Author
 Adrien Rouquié, visual development | illustrator | CG generalist


oooh my god!, I sooo want to animate him!, pLEEAAASSEEE
such amazing work and an really excellent explanation of your techniques and process!
Thanks for sharing:)
Ahah ^^ thank you ! If you do not mind to rig him Looch, I give it to you ;)
Superb work, with the added bonus, I just discoverd Francesca Natale works!!!! Thanks