Behind the Scenes: Virtual Reality
Hi! I’m Pablo. I’m a 3D artist and computer engineer from Santiago de Compostela, Spain. I started with 3D two years ago when I was studying for my degree. During an internship, I was told to make a custom installation of Blender in a data center. It didn’t work at all, so I spent most of the time there learning how to use Blender to make “art” on my laptop while I was waiting for libraries to compile with all the flag combinations you can imagine (the Spheal I use as a profile picture was rendered there). I realized that I enjoy playing with digital art more than working as a system administrator so I decided to take an online course in 3D character modeling at the same time I was finishing my degree.
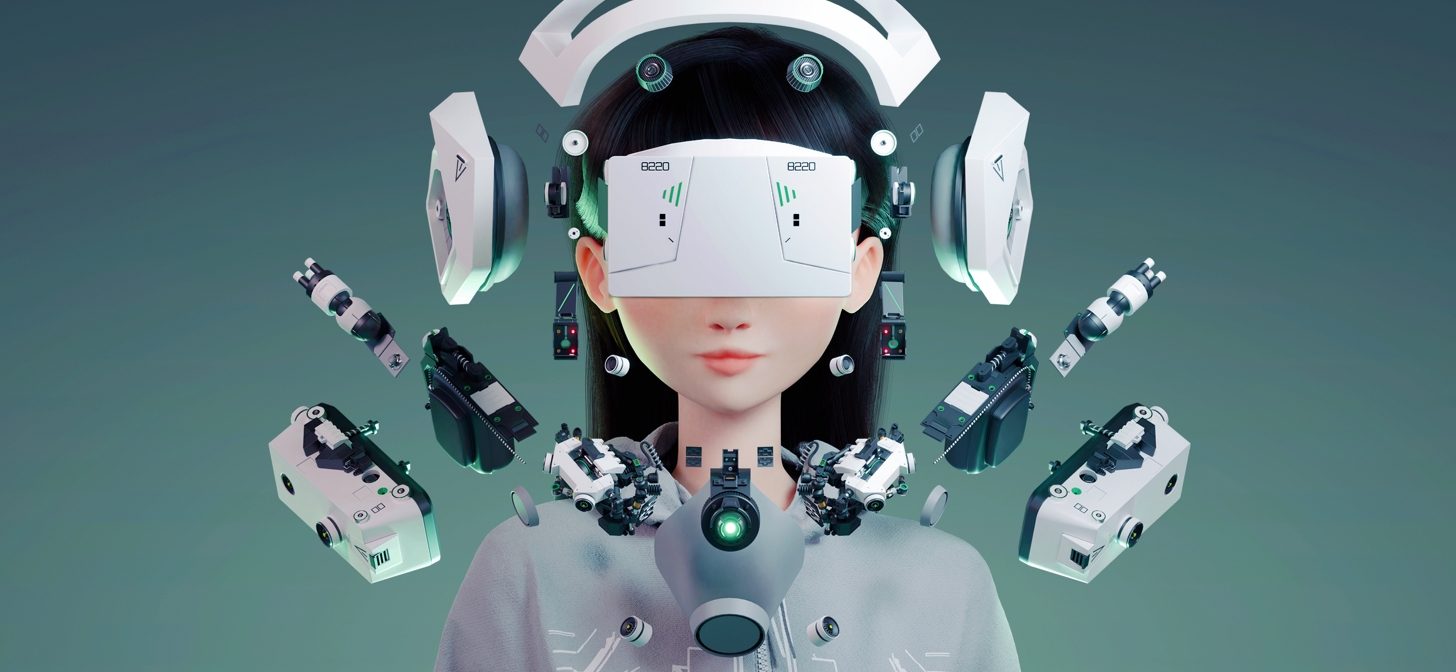
A few months after finishing the course, the school offered us a chance to get our portfolio reviewed by Juan Puerta and I applied to do it. He told me that my portfolio was great but it was focusing too much on a particular style and that could be a problem when looking for a job because I wasn’t showing different skills that some companies might want. Then, I decided to start a project that, without leaving my style, shows another skill – in this case, hard surface modeling. I remembered seeing Hiroto Ikeuchi’s designs on Twitter and I thought that they would be perfect for this project, so I decided to make a stylized version of one of his creations.
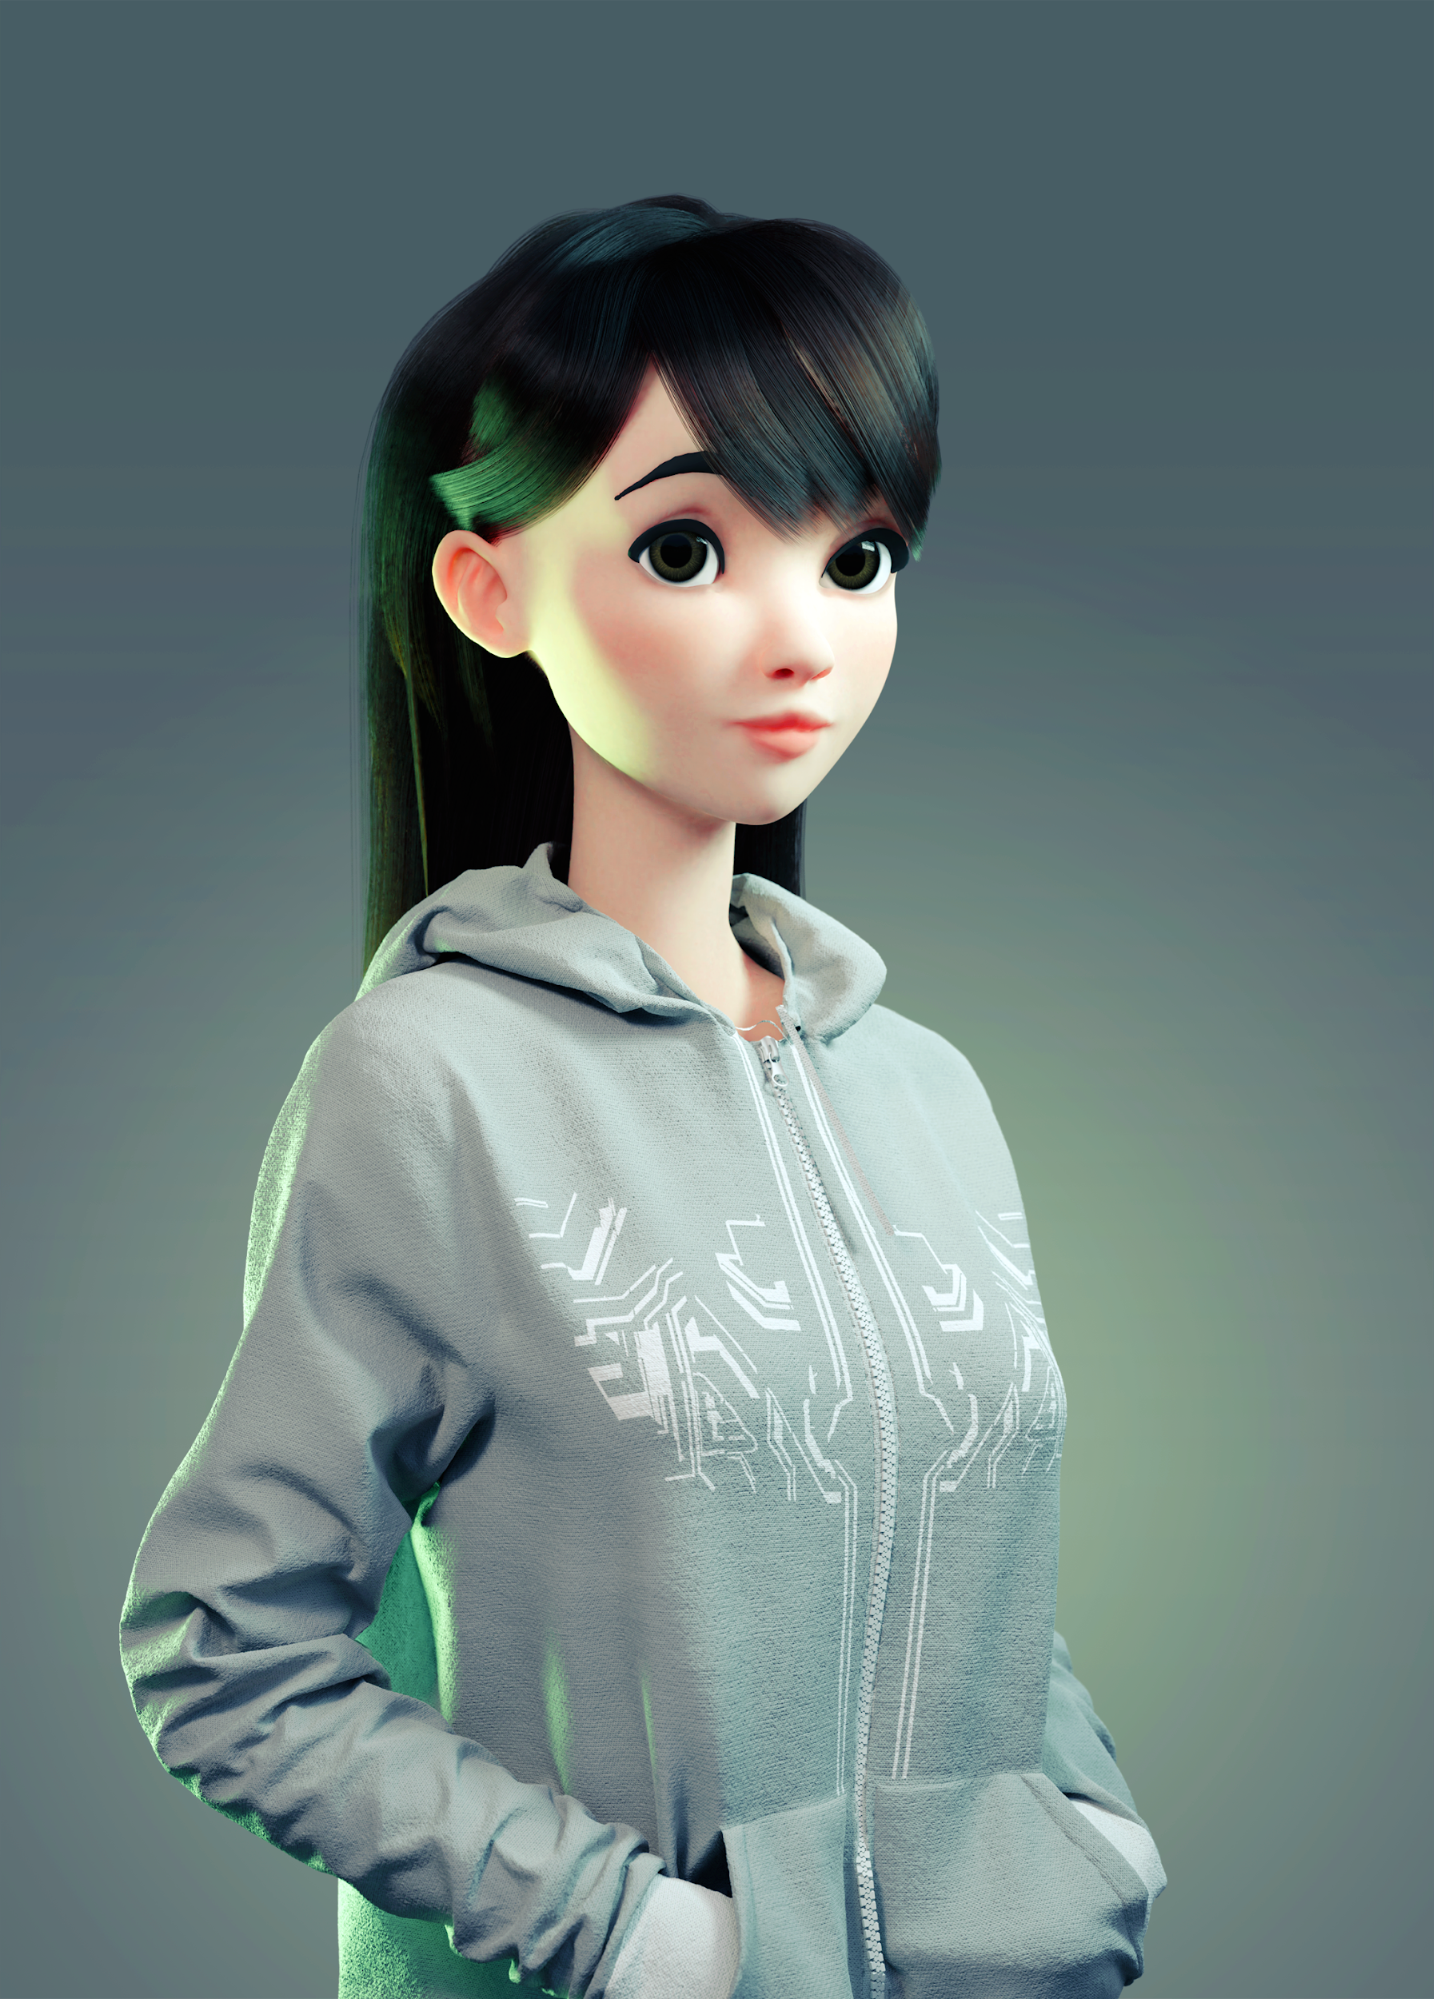
I split the project into two parts, the character and the hard surface model of the mask. I decided to start with the character. As usual, I reused parts of my last project to save some time. In this case, the character’s head is a modified version of Yves’ head from my last project. I used ZBrush for sketching the general forms of the body, the shape of the hair and painting the model using vertex paint. I always try to avoid using texture painting because being able to reproject the polypaint with Dynamesh gives me much more freedom in case I want to make big changes to the model, and it is important to me to work with a colored model from the beginning.
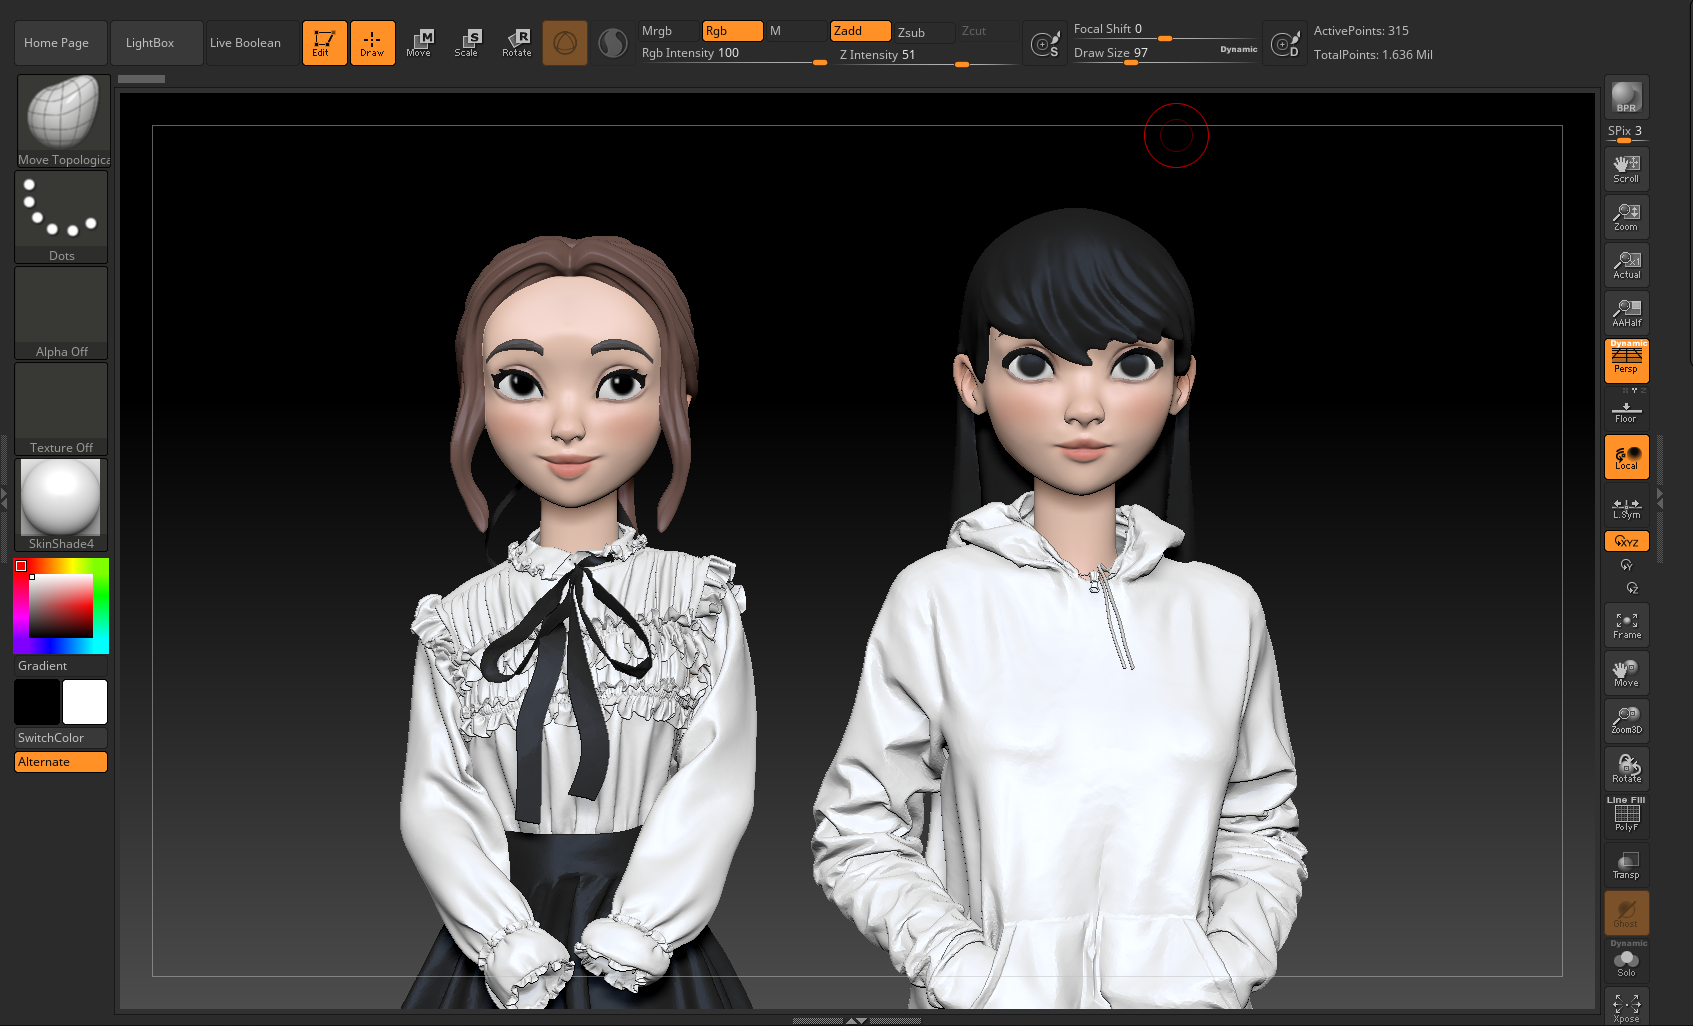
During this stage, my workflow relies heavily on the GoB addon to sync the model between Blender and ZBrush. I usually work with Blender and ZBrush opened at the same time on different monitors. I work in the model in Zbrush while looking at the Cycles preview in Blender, pressing the GoZ button after each brush stroke. This workflow is far from perfect – it creates a lot of errors with object transforms, it breaks the material slots… but working with these kinds of models with a real 3D renderer and not in the ZBrush viewport saves me a lot of time. Also, the eyes were made using Danny Mac Eye Designer addon and you can’t really visualize how the model will look like with a real eye shader in ZBrush.
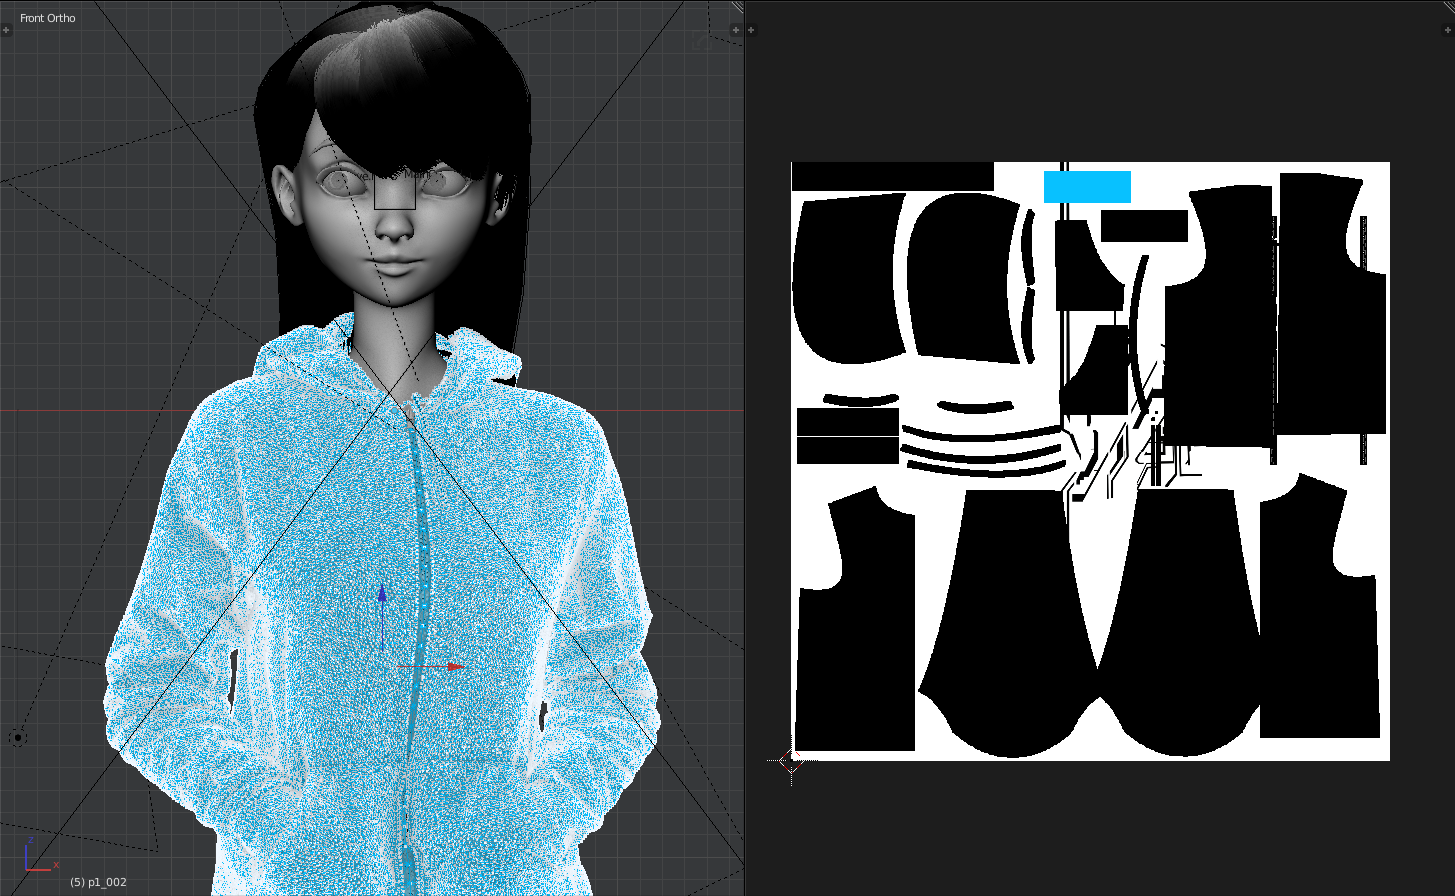
The hoodie was really easy to make. I just googled the sewing pattern and traced it in Marvelous Designer. After that, I imported it into Blender and I tweaked the proportions a little bit with proportional editing. Marvelous Designer models already have UVs, so I used some tileable Poliigon textures. For the white design in the hoodie, I copied the floor pattern of the f(x)’s Electric Shock MV background and I placed it in the model using a second UV channel.
After that, I started the hard surface modeling part of the project. I use primitives to block the main shapes of the mask. Once I get that right and the design fit the proportions of a stylized character, I put each block into a different layer, I created a group for each of them and I reassembled the model using group instances. After that, it was all about adding details.
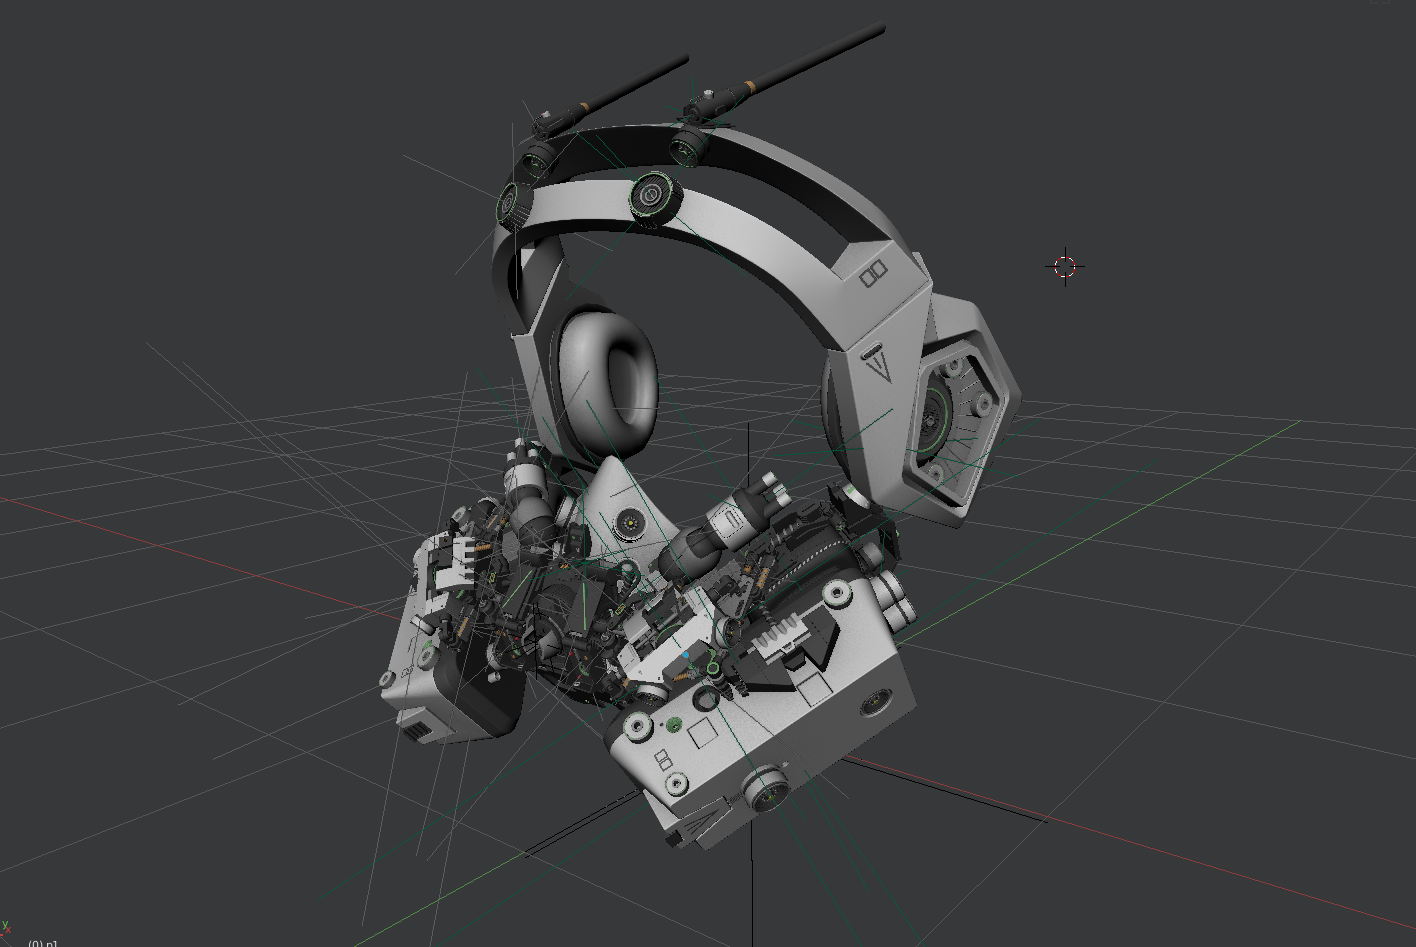
This was the first hard surface model I made, so my workflow was very simple. I used the included BoolTool addon and the bevel modifier in most parts. More complicated objects, like the white section of the headphones, were made using proper subdivision surface modeling to achieve clean smooth surfaces.

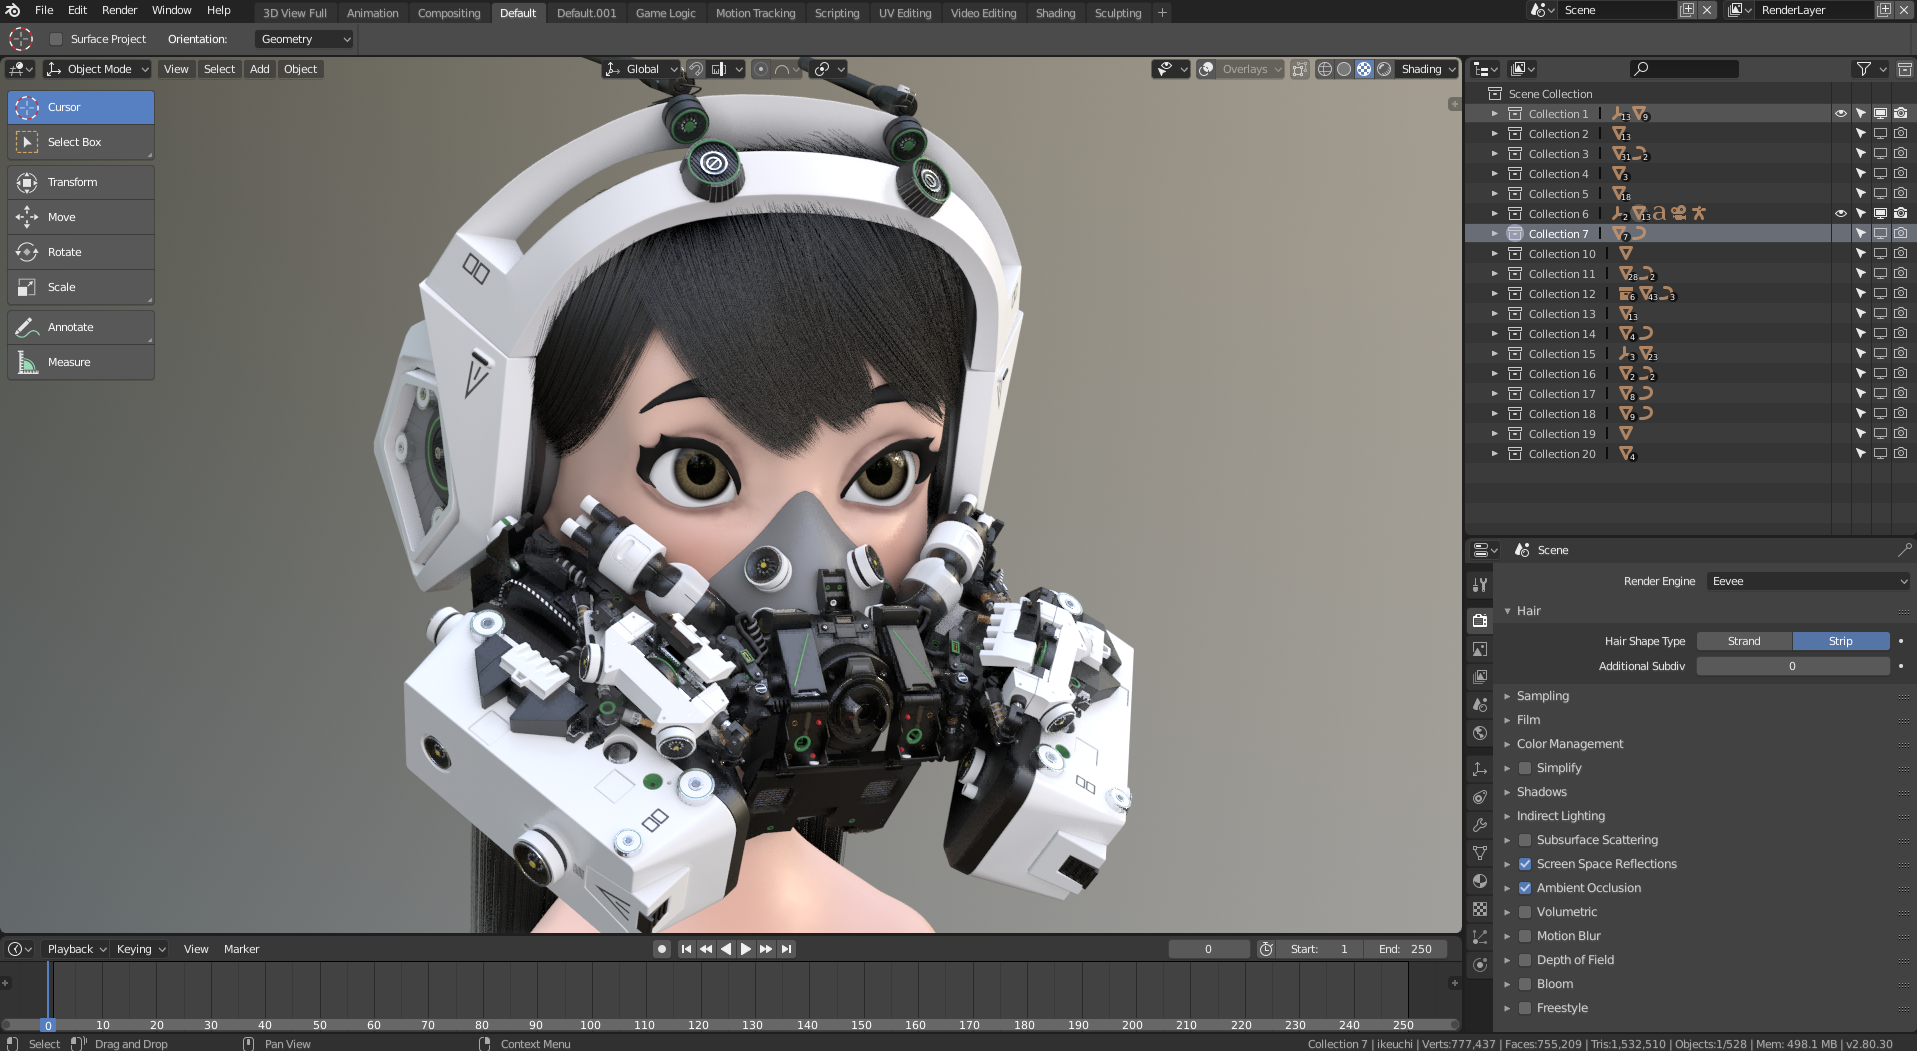
Probably the most challenging part was managing the scene. I tried to fit everything into a single blendfile so I ran out of layers pretty soon. I lost a lot of time switching through layers while searching for objects and the whole file became a mess with unnamed group instances and hidden objects all over the place. Another challenge was the hair. I usually like sculpted hair more, but for this model, I wanted to try particle hair again. The last model I made using particle hair was an absolute nightmare so I decided to keep this simple. Blender 2.8 would solve both of these problems with the new collection system and EEVEE’s hair rendering. I tried to use 2.8 when I was doing the hair grooming but it still crashes a lot while using the particle edit mode, so I continued with 2.79.
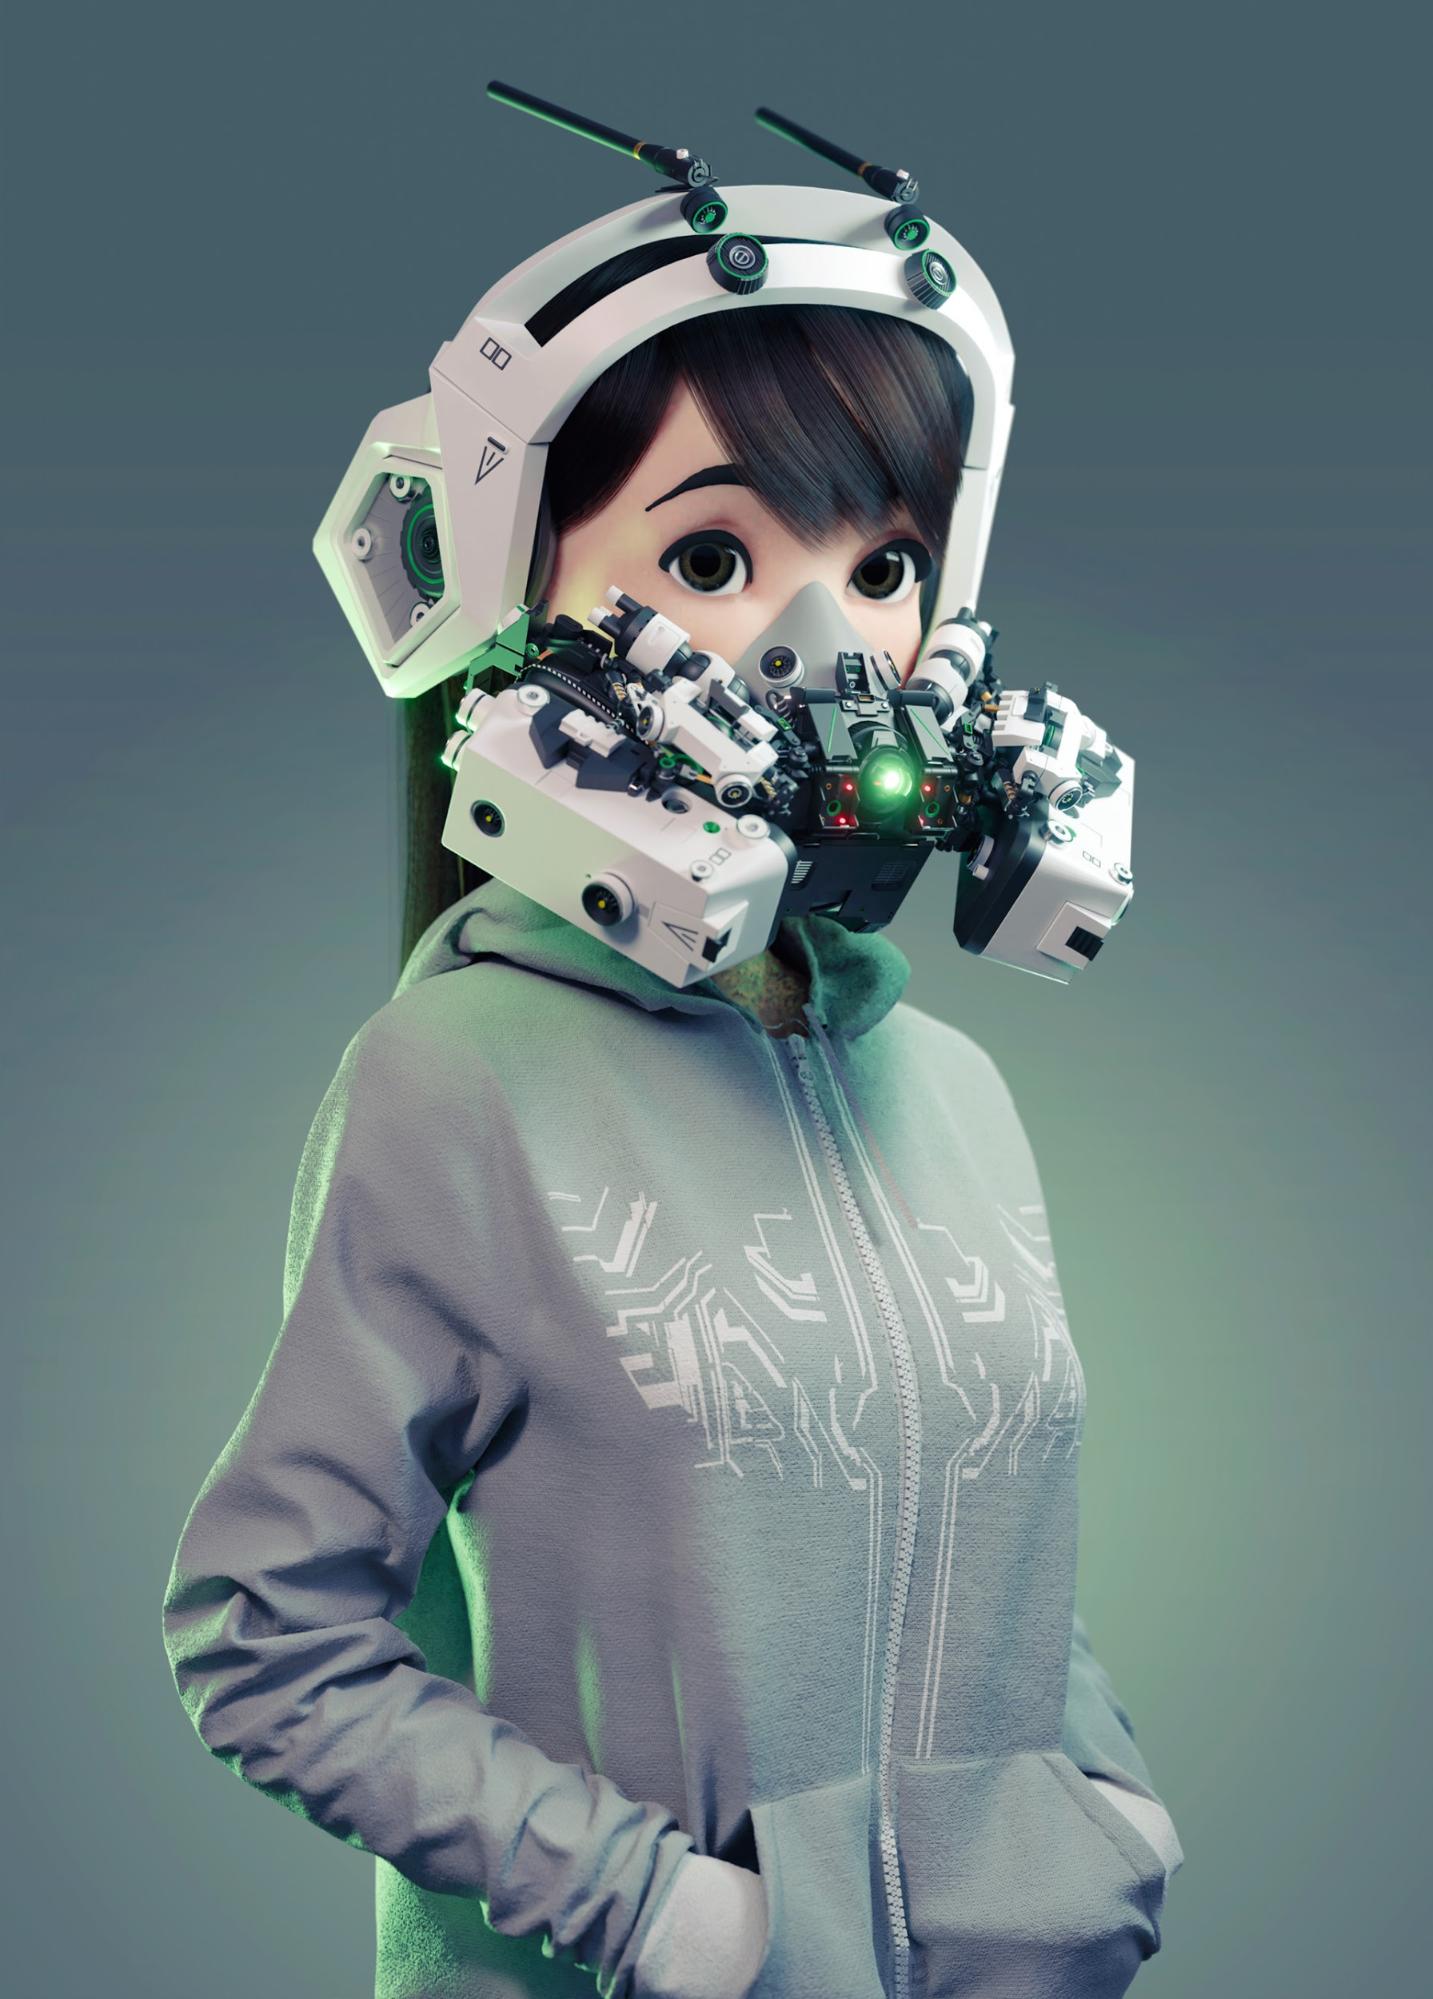
The final render was made in 2.79 master branch to use the bevel shader and the principled hair shader (GoB doesn’t work on master). I always try to make my projects as fast as I can (this one took a week) and this one had a lot of renders to make, so probably some of them came out a bit more noisy than I would have liked. Finally, I added some postprocessing effects in Blender and I tweaked the colors a bit in Photoshop.
That’s basically the workflow I use for most of my projects. Right now I’m spending most of my time trying to understand Blender codebase to implement the features I need to use it as my main sculpting software. In the future I’ll probably do another project like this, trying to add another skill to my style, probably creature sculpting. Thanks to BlenderNation for the opportunity to share this!
About the Artist
 Pablo Dobarro, Digital artist and software developer from Spain.


I really dig this!