

Background
Hi, my name is Daniel Ruiz-Lucero, I’m from the Sonoran desert in México and just moved to sunny California! (not US); Ensenada, Baja California, México.
I like to draw and create stuff, which sounds vague but it means that I’m curious and like to learn about—and make—different things.
I had formal education as a Graphic designer and developed a bit of a painting and visual arts trajectory. I grew up loving animated movies and when digital video technology afforded me the chance, I made some animated shorts, using stop motion and other techniques.
As much as I like making things with my hands and traditional materials, I wanted to learn 3D modeling and animation and started to learn Maya but shortly after, I got introduced to Blender by my friend Omar Rodriguez, who even lent me his printed user manual. I have made projects entirely in Blender but what I like about it is that it has many tools to help you solve visual problems when producing in any medium, not just 3D.
Project
The project was to create an animated music video.The band (KAFKA) gave me a script with the story and we talked about the look they wanted. Ideas like Victorian, steampunk, etc. were the principal ones and a hand drawn/shaded look. Some of the influences that we shared were the book The Mysteries of Harris Burdick and the work of Shawn Tan.
As much as I would have liked to make a hand drawn, pencil on paper animation, it was unrealistic to tackle on my own. The option that I thought would work was to mix 3D characters with hand drawn backgrounds, which they were ok with. So I started doing some research, looking at photo references from books and the internet to create the characters, and drew some sketches of the man and the woman, environments, possible props, like the flying machine, etc.


Storyboard and Animatic
After client feedback I moved on to create a storyboard and from that the animatic.
This is a very important and challenging part of the process, where I have to create images that communicate well and have nice composition, staging and camera motion.
When I think of flying machines I think of Miyazaki movies, so you can probably tell they are a great inspiration for me. One part that I like about the anime I watched as a kid is that even with limitations they still prove effective in telling stories, so in the storyboarding stage I’m also thinking about how it will all be assembled later on and keep in mind that the elements shown have to be drawn or modeled. For instance, a shot with just a simple hand drawn background that would be blurred and the character composited on top, or maybe I needed to create the scene with basic shapes inside Blender, place a camera to get the composition, lightly trace it from the monitor to paper and finish the drawing.
I didn't have to follow the animatic exactly; I could make up my mind for some shots but it gave me a clear roadmap to get started, and while we’re on the subject, it doesn’t hurt to be a little organized, and have an overview of the work ahead, so I drew a chart with every shot and noted the elements that were required for each one: props/3D models, change in clothes, backgrounds, fx, camera projections, etc.


Modeling
The modeling started with the characters. I haven’t gotten to do much 3D sculpting so I used regular polygon modeling using front and side view drawings.
The production went almost completely linear in shot order, so from there it went to the set and props in the subway sequence, tunnel, railcar, fan blades, and so on.
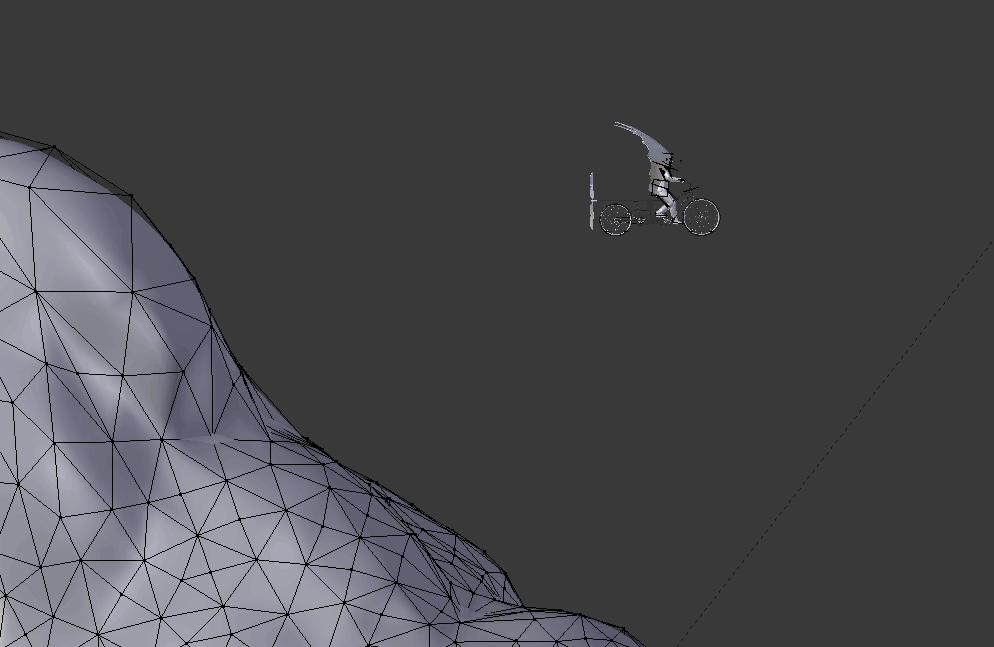
Most objects were modeled loosely according to the storyboard or previous designs. They would work as long as they had good shape and fit the overall scale, but the flying bicycle and its different versions had to work well with the characters that ride it, so it had to be more carefully shaped and modeled. It was important to keep this part from hitting the knees or that part from touching the hands or face. When the riders are pedaling the legs can’t go too far up or down so I had to change pedal length or seat height, etc.

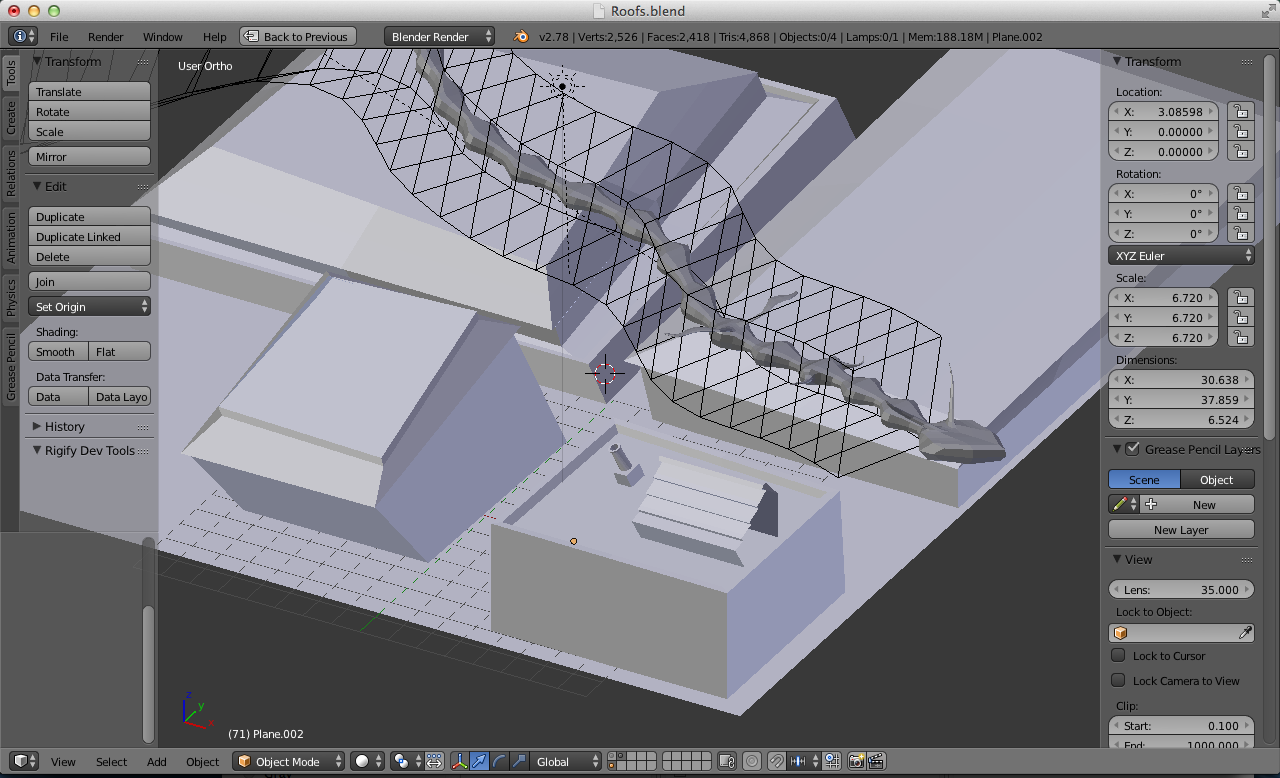
In the shot where a shadow passes over the buildings, I used camera projection to model the buildings that would catch the shadow. For the shadow I modeled a worm-like flying thing passing thru a zig zag shaped lattice to get the swirly motion.
Texturing
After UV unwrapping the model, a blank image was created, wrinkles and certain details were roughly painted in Paint Mode on the 3D model, then the final UV image was painted on top of it in Photoshop, drawing over the outlines and hatching lines in a comic book style, adding scanned pencil textures and some dirt on their faces, clothes and hats.
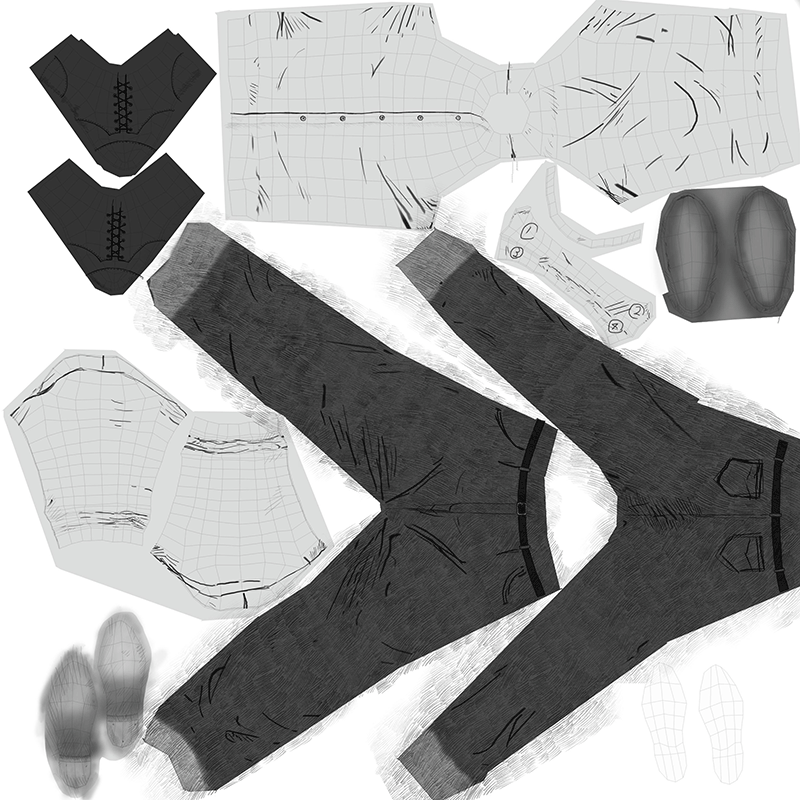
Not everything was hand drawn; some photo textures were used, like wood textures on the building and some trees that were photos with transparency and imported like images as planes.
One thing that was very useful was that if I needed to push the contrast of a composition, I could easily adjust the values to be darker or lighter via RGB curves in the Materials Node Editor.
Rigging
One of the Blender tools that was very helpful was the Pitchipoy Human meta-Rig. Rigging a full character—even without face animation—is a lot of work and this tool delivered. I hope the developers read this and go: — Yup, I did that!. Thanks guys!
For things like the pedals and crank, some Copy Rotation Constraints were used. The chain is made with an array of chain links following a curve, which moved animating the original link.
Animation
Now, it was time to pull shots together and start animating.
For this project I worked with a single file for every shot, but in this part I had some trouble importing or appending the rigged characters in to my new files, and after some trial and error it was time to hit the forums to get some ideas. Someone suggested that I append the whole scene and then copy and paste from one to another and that was it. Whoever is the user Edgel3D, thanks!
After animating a shot, the computer was left rendering at night so I had results the next morning.
I used a MacBook Pro with no GPU, so little CPU to carry the load a bit at a time. The fire effect was done with particles at low resolution to keep the renders shorter.
For compositing and some things like the dripping blood, After Effects was used. Maybe next time I’ll do Internal or look into Natron.
Effects like the fire were done with particles at low resolution to keep the renders shorter.
The rendering was mostly Cycles, but Internal was also used depending on each case, trying to keep those render times low. Some shots were rendered at 720p (1280x720) with as little samples as I could get away with and later upscaled to 1920x1080 :-O
Grainy results? Yes but, remember small format films like 8mm and super8? Well I do, and they were grainy too, but I really love the look so, win-win! :-)
A thing that is very useful for compositing is the Shadow Catcher option in the Cycles Settings of Objects. That is how at the very end of the video I managed to get a shadow to look like it was passing over a volume when it was just a flat cloud drawing.
Normally, after going thru a lot of problems, we forget most of them and just keep the satisfaction of having accomplished something.
I’m happy to share what I remember and hope something of this might be helpful to someone.
Thanks to the Blender and CG community in general for sharing what they know so that we can keep learning new stuff.
Final Video
Still excited to be invited to BlenderNation!
Hope I didn’t bore you to death :-)
Cheers!
About the Author
 Daniel Ruiz-Lucero, [email protected]
If you need a face to go with the name, that’s me.
Links
- Daniel's Vimeo
- Daniel's Blog
- Cochinito the Movie
- Artstation...I have an empty ArtStation. I’ll fix that, give me time :)
2 Comments
Might want to edit "720p (11280x720)"
Great explanation and result. The subtlety of the animation is very impressive as is the overall story.
Nice catch, thanks!