
Behind the Scenes: The Hut

As part of our new Behind the Scenes series, Gregory Khodyrev shows us how he created his detailed scene, The Hut.
Hello!
My name is Gregory, I live in the city of Kirov, Russia. I have been interested in computer graphics for a long time and for the last couple of years I have been using Blender for my projects.
I like to recreate the illustrations of other artists in three-dimensional space, but in a way that the flat feeling of the original 2D image remains.

Such a reaction is what I strive for in these projects.
You can see these models in my profile on Sketchfab or ArtStation.
Introduction
This time I decided to do something more complex. Then I caught sight of art by Jonik9i.
I have always been attracted to rich, interesting locations. As it seemed to me, this scene was ideally suited to be made in 3D. It is full of details and it has a simple but effective composition.
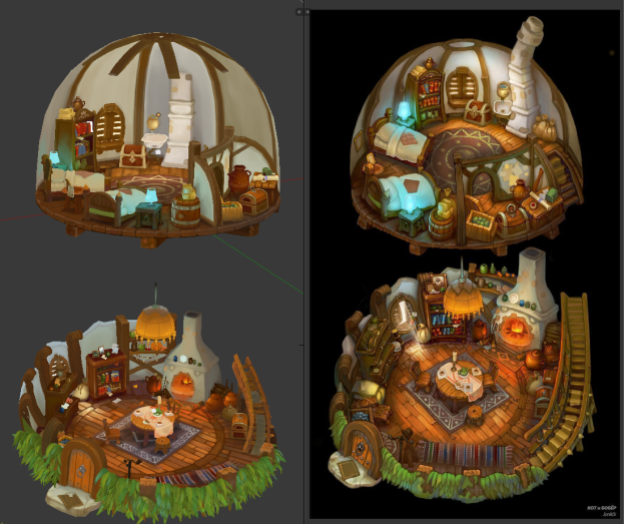
Modeling and texturing were fully done in Blender 2.79. I also did not use any special plugins or add-ons for Blender, just preinstalled ones. For texturing I used the graphics tablet One by Wacom – it is one of the simplest tablet models in A5 format, it just helps me incredibly. My old tablet was an A6 format and I hardly used it.
Composition
I must say that this project does not pursue any commercial or practical purpose. It is made for fun and for practicing my texturing skills. Conceiving and creating it, from the very beginning I was guided by what it would look like in Sketchfab, which I use as a gallery for similar projects. I can twist and turn models of other authors for a long time, looking at them. Personally, it always fascinates me. :)
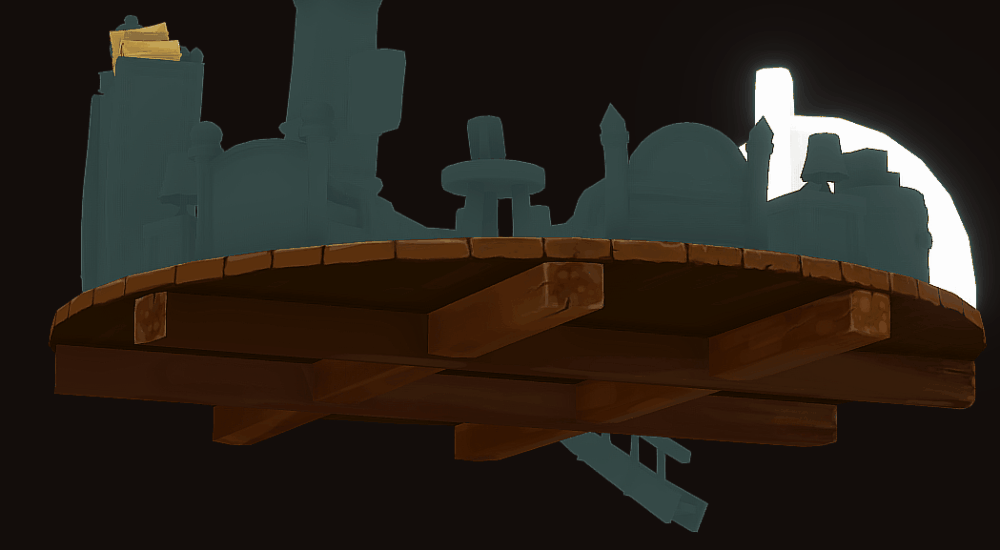
The circular composition of this scene was perfect for a presentation in Sketchfab and the first thing I did was figure out whether this rotation effect would be interesting (on image below).
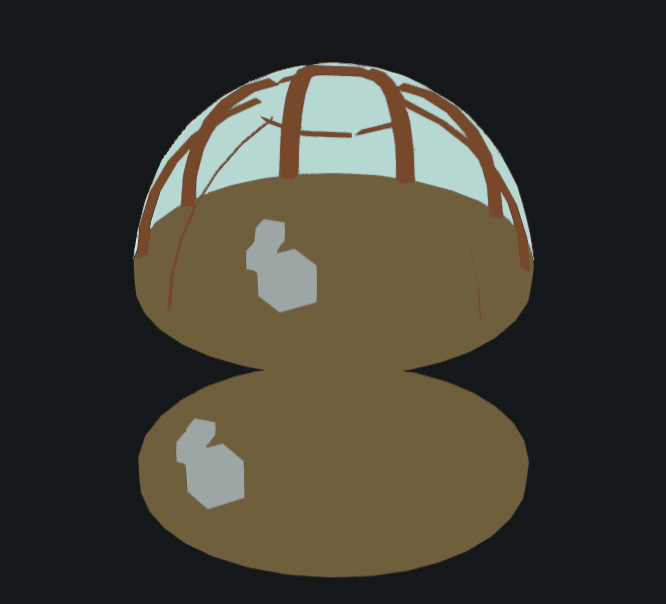
The other thing I tested at first was back-face culling. I knew that I would use it a lot for this scene.
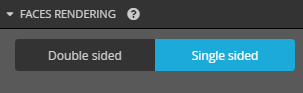
Let me show you – the back surface of the wall and objects around the perimeter of the scene is made invisible in order not to interfere with the view of the scene. Sometimes for this you need to flip normals for the whole model or part of it so that they are directed from the viewer to the center of the scene. The material should be one-sided, in Sketchfab you can hide one side by this button in the material settings.
As you can see, initially I wanted to make the support beams three-dimensional, but I did not like the fact that they partially close the view and take away a lot of attention. As a result, I painted them on the wall, making the volume only at the very top of the beams, a place on the ceiling, where they all meet.
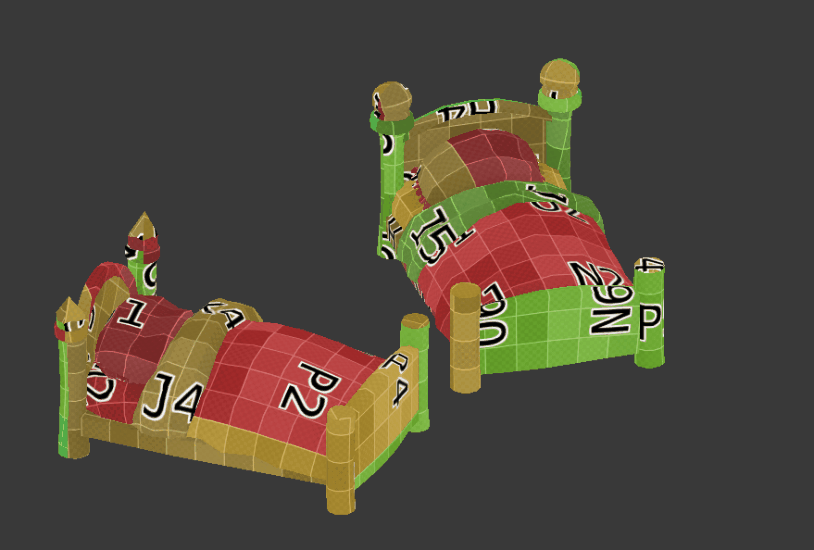
In doing so, I used an alpha mask for the texture of the back surface of the beam to depict a smooth transition between the transparent wall and the beam. You can see the results below.

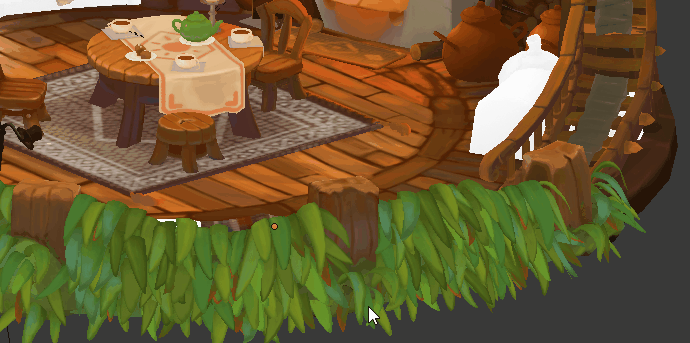
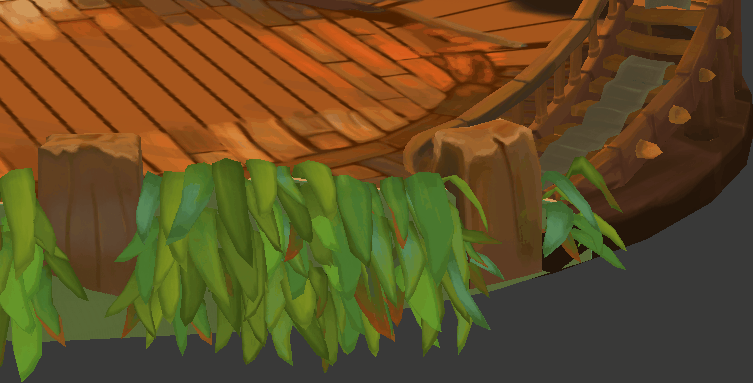
I used a similar trick for the bottom floor wall (image below). If you look at the concept, you will see that the hut is covered with leaves from the outside, and from the inside it has plastered walls. At the same time, both these sides are “cut off” at different heights and have a different shape of the cut line for a better view and composition. It is easy to draw it in 2D, where the viewer has only one angle, but in 3D the viewer can look from any angle.
A few more words about the composition and filling of the scene. The Hut has two floors, and the integrity of the composition is maintained by a staircase divided into 2 parts and a chandelier hanging from the ceiling on the first floor.
I wanted the second floor to be a small surprise for the viewer. Therefore, the focus on the preview is on the ground floor. But for ease of navigation in Sketchfab, I used the Annotation function (see picture).
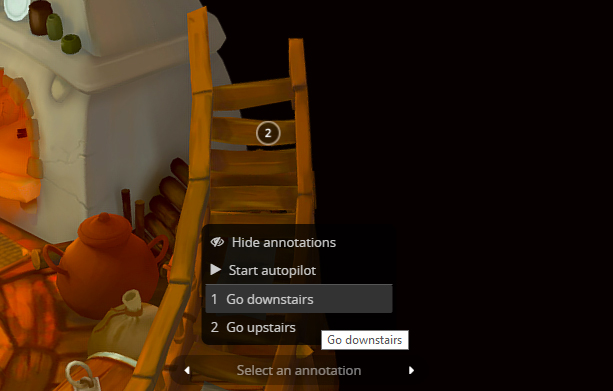
Looking at positive responses, this trick worked for some people, became an additional source of enjoyment, and extended the time spent examining the scene. This is what I wanted to achieve.
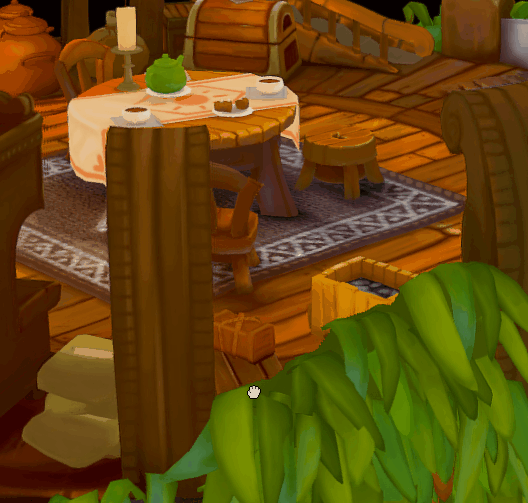
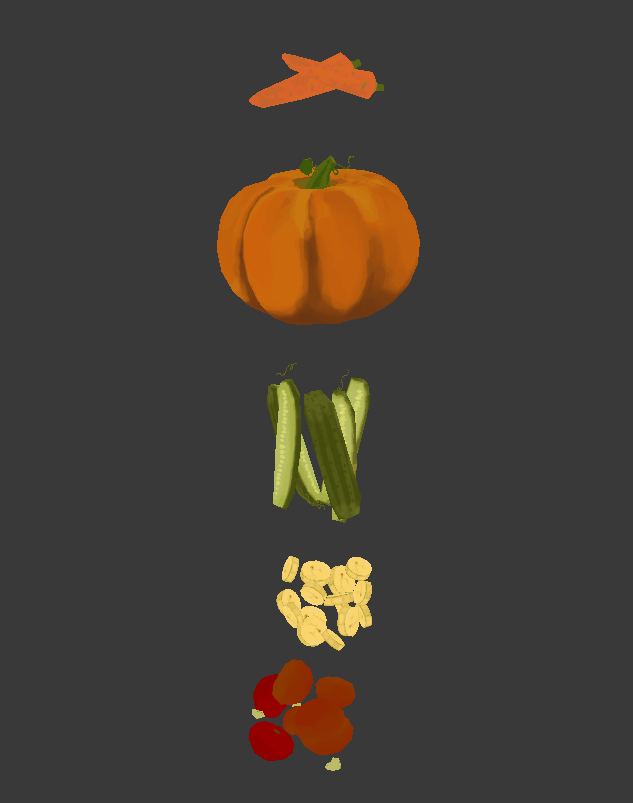
In addition, I added some “secrets” and Easter eggs to the room. For example, you will find that calendar pages are scattered throughout the house. All of them are on September 3, which is such a joke on the Russian part of the internet, something like a Groundhog Day, but associated with a song about love:
I’ll turn a calendar page
And there will be the third of September again
I’ll take a glance at your photo
And there will be the third of September again
I want these little “Groundhog Day feelings” here. Also you can find hints of other projects that I have worked on, such as the cat in the box from this project.
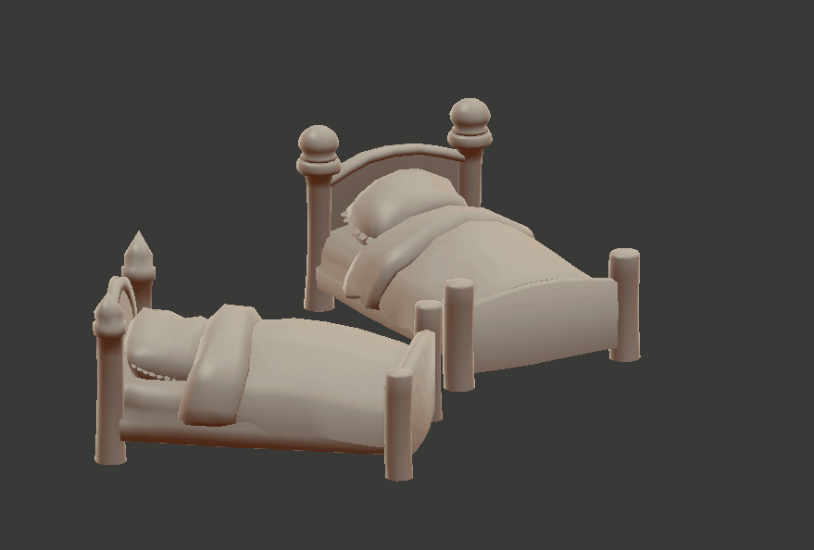
Modeling and texturing
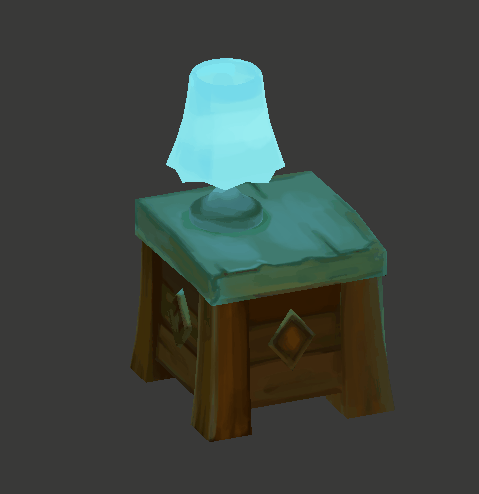
Modeling is pretty basic here. I tried to keep a small number of polygons (minimal, but sufficient). If polygons do not play a role in the designation of the silhouette, then most likely they can be sacrificed.
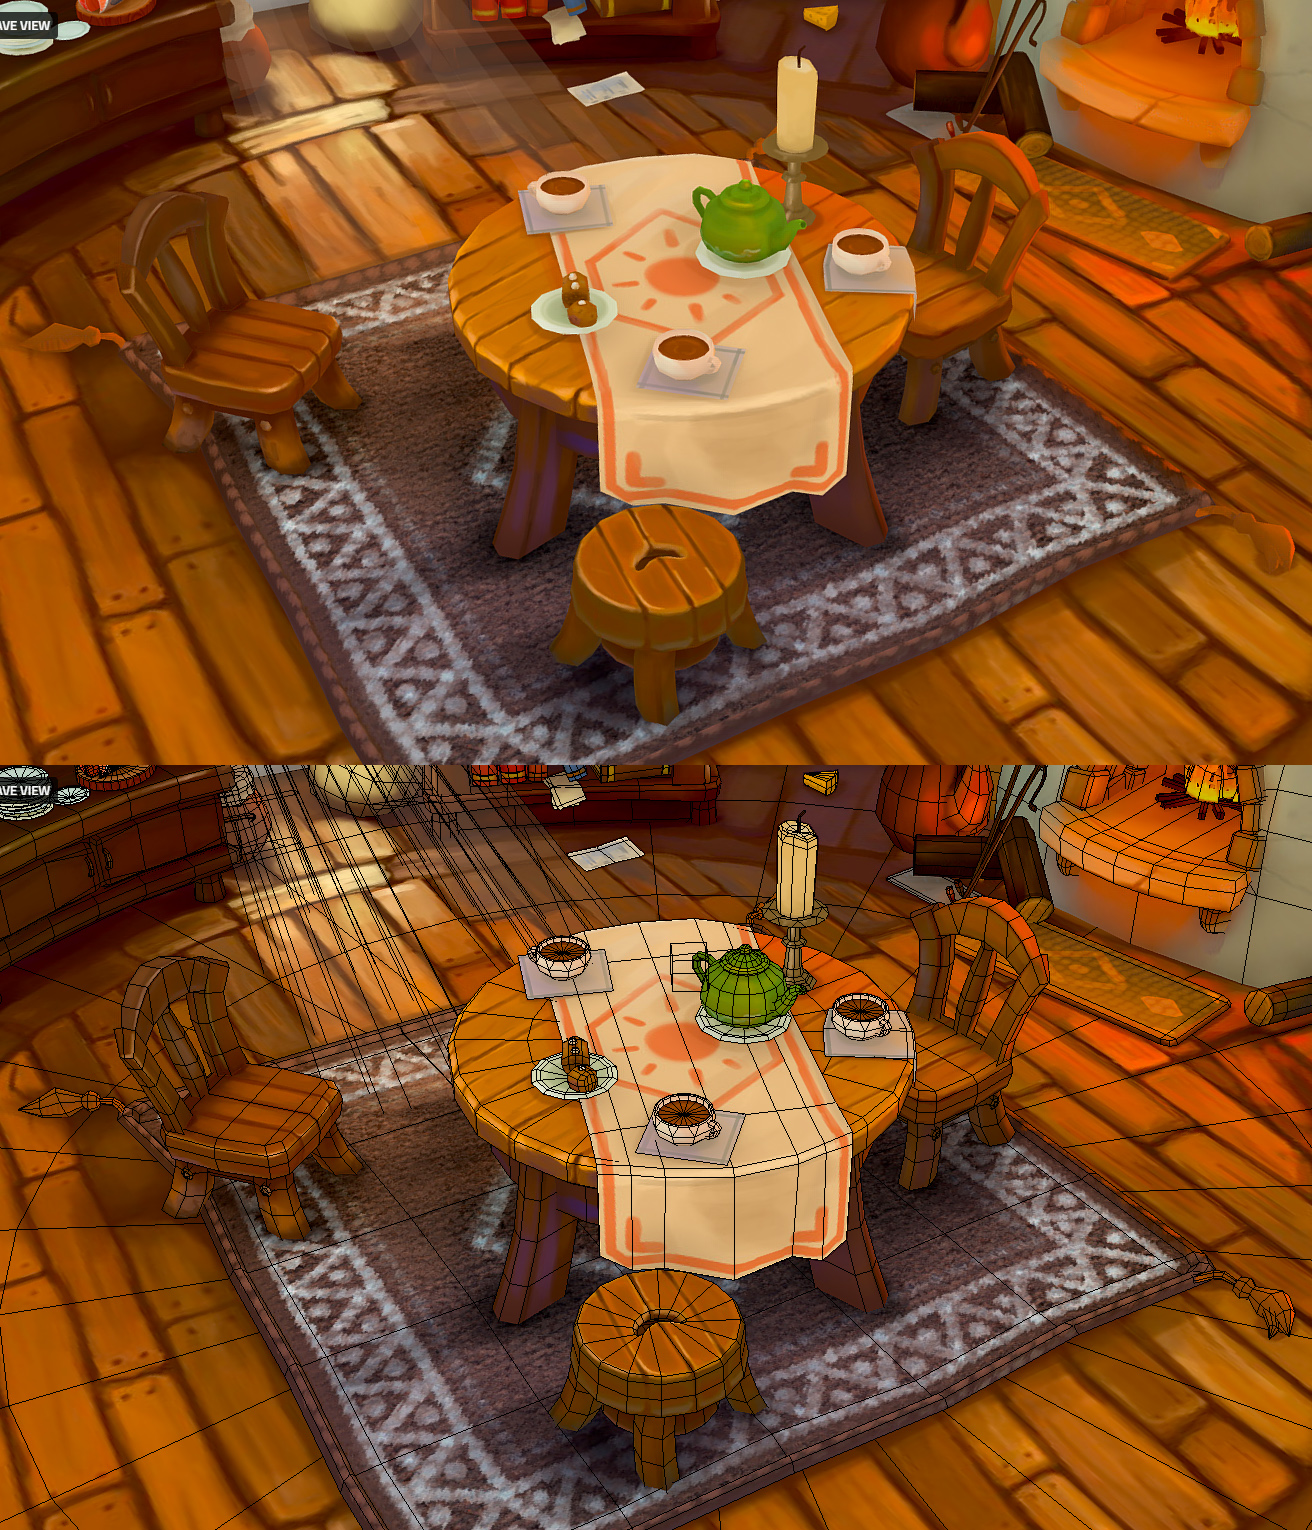
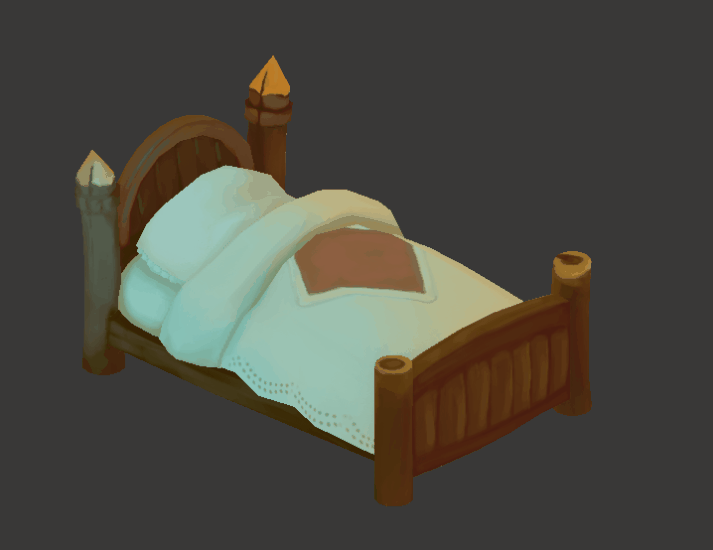
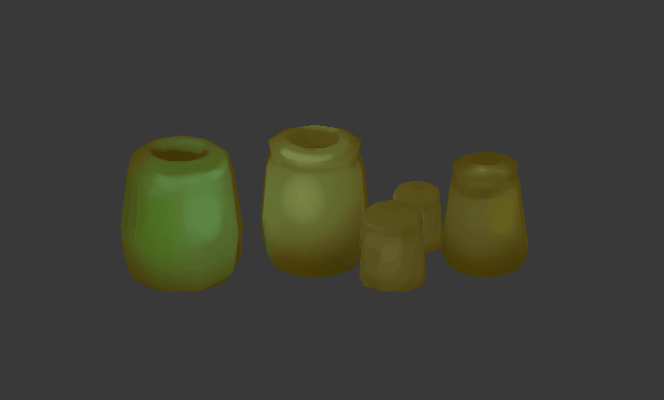
All textures are handpainted. I used only diffuse maps in the scene. I didn’t bake the lights, normal maps, or anything else, just painted textures right on top of the model. I took a sample of the color from the illustration and set it as the base color, then gradually added details and painted the lighting. If you want a detailed lesson, I can advise on this channel.
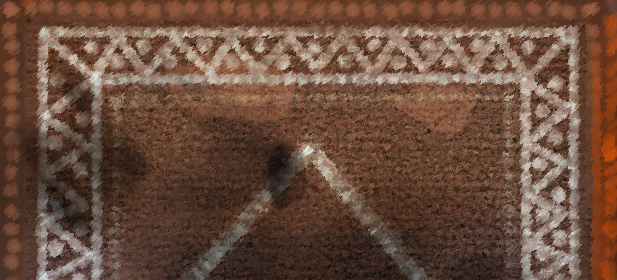
Texturing the carpet turned out to be challenging. There was only one time I used Photoshop instead of Blender for texturing and it was for this fabric effect on carpet, achieved by using the Spread Strokes filter.
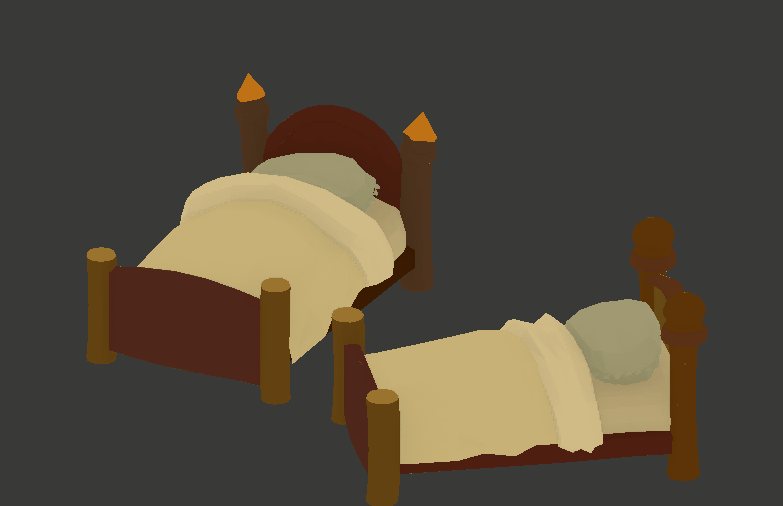
Several objects have the same texture coordinates; I combined them into one object and assigned one material – for optimization and convenience of customization in Sketchfab.
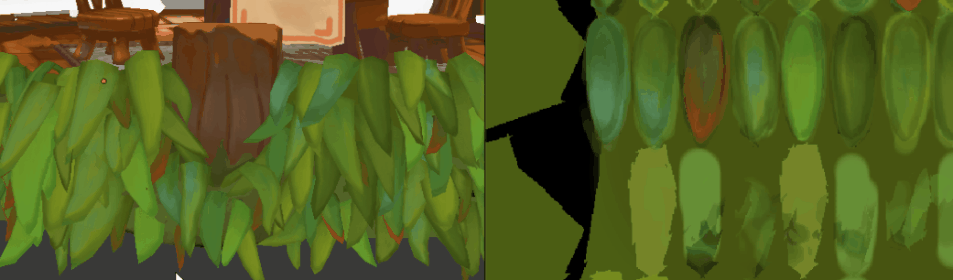
Quite interesting for me was the modeling and texturing of foliage. I have shown in the pictures below a part of this process. It was important to give foliage volumetric shape and a variety of colors. It should be noted, however, that the foliage turned out to be quite rich in polygons, which is not very optimal for this scene.
Finally, I want to say that the publication of w.i.p. stages in social media helped me a lot.
The project was long and the feedback of my subscribers supported me and brought me back to the project, preventing me from abandoning it. Therefore, I can advise you not to be afraid to share the intermediate stages of your work on the Internet – sometimes it helps a lot.
Thank you and good luck! :) If you like this or another projects by me, I am open to freelance offers and other suggestions.
About the Author
 Gregory Khodyrev, Ph.D. in Biology from Russia. Blender user.


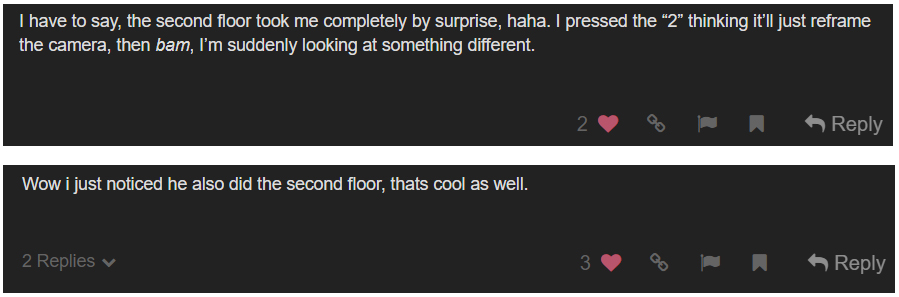
wow man its so beautiful i loved , i like this stile bot i’m not good to do this thanks to make my eye be mor brilliant !