
Jesse Davis writes:
From blenderer.com:
Making landscapes in Blender is time-consuming. First, you come up with an idea, then you make the different objects to transfer that idea to your screen, having to model, texture, sculpt and maybe even bake all of them. After all that hard work you want something good, no, great looking to appear when you press F12 and render. Unfortunately, this isn't always the case. You see something that feels off or doesn't look the way you imagined it. You might even think everything looks fine, but still get the idea it's only good, not great. If this sounds like you fear not. Blenderer is here to help.
Making a regular scene render into a great scene render takes at least 5 skills. Without these you, and in extent your viewers, will never get to see your render in its full awesomeness.
For a nice and good-looking render you need:
- Story
- Objects
- Composition
- Colors
- Lighting
That's it. Once you know how to do these you will see your renders improve and your satisfaction rise. Sounds like something you would like? Then please read on.
Story
This is the most crucial part of any picture that's all too easily overlooked. Before putting your scene together, take a moment to write out what you want this scene to convey. Do you want a happy scene? A sad one? Or a scene with multiple emotions? You'll need all this information later on when choosing your colors, lighting, etc.
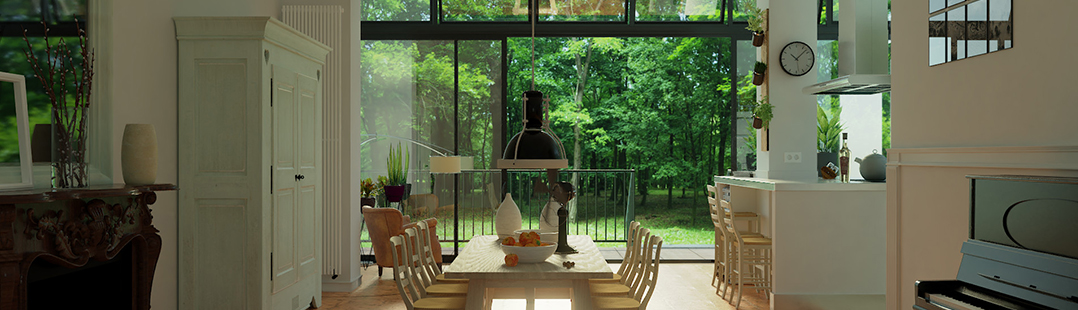
Want to make your scene even better? Make it tell the viewer a story. If you're doing an architectural scene, ask yourself who lives there. What do they do? What kind of person are they? If you're making a nature scene you can ask yourself what animals pass by, whether humans visit the place. Telling a good story with your scene is hard to do, but once you've accomplished it the result will be astonishing.
Objects
With objects, detail is the name of the game. This doesn't mean you should drastically ramp up the amount of detail you put in a scene, not at all. Detail is something you need to be careful with. Not too much, as it won't look pleasing to the eye, and certainly not too little, as that won't look real enough. Make sure you give objects alternating points of more and less detail, so it looks real enough without making your eyes tired.
Something else essential to making nice objects are reference photos. Don't just use one or two when making something, check out as much as possible. That way you'll be able to make your objects as natural-looking from all angles.
Composition
The composition is where you decide what to put where in your scene. The composition is something that can make or break a scene. To keep it short, it's something you really want to spend some time on if you want your render to be a success. I won't go into composition too much, as there's a lot to it, but I'll give you some basics.
The easiest way to make your composition good-looking is by dividing your field of vision into a couple of parts. You can do this under Camera -> display -> composition guides. If you're just starting out I recommend you experiment a bit with the different composition guides and see what looks best with your scene.
With your composition guide on, you've got something to work with. Make sure each of predefined fields in your camera has something to look at, so your eye is carefully guided through the painting.
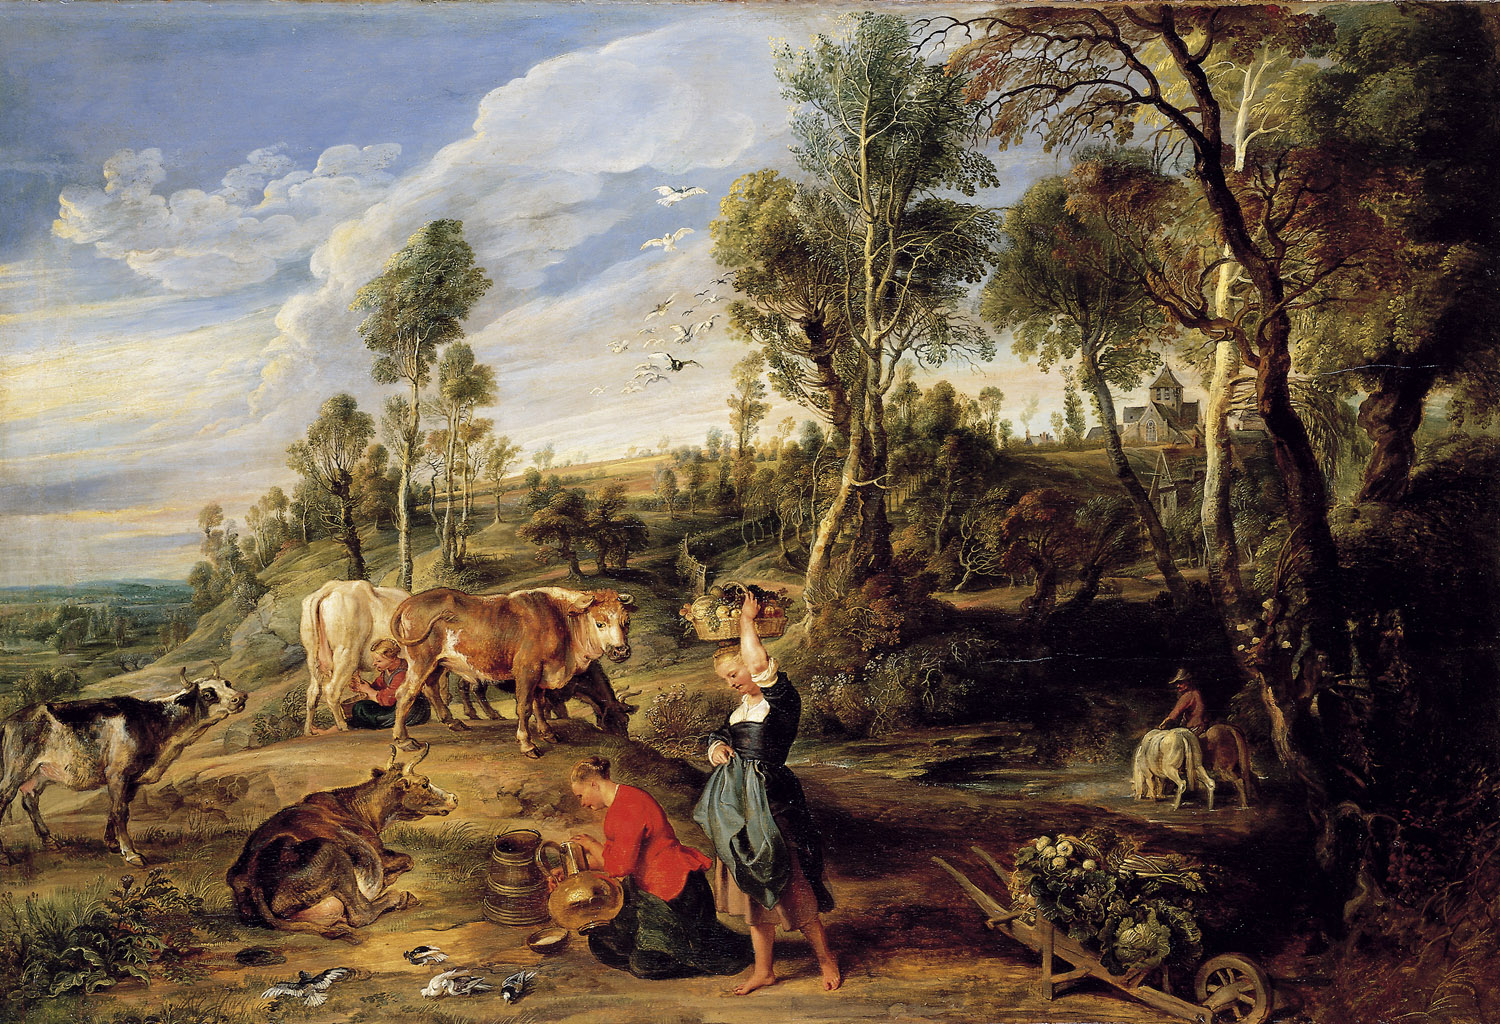
With that in mind, try to give your scene a 'starting point'. This should be something that immediately grabs the attention. It doesn't have to be the point you want your viewer to eventually focus on. To create a starting point you can use a saturated color that stands out in the scene. Take this painting for example. The bright, red color of the girl's coat grabs your attention, giving you a point to start exploring the scene.
One final thing about composition: think about the density. Don't worry, it's got nothing to do with physics, although you could call it the third law of composing. When making a scene, try to variate the number of objects you have on every depth. When looking a the above painting you can see what I mean. Don't put too many objects in the background and place more close to the camera, making your scene more pleasing to look at.
colorsNow I take it you've heard about the importance of colors. They drastically impact your scene's looks and general setting. Reddish colors are often used to add warmth to a scene and bluish tints to attach a sad feeling. Even using no colors at all adds a certain sense to your scene. It's well worth your time to consider what colors would go well with the story you're trying to tell.
A crucial part when choosing colors is choosing colors that match. Just as with comparing the color of your t-shirt with the color of your pants, your scene has to match as well. This means you:
- shouldn't use too many colors
- have to pick colors that look good together.
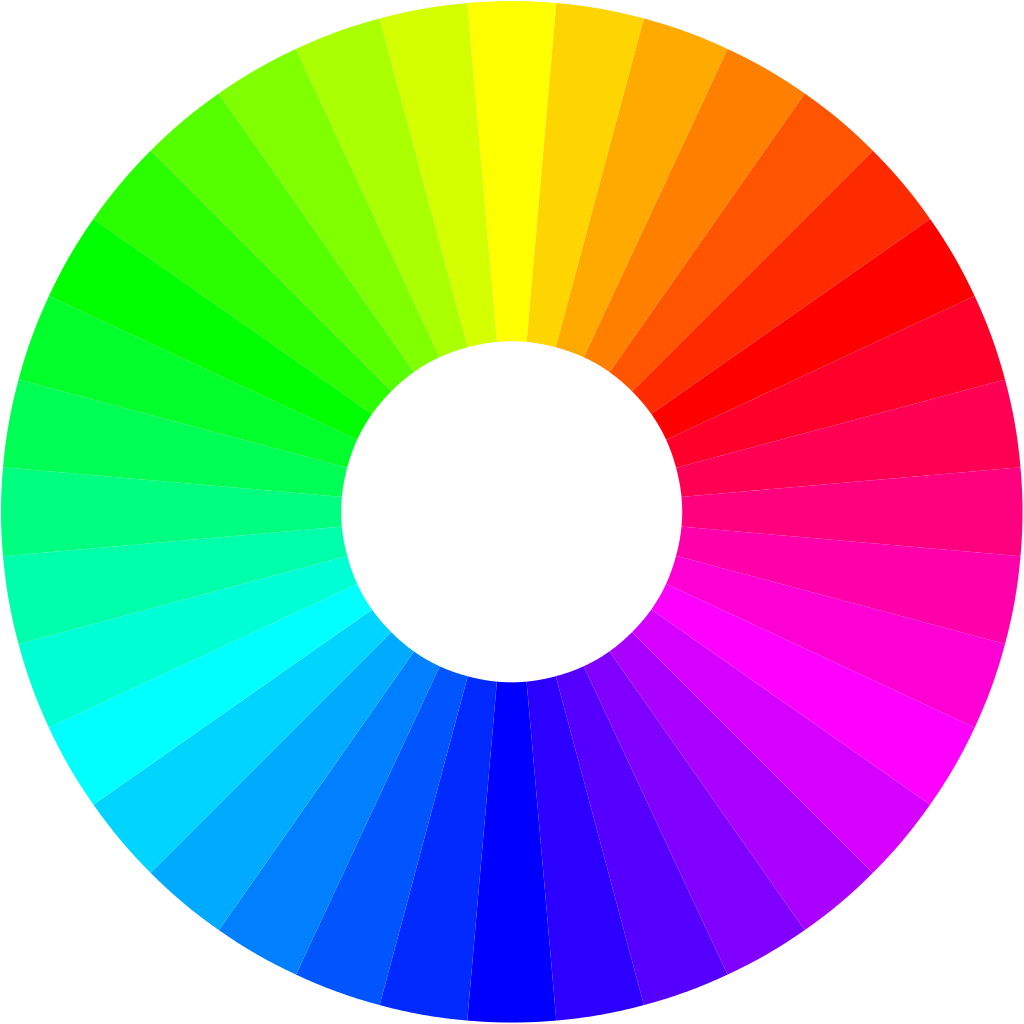
The first one isn't too hard. Just stick with a maximum of 4-5 colors and you should be fine. The second one can be a bit trickier if you're just starting out with colors, but all it really takes is a good look at the color wheel.
These are a few combinations of colors look good when used together:
- Neighboring colors
- Colors on the opposite side of the wheel
- The neighbors of opposite colors
- A color and the opposite color's neighbors.
- As an extra rule, never use colors in equal amounts. Use the 60-30-10 rule, meaning you use one color 60%, one 30%, and one 10%. When using more than three colors you should use a similar pattern.
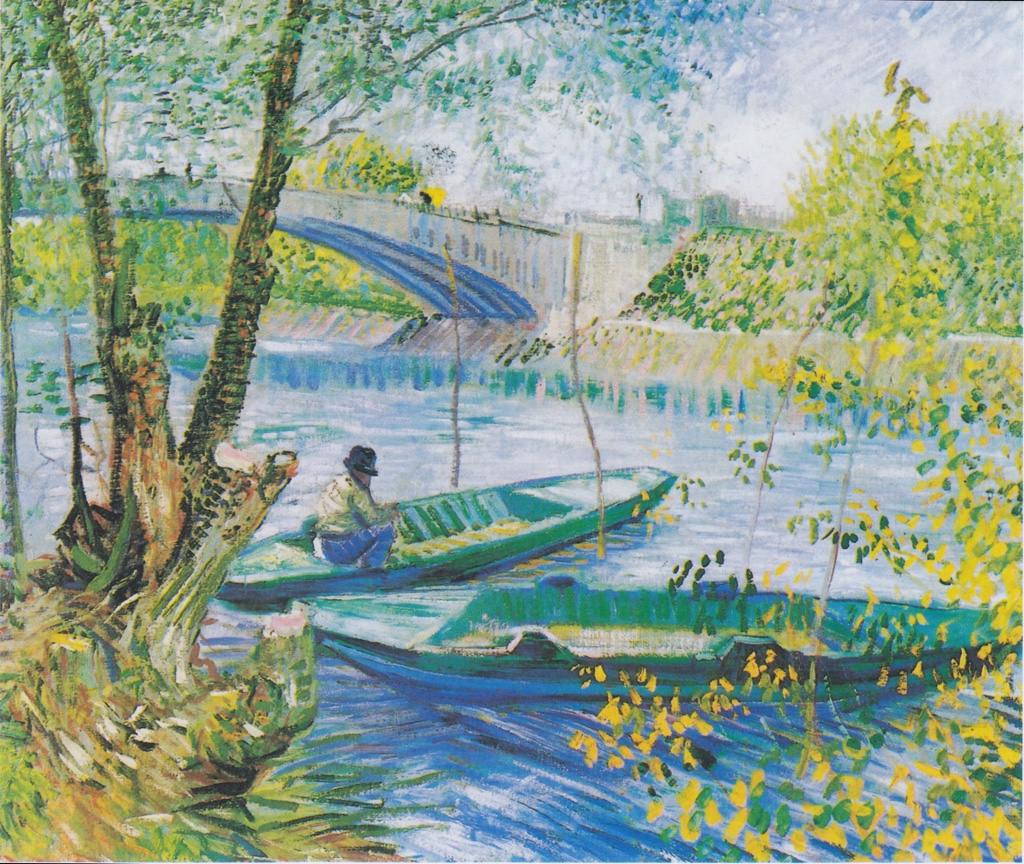
If you use these rules your color schemes look pleasing to the eye and are better received by viewers. Take this painting for example. Blue and yellow are used as dominant colors, blue dominating over yellow. Notice that the color saturation is low in most parts of the painting, giving your eyes a place to rest and making the painting more enjoyable to look at.
Lighting
Besides color, lighting has the biggest impact on a scene. Choose the wrong lighting and you ruin a great scene, use perfect lighting and you can make a horrible scene look good. If you like photography you probably know this. Here's some short advice on lighting your scene just right.
Good lighting adds color. Make your light source something else than white. Don't overdo it, but a little tint of orange or blue can do wonders for your scene.
Larger lights make for softer edges. Whether you want this in your scene or not is of course entirely up to you, but try using a larger area lamp next time you use Blender to see the difference.
Don't set your light sources too strong. You've done your lighting right if it brings out the texture of your objects and adds a good sense of depth to your scene. Too strong lights ruin this, as they obliterate your shadows. Be careful not too set your lighting too low either, as this won't bring out the shadows at all.
That's my advice on making a great scene in Blender. Of course, these are only general guidelines, not strict rules. Always feel free to experiment with your scenes, as this will give you even better results. If you've got anything to add to this post or would like an in-depth post on any of these subjects, please leave it in the comments below.
Good luck blendering,
Jesse Davis
1 Comment
For the colour selection you could try the website "https://color.adobe.com/create/color-wheel/", hope that helps.