
Tyrannosaurus Rex with 4K textures
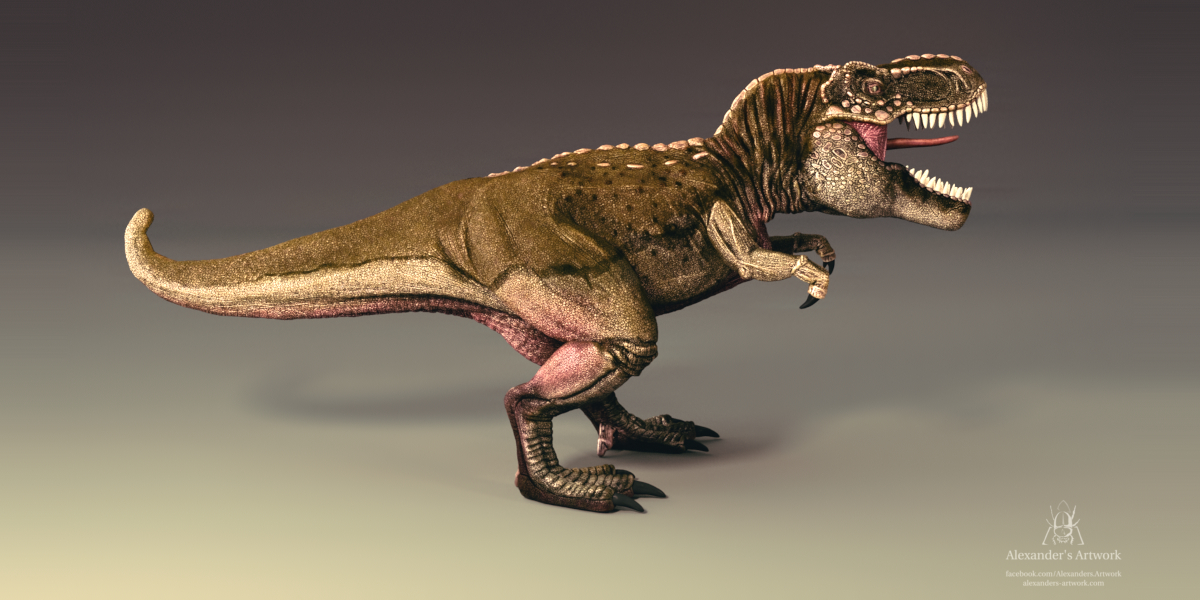
Alexander Weide did an impressive T-Rex simulation using Houdini’s flesh/muscle simulators and rendered it in Cycles. Eye candy!
Two years ago, in 2014, I had the idea to use and build a muscle Setup in Houdini. At the time i had established my own pipeline, a pipeline between Blender and Houdini. Houdini has very nice simulation tools, not only for fluids and smoke, but also for flesh and tissue simulations. Blender has in my eyes one of the best render engines on the marked – called Cycles. So its a magical combination. Another idea was to use the sculpting tools in blender, to create a creature like a raptor or T-rex. So i decided to create a realistic looking Tyrannosaurus Rex. I had a lot of references from different movies and images. So my decision was clear.
I startet the sculpting process in Blender. Later I use the point texturing tools in 3d coat to paint the model, without the need to unwrap the model.I had the idea to render Vertex Color maps instead of UVW based textures and PTEX are a missing feature in Cycles and Blender at the moment. So, Vertex Coloring was the only choice. When the modeling and sculpting process was finished, the model had more than 50 Million polygones, and close up vertex colormaps. Now you think where is the advantage? Its simple. When you render Vertex Colors your render times drop by half in Cycles and in Houdini too. I created several turntables with nice render times . Two of them are on my Vimeo Account.
https://vimeo.com/195131809
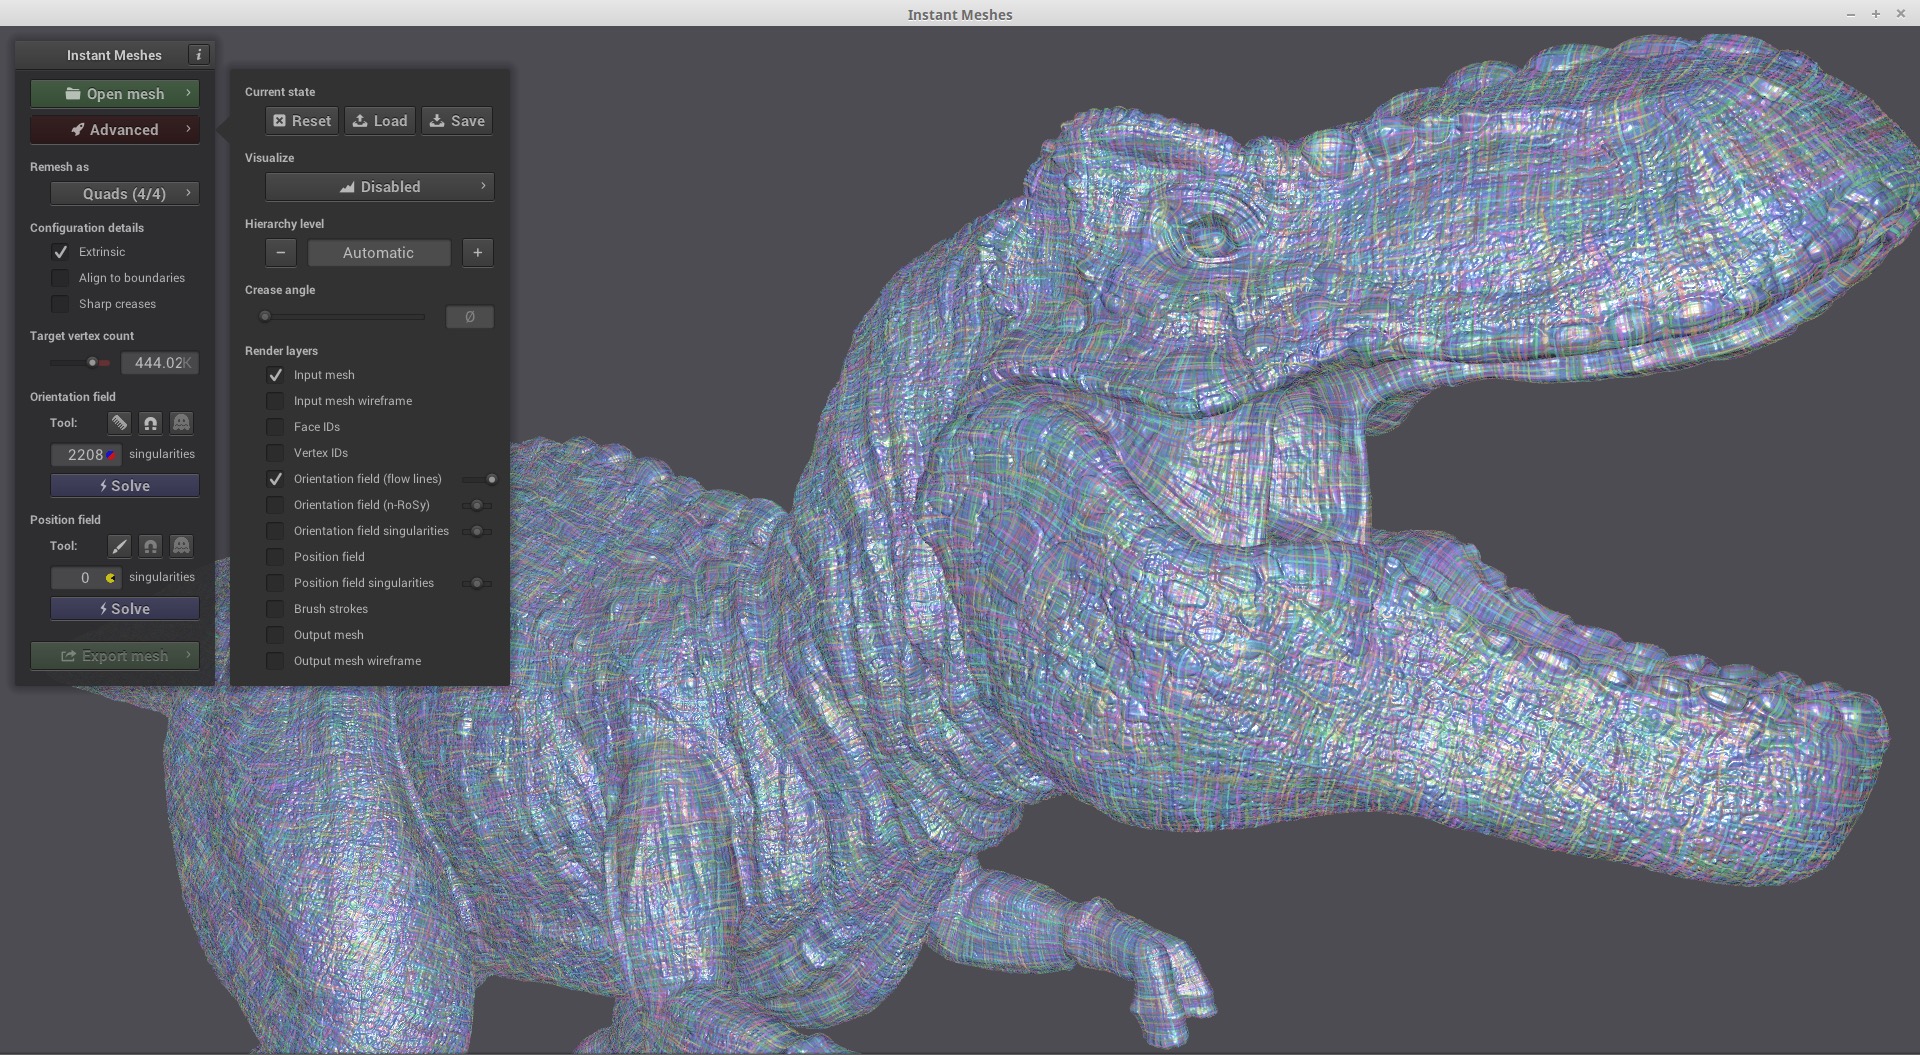
In the last years i forgot the T-Rex, because of daily projects, but three weeks ago, I started to optimize the model again, when i joined the Houdini Beta testing. Three weeks ago, I also found a very nice tool called instant Meshes. Its available for free. Its a tool created by Wenzel Jakob, Marco Tarini, Daniele Panozzo and Olga Sorkine-Hornung, and was presented at SIGGRAPH Asia 2015. This Tool is outstanding, because it creates quadbased models automatically with one click. The good thing is that this tool/algorithm follows the curvature and generate low-res models, which are looking like they are build by hand. So I have decided to bake down the entire Model to get it rendered on GPU in Blender Cycles.
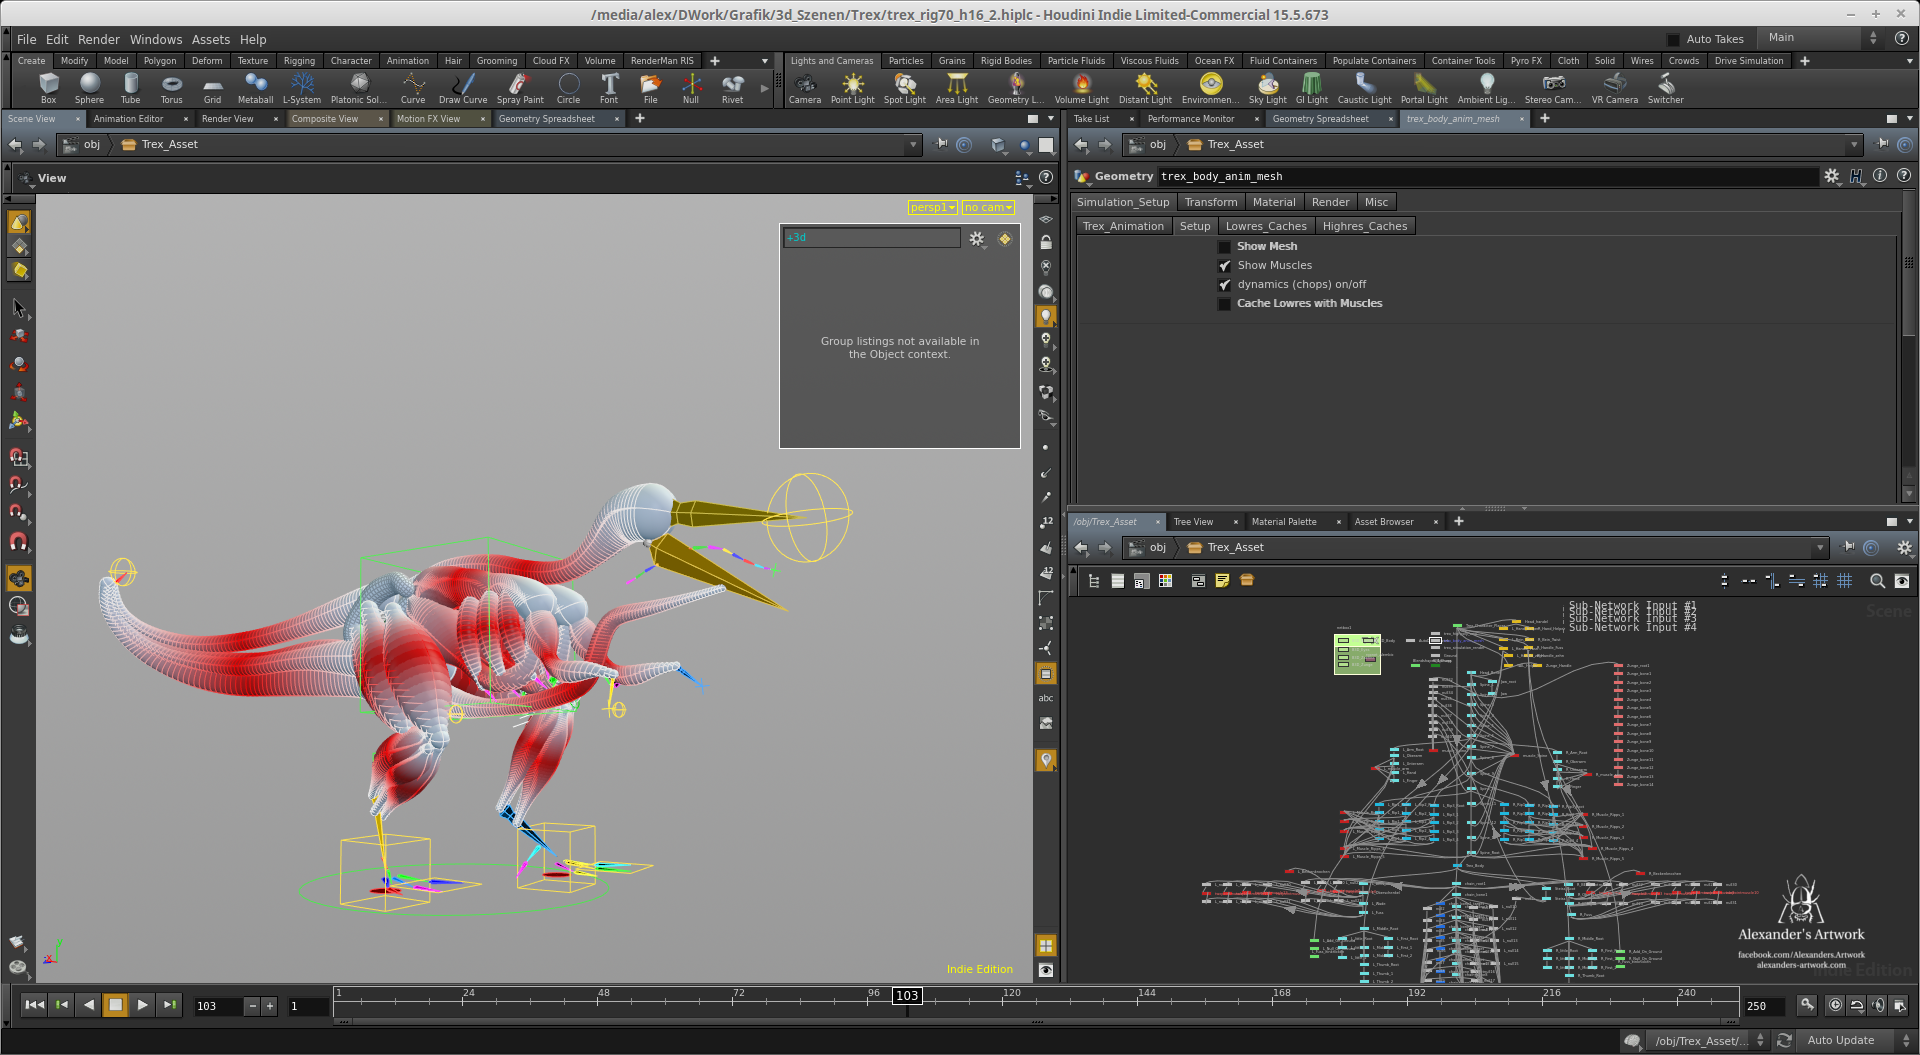
The Baking was done with Houdini’s new baking tools in combination with Blender’s Baking Tools.
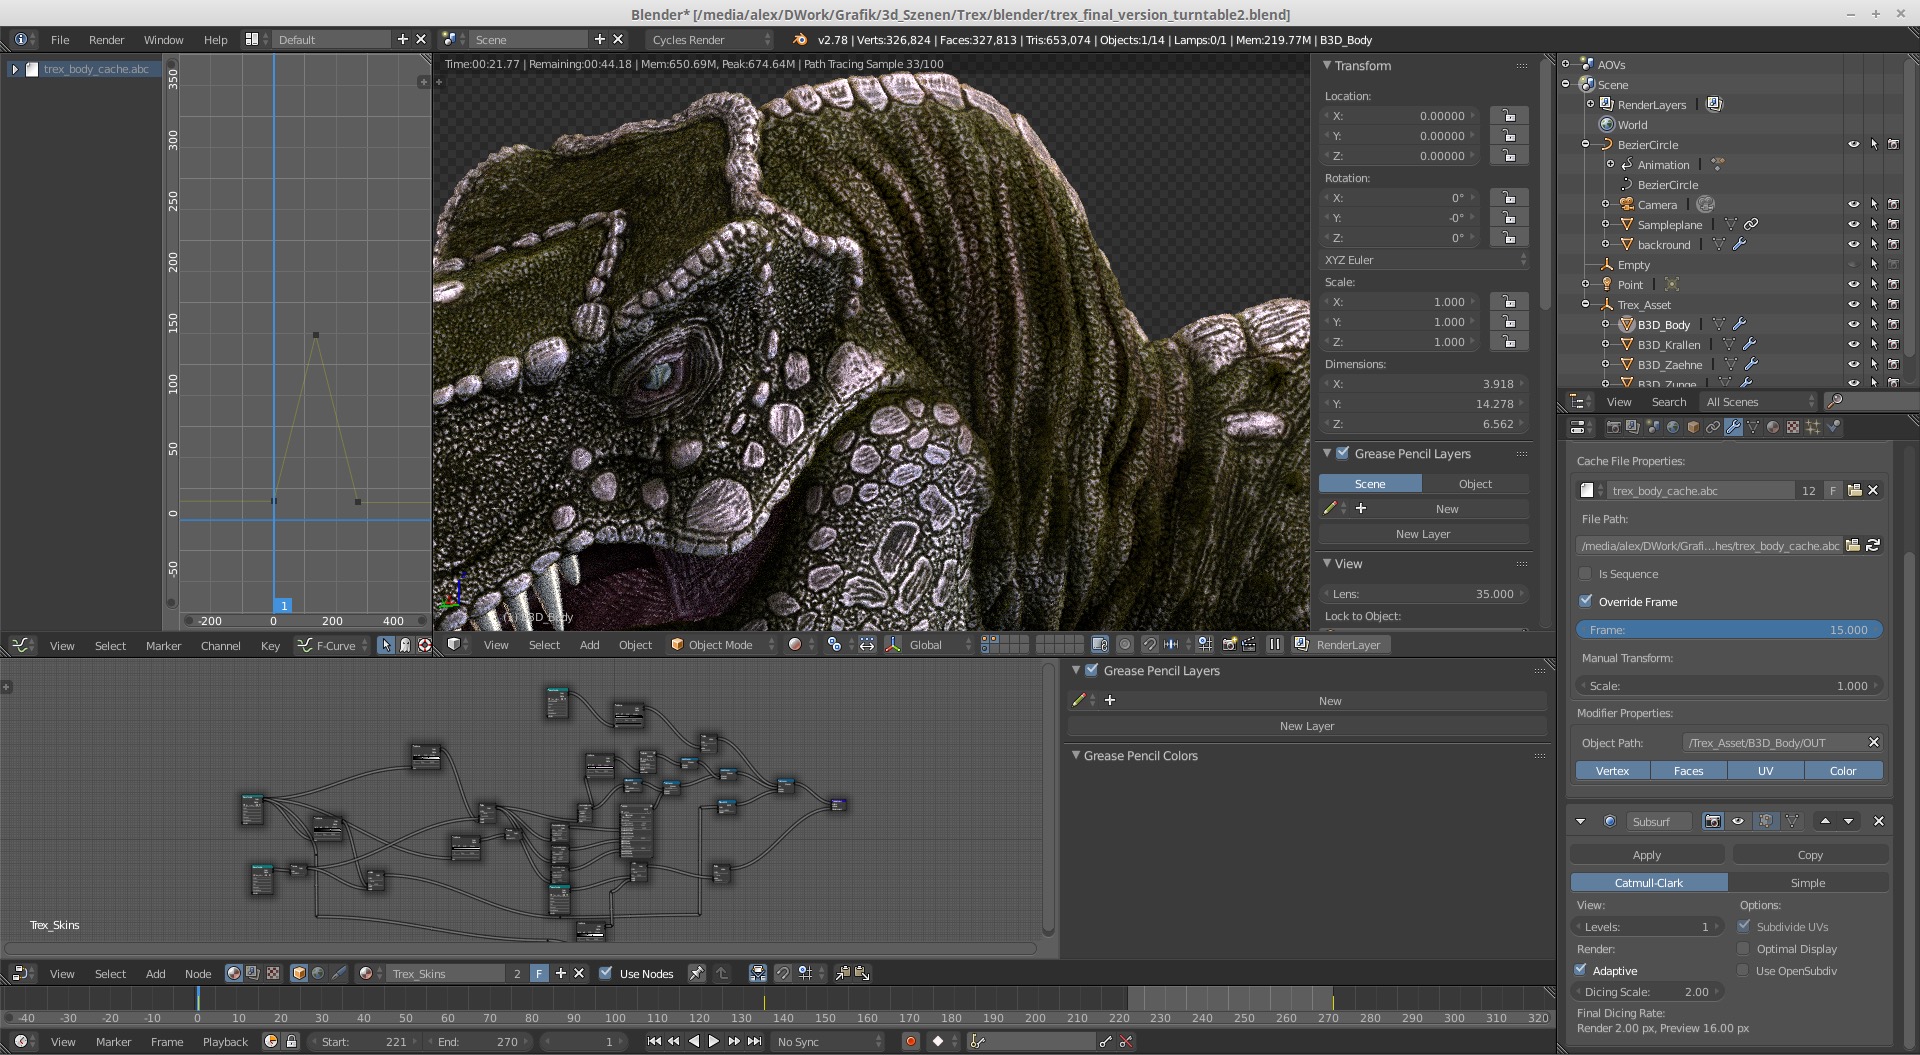
Now the shaders and the model are closeup ready for rendering in Blender Cycles and i created a new Turntable with the final version for Blender Market. I will add the Houdini Muscle Setup for free to all who have bought the model..in the future if someone is interested in it.
I also want to say thank you to all, who are responsible for the integration of Alembic into Blender. Because, now I am able to animate and simulate in Houdini and export everything to Blender Cycles.
Happy Blending.
Alexander Weide


Very sweet work! I also like your strawberry sim on the website. I have been curious about the Houdini-Blender relationship, you have motivated me to start getting serious! danke!
Kein Problem;) Freut mich und auch Danke. Fröhliche Weihnachten.
Where are the feathers?
He has no sorry to say but that feather Stuff dinos are looking artifical to me;) And a Utah Trex has no i guess.
This is far the less realistic t-rex model I ‘ve seen in years, feathers or not. Also, where is the dynamic simulation?
What? Maybe you should read the text. When you mean that Model is less good than its your opinion. Read the product page closely and the text…
Rawr! it moves!