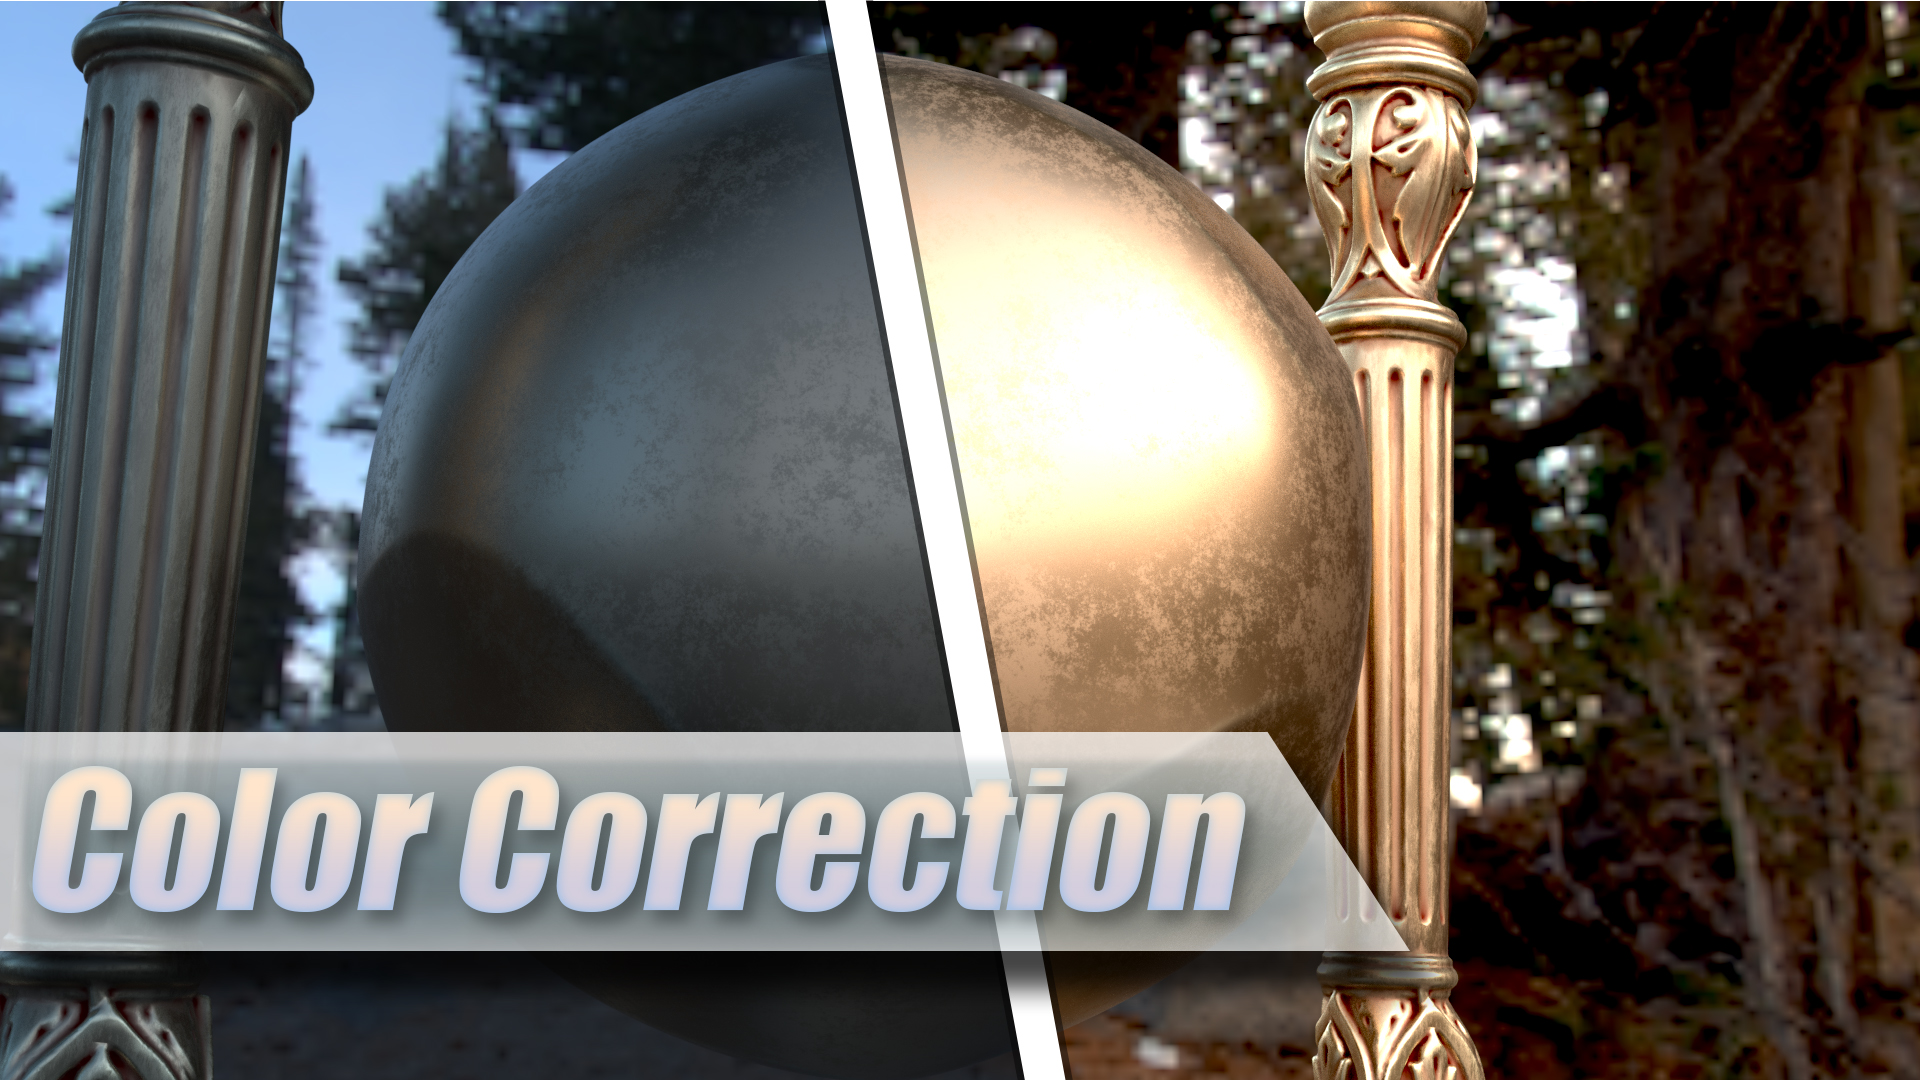
Learn how to do color correction in Blender
CynicatPro writes:
I’ve made a quick tutorial on how to set up color correction in blender. This can be used to make better color grading and also make your film shots look more consistent. this is also very useful for making sure your materials look consistent between scenes.

Really interesting tutorial. Thanks for sharing it with us.
Color correction and color grading can also be done in the compositor…
What’s the difference doing it using this method ?
It’s more interactive this way. While you are creating the shader, the colors are already correct, so the values you tune in your shader are consistent from scene to scene, which makes shader reusing and building shader libraries more effective.
Oh I get it. Thx a lot. :)
Hi Cynicat,
Shift+Left Click in the image editor on a pixel sets the White point, Ctrl+Left Click the black point, no need to copy values around. You can also hold down the mouse button and “search” for the perfect white pixel.
Also, when adding the planes, it is easier to add them while looking through the camera and use the last operator panel (F6 in the viewport) and check “align to view”. This way it is perfectly perpendicular to the camera.
Thanks for sharing the tutorial with us, was again a pleasure to watch!
holy shit thank you! that makes things so much easier!
This is a very useful Tip! Thanks for the post ;)