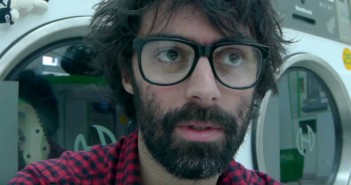
See how Pierrick processes an image of his cool Jack Russel workshop in today's video.
After hours spent to release the course I wanted to (at least attempt to) create a nice picture to close this project and go forward on other ones.
As people asked me about rendering and postproduction tips I've decided to use this illustration as a support to this short tip video. It's mainly a making of where I'll show you my rendering setup, some shadders and the complete posptorudction in a photoshop timelapse.
You can visit the blenderartists thread for more details :)
Hope you'll like it.


4 Comments
Thanks for your video,
I thought those clouds where stock images, but wow you did it in Blender.
Yes, these are simple dyntopo sculpt.
With some noise displacement.
As you can see the shadder is quite simple
Wow, that was a very in depth video. Really great to see ow much time and effeort you put into it. Great result and I learned alot from your explanation of the different steps and settings. Thanks for taking the time to make this!
Thanks.
I'm very happy you've enjoyed it :)