

Modeling a Hobbit Hole

BlendyCat writes:
Watch me speed model a hobbit hole in Blender.
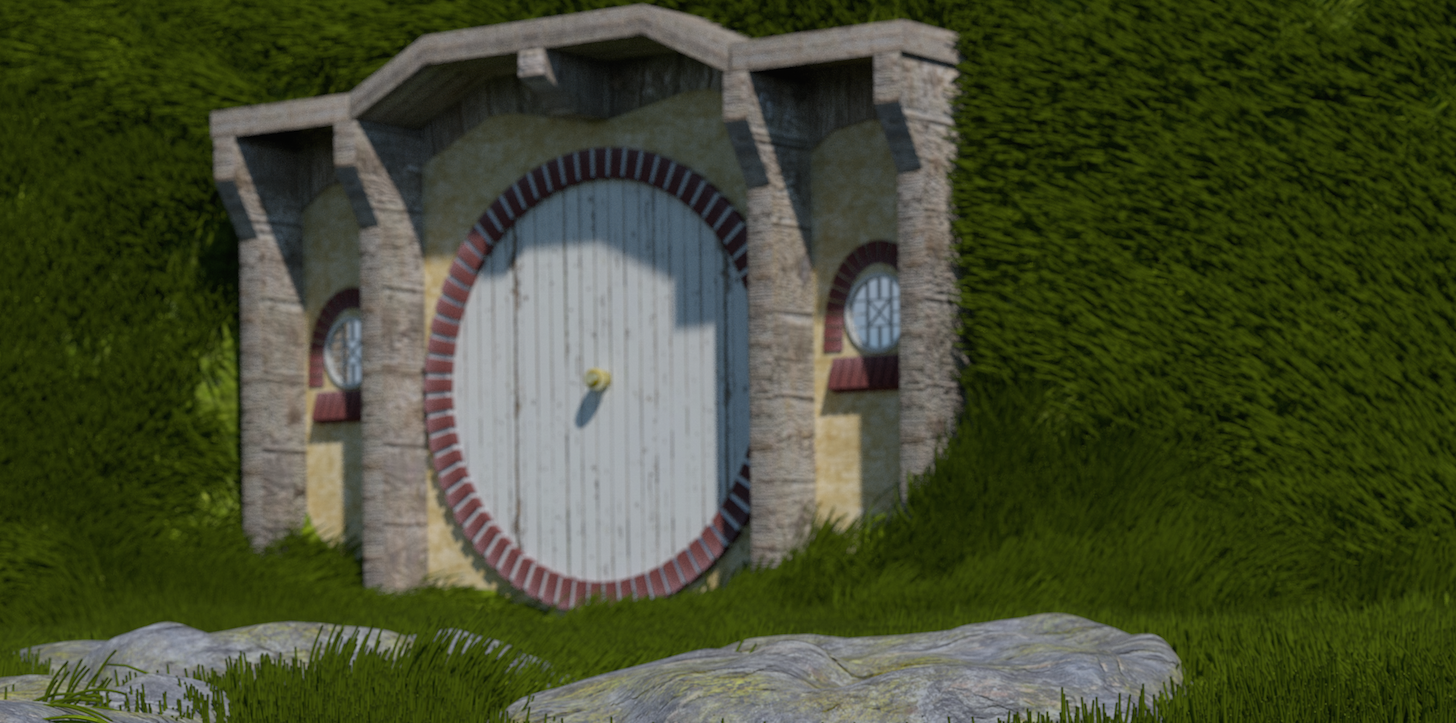
I started by creating the hill from a plane using dynamic topology. Then I created the rocks also using dynamic topology. After that, I began modeling the actual hobbit hole starting with the wooden beams. Next step was creating the wall for the house using a plain with a texture applied to it. Then I created the door frame which was an array of bricks fitted to a curve circle. I did a similar process with the window frames. For the grass, I used simple hair particle system to create the strands. I also used weight painting so that grass wouldn’t come out from where there was supposed to be rocks or the hobbit hole. The last step was to add a door and do some finishing touches on the grass.
For this render I set the f-stop to 1.8 and the focus to an empty near the closest rock to the camera so that the hobbit hole would be slightly blurry. It is just a personal preference to have the depth of field.



Sorry, i think i might have an allergic reaction to the words “watch me” right now. :P
Nice. There’s a lot of good work put in, but something that gets me is your framing. I think a big part of the concept is the hill it’s embedded in, and you’ve cut out the sky and the top silhouette of the hill in your final reveal. I think without that, you’ve cut out a very important part of the concept – for all we know, that could be the base of a mountain.
For the Life of Me I cannot figure out what exactly is the advantage to me of a high speed video tutorial ? BTW why didn’t you make the door green like in your reference pic. ?