 3Dtutorials has a Fluid Simulator tutorial available from Stephen Meli (Lord of the Rings Junkie).
If you haven't seen it yet, its a worthy download, the video really goes into the details of the most used settings. I like the demo example at the end of the video as well.
Find the video here.
19 Comments
Stephen, I really appreciate your effort in making a video tut for this ... now I finally understand how to use it right ... never wanted to go into details myself before ;)
-AntonG
Very nice.
A very good video, indeed!
Well worth a watch.
Thanks! Keep up the good work, thanks for sharing your time and knowledge
I remember when you first thought about making this, back when we were trying to figure out how to animate the Kawoosh effect for the Stargate.
I haven't watched it yet, as I know all the functions myself, but I know you have a good understanding of the simulator, so it should be a very good video!
Thanks for this great tutorial. Followed along and it cleared things up for me.
Has been on the web for probably more than a month.
Sorry to say, but this is old news.
@Thomas: old for you maybe, but judging by the other comments it's still new for many other people.
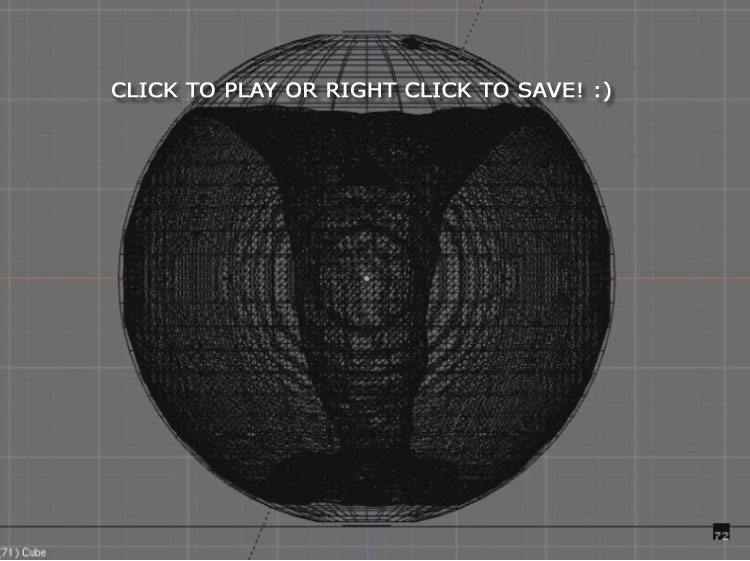
:D the cg_sphere, you rendered with Indigo, was great :)
http://www.indigorenderer.com/joomla/forum/viewtopic.php?t=1661&postdays=0&postorder=asc&highlight=sphere+fluid+sim+lotrj&start=30
@Thomas: Bart is right. For those who haven't seen the tutorial yet, this article brings it to their attention.
This is a very helpful tutorial indeed! Now the fluid sim is starting to make sense...
Thanks it was great
Stephen, This is great! I don't think I could have understood this without your video. It was very clear and I can hardly wait to get the time to try the simulator myself.
Thanks for the great video tutorial.
@ Thomas, a lot of news is kinda old, but that doesn't mean everyone has allready seen it. There's plenty of people to which this news is still new. Me for example. I'm gonna enjoy this one.
I was very excited to see this get posted and I thank you for making it. It was very informative. I am having a bit of a problem though. I have followed the instructions to the letter and am still getting no results. It bakes and there are files in the designated folder for such files but there is no change on the screen either during or after the baking. And occasionally my domain completely disappears. Any help would be greatly appreciated
Great tutorial. Showing basics of fluid simulation. I was looking for somthing of this kind. With this knowledge just the sky is the limit (and maybe hardware). But anyway thanks a lot for this. Erlier I was just trying to make fluid out of single object and now I do understand it.
and the domain size :P
things with higher dimensions than 10m³ can't be simulated, entirely correct...
I wonder, if it was possible, to increase the maximum simulated size :D (marathon of physics-coding? :))
@ Michael: which kind of fluids did you set up? exactly that, what LOTRJ set in the vid?
Then, everything should be fine...
What does the console say? :)
As I said in blender artist forums, WOW, and thank you.
Holy cow, I made the video how long ago and I just discovered this article?! I gotta hang around Blendernation more often... Anyhoo, I'm glad so many people have found it so helpful. To future tutorial writers, I'll give this bit of advice that guided me a lot while I wrote the outline for this video: People will not benefit from a tutorial that just tells them what buttons to press and what settings to change to get them the results they want. If you make it so that the person actually UNDERSTANDS what each button and setting actually does, they will know what will happen when they press or change them. Therefore you are effectively teaching someone to use the tool for whatever they may need instead of just telling them how to get one result.
Thanks for all your comments, they give me motivation to do more stuff like this in the future. :)